I Got My Eyebrows Laminated, and They Literally Doubled in Size
It's no secret that I'm eyebrow obsessed. Even though I spent the better part of the 2000s tweezing them into oblivion just like countless other tweens from that era, I'm now a bona fide bold-eyebrow enthusiast who won't hesitate to add new products to my insanely huge brow product collection. And with so many treatments out there these days, from waxing to microfeathering, there are endless eyebrow improvement options to address any and every cosmetic desire.
When I started seeing images pop up in my Instagram feed of perfectly flicked eyebrows that looked almost like they'd been smoothed down with a glue stick, my interest was immediately piqued. You see, I've got really thick, curly eyebrows that require a decent amount of work to achieve that effortlessly bushy look. At night while applying my skincare, I'd use the meaty part of my palms to push my brows up with serums and moisturizer and imagine what it would be like to have the hairs lie so flat all the time.
Turns out this is the exact result you get from eyebrow lamination. You've probably been hearing about this treatment, as it's gained immense popularity over the last few months, but what exactly is it? I tapped cosmetic tattooist and eyebrow specialist Aja Vines at Hyperreal Brows in Los Angeles to get the scoop on the brow treatment I'd been waiting for my entire life. Read on for a full breakdown of the eyebrow lamination process, including some unbelievable before-and-afters.
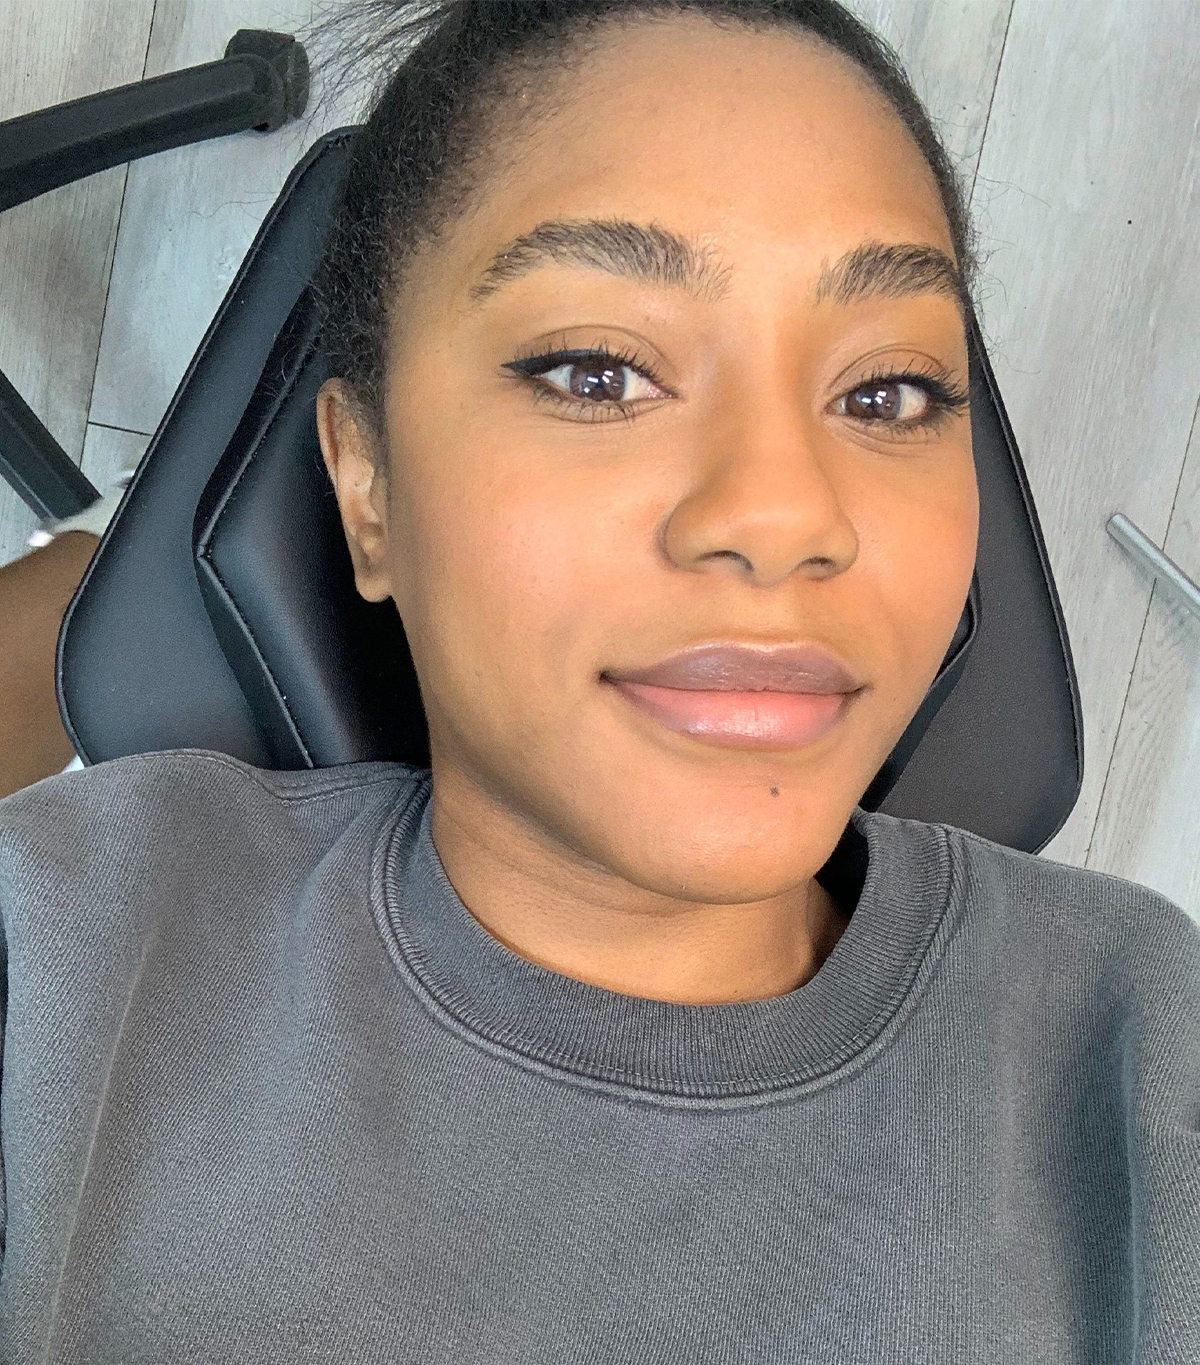
The Prep
The preparation for this service was relatively simple. Vines told me that I'd need to take a break from any retinoids, AHAs, BHAs, and physical exfoliators to make sure my skin was primed and ready for my treatment—easy enough. "I also don't recommend waxing or brow shaping within a week of your treatment," she explained. "Your brow artist should be able to clean up any unwanted hair after the service."
When I asked about the risks associated with eyebrow lamination, Vines said that those with sensitive skin were at the biggest risk of an adverse reaction. "It is possible that those with ultra-sensitive skin might experience irritation or inflammation," she warned. "If you are concerned about having a reaction, never hesitate to ask your brow artist to perform a patch test beforehand. Also, just like any other beauty service, it is important to visit a professional that you trust. Brow lamination involves using chemical solutions. If the product is left on for too long, you run the risk of frying the hair."
Knowing that my brows (and my entire face, by association) would need to remain dry for an extended period after my eyebrow lamination, I opted for a deep facial cleanse and minimal makeup the morning of my appointment so that I'd be comfortable conducting just a pseudo wash in the evening before bed.
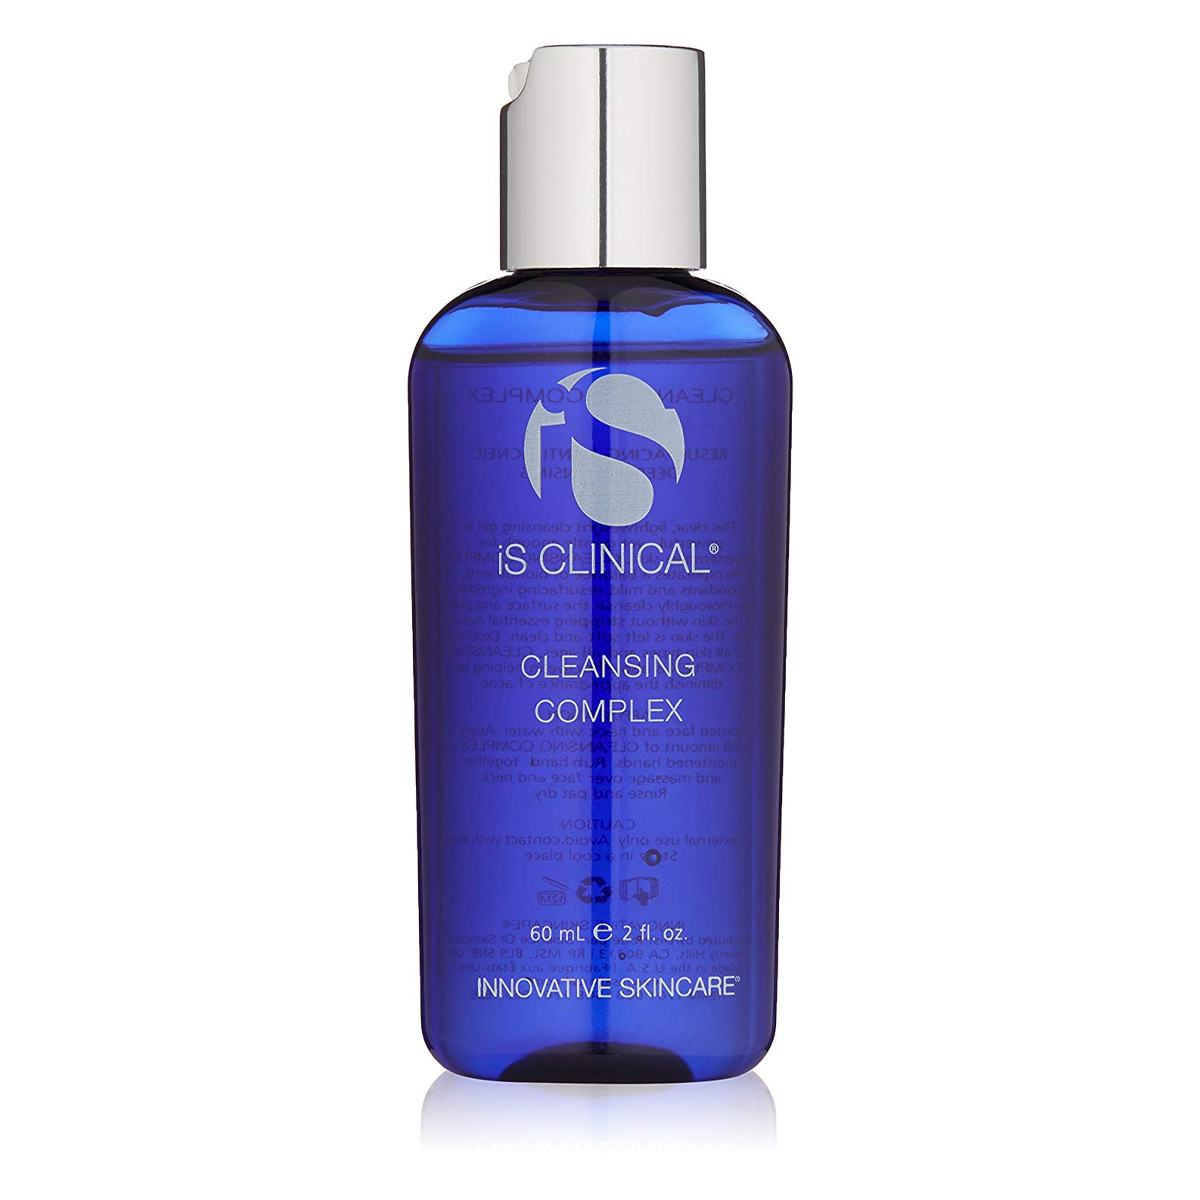
This is my favorite cleanser, hands down. It's silky and slippery, so my face is left feeling squeaky clean but never tight or dried out.
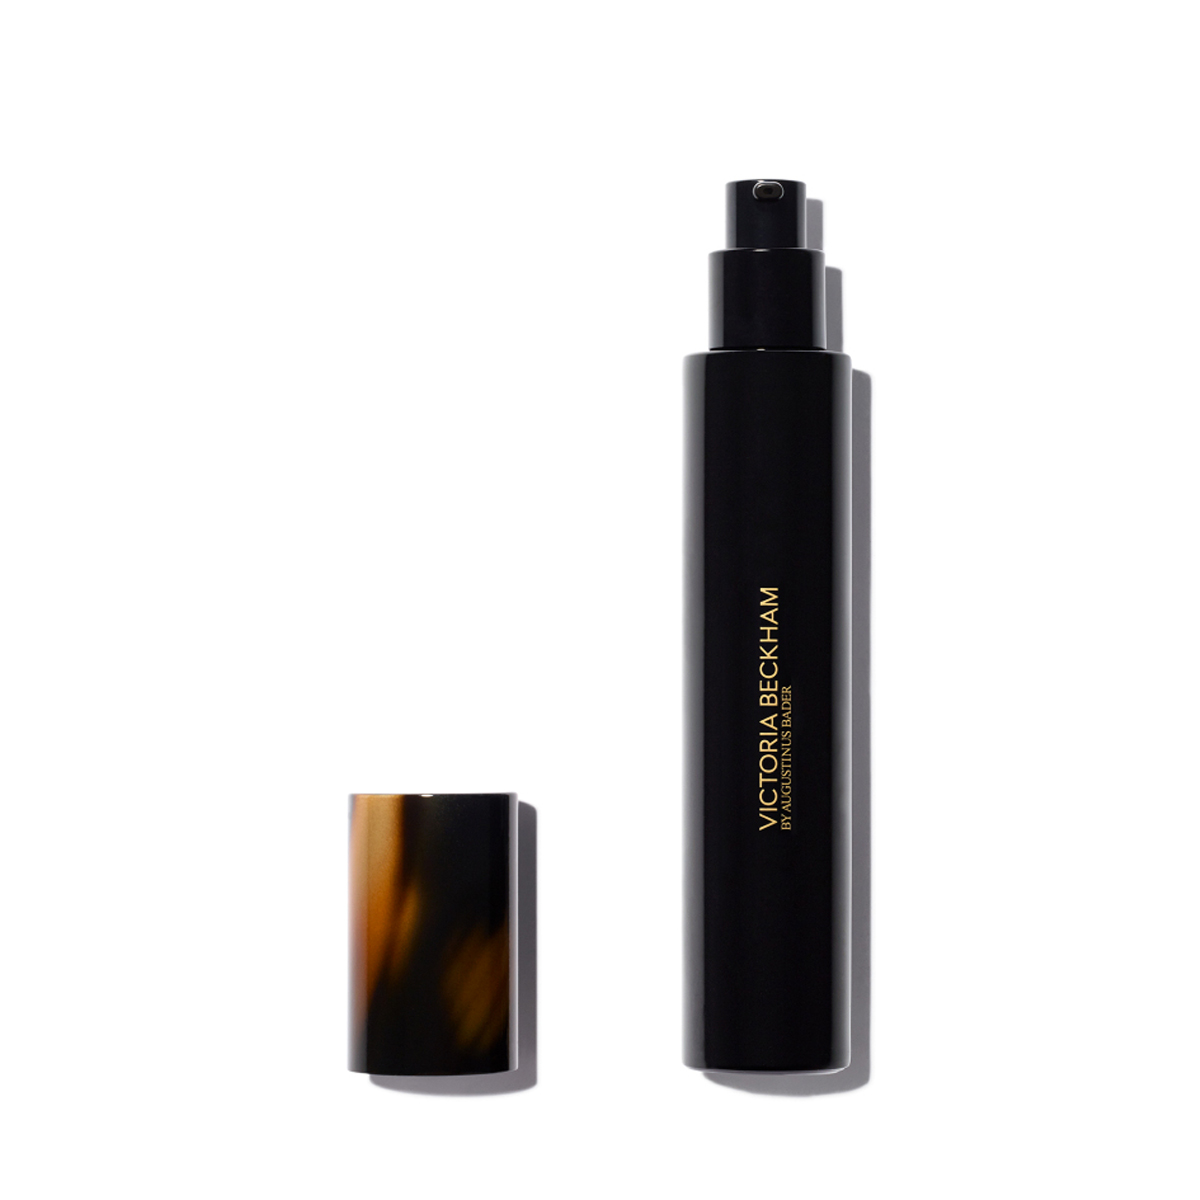
This lightweight primer has light-reflecting peptides in it, in addition to the famous skin-repairing TFC-8 technology found in all Augustinus Bader skincare, so it's the perfect veil to wear on a light makeup day.
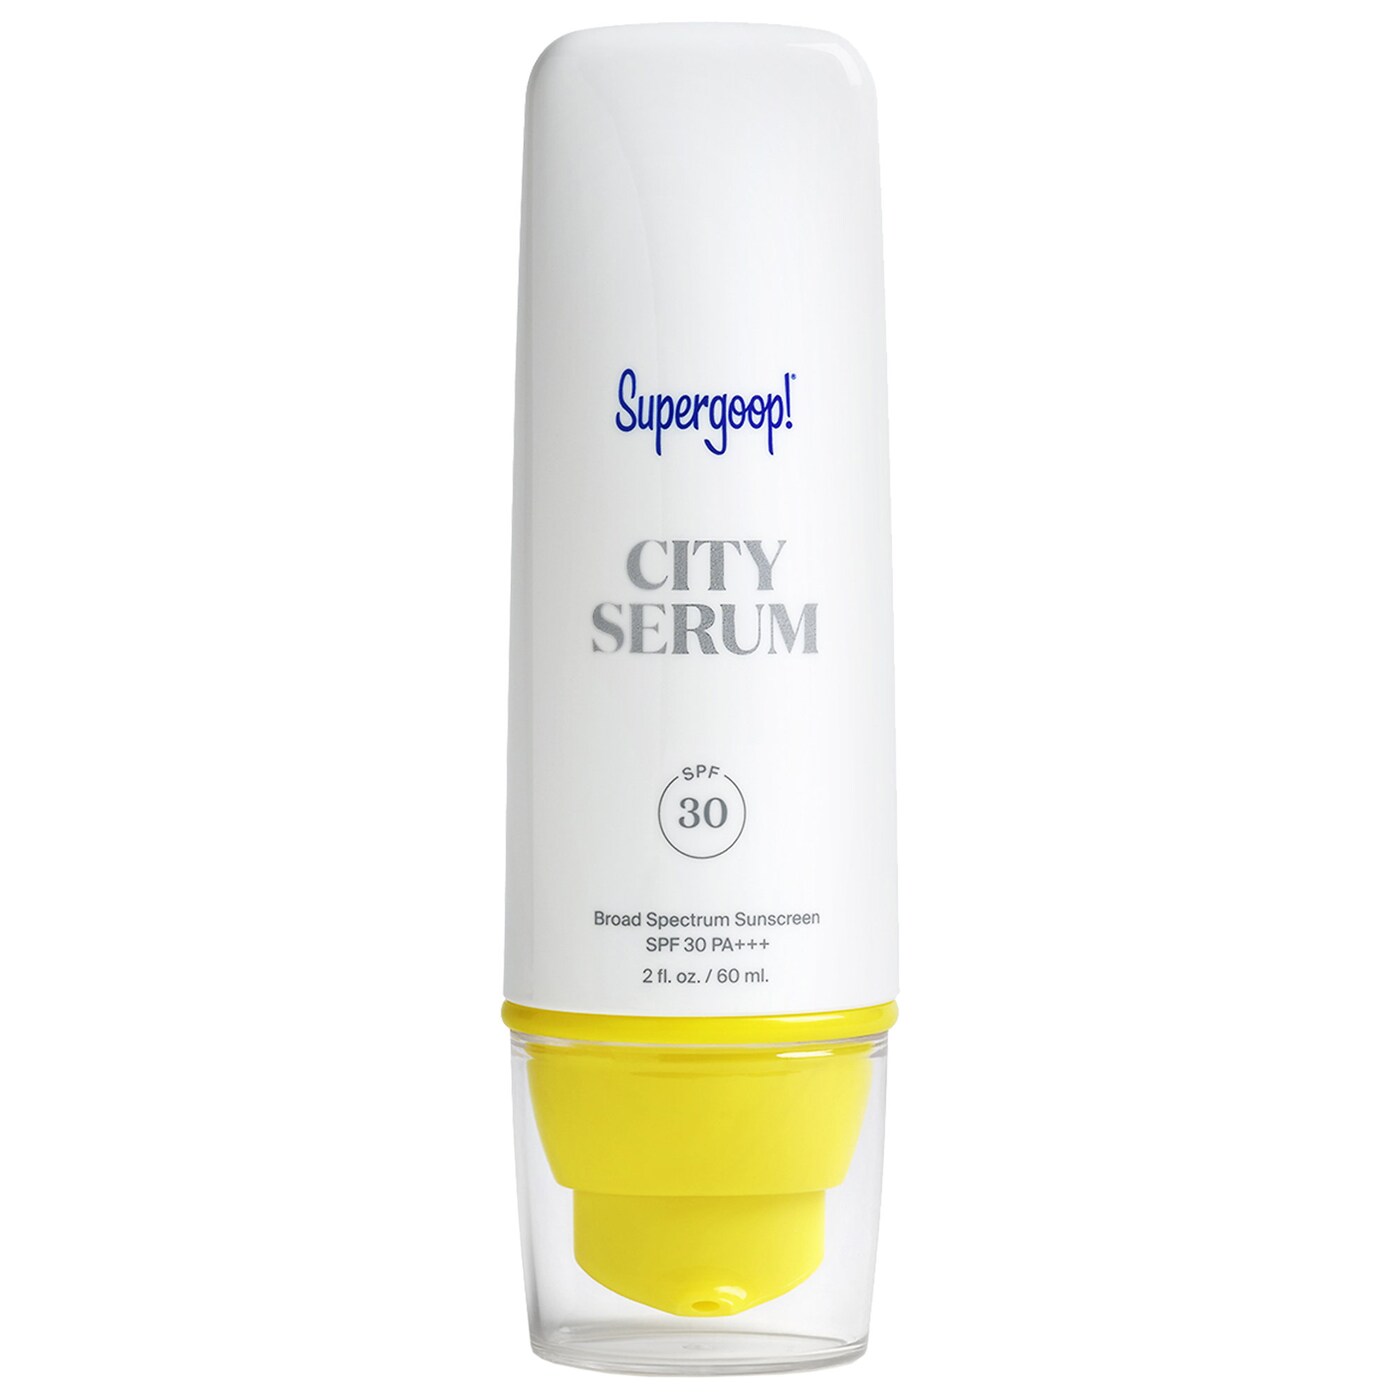
You already know my mantra: SPF, all the time, no matter what.
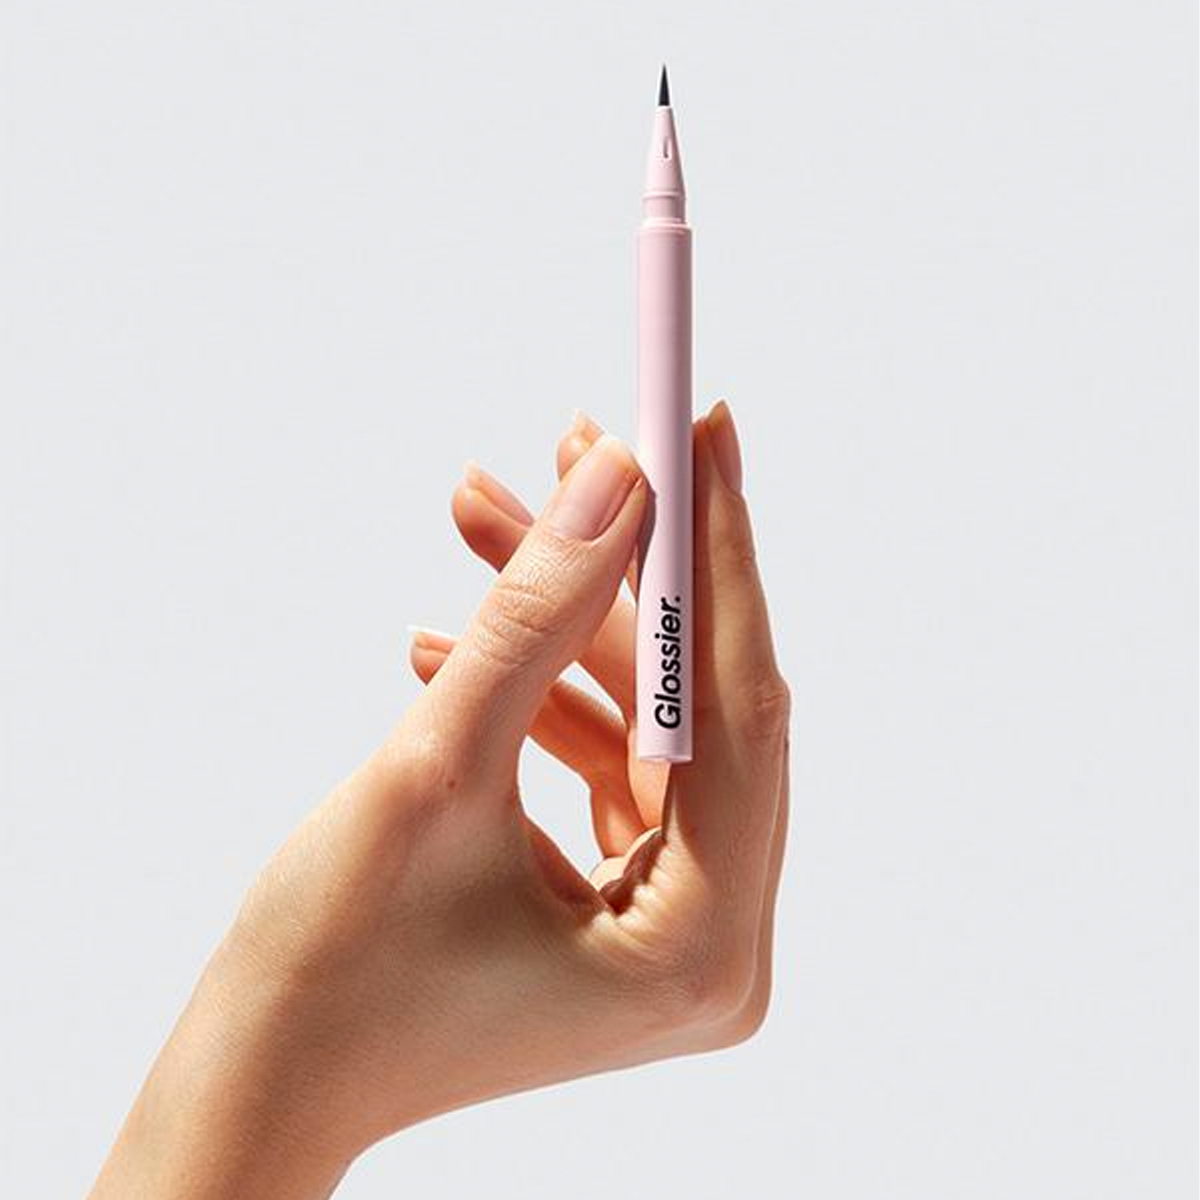
I always prioritize eyeliner when scaling back on makeup. Glossier's liquid eyeliner has been my favorite ever since it dropped last year.
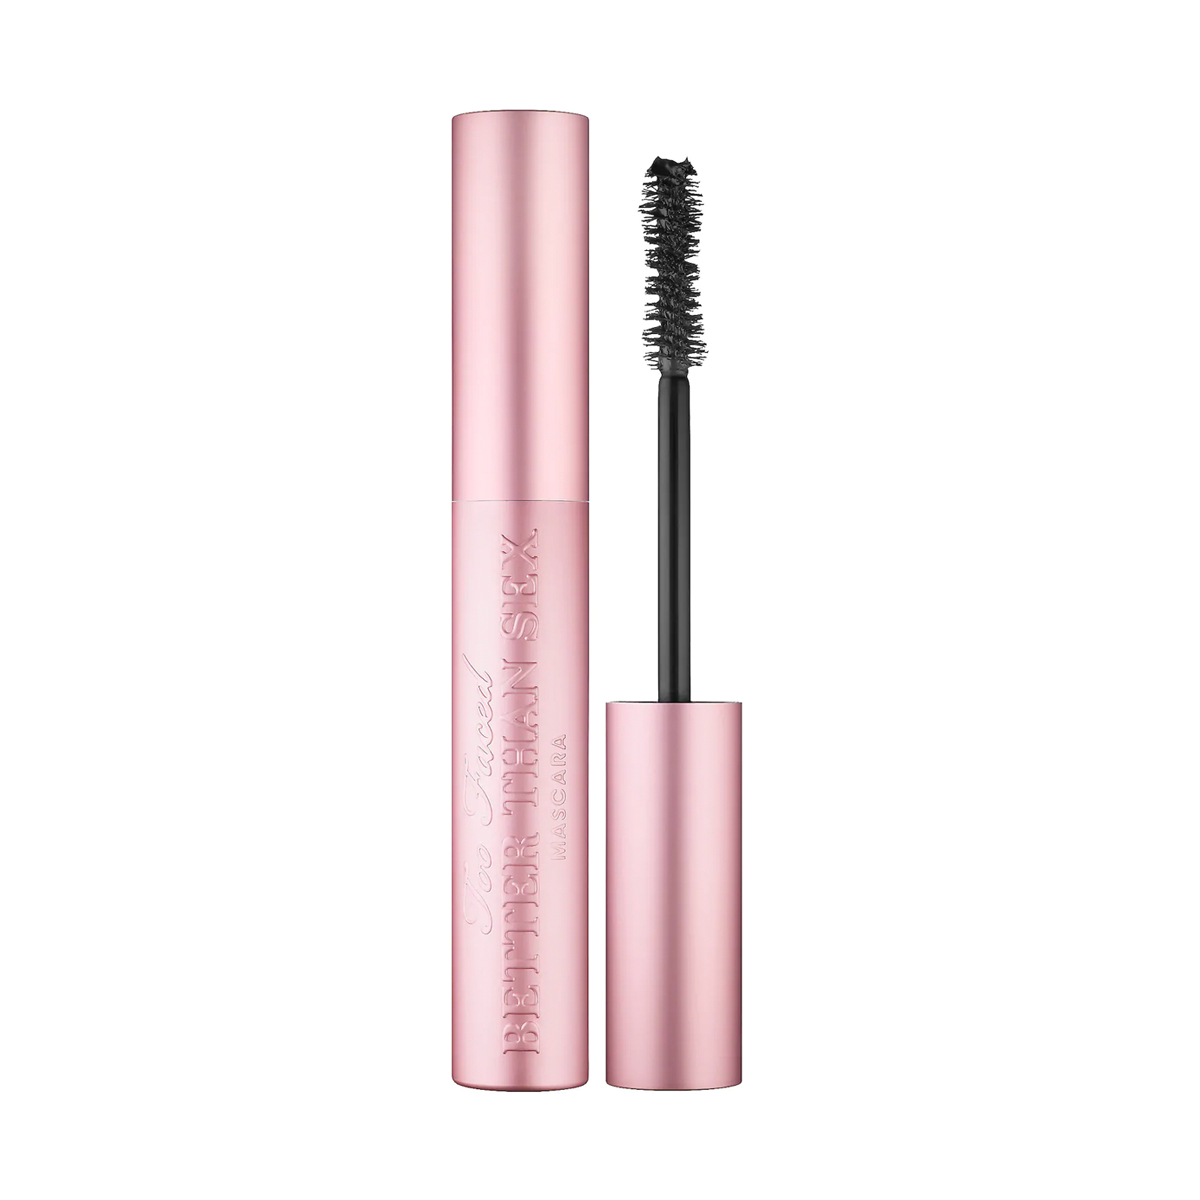
A quick swipe of this OG volumizing mascara pulls even the most simple makeup look together.
The Process
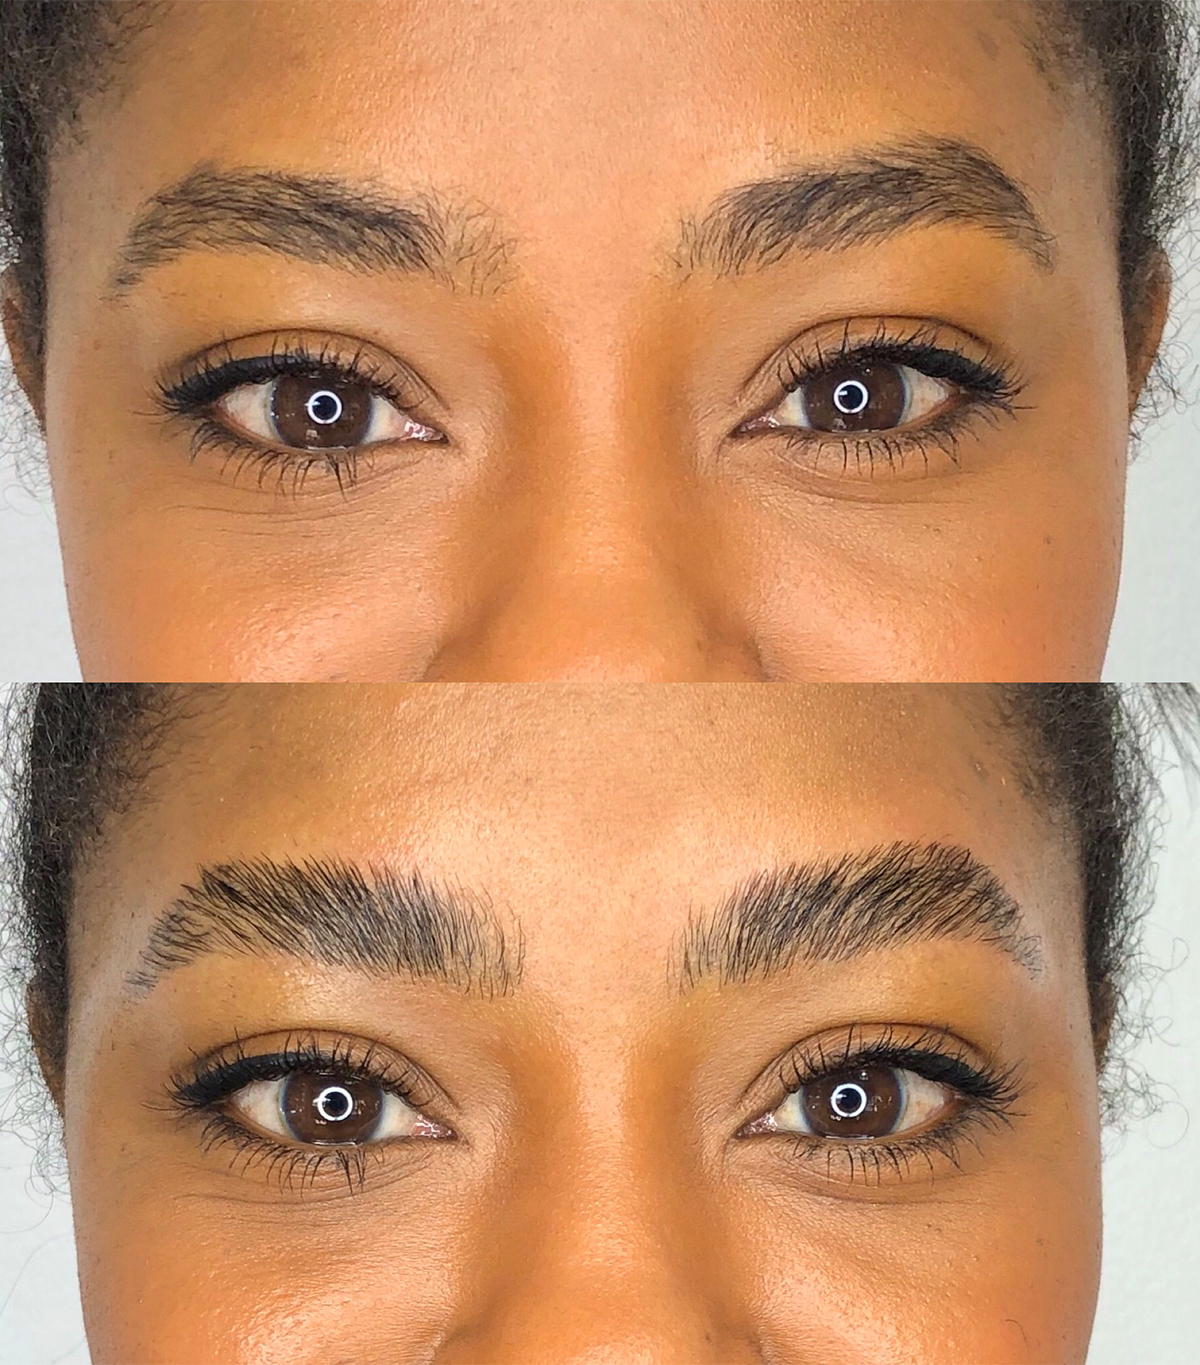
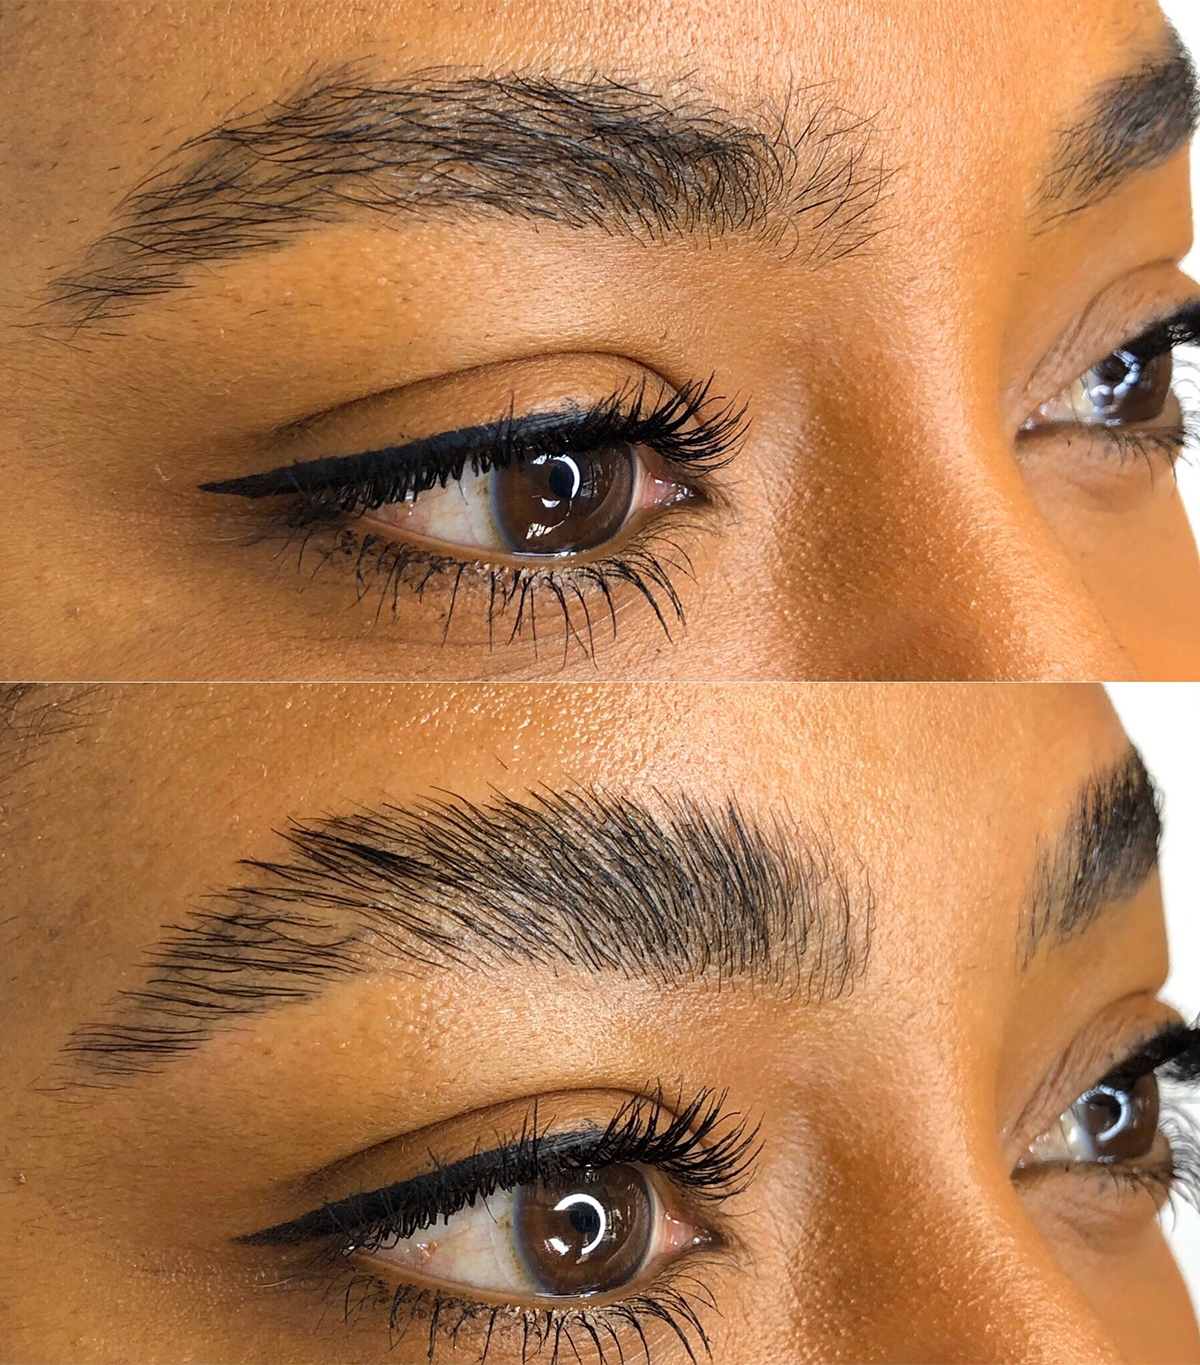
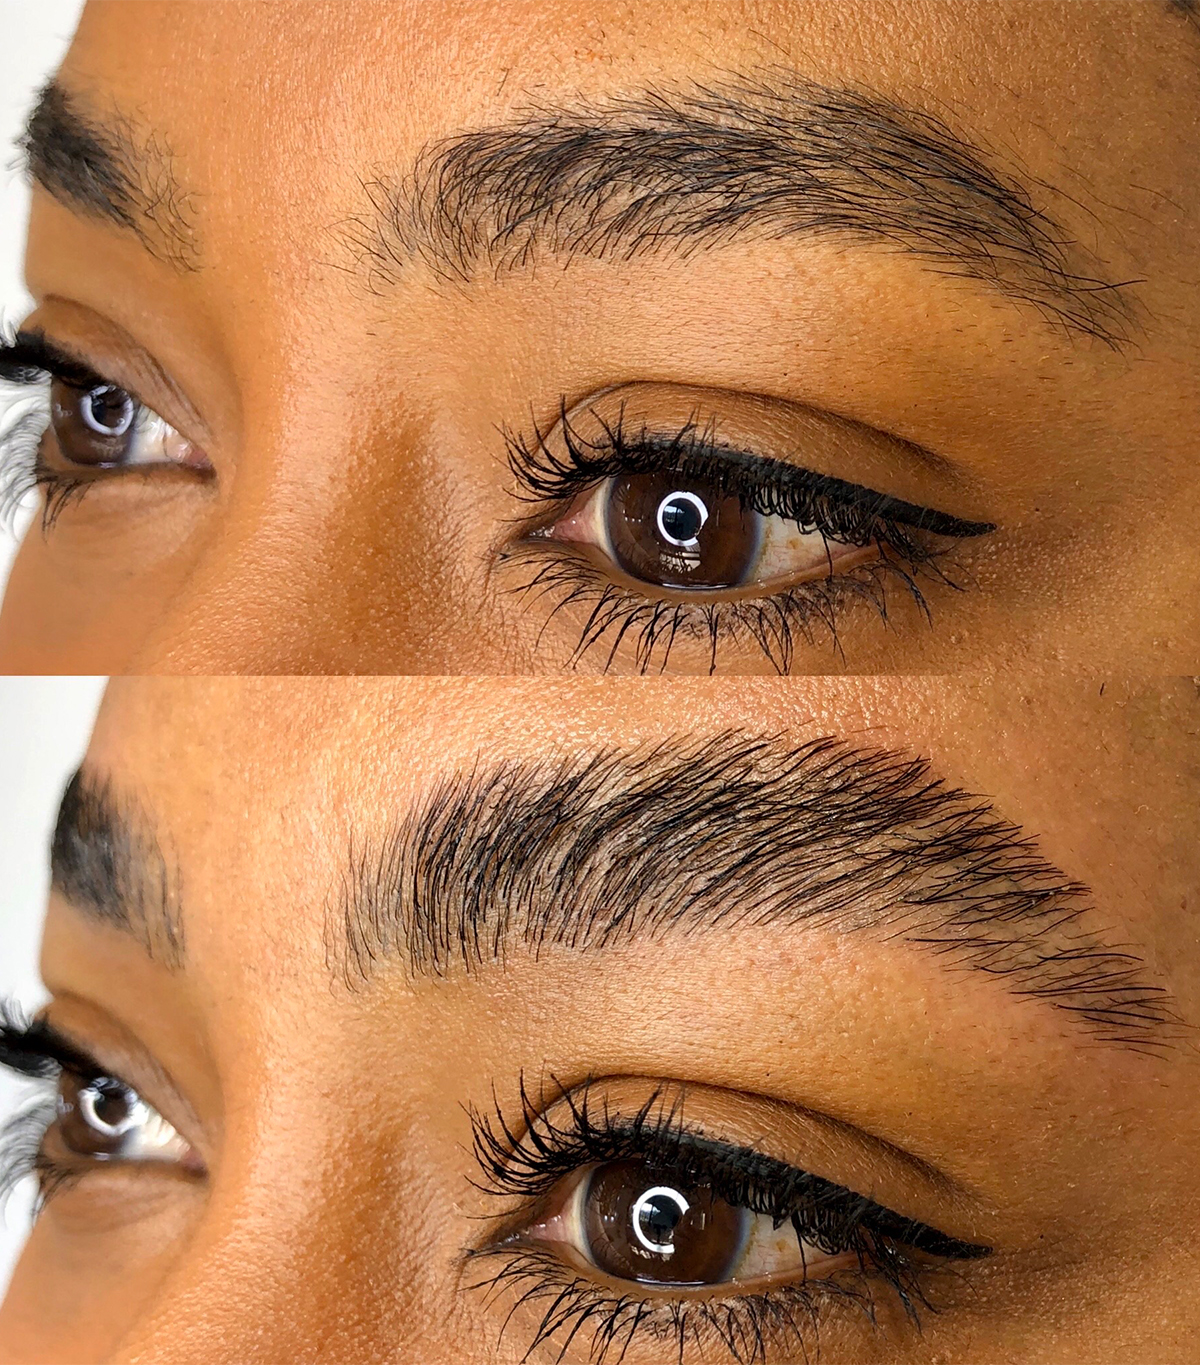
When I arrived at Vines's studio, I was immediately instructed to lie down, just as I'd do for any other brow maintenance service. "Brow lamination is basically like a chemical relaxer, but for your brows," she explained. "This procedure smooths and straightens the hair, helping to redirect their natural growth pattern into a more desirable, uniform shape. Whether your hair is sparse, thin, or straight up unruly, brow lamination will raise your brow game."
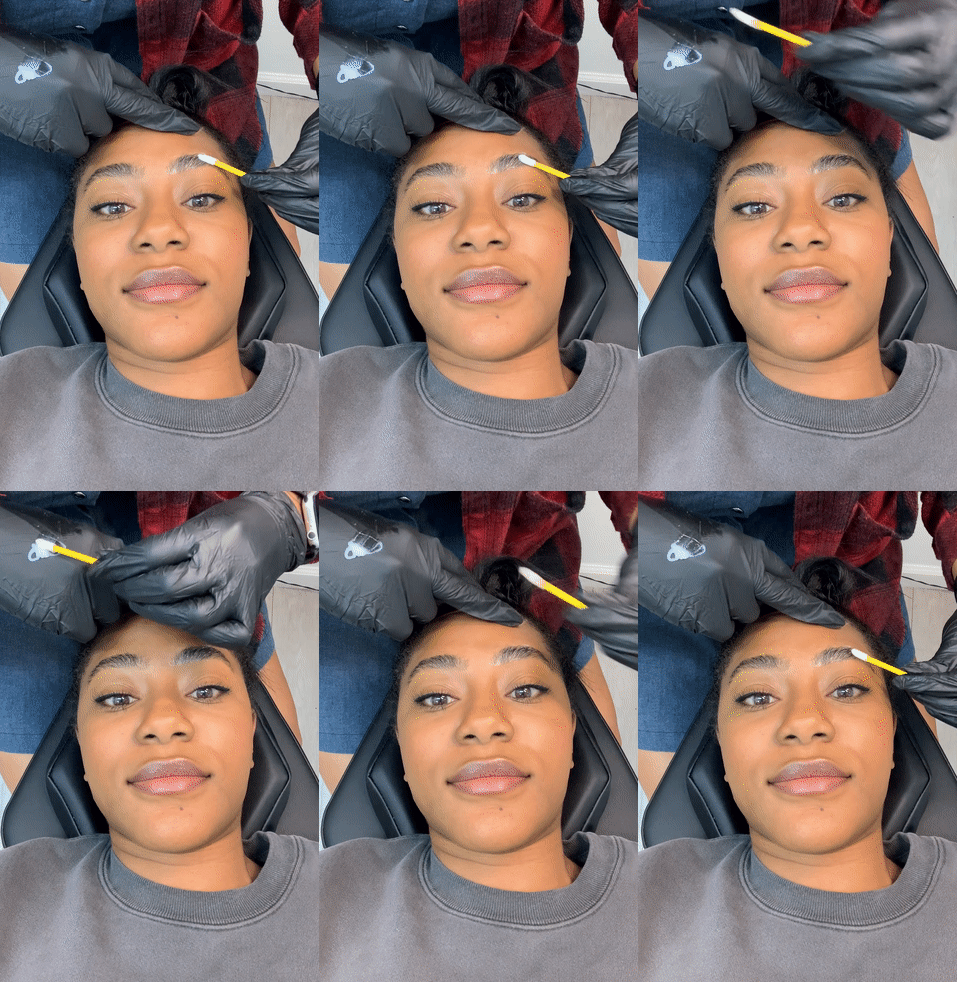
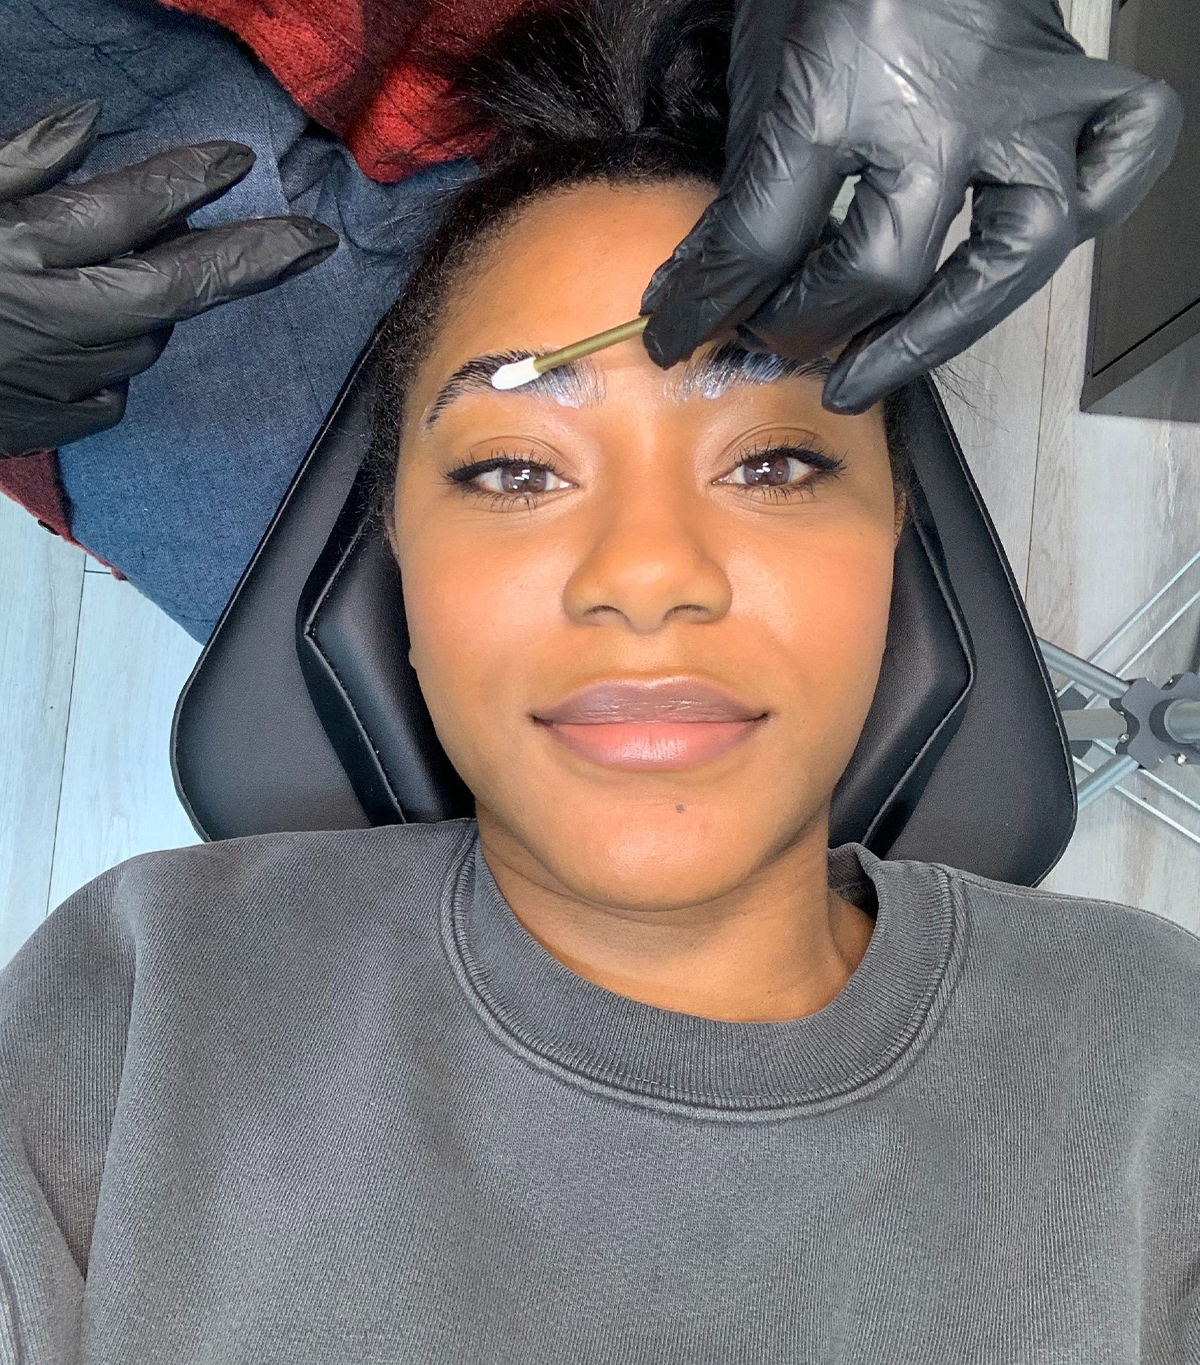
After brushing through my brows to prime and separate them for treatment, Vines applied the first of three layers of creams. This step was essentially the perming portion. She covered my solution-covered brows with a mini piece of plastic, similar to the kind of wrap you'd place over your leftover food. "There are so many benefits to this service," she says. "For starters, you get major results in a very short amount of time. In about 30 minutes, your brows will appear fuller, more voluminous, and more even." After that layer sat for about 10 minutes, Vines removed the film, applied the laminating cream, and repeated the entire process a third time with the final setting cream.
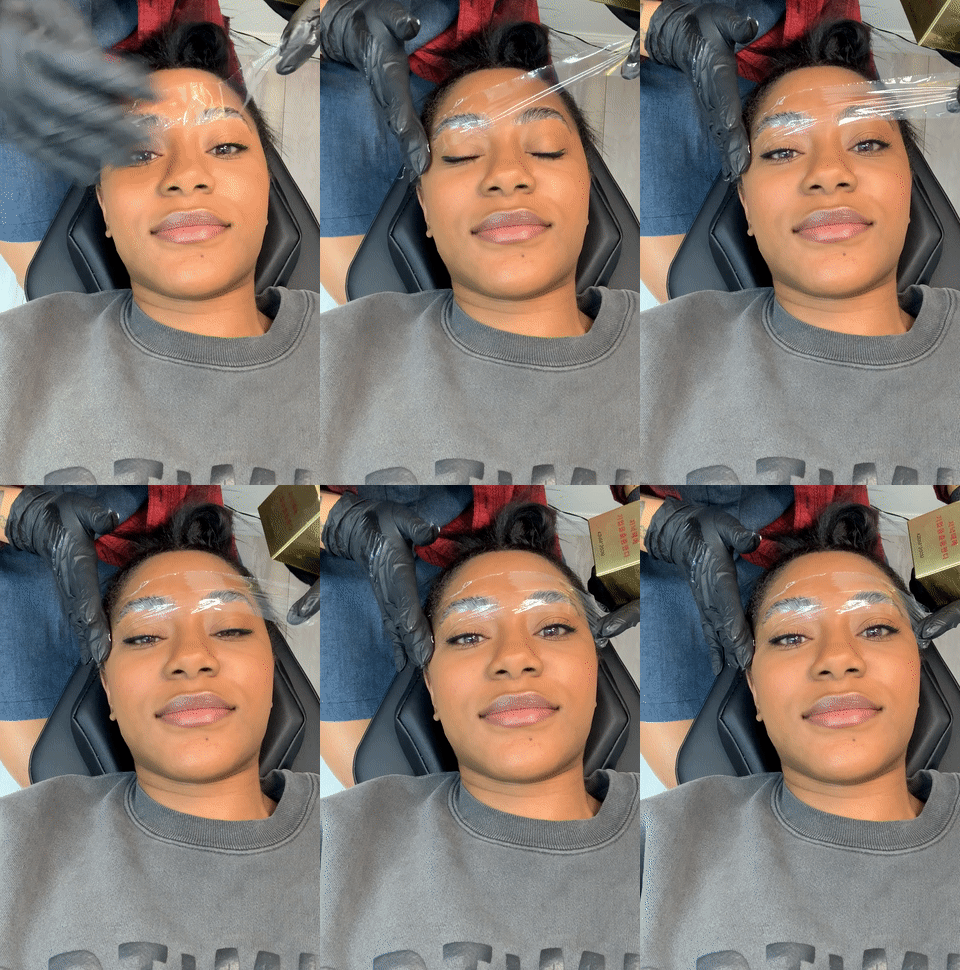
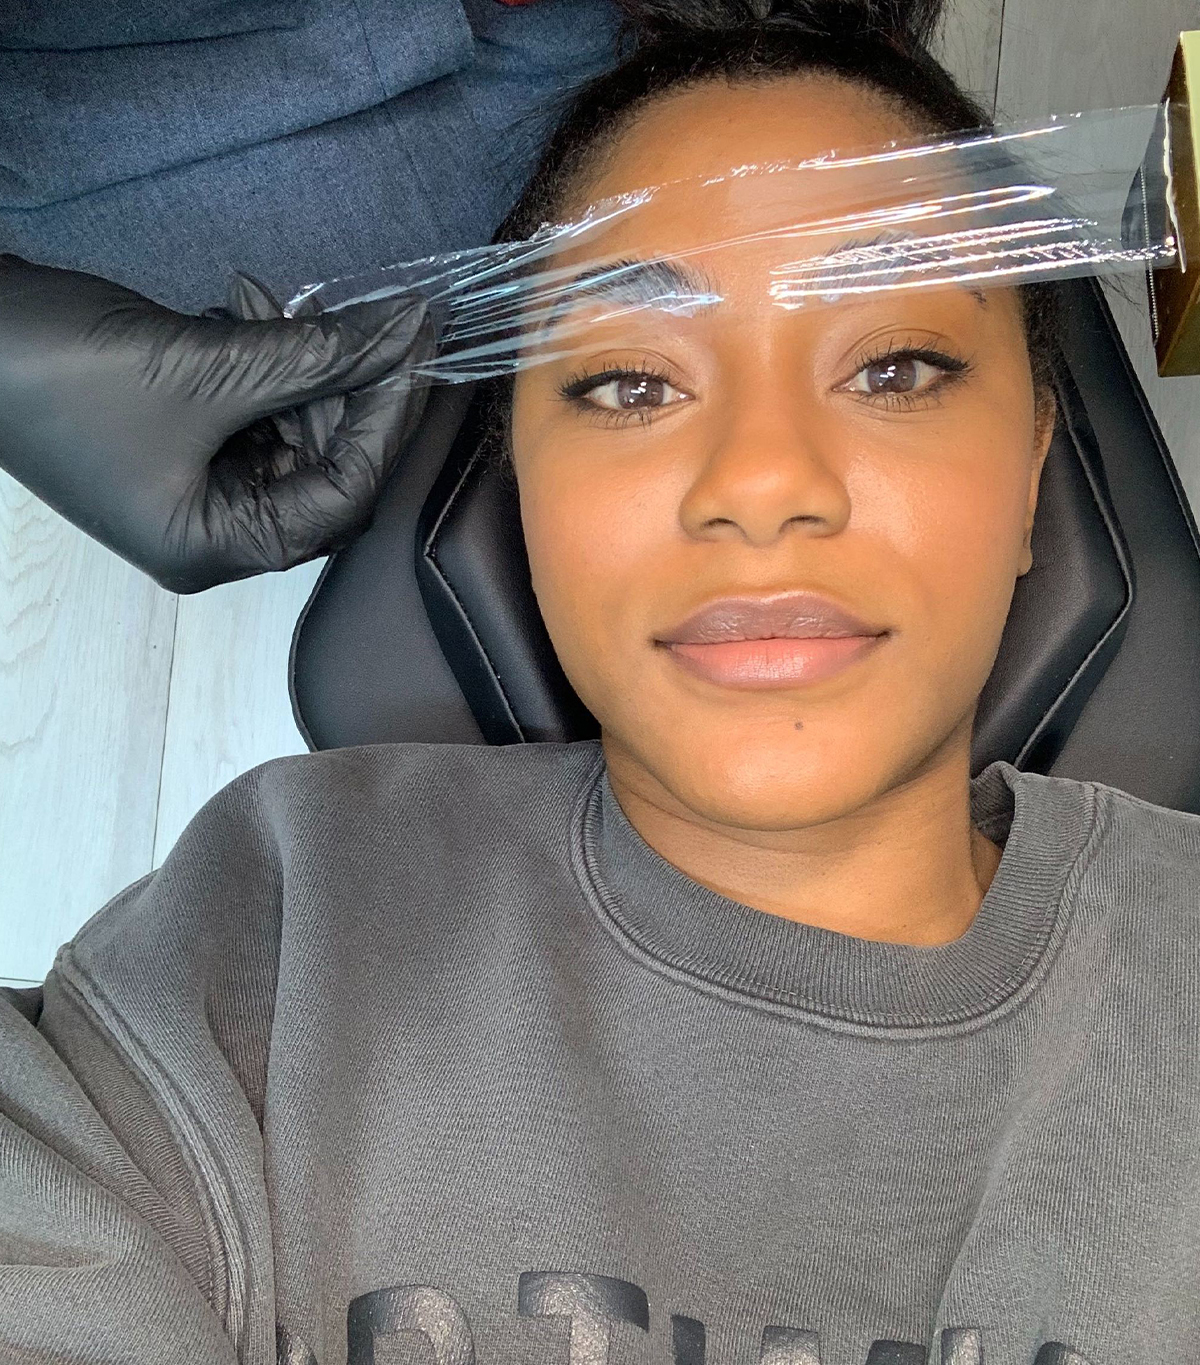
"Brow lamination is impressively long-lasting; one treatment can keep your brows looking 'brushed-up' and beautiful for up to eight weeks," Vines told me. "Best of all, this service is painless, noninvasive, and pretty affordable. Prices typically range anywhere between $60 and $150." I didn't experience any pain or discomfort during this process. No itching, tingling, or burning occurred. As Vines mentioned before, it's important to seek out a qualified practitioner to ensure that you have a similarly seamless process.
Aftercare for my brow lamination was also pretty simple. Vines gave me strict instructions not to get my brows wet for 24 hours, so before bed, I cleansed my face with micellar water–soaked cotton pads, paying extra attention to avoid my brow area. "During this time, you will also want to avoid touching the treated area as to not transfer oils from your fingers, and avoid applying any makeup to the brows," says Vines. "Do not use any self-tanner on your face for at least 48 hours following the treatment and, just like the pre-care, avoid retinoids, AHAs, BHAs, and exfoliating for at least 72 hours afterward."
"Once 24 hours has passed, you will want to brush your brow hairs each day, and because the treatment can be a little drying, you should apply a nourishing balm to the treated area each evening before bed," Vines explains. Weleda Skin Food is an intensely nourishing salve that I've found to be perfect for dabbing into my brows at night.
I've also been keeping this luxe oil concoction that includes cypriol, tea tree, cedarwood, castor, argan, and sesame oils on my nightstand to coat my brows twice a week. I apply the oil with a clean finger and then go over it with a clean spoolie brush to make sure it's equally distributed.
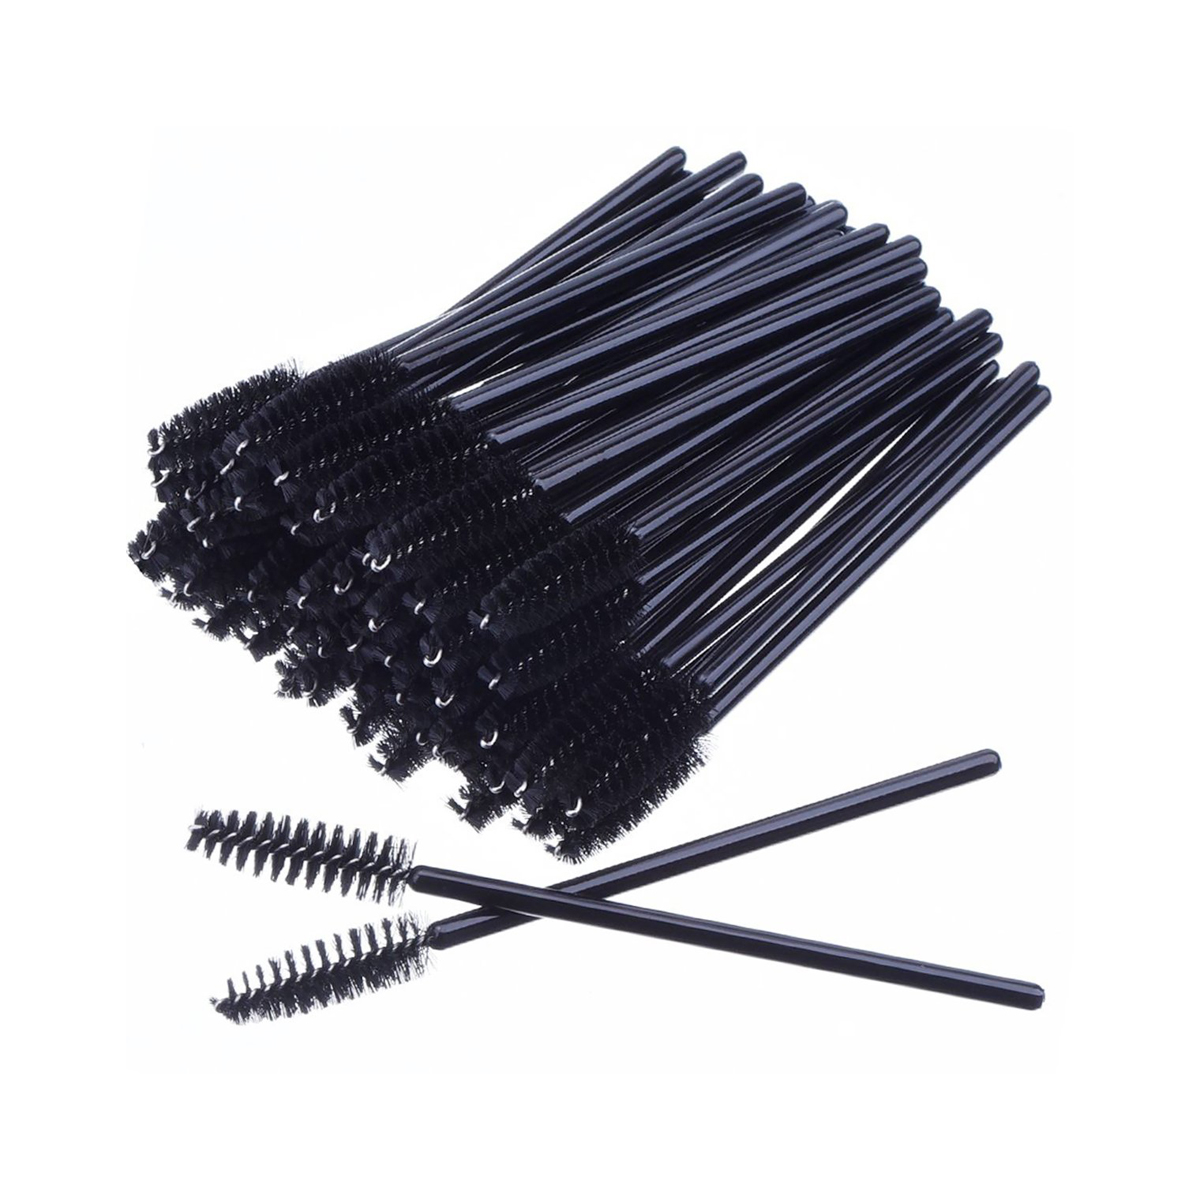
These soft spoolies are perfect for spreading oil through the brows, and with this pack of 100, you can smooth out clumpy mascara with any unused leftovers.
The Results
Final Thoughts
Overall, eyebrow lamination was a quick and painless process that left my brows looking perfectly polished. I'm now about three weeks out from the treatment, and while my brows aren't standing at attention the way they were for the first two weeks, they're definitely still easier to groom in the mornings. I've been adding a lot less makeup, too, since a lot of the sparse areas I'd normally fill with a pigmented product don't appear nearly as sparse anymore. All in all, I'd say this service has taken my eyebrow game to the next level, as Vines promised, and I plan to make it part of my regular eyebrow-maintenance routine.
Not ready to commit to eyebrow lamination just yet? Shop these brow-enhancing products instead:
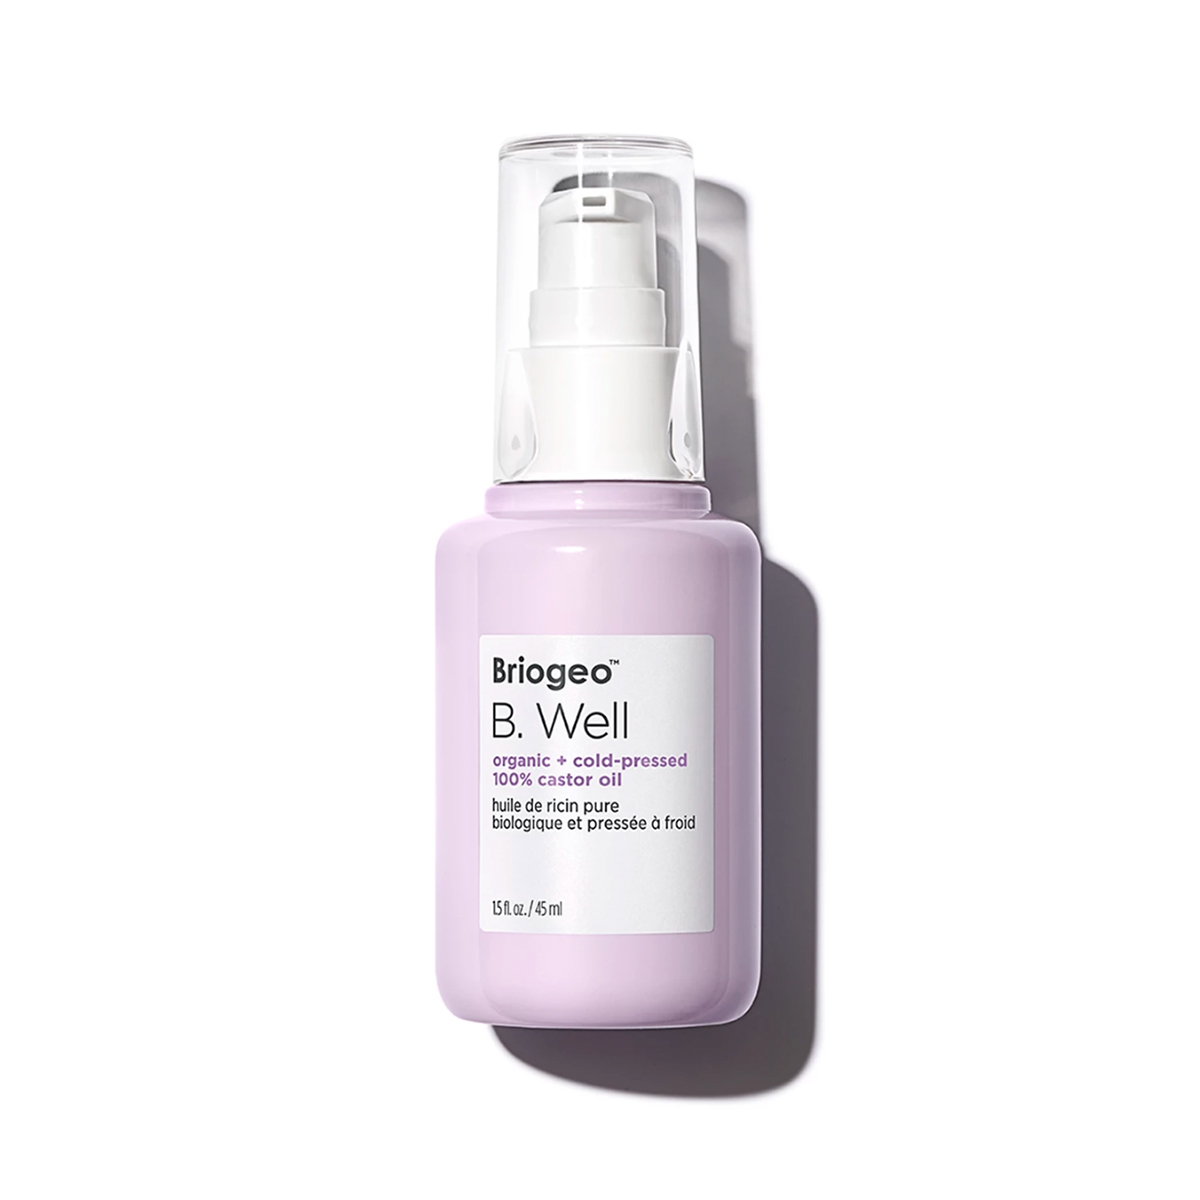
If brow growth is your goal, then a castor oil regimen is definitely the move.
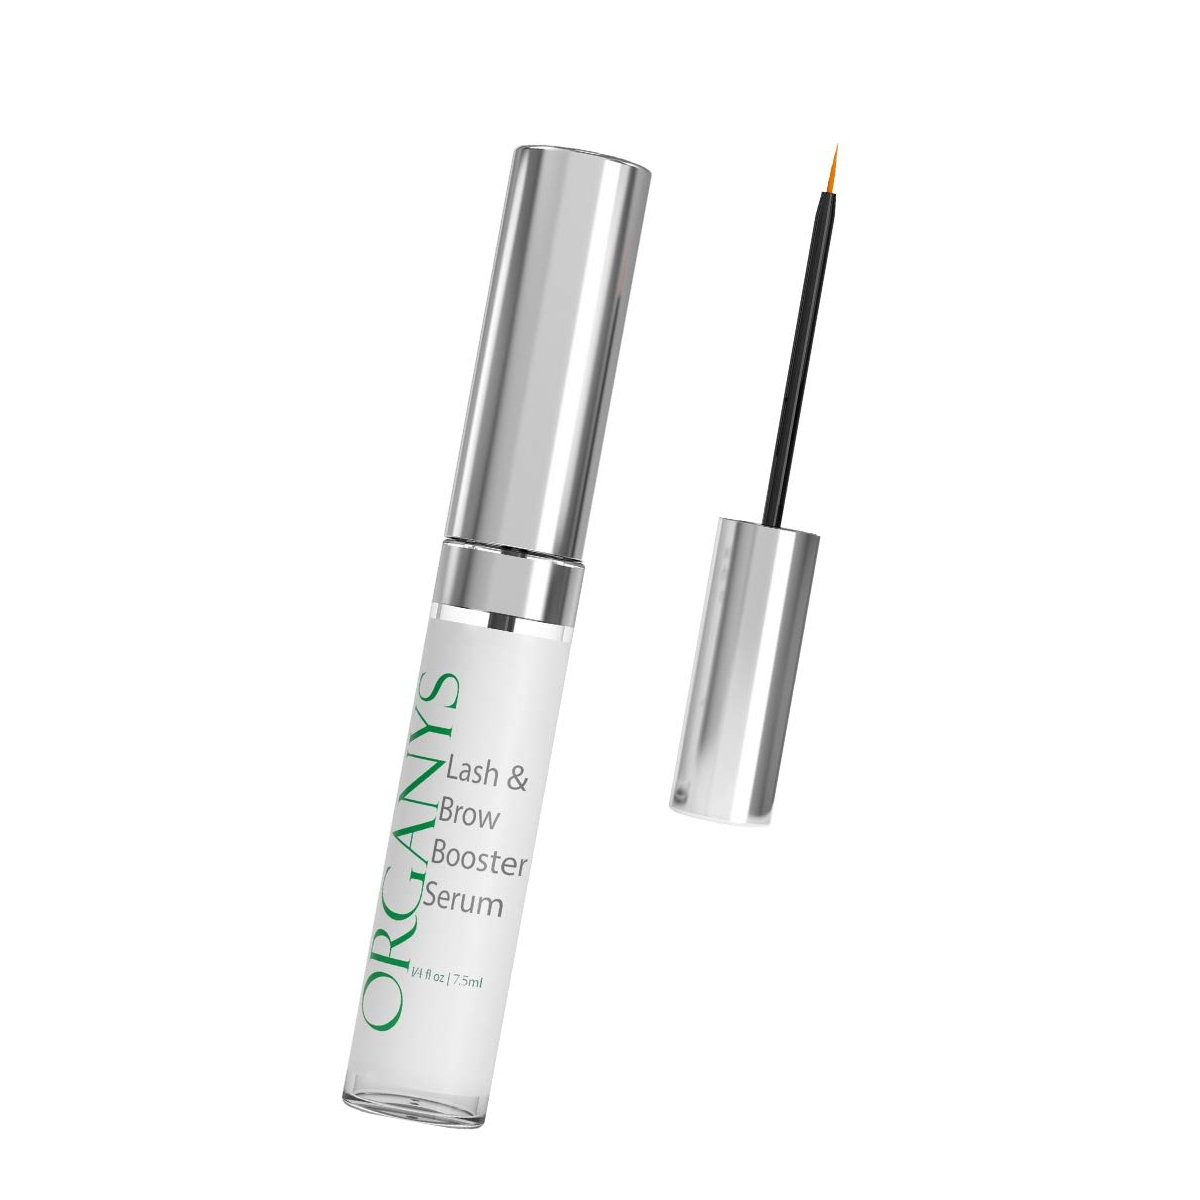
Reviewers also swear by this potent lash-and-brow booster serum, which encourages hair growth with pro keratin peptides.
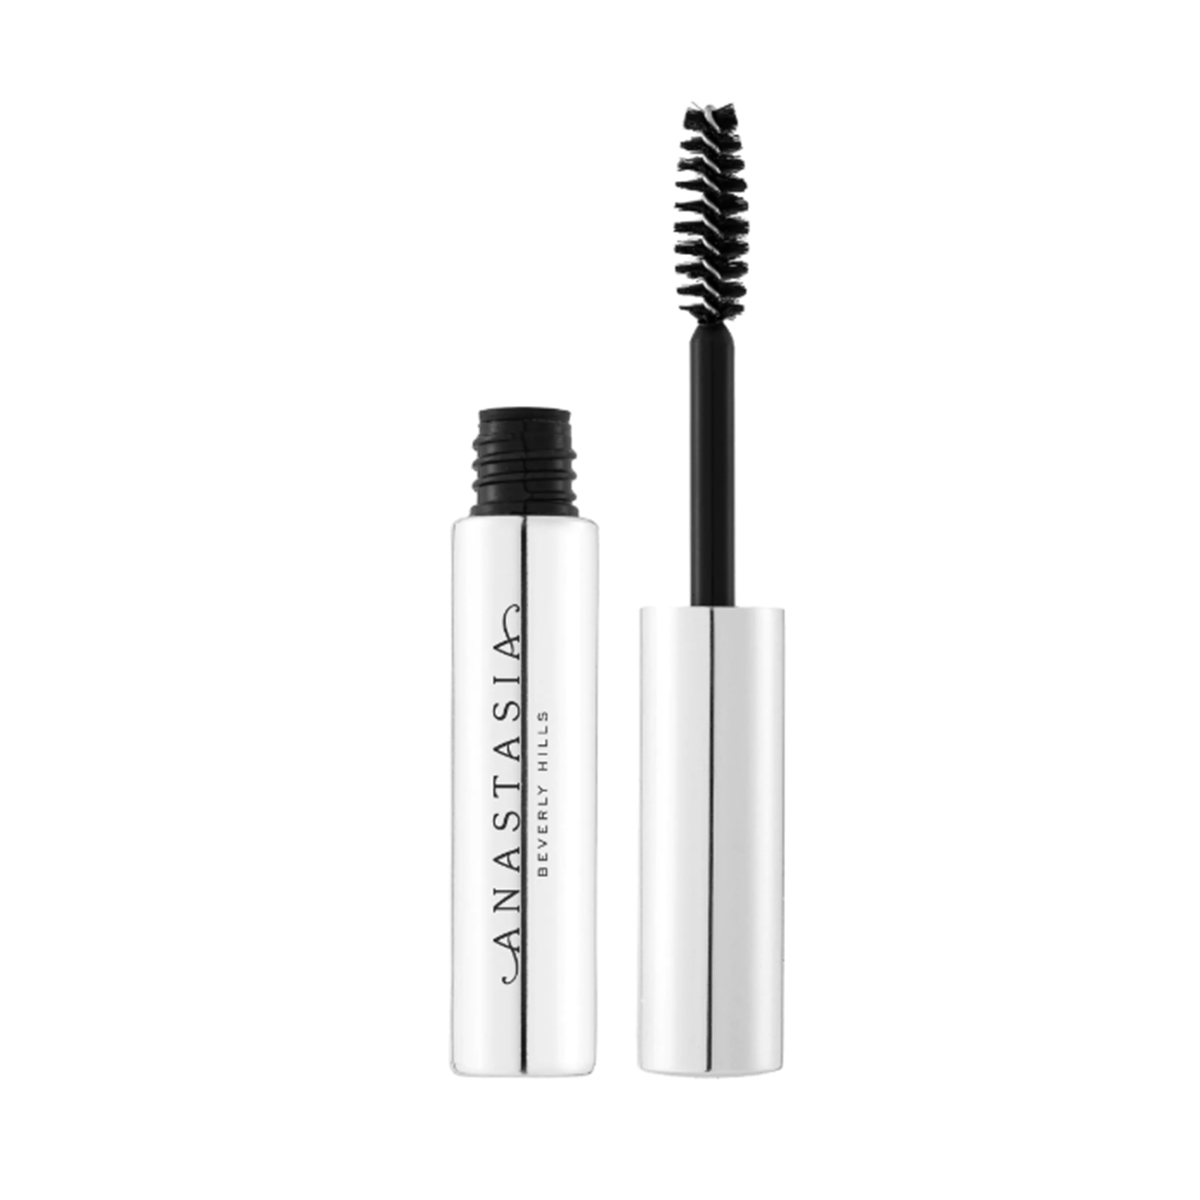
This firm-hold gel might not give your brows the laminated look, but it'll certainly keep them in place.
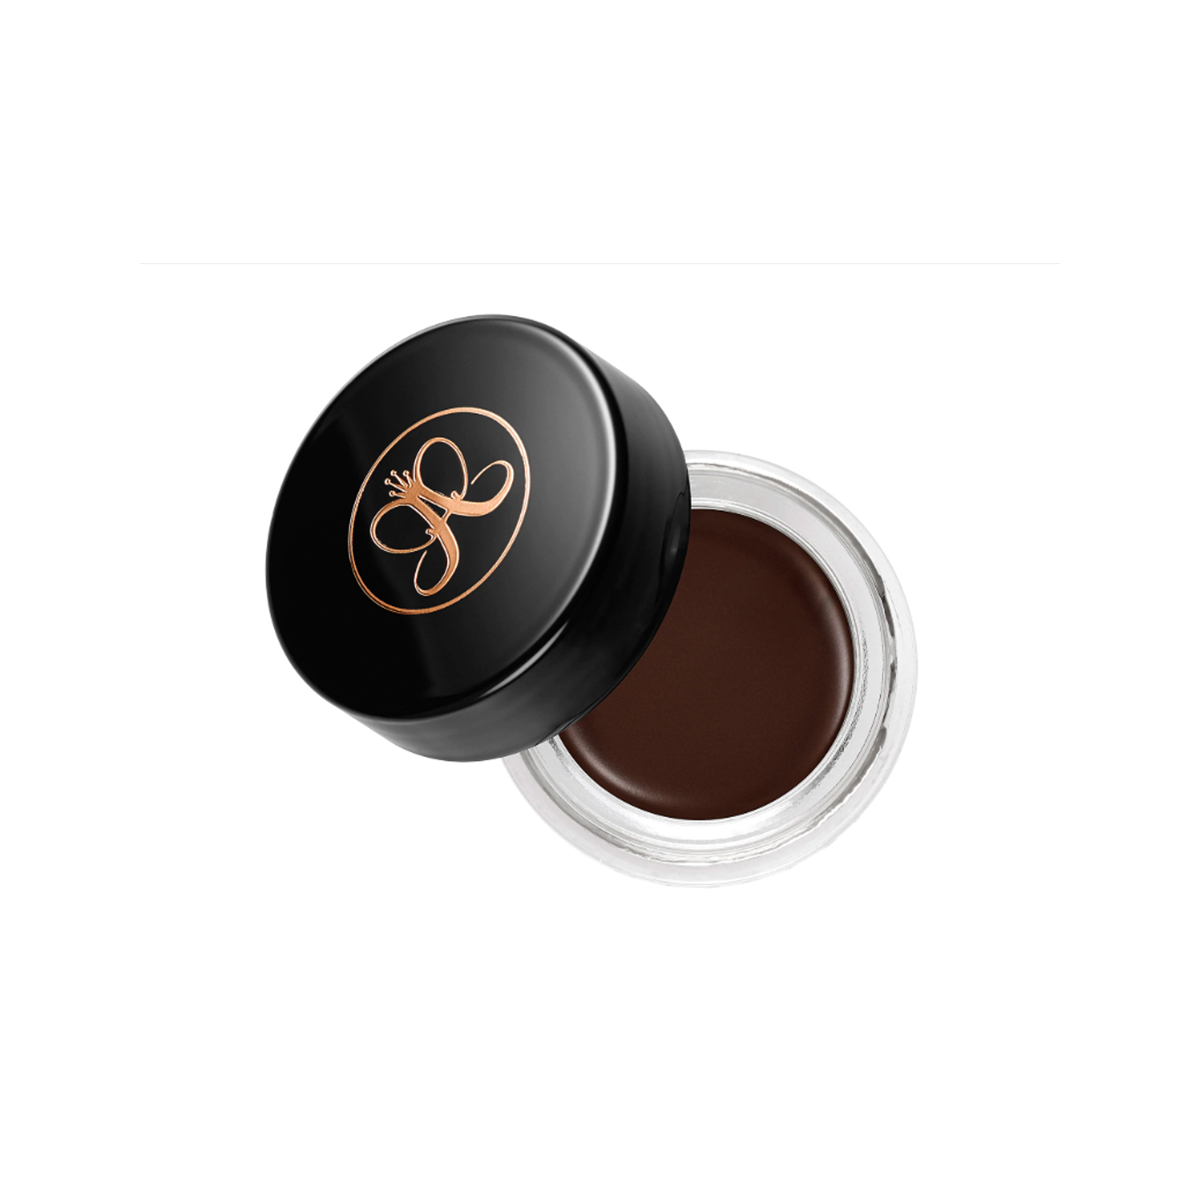
This dense pomade is perfect for filling in sparse brows to make them appear fuller and more even.
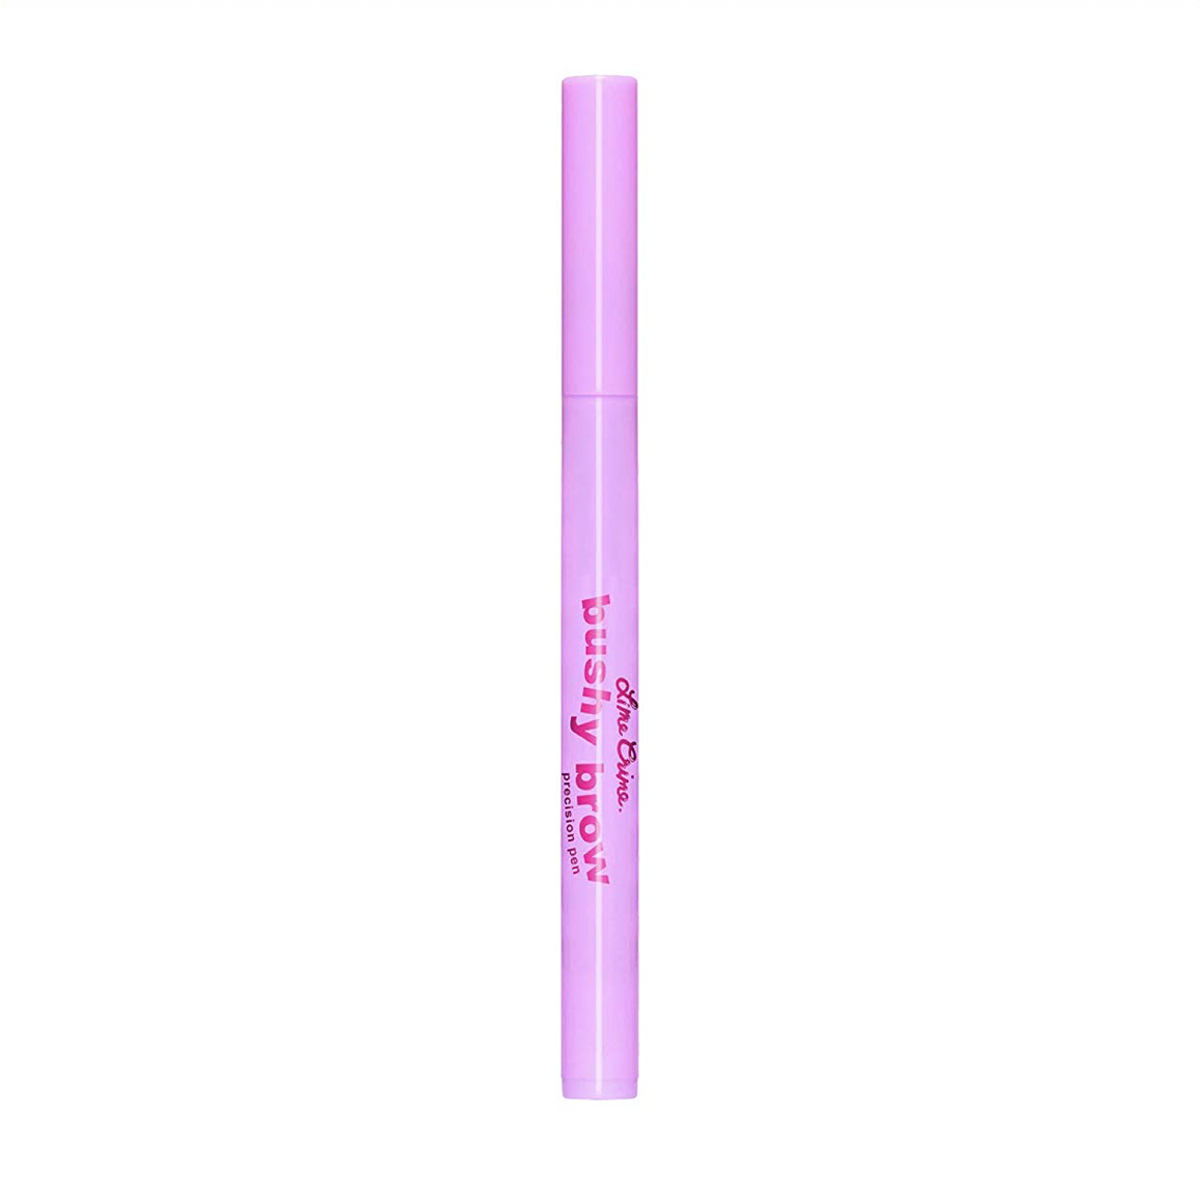
Now that my thick, curly brows lie flatter and more uniform, all I really need to do is create a few extra thin, hairlike strokes in the mornings. This is the best eyebrow pen ever created, and you can quote me on that.
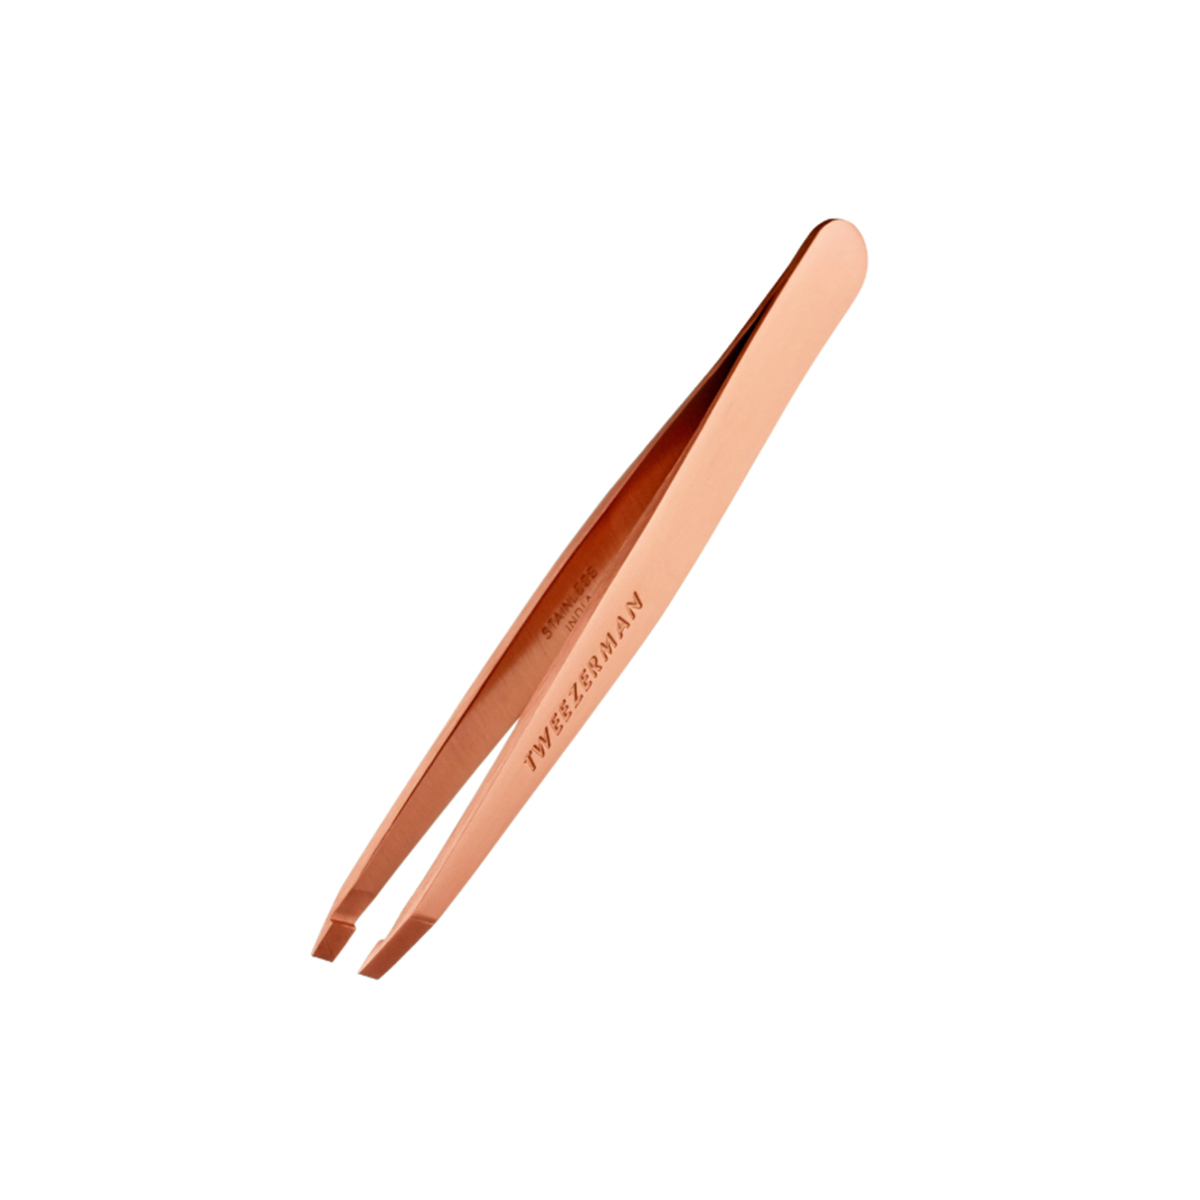
If letting your brows grow out means fewer visits to the salon for waxing or other maintenance, you'll want a great pair of tweezers on hand rid yourself of any rogue eyebrow hairs.
Up next, five face mask ingredients that can dry out your skin and what to use instead.
This piece was published at an earlier date and has been updated.
Courtney Higgs is a Cancer sun, Libra rising beauty enthusiast with six years of experience in the editorial space. She was previously Who What Wear's associate beauty editor after spending many years working at InStyle Magazine. She graduated from California State University, Northridge, with a BA in communication studies and pivoted to editorial after spending her college years working in the legal field. Her beauty philosophy is simple: She believes there are no wrong answers and that discovering our favorite beauty products and rituals is a journey, not a sprint. When she's not geeking out over products, she can be found adventuring around L.A. with her fiancé; watching reality TV with their French bulldog, Bernie Mac; or relating way too hard to astrology memes.
-
 My Eye Shadow Stick Obsession Runs Deep, But Nothing Compares to This Crease-Resistant Fave
Plus, more options for mature and dry skin.
By Alyssa Brascia
-
 Blurred Makeup Is Trending, and Gracie Abrams Is the Blueprint—the Pre-Show Glam She Swears By
It's all about soft-focus skin.
By Jamie Schneider
-
 No One Knows Festival Makeup Like This Iconic MUA—4 Trends She Says We'll See All Over Coachella
Grab your tickets and glitter.
By Alyssa Brascia
-
 The Numbers Don't Lie—WWW Readers Shop These 11 Products the Most, and They're on Sale RN
Saving on your faves is basically a profit… It's girl math.
By Alyssa Brascia
-
 Award Season Is Over, and the Stats Are In—Celebs Requested *These* Makeup Looks the Most
We chatted with some of Hollywood's most in-demand celebrity makeup artists.
By Alyssa Brascia
-
 I've Been Applying Mascara Wrong for 15 Years—An Iconic MUA Just Gave Me a Life-Changing Tip
My lash game will never be the same.
By Jamie Schneider
-
 Suddenly, This "Glum" Hue Is 2025's Hottest Makeup Trend—Doechii and Julia Fox Are Proof
Forget what you know about pastels for spring.
By Alyssa Brascia
-
 In Defense of Angsty Beauty
From "unapproachable" makeup to "anti-pretty" perfume.
By Jamie Schneider
