Velvet Nails Are One of 2023's Biggest Trends—Here's How to Do Them Yourself

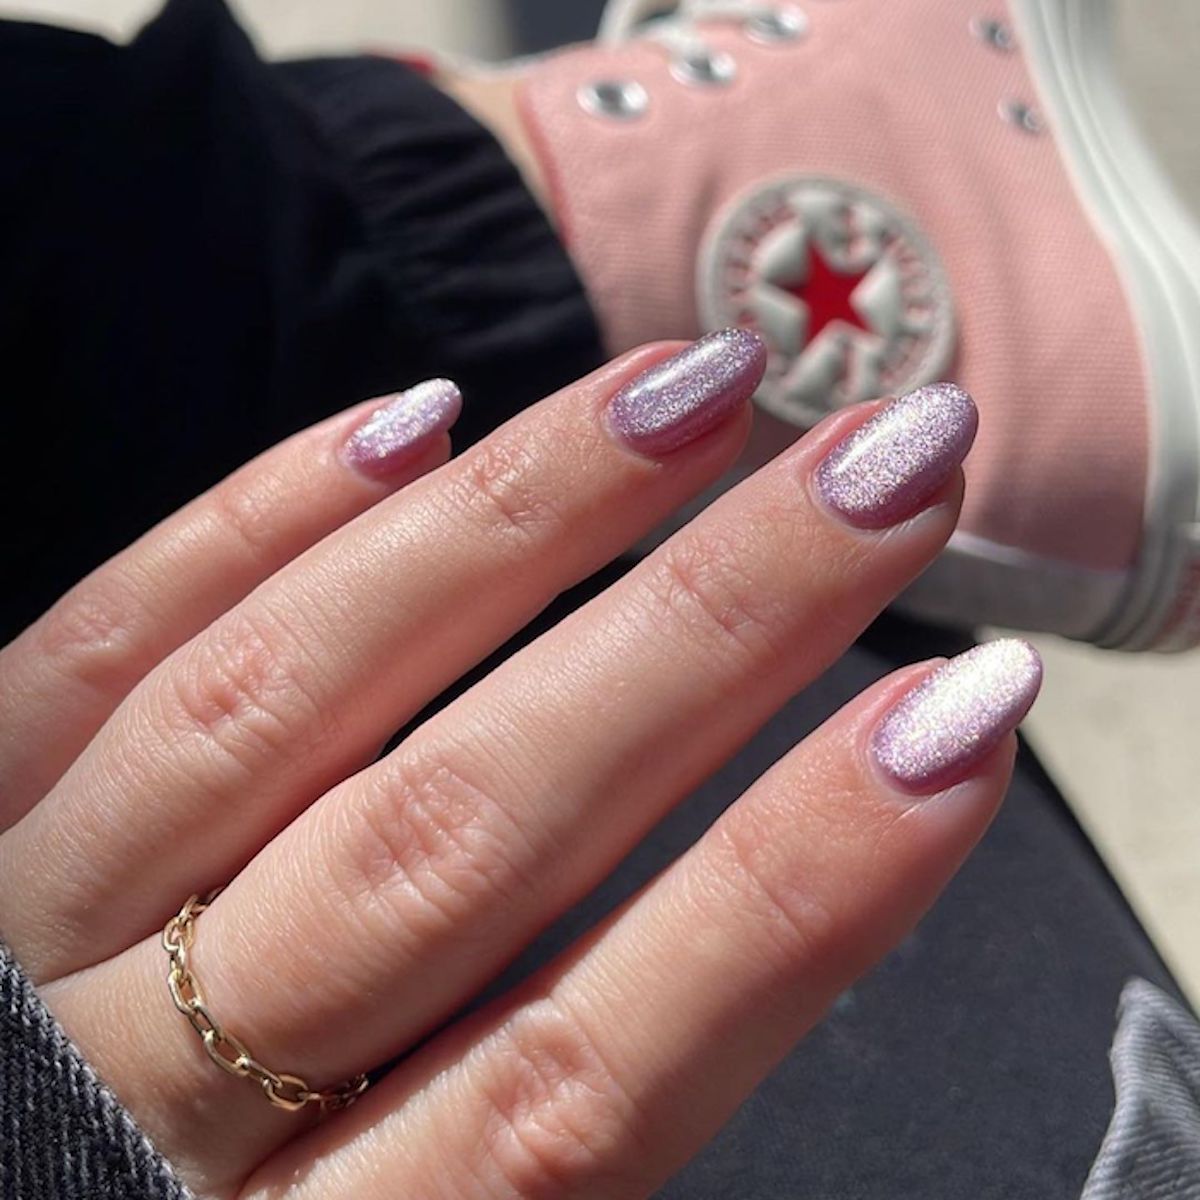
Each season, nail trends come and go, but only a few have the staying power to last a full year (or longer). That's the case with velvet nails—the viral trend that has over 36 million views on TikTok. While it's clearly been making the rounds on social media for a while now, it shows no signs of stopping. Actually, it's the opposite: You can expect velvet nails to stick around as one of 2023's most major manicure trends.
According to LeChat Nails Educator Anastasia Totty, "Velvet nails are a fun trend in the nail industry right now and they are super cute." While she admits that seasoned professionals can create velvet nails with "eyes closed," she's also quick to say that velvet nail newbies can create them at home if they're willing to practice. "With a couple of free hours and patience and you will get the hang of it," she says.
To create velvet nails, you have to create a multilayered, glitter effect with depth and dimension. If done correctly, each nail will resemble a piece of soft and luxurious velvet fabric as it catches and reflects light. And even though that might sound incredibly difficult, it's not. In fact, you can re-create velvet nails at home fairly easily if you have the right tools and the right technique. Keep scrolling to learn how, according to celebrity nail artists.
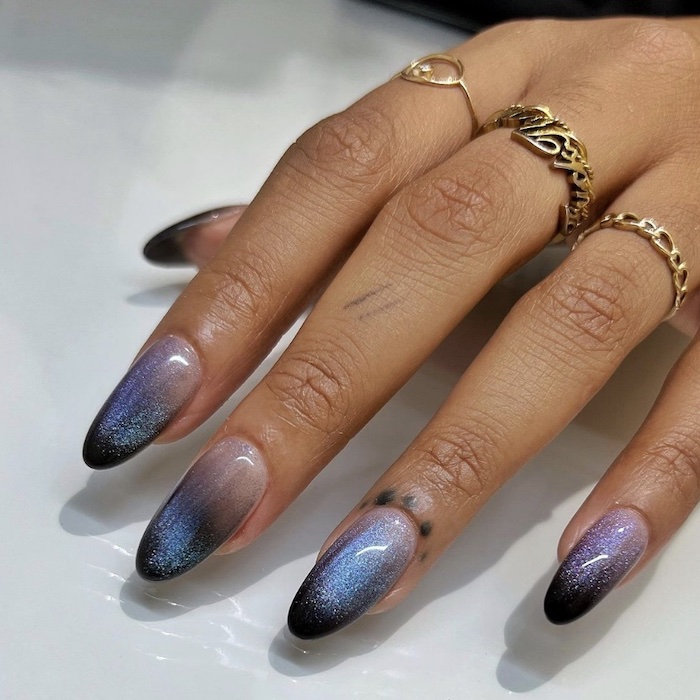
If you've seen velvet nails before, but you didn't know they were called velvet nails, you're not crazy. According to Nailing Hollywood Nail Stylist Laura Malarkey, velvet nails can also be referred to as cat eye nails, which is the name for the actual gel product that's used to create them in salon settings. "Velvet nails are created using a gel product called cat eye gel and a small magnet. Many different brands make cat-eye gels, with some requiring a black base coat before applying the cat eye, and others being a one-step process."
Once the cat eye gel is applied, Malarkey says a magnet is used to attract the shiny, magnetic particles in the gel toward the surface of the nail. After it's been cured with UV light, it creates "an effect similar to how a tiger’s eye gemstone looks (hence the name)," she says. "Nail artists have been able to manipulate the magnet and particles in a way that can create different designs, including the all-over coverage that we now call velvet nails."
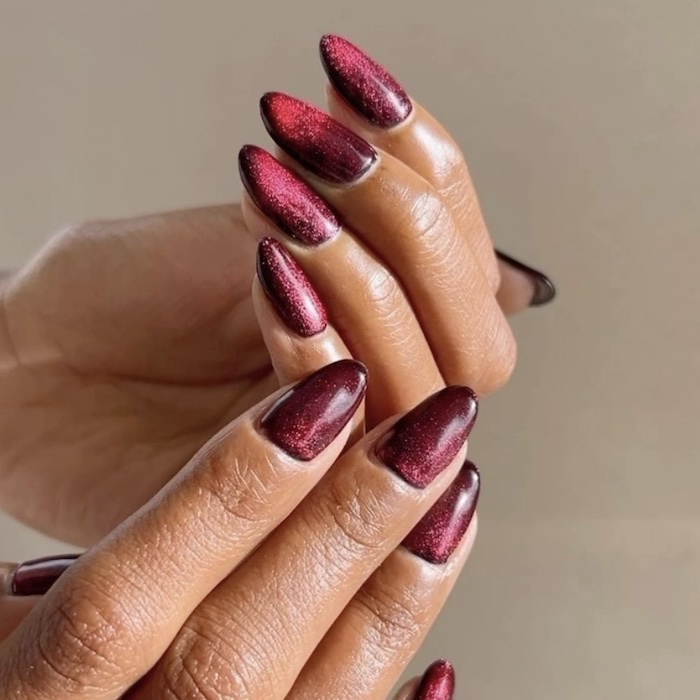
San Sung Kim, another Nailing Hollywood Nail Artist. She says the process of creating velvet nails in a salon goes as follows. "Usually, the nail technician will apply a layer of velvet/cat eye polish onto the nails after the nail is prepped and the base coat is applied. Before curing the nails, the nail technician will take a magnet near the side or top of the nail for a few seconds to move the glitters. Once the nail is cured, the magnetic glitters will not move anymore."
While this process has been used for quite some time in a salon setting, Kim says velvet nails can be easily accomplished at home with both traditional and gel polishes. "If you are using regular lacquers, you need to work quickly to move the glitters before your polish completely dries. If you are using a gel polish, you can use the same method that is used in a salon setting. Before curing the gel polish, you can take your time to move the glitters until you are satisfied. It is recommended to work with one nail at a time because you may accidentally cause the uncured glitter particles on the other fingers to move as well."
How to Create Velvet Nails at Home Using Regular Polish
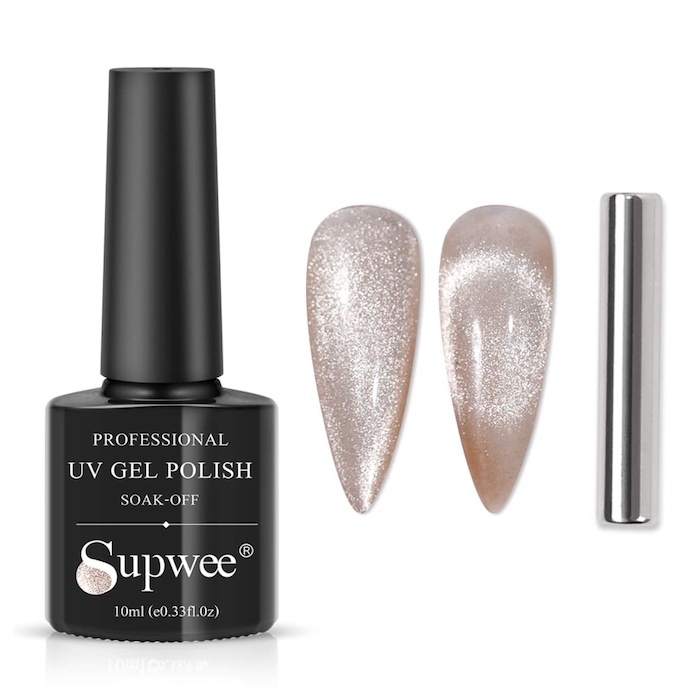
Before attempting to create velvet nails at home, you'll need the right tools. "The absolute necessities for creating velvet nails at home are a polish with magnetized glitter particles and a small magnet," Kim says. "It is important to find a polish that has a higher concentration of glitter particles and a strong magnet that will easily pull and push the particles. Like the velvet polishes, there are many types of magnets you can use such as a bar magnet or a circular magnet."
Some at-home magnetic polishes require a black base coat. If yours doesn't, your good to start painting. Begin with a clear base coat. Then, working finger by finger, apply a coat of magnetic polish (some people like to apply two coats before using the magnet for better color coverage). Reach for your magnet, and move the glitter particles into the center of the nail. Let it dry, then apply a topcoat. That's it—you'll get easy velvet nails at home.

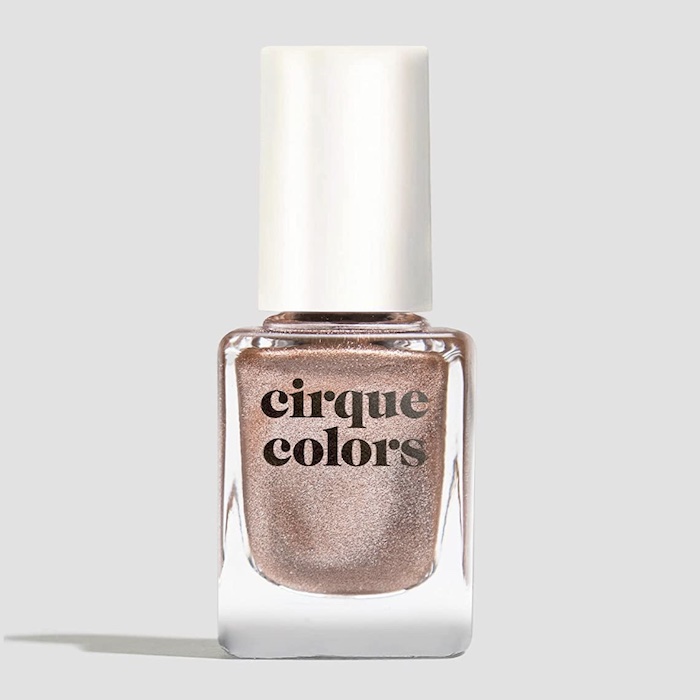
This rosy pink color is universally flattering.
If you don't want to spend a lot of money buying multiple shades of magnetic polish, but you want to experiment with multiple velvet nail looks, LeChat Nails Educator Syreeta Aaron has a hack for you. Start with traditional nail polish in any color or brand you prefer. Then, apply a complimentary magnetic nail polish as a topper. Pull the particles in the topcoat towards the surface of the nail, let it dry, and you're done.
While this won't give you the exact dimension of salon-painted velvet nails, it's an easy way to get a similar effect. "I personally use LeChat Perfect Match shades and a silver magnetic (or complimenting color to whatever shade I choose) to give the velvet illusion," she says.

Aaron recommends trying her simple (and money-saving) hack with this deep blue color. Just layer a magnetic topcoat over it for a velvety effect.
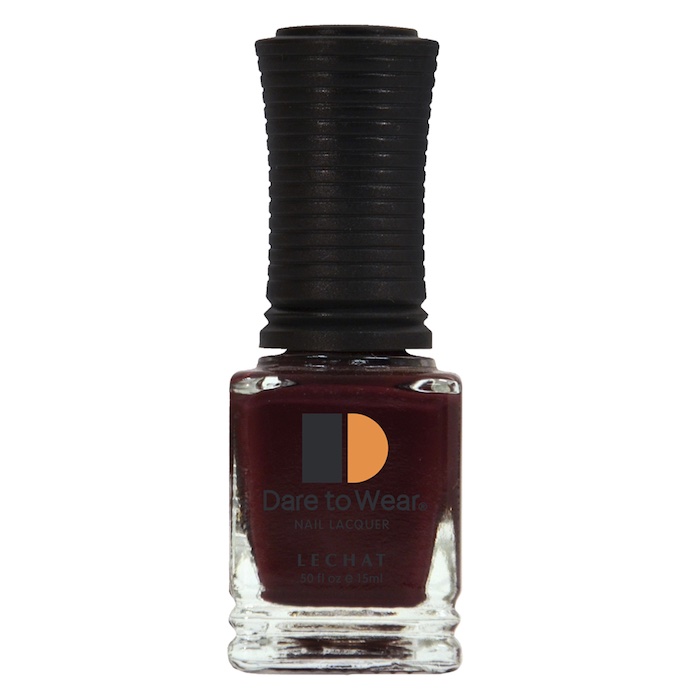
She also recommends this rich red. "When I think of velvet, what comes to mind is a nice velvet dress in green, red, maroon, and blue," she says.
How to Create Velvet Nails at Home Using Gel Polish
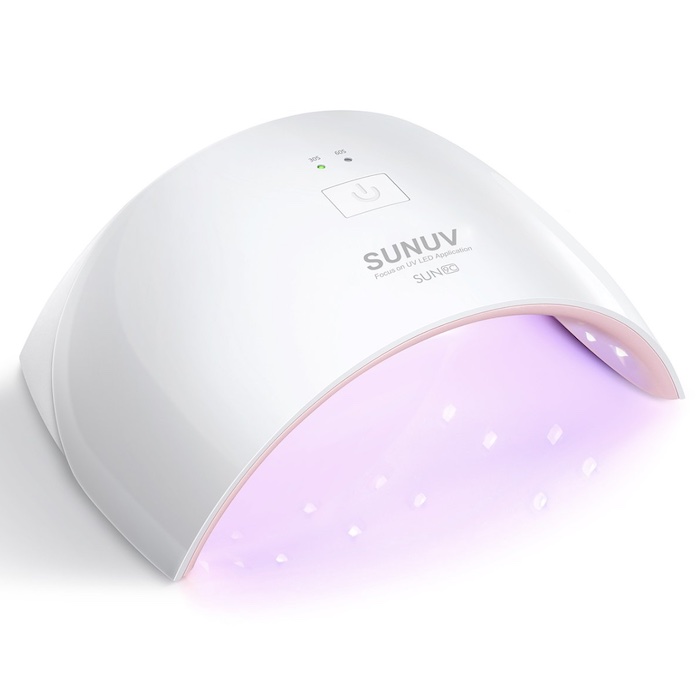
"It is important to note that non-professional nail enthusiasts are warned against using gel products at home, as they require specific training and can cause permanent damage if used improperly," Malarkey cautions. "That being said, if you’re comfortable with gel and know the basics, you can achieve salon-worthy velvet nails at home."
Start by applying a gel base coat to your nails and curing it. Then, working finger by finger, apply one coat of magnetic gel polish. Reach for a small, strong magnet, and move the glitter particles to the center of the nail. "Keep them at the surface of the nail (don’t pull them down to the bottom of the nail plate)," Malarkey says. "If you mess up, you can reset the cat eye particles with a couple of quick swipes of the polish brush and start over; just don’t cure the gel until you are done."
Once you're happy with the effect, cure the polish, apply a topcoat, and you're good to go.
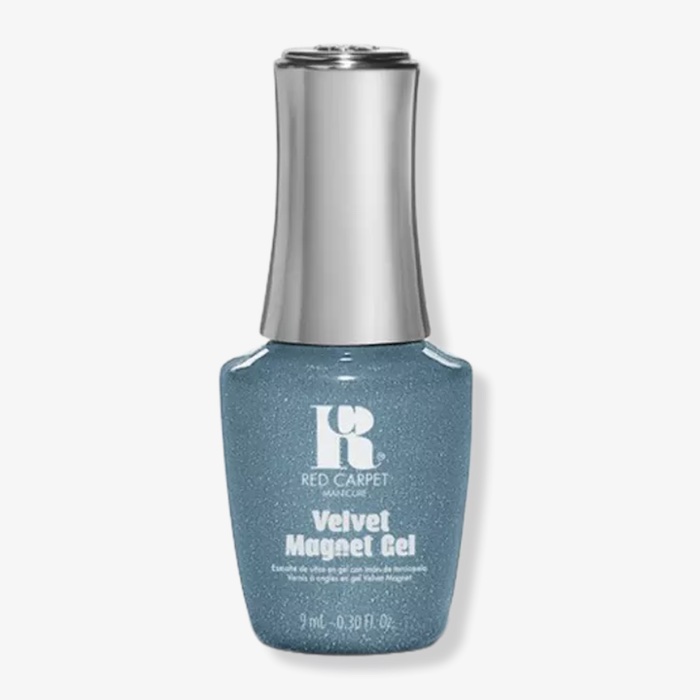
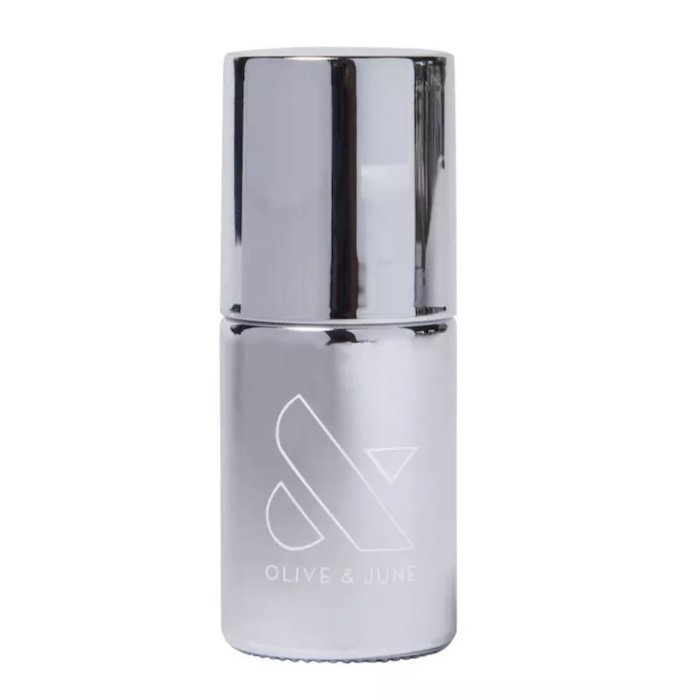
Did you know you can get magnetic gel polish at Ulta?
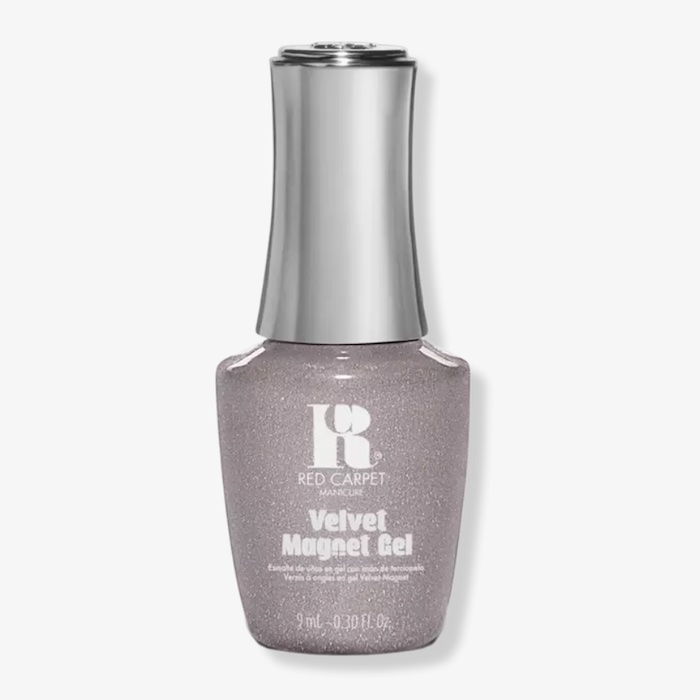
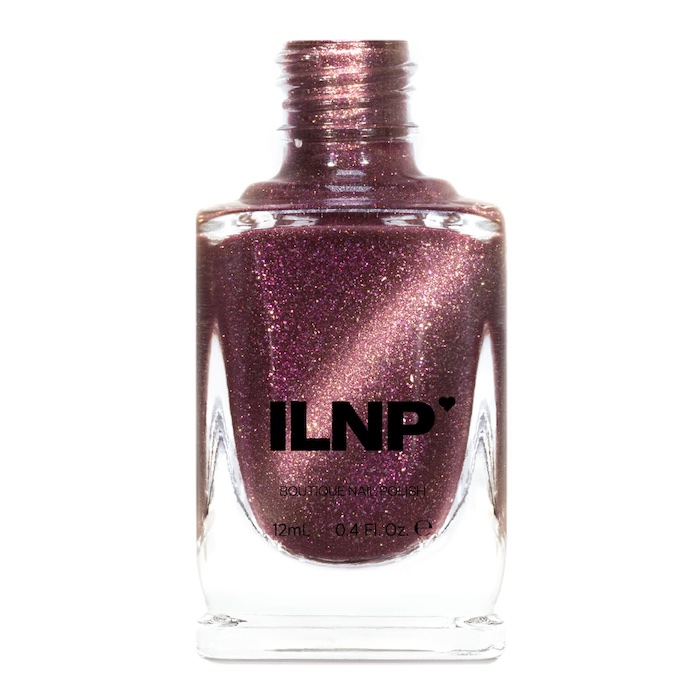
This bronze color is giving us a Hailey Bieber vibe.
Next: Brown Nail Designs Are All Over Instagram—18 We're Labeling "Need to Try"

Kaitlyn McLintock is a Beauty Editor at Who What Wear. She has 10 years of experience in the editorial industry, having previously written for other industry-leading publications, like Byrdie, InStyle, The Zoe Report, Bustle, and others. She covers all things beauty and wellness-related, but she has a special passion for creating skincare content (whether that's writing about an innovative in-office treatment, researching the benefits of a certain ingredient, or testing the latest and greatest at-home skin device). Having lived in Los Angeles, California, and Austin, Texas, she has since relocated back to her home state, Michigan. When she's not writing, researching, or testing beauty products, she's working through an ever-growing book collection or swimming in the Great Lakes.
