I Live in the Rainiest City in the U.S.—10 Easy Hairstyles I Swear By
If you haven't yet been introduced to the unique weather of the Pacific Northwest, Washington state experiences an average of 150 days of rain each year (equal to about five months total). I've lived most of my life in Seattle and still experience what I can only describe as astonishment for the amount of rain we can get in a day. Even when it's just sprinkling, there's a chance you won't see the sun for months on end during our rainy season.
Living in the country's rainiest city can definitely have its highs and lows, but it can pose a huge challenge to anyone with naturally curly hair (I'm a Seattleite with 4b/4c hair). It can be tough to keep up with cute hairstyles when they're being constantly rained on.
Sound like you? I've put together a quick guide to the 10 easy hairstyles for my curly-haired folks out there looking for ways to stay stylish in the rain. Read on to discover which ones are my go-to's and how I achieve and protect them without relying on the magical qualities of a pesky umbrella or hooded jacket to save my hair. You'll be dancing in the rain in no time.
Slicked Back Poof
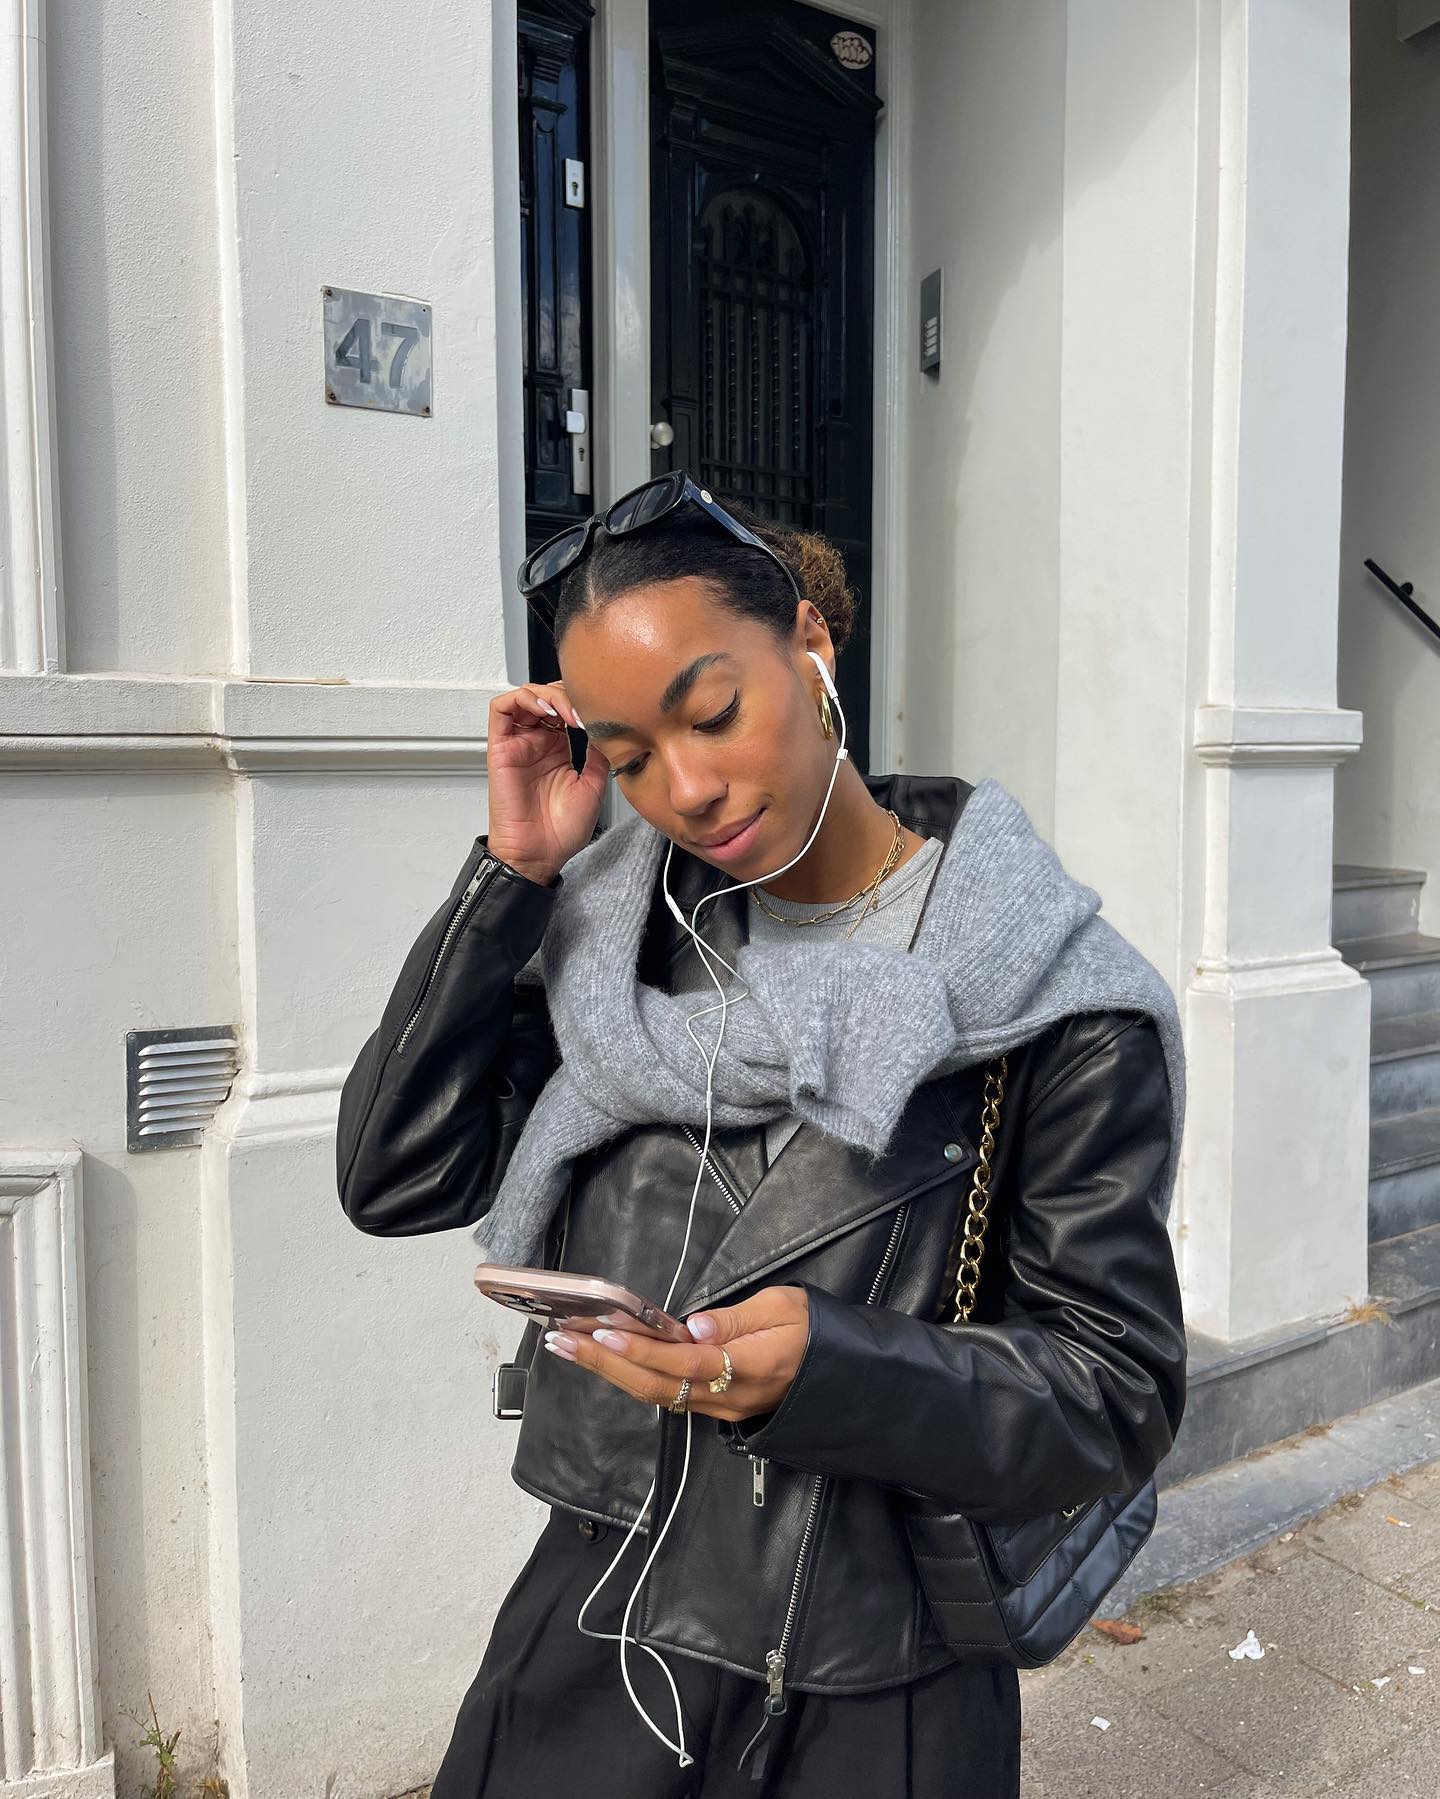
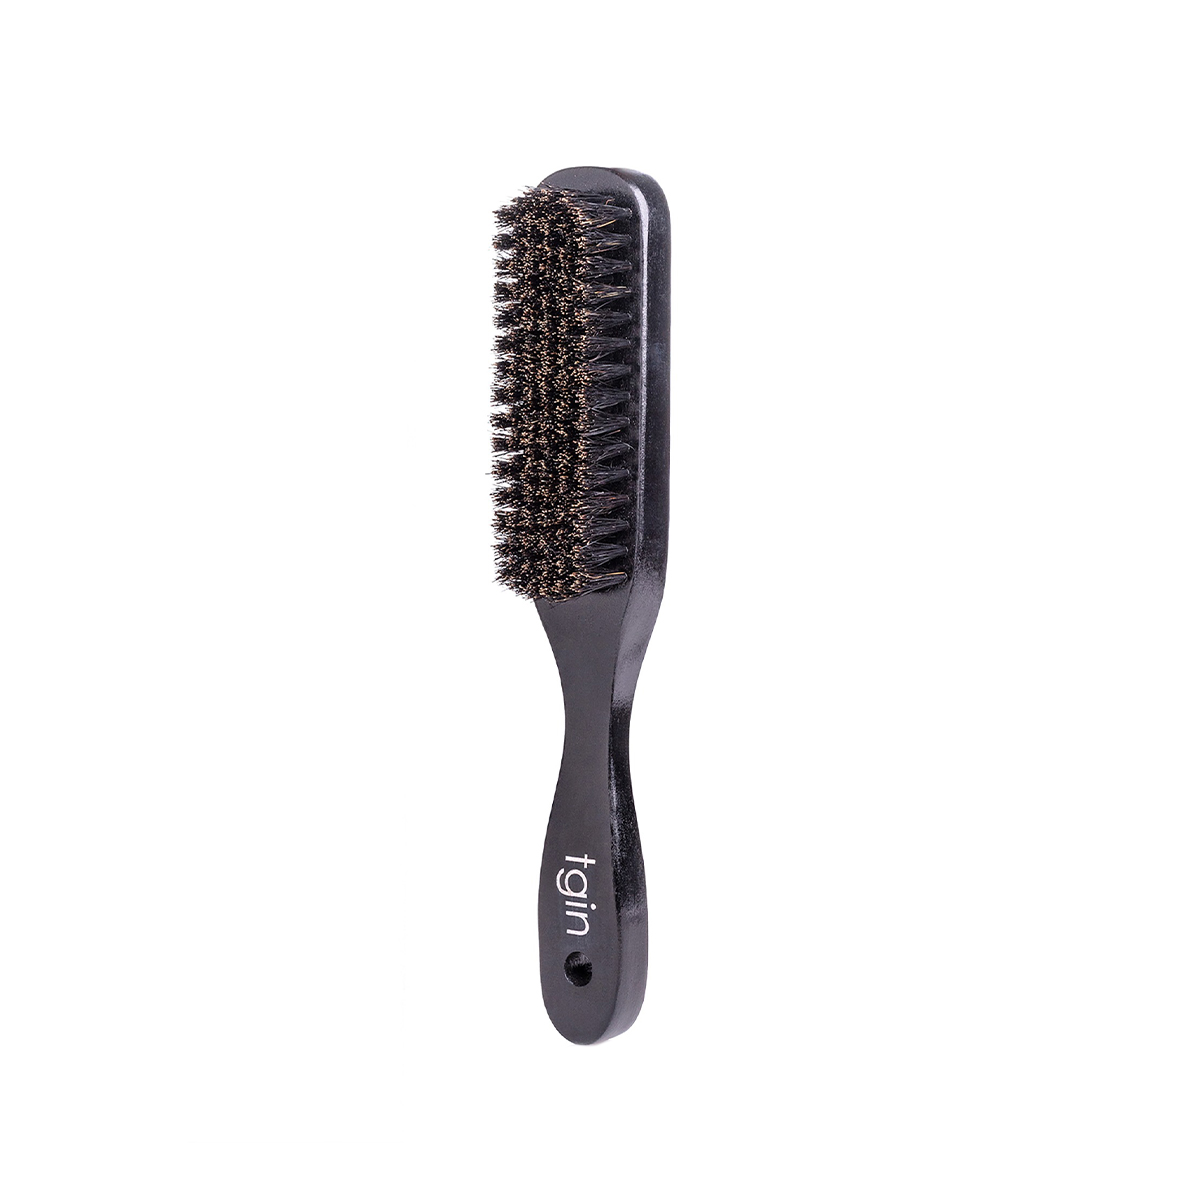
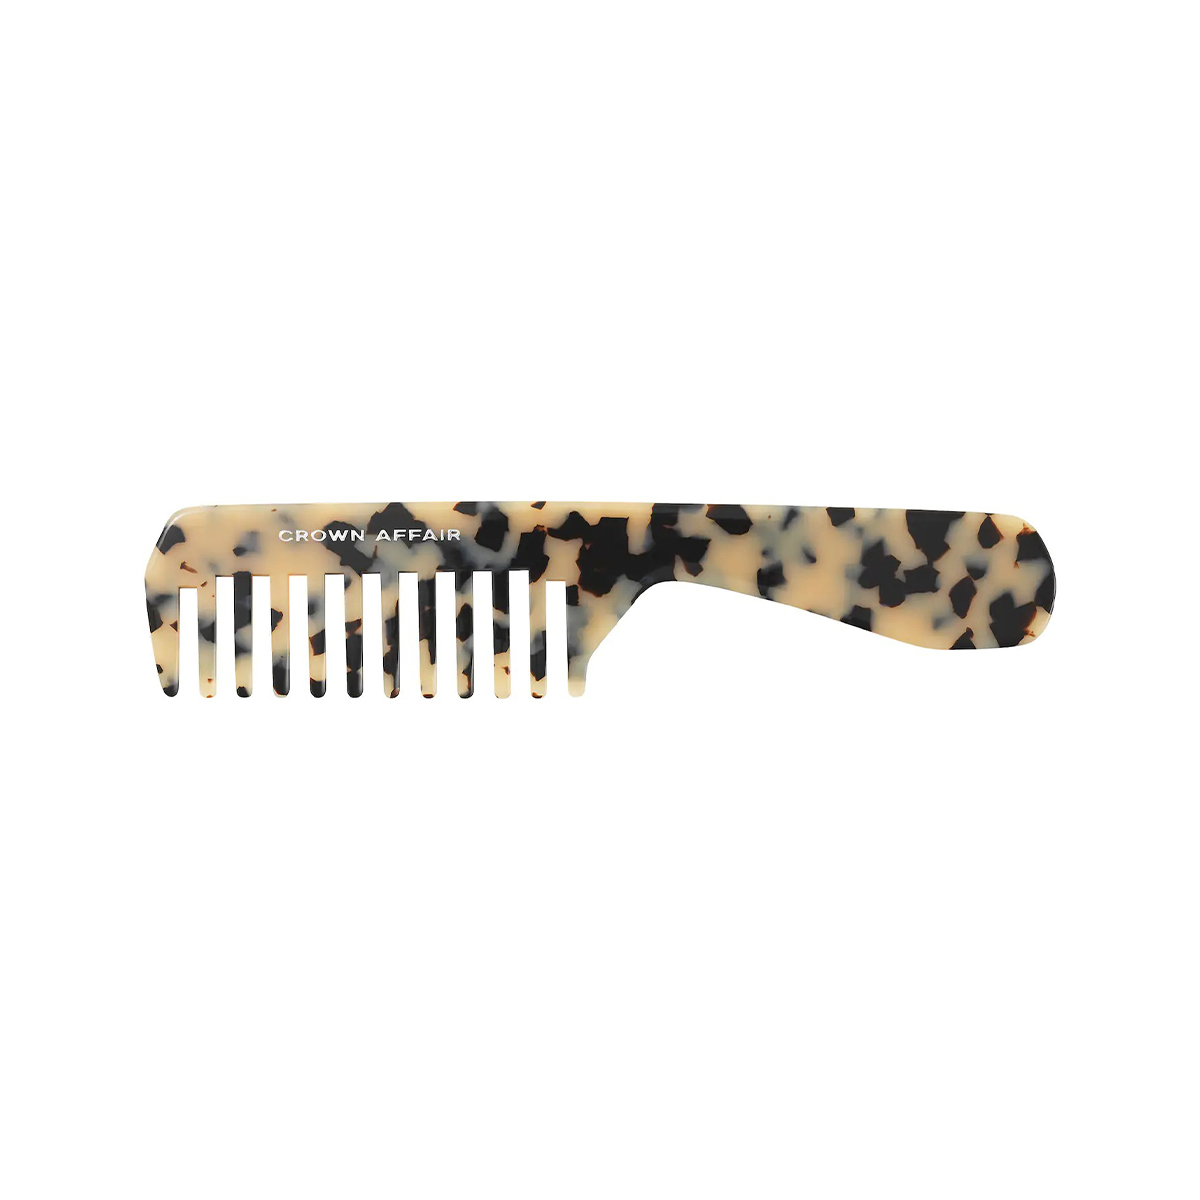
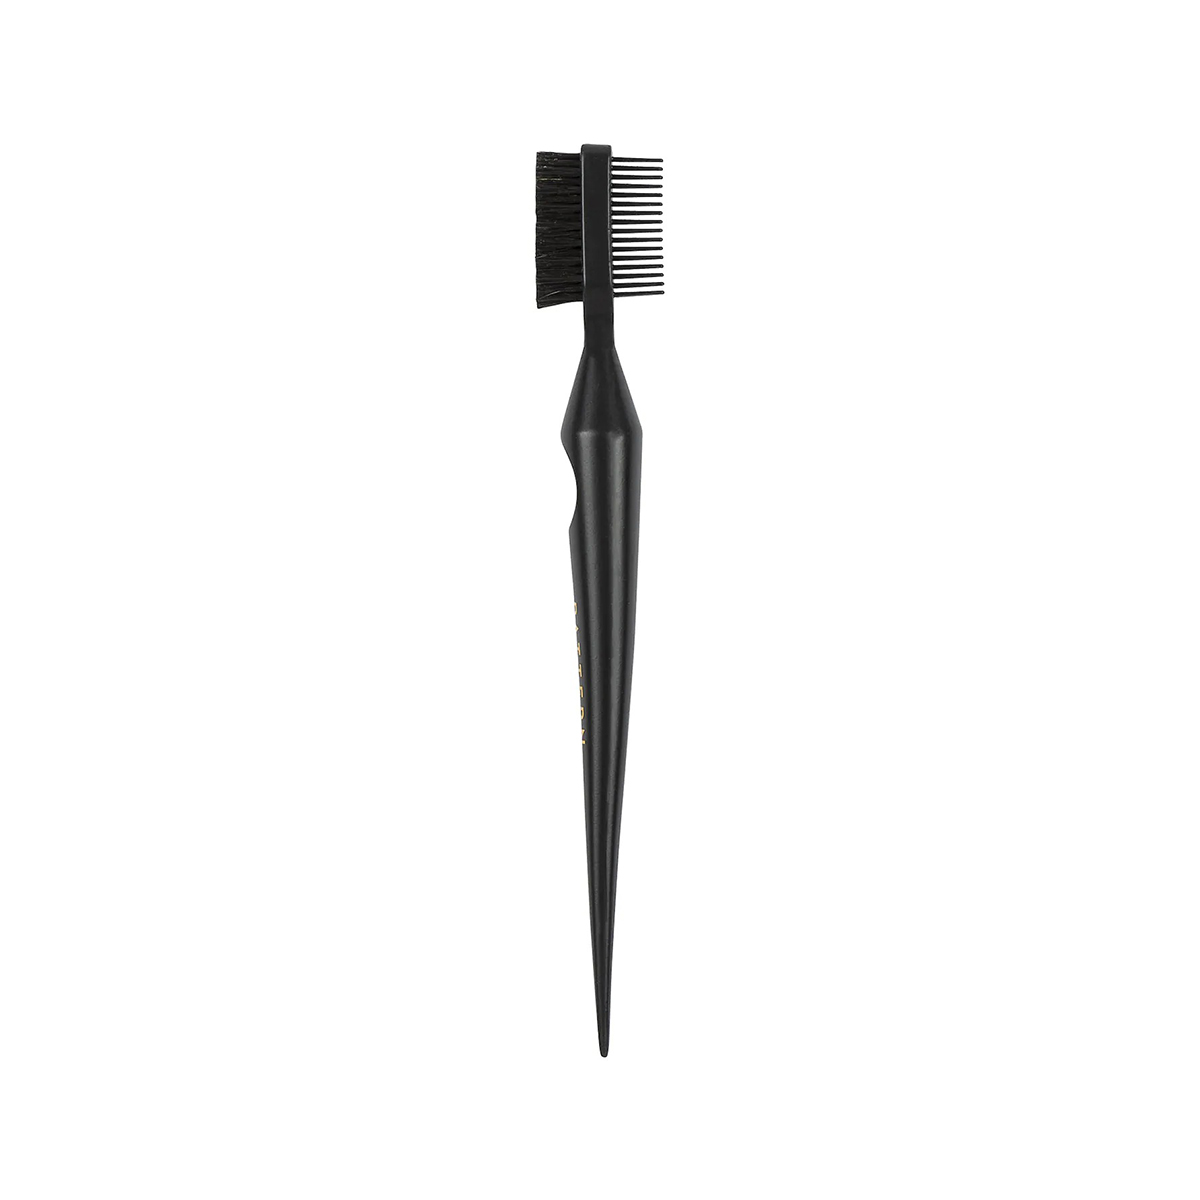
Simple and chic, the slicked-back bun is my go-to for days when I want to look put together without having to dedicate unnecessary time or effort to style my hair. As much as I love a gorgeous twist, lock, or braid, sometimes, hair just needs to be up and out of the way. If possible, start with your hair freshly washed and moisturized. Using the tail of a comb, separate your hair into two large parts. Apply a considerable amount of gel to your tresses, and then guide them back using a boar brush with ample pressure, making sure the hair lays down and can be pulled back into a ponytail holder.
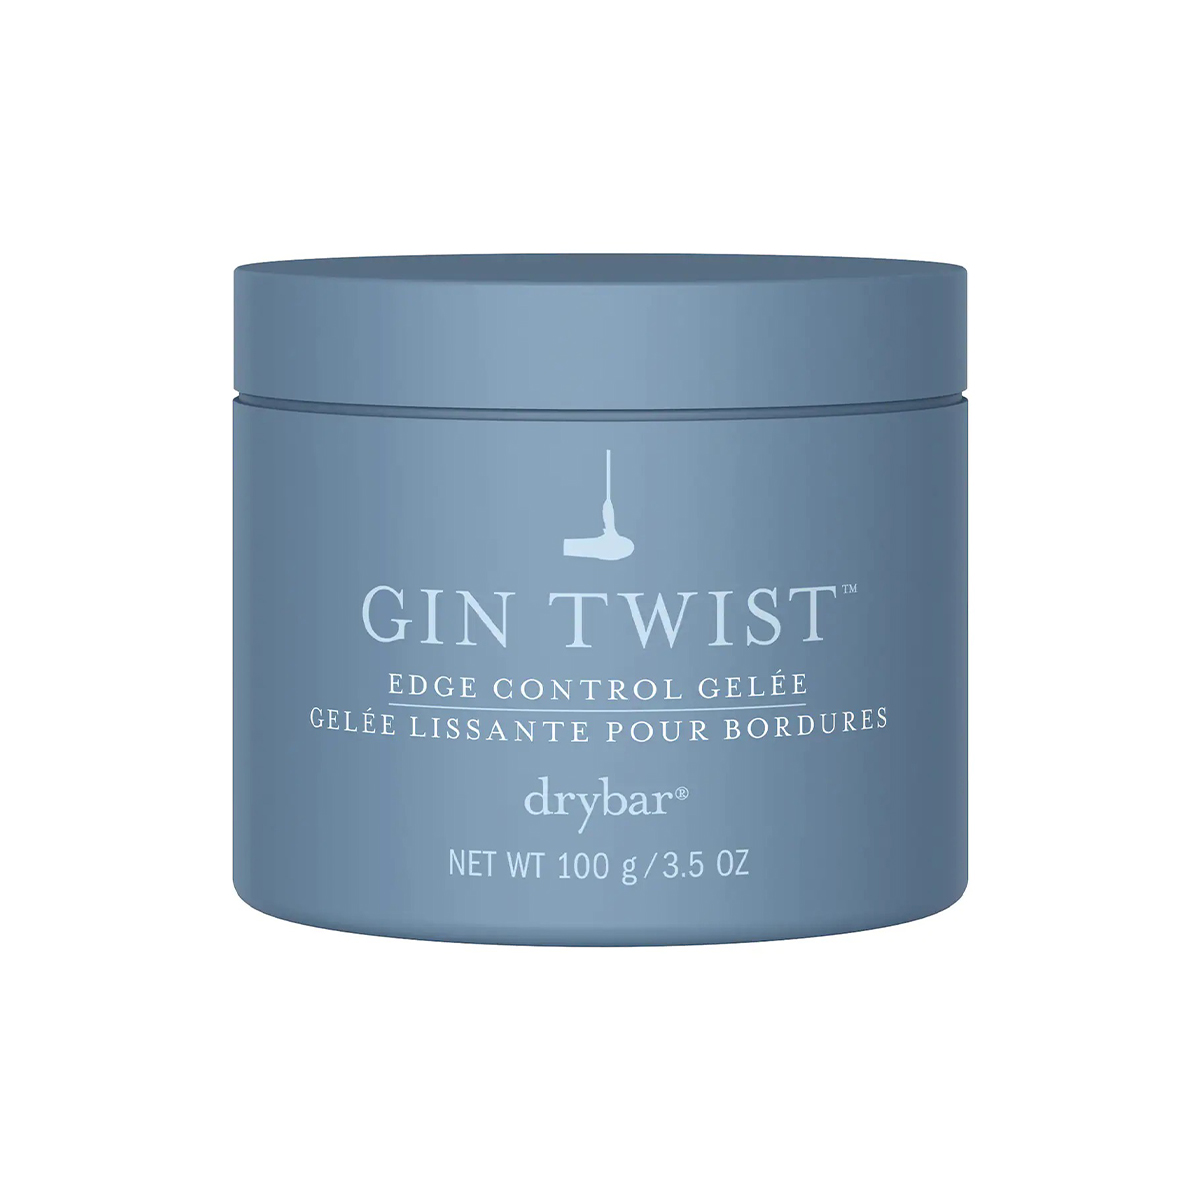
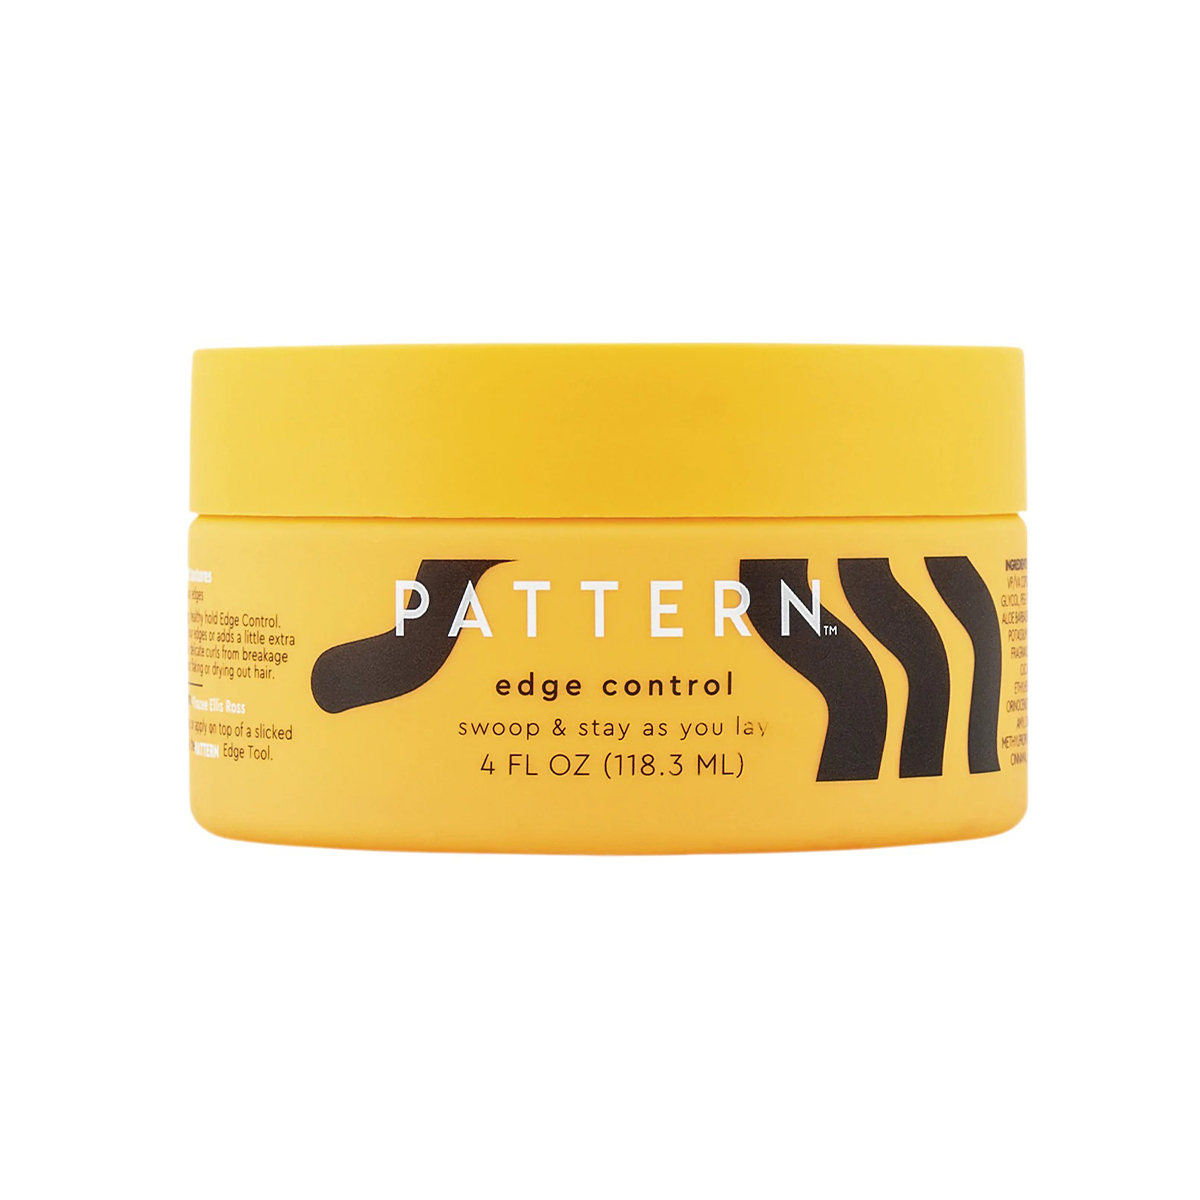
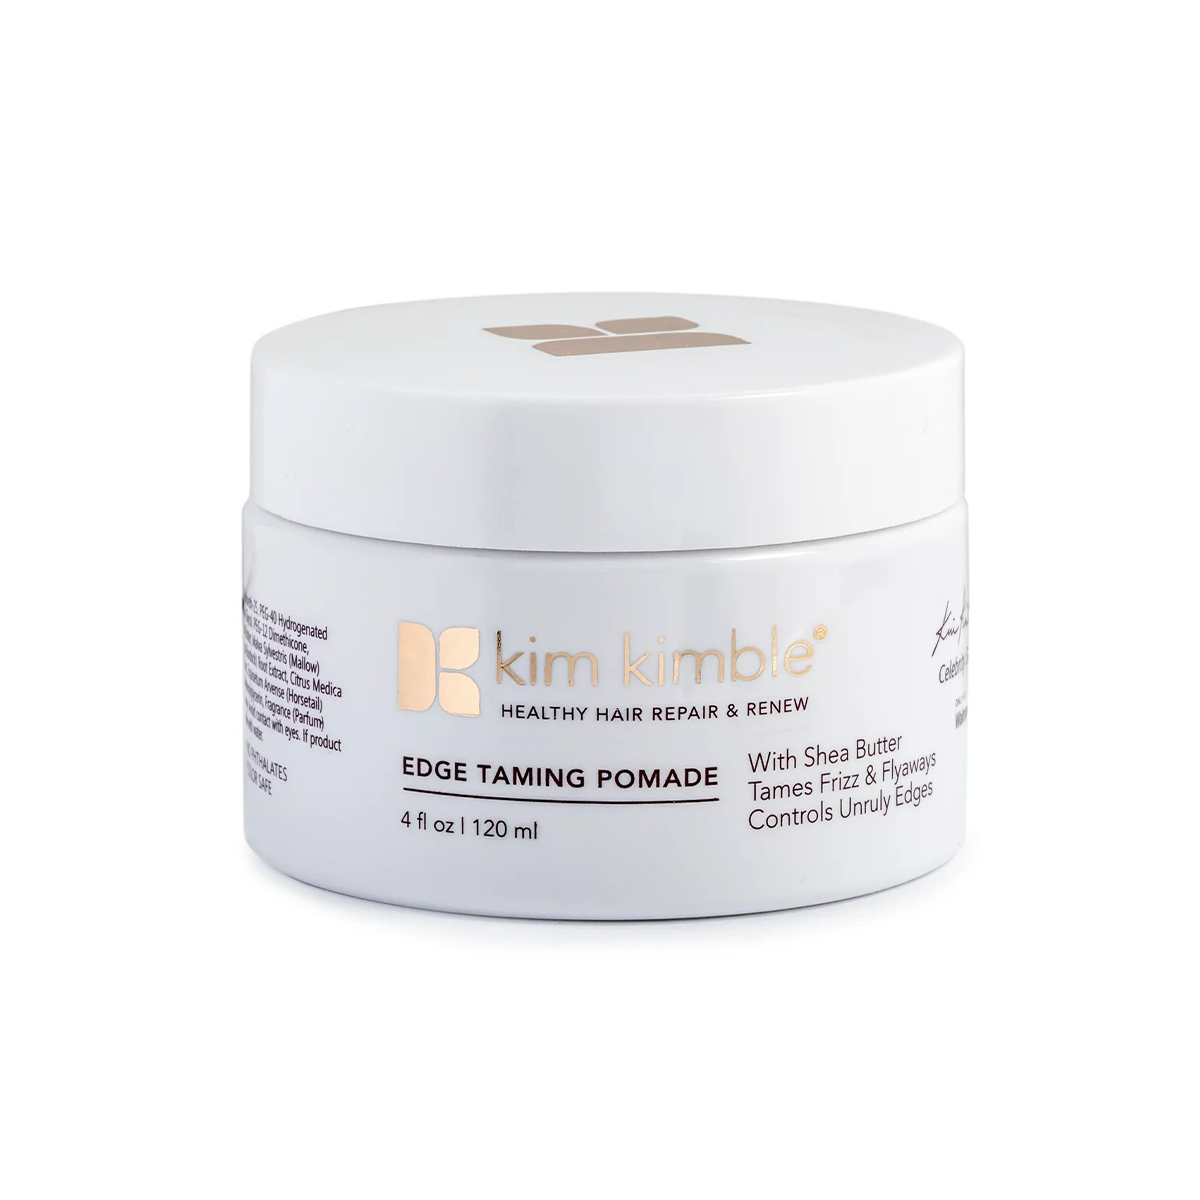
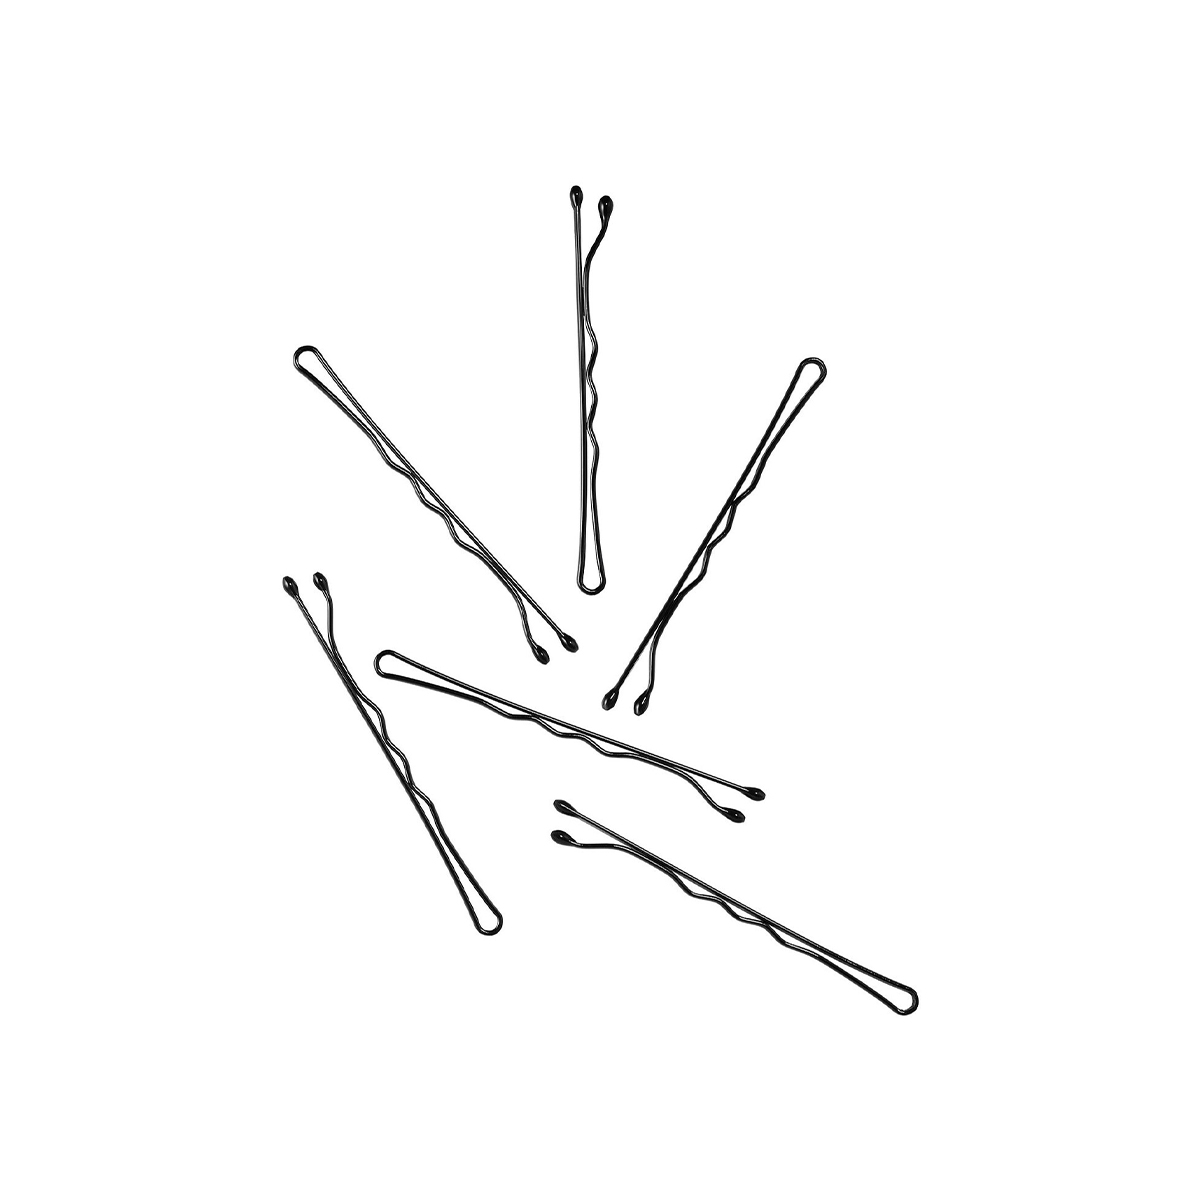
Here's the easy part: pulling the remaining curly hair into a quick bun by making sure everything is tucked tidily away. Use hair pins to hold your bun, sliding them into an "X" formation for extra hold. Time for your edges! Use an edge control and styling tool and take extra time to style them as you like. Remember: The key to achieving perfect edges is not rushing the process!
Twist Out
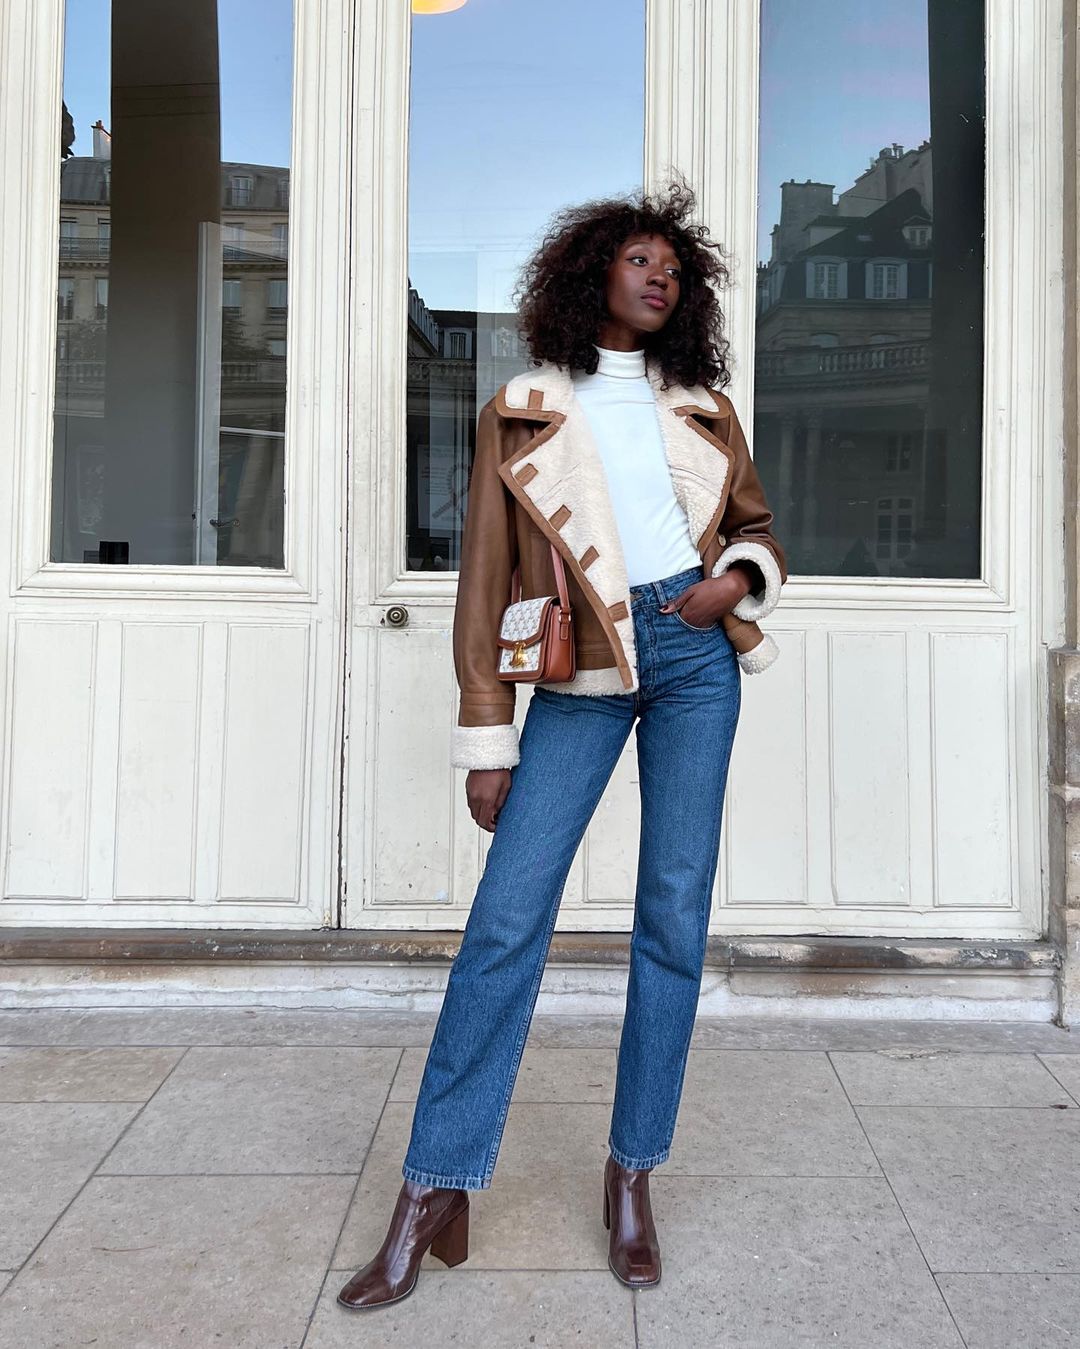
This one is for anyone willing to invest a little time in their hair for a style that can last for days. Start with freshly washed, conditioned, and detangled hair, and then separate your curls into sections. For each section, focus on parting your hair into evenly split subsections for twisting. Make sure your twists are taught; beginning close to the scalp and using even tension as you move down the strands.
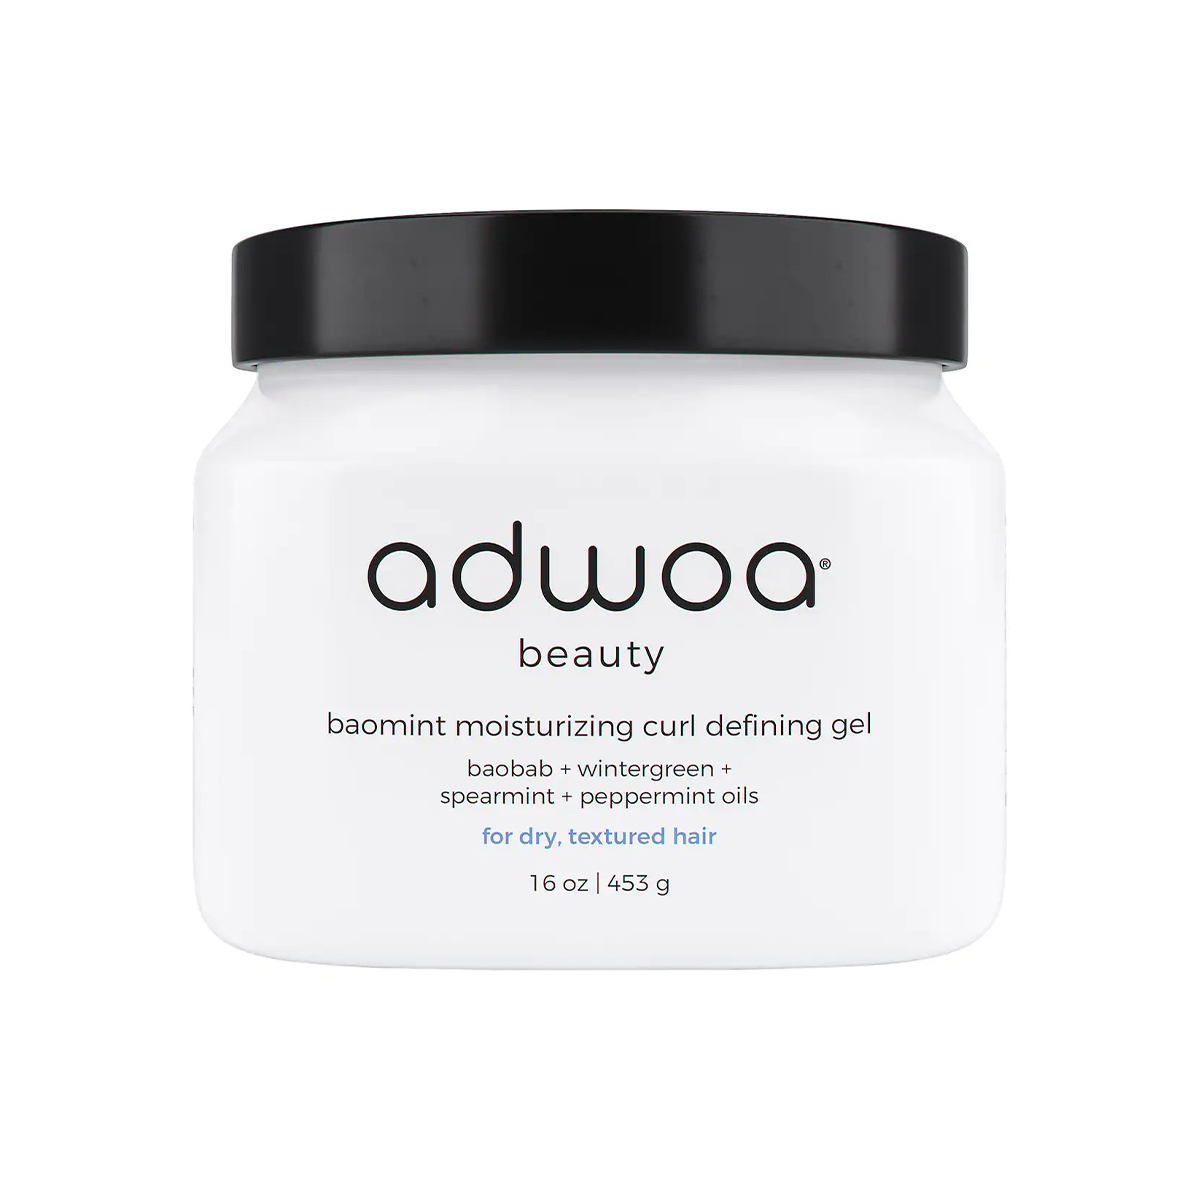
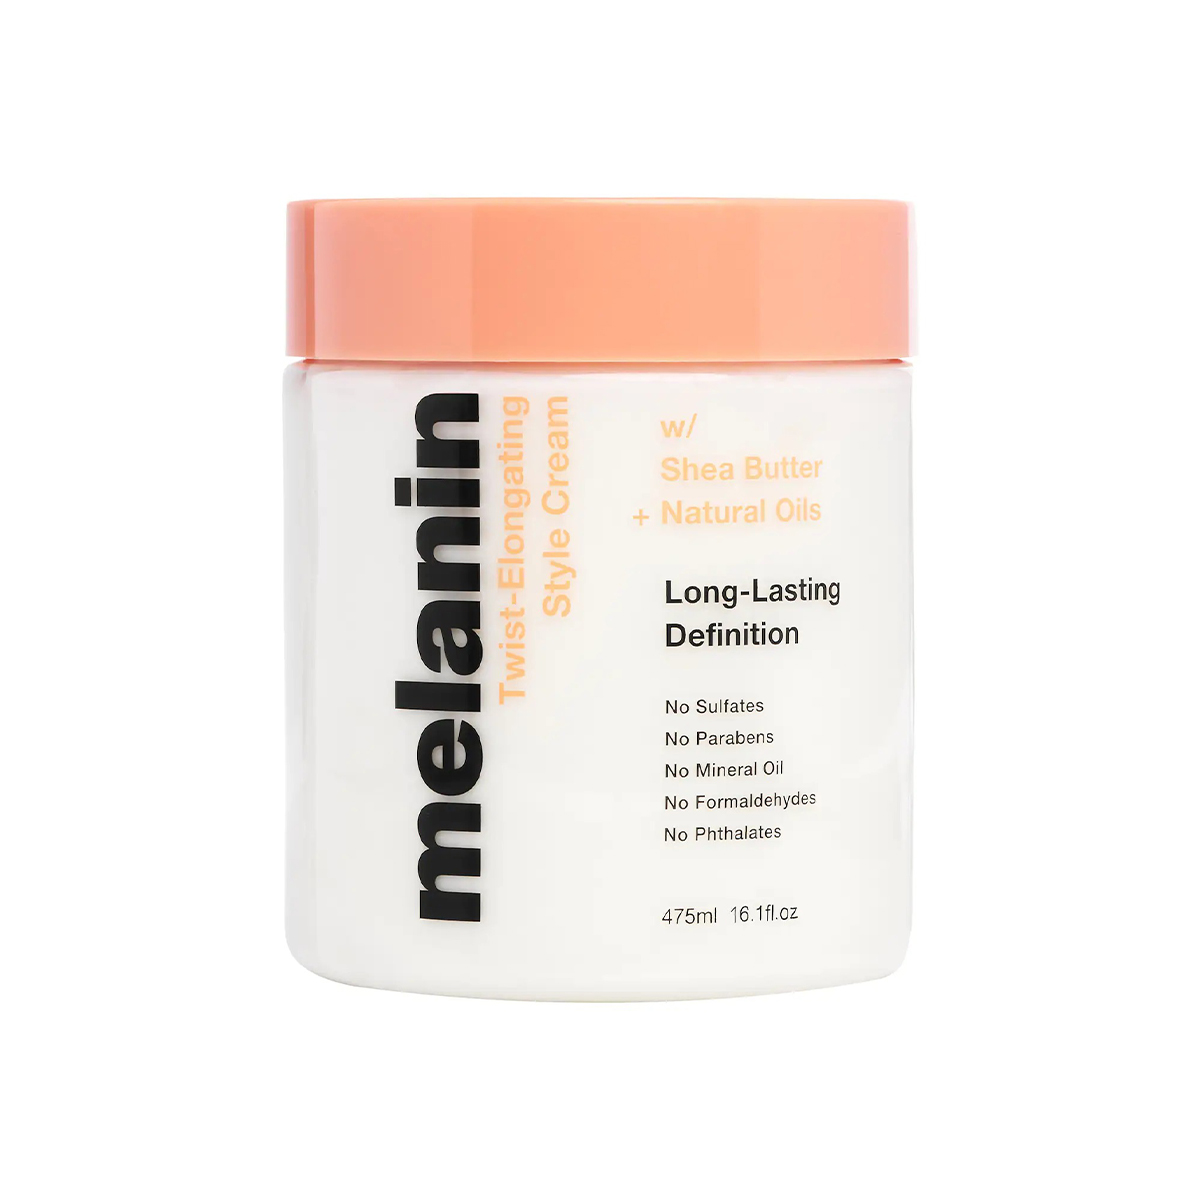
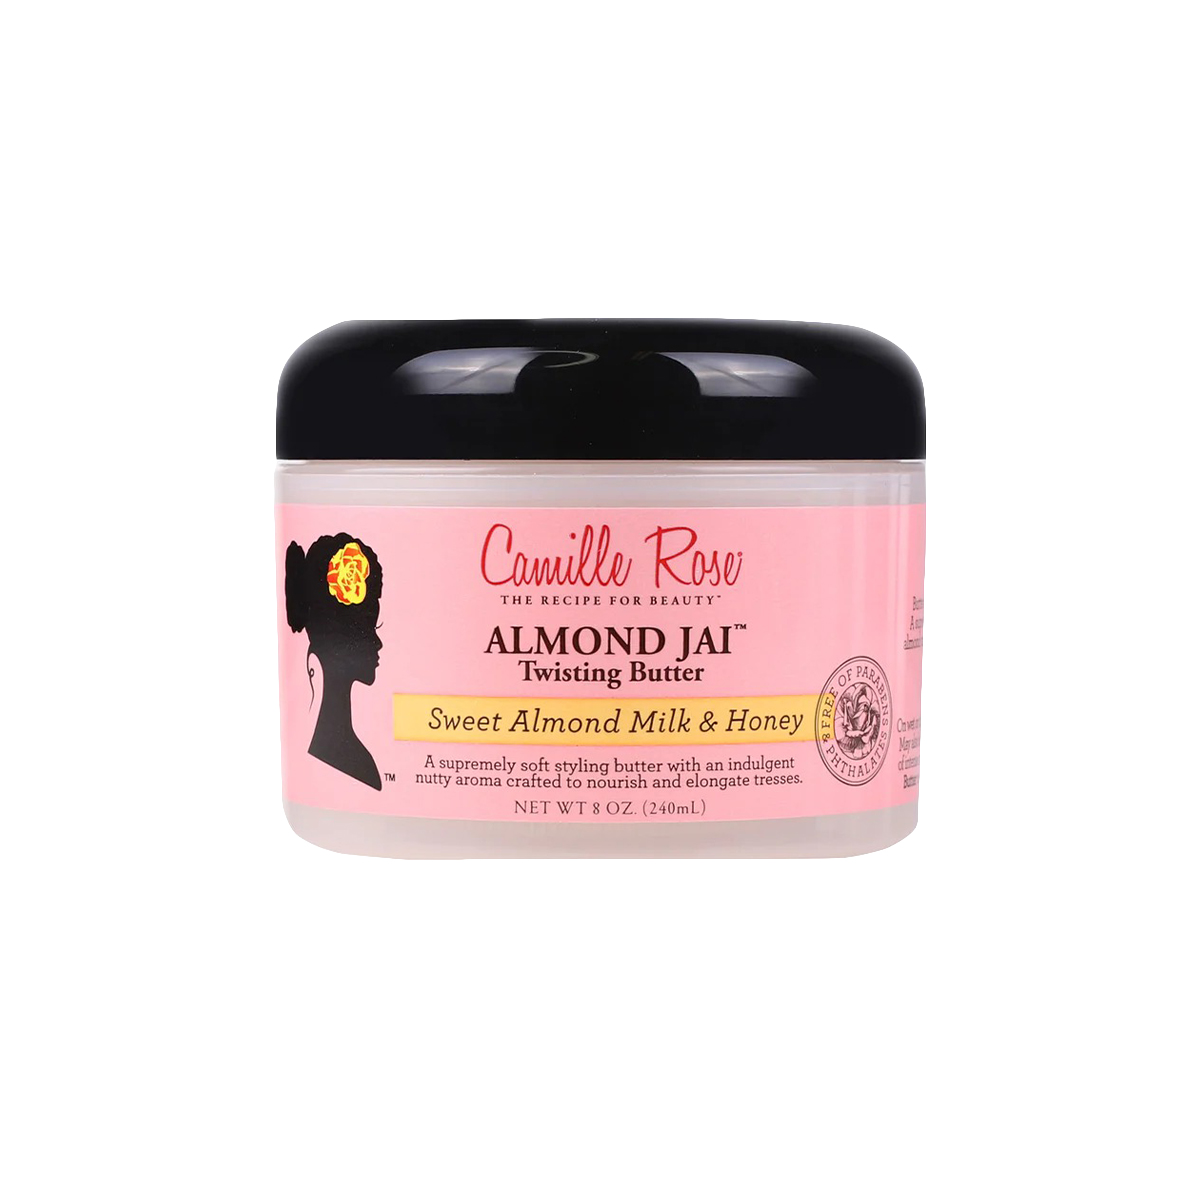
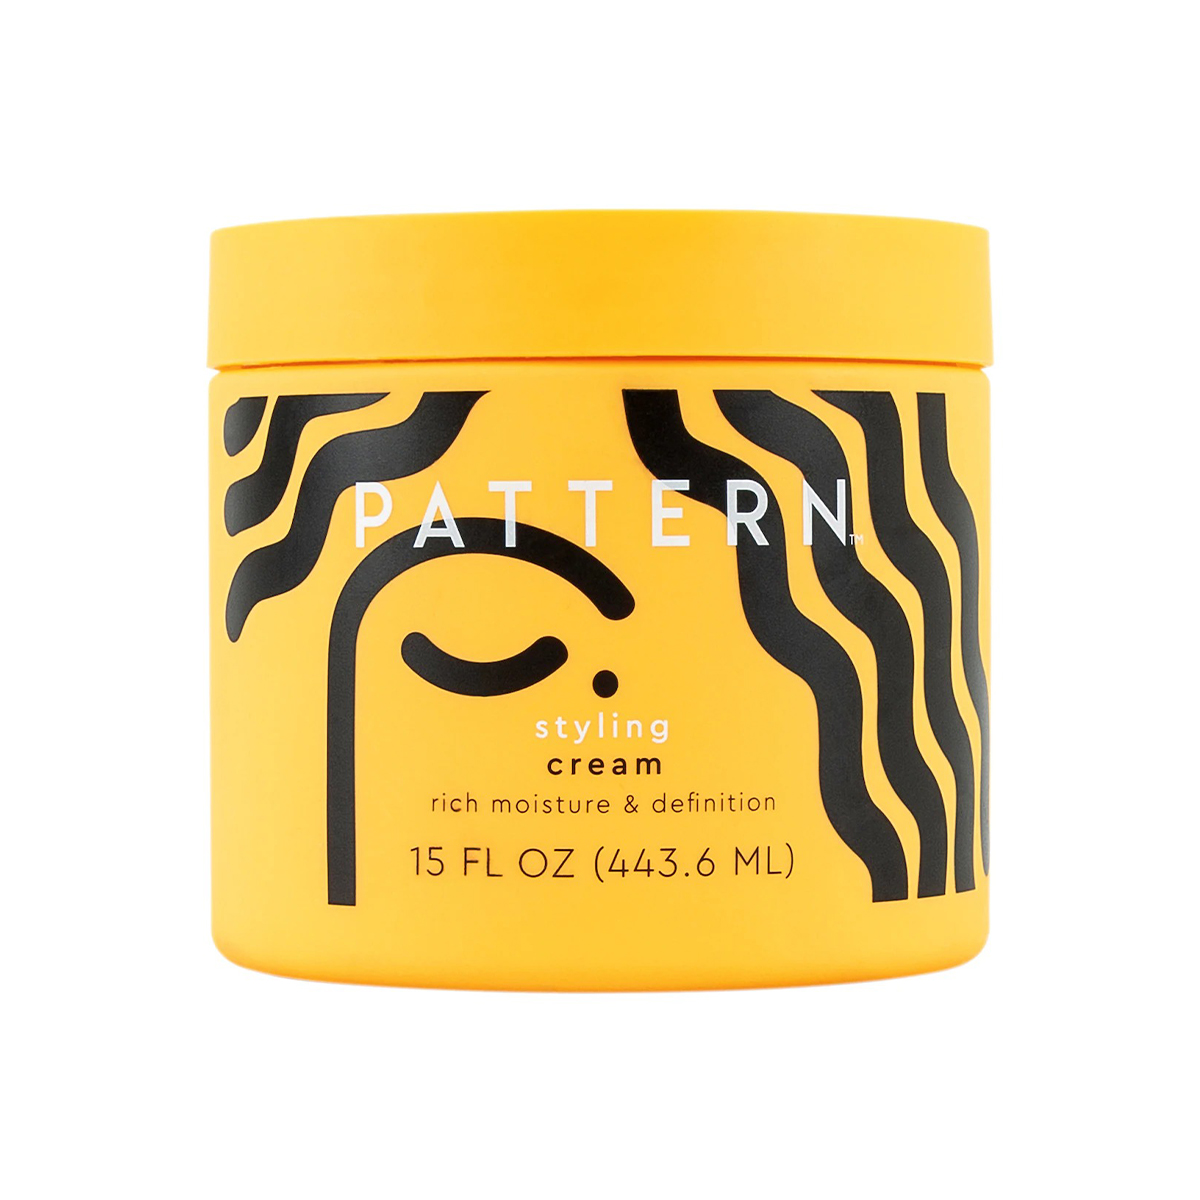
Use a curl gel to set your hair to add hold and volume for when you take the twists out. When applying the curl gel, make sure you apply close to the root and then work outwards for high-definition results. Remember to keep your hair wet as your work. Next, make sure your hair dries completely. When it's time to style, apply a few drops of oil to your hands and slowly unravel the twist before separating them more to your desired fullness.
Straight (Under a Hat)
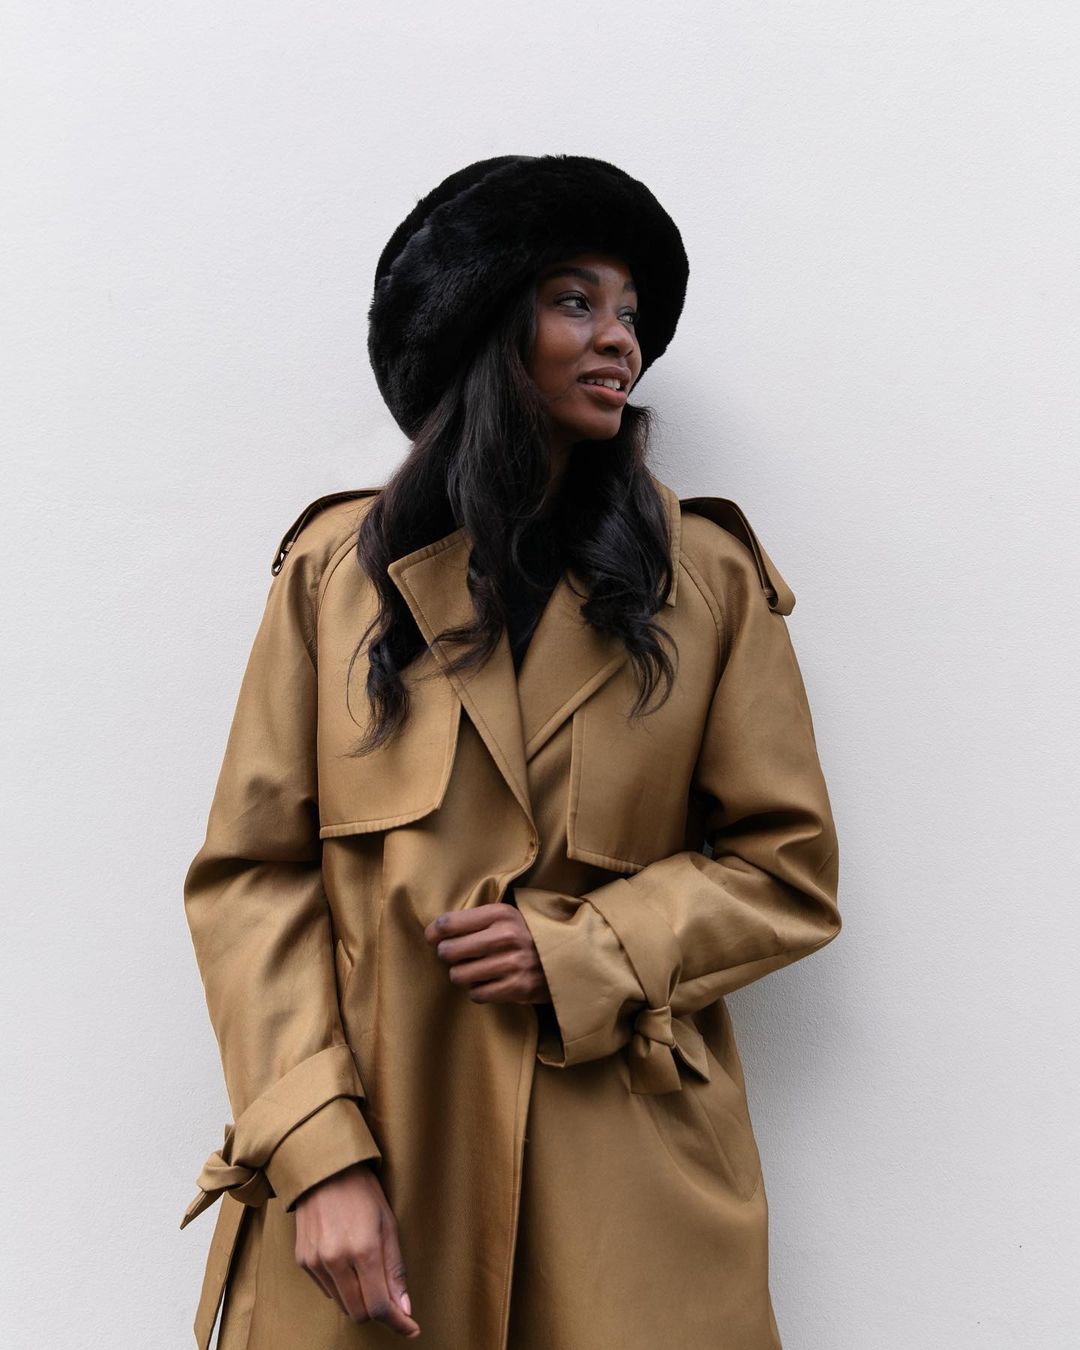
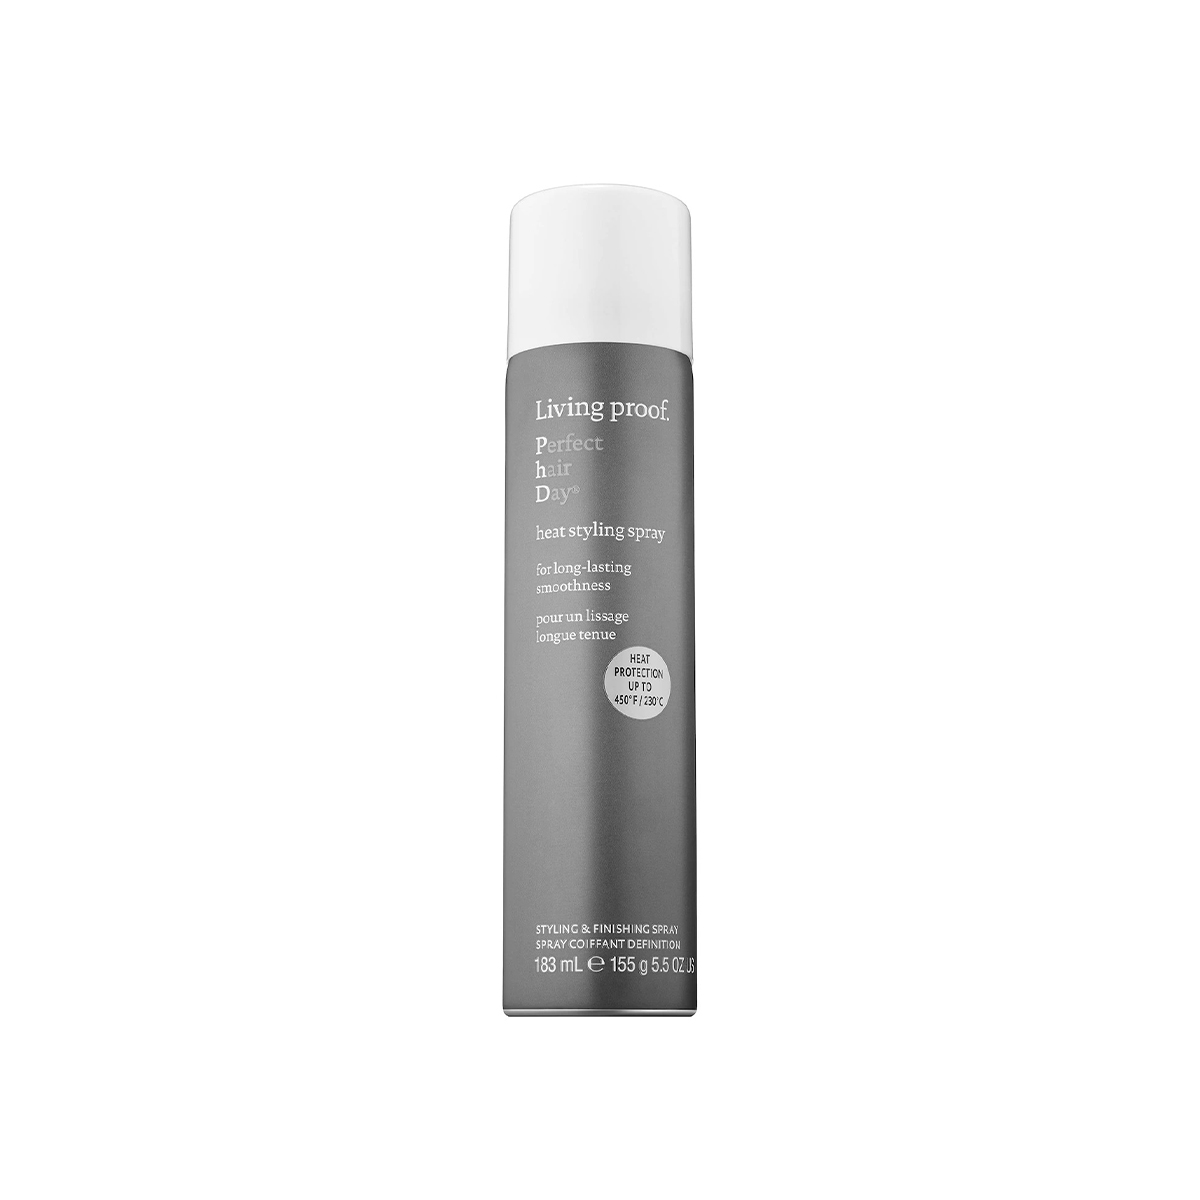
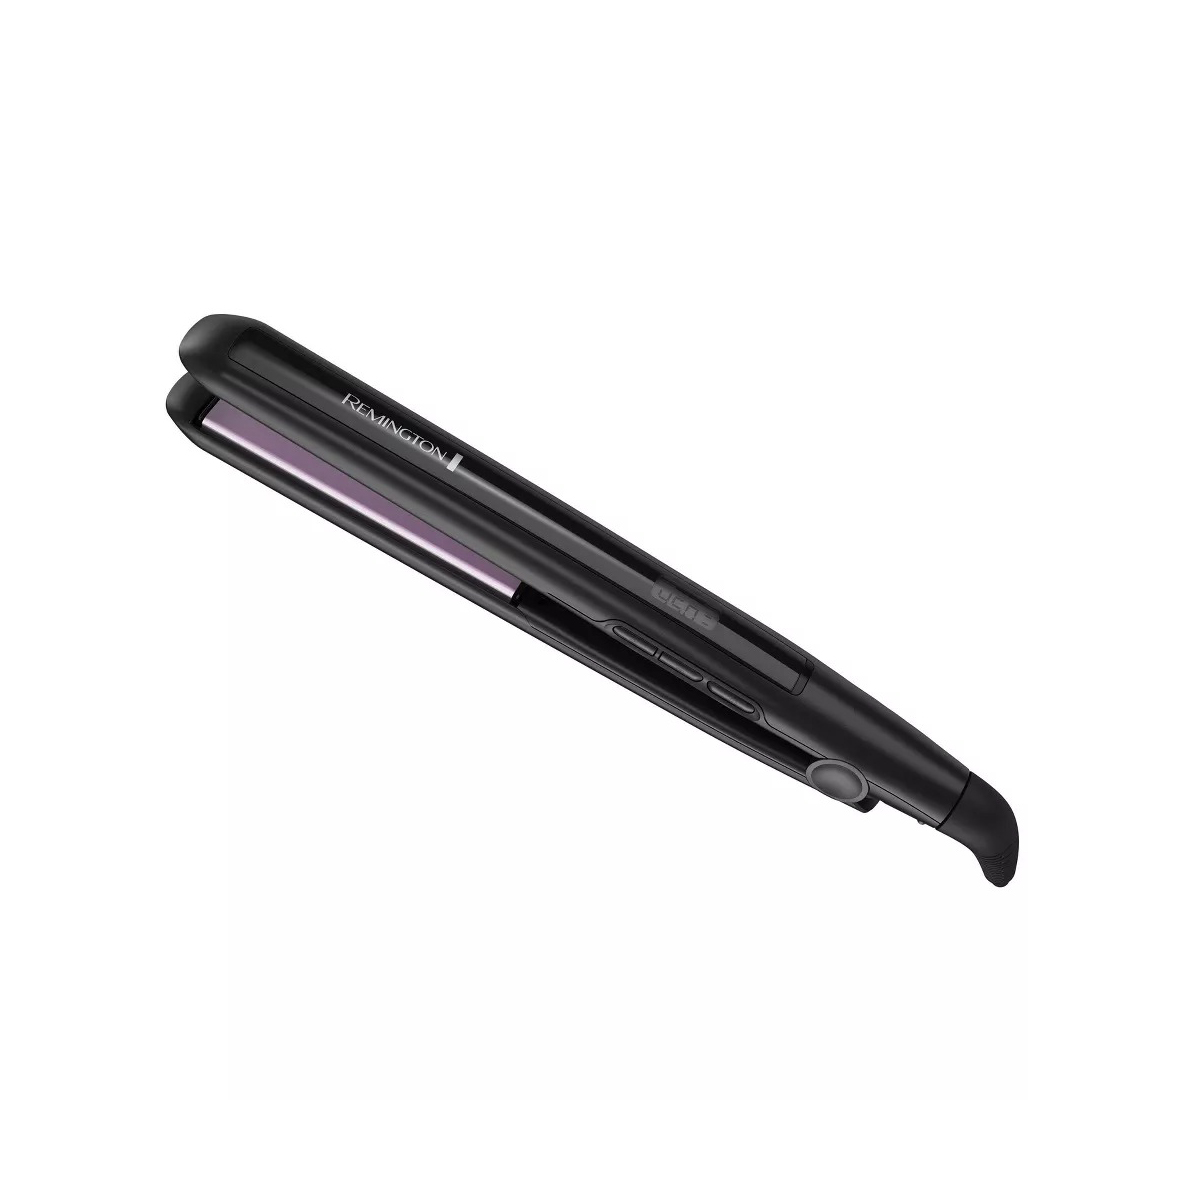
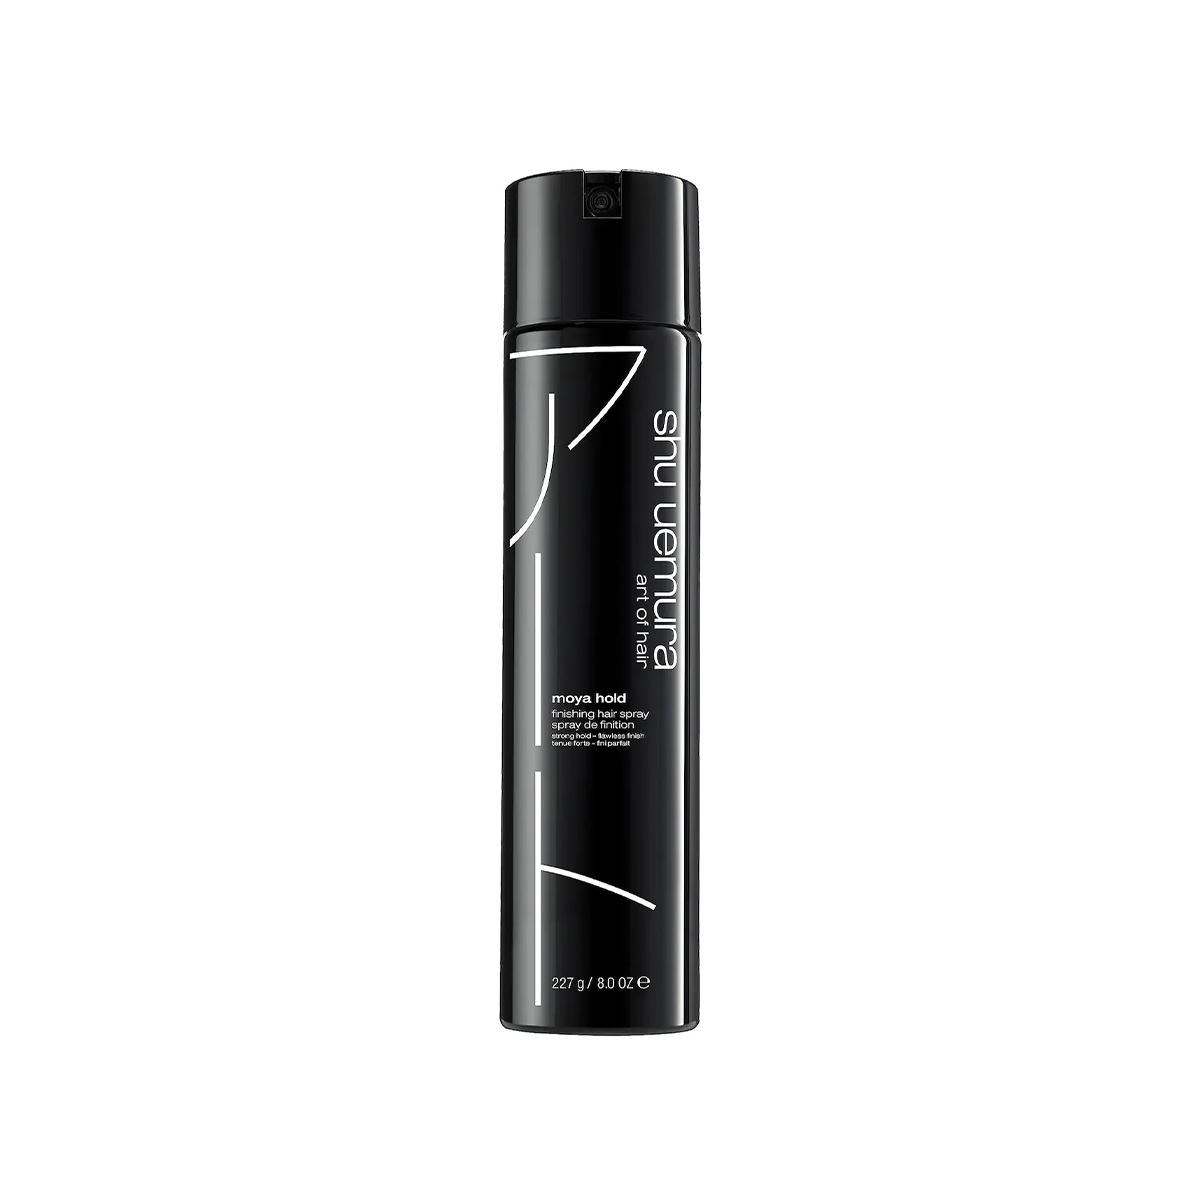
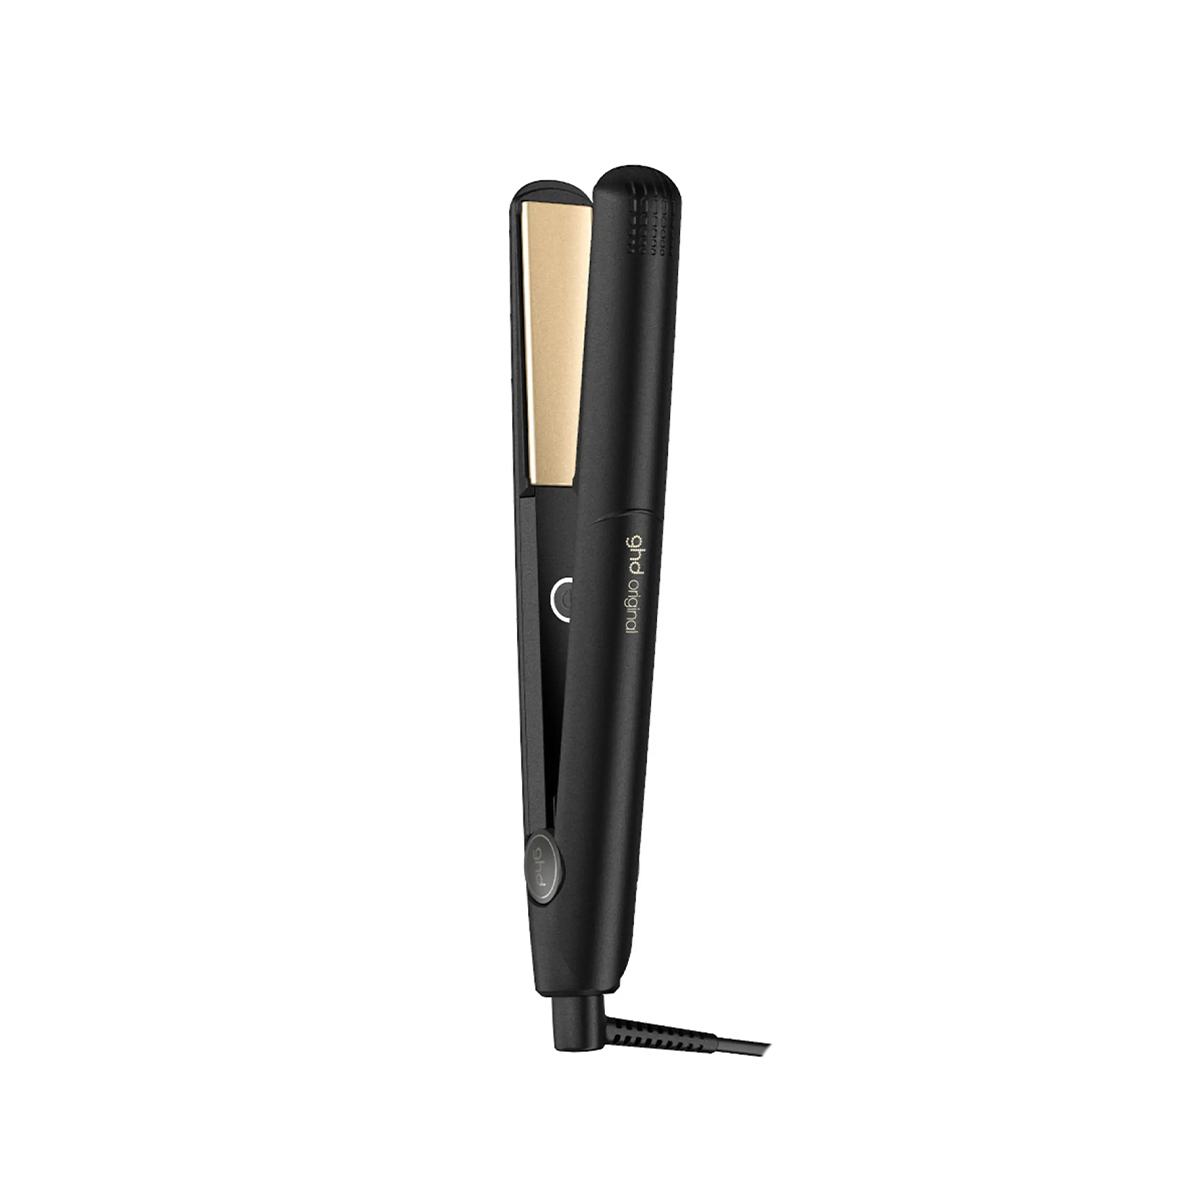
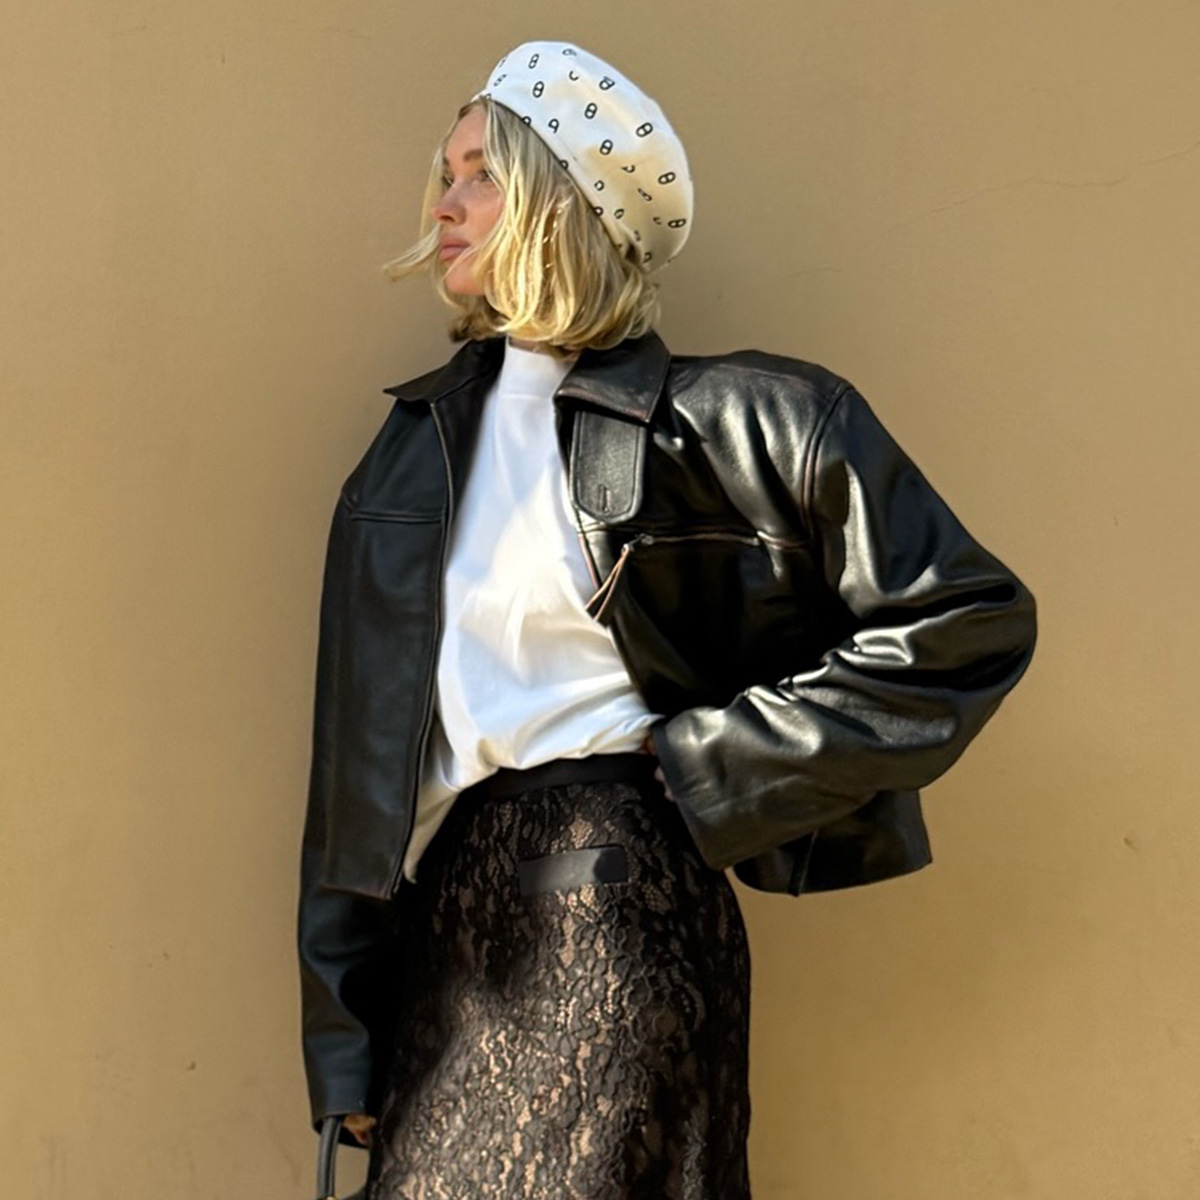
Wearing your hair straight is no easy feat when you're caught in a rain shower. Protect your roots from frizz by rocking your favorite hat (and maybe using an umbrella for a little extra insurance). If you haven't already invested in a brilliant heat protectant, hair spray, or dry shampoo, take this as your sign to go get them! Before applying any heat to your hair, make sure to coat it thoroughly with a lightweight heat-protectant spray. It's recommended that you separate your hair first, and then spray from 10 inches away from damp or dry hair for even coverage and shine. When using a heat tool, remember the lower the temperature, the less of a chance you have of inflicting any heat damage on your locks.
Twists and Braids
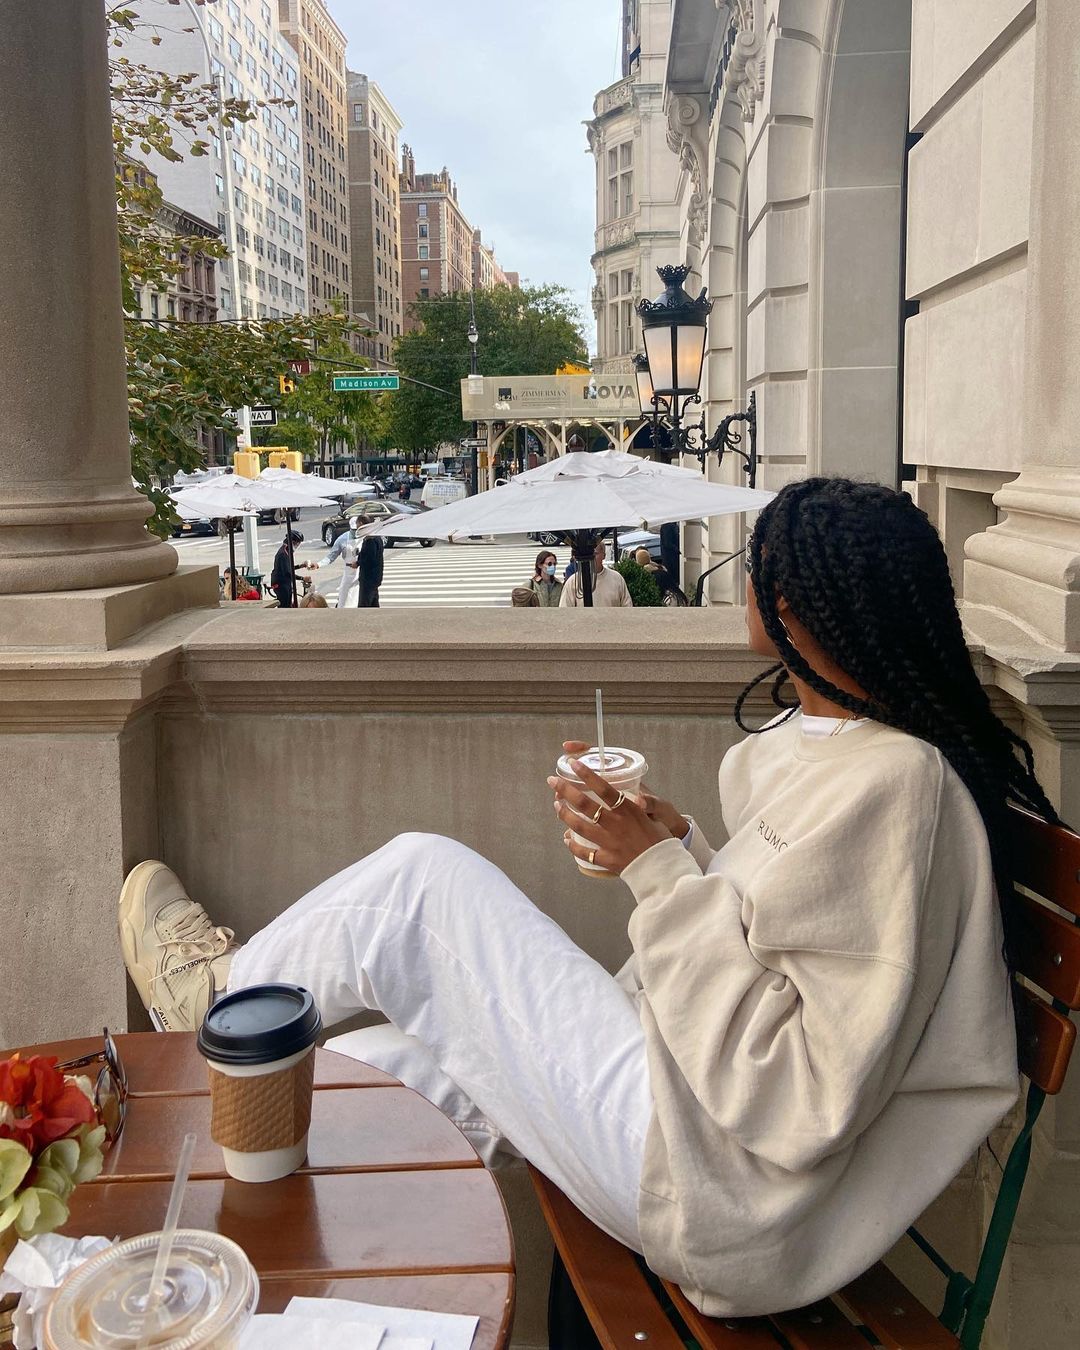
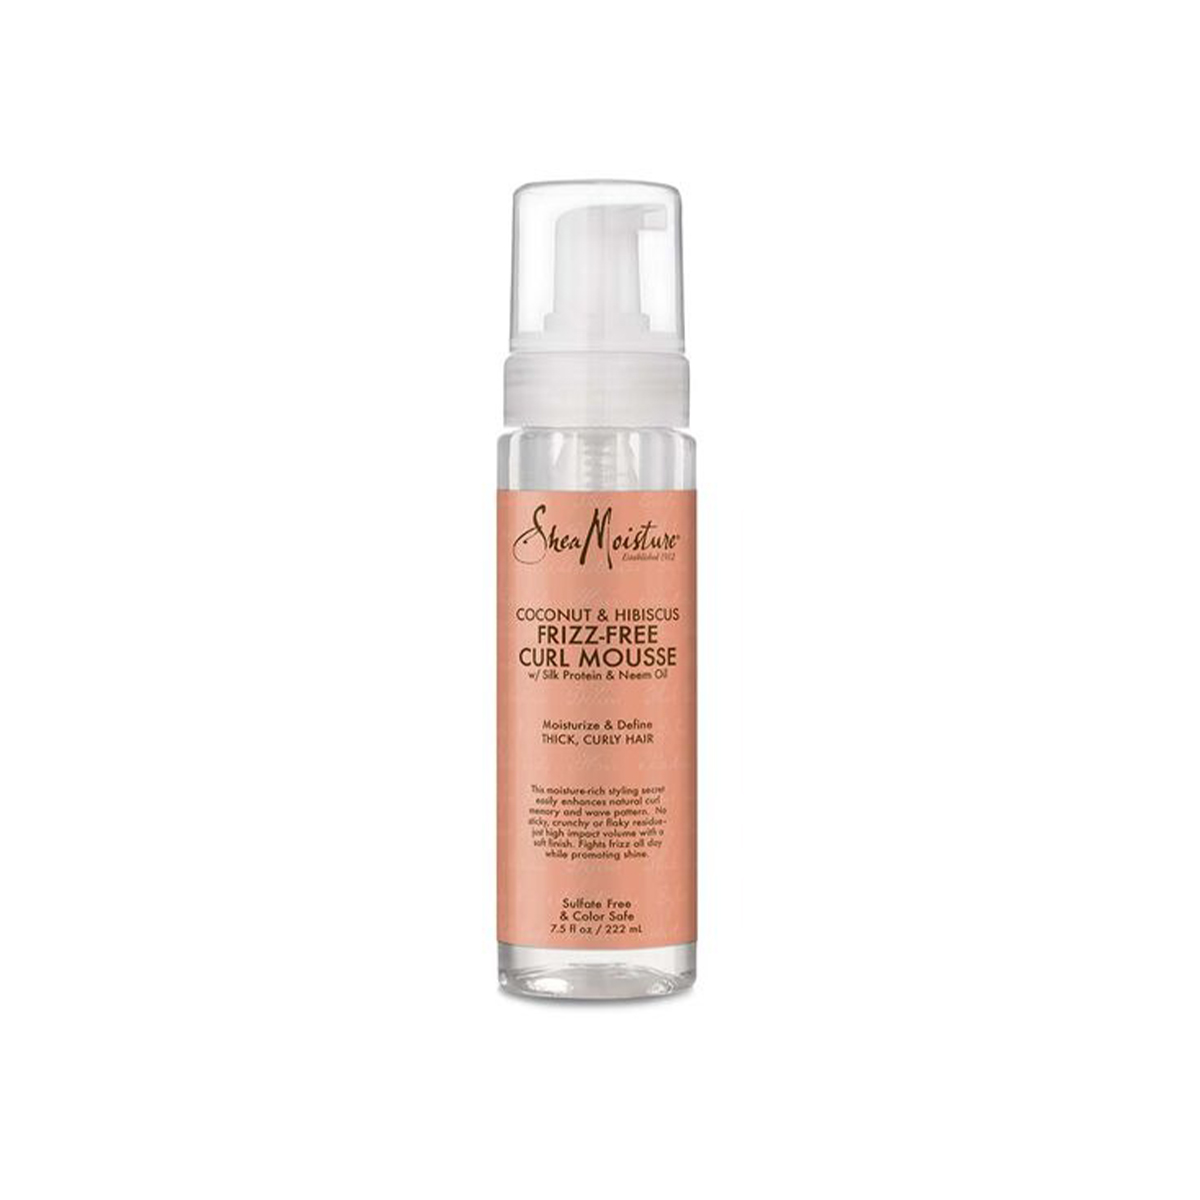
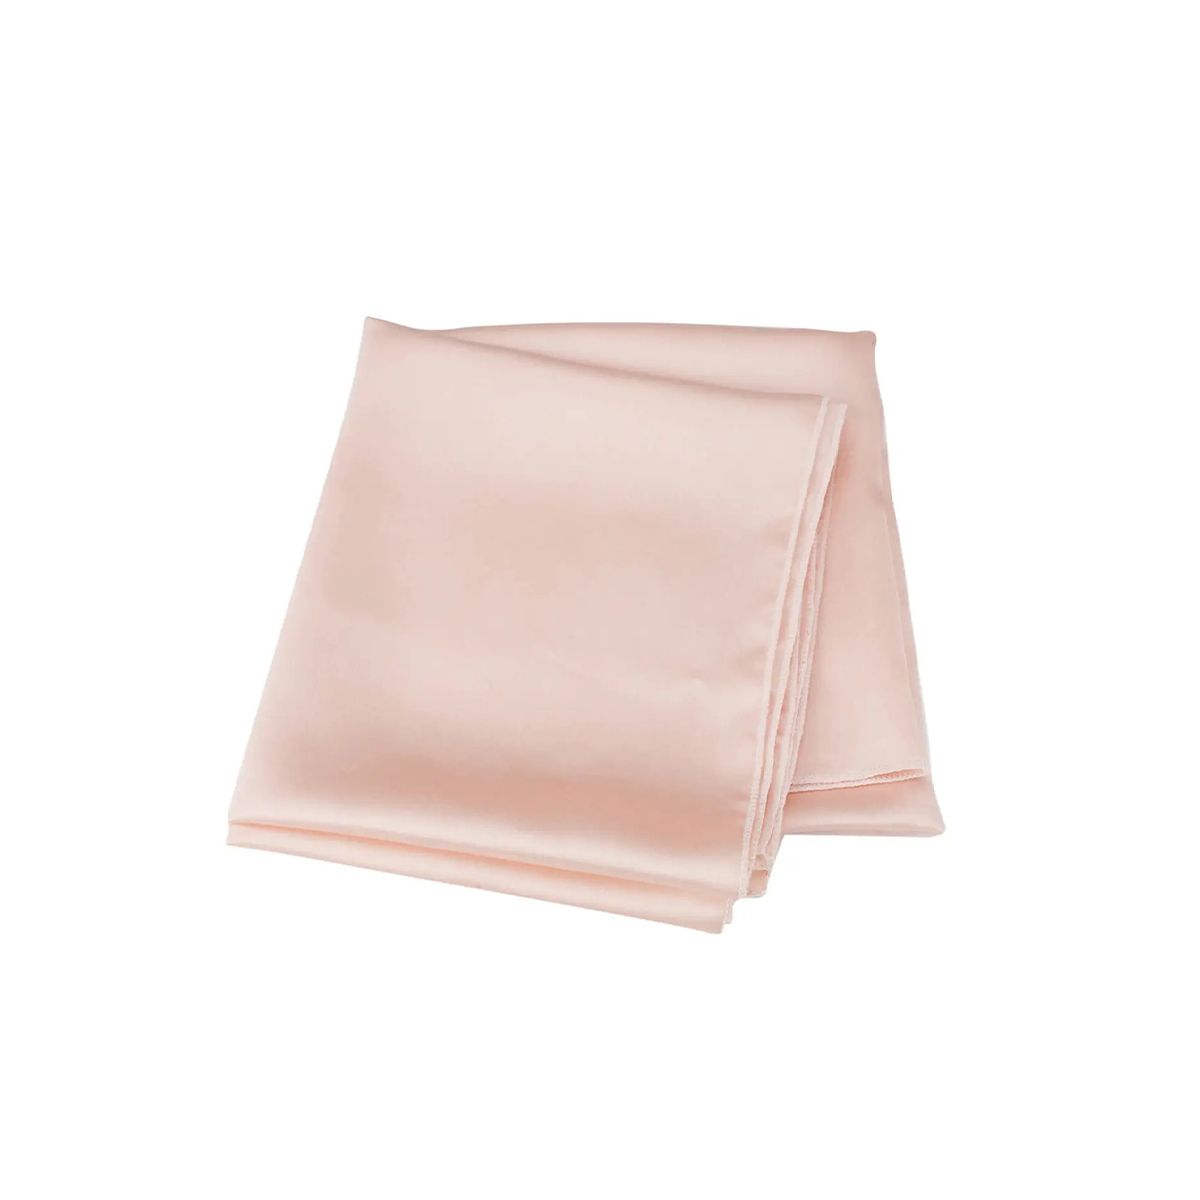
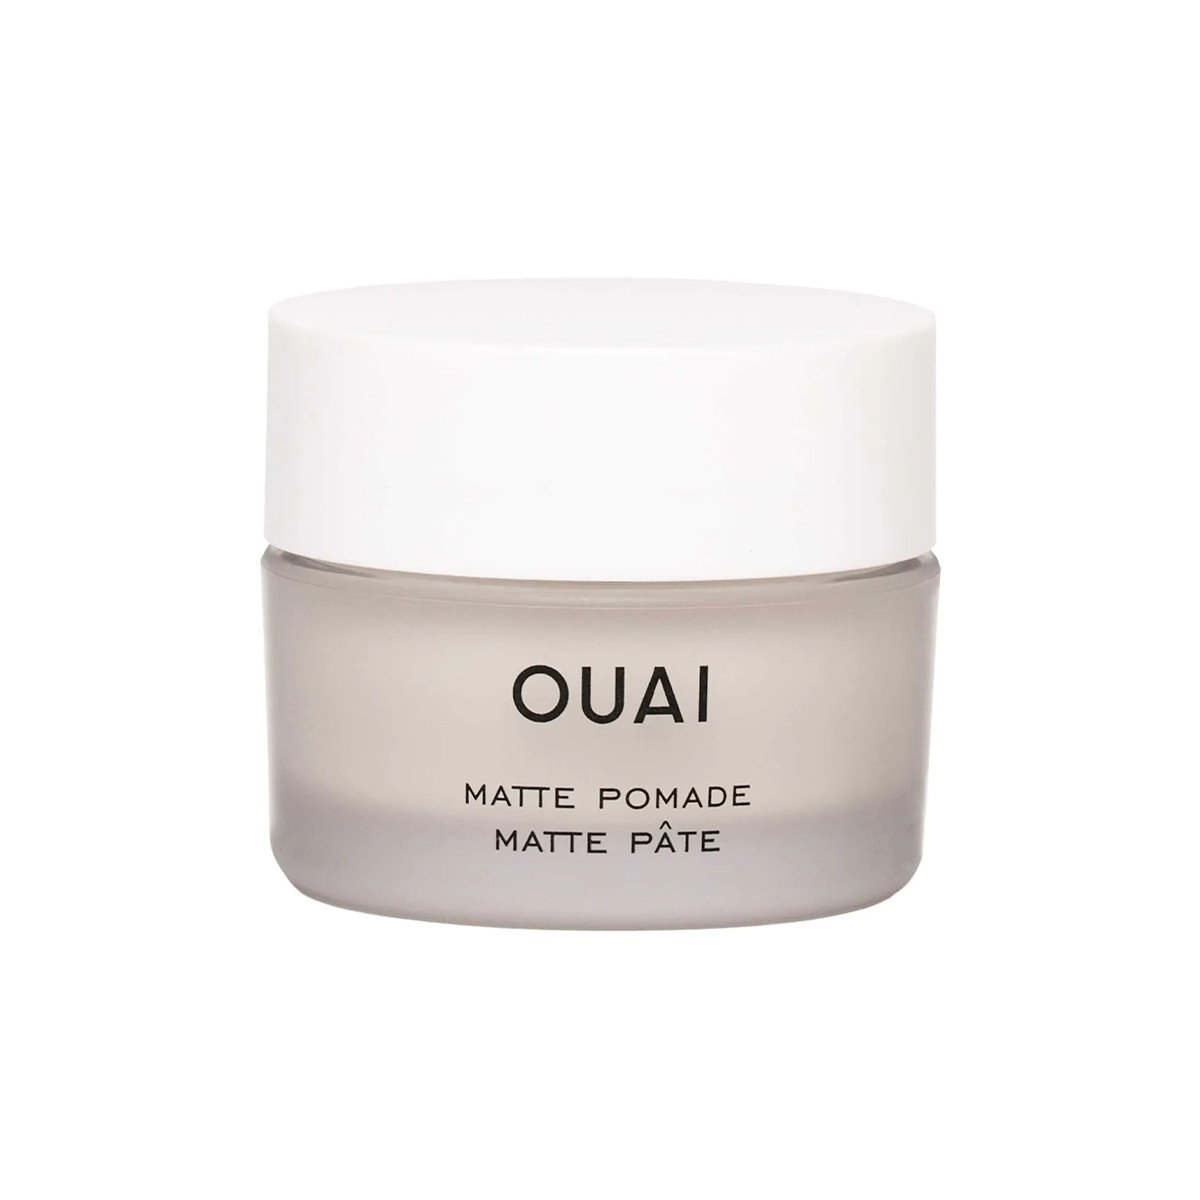
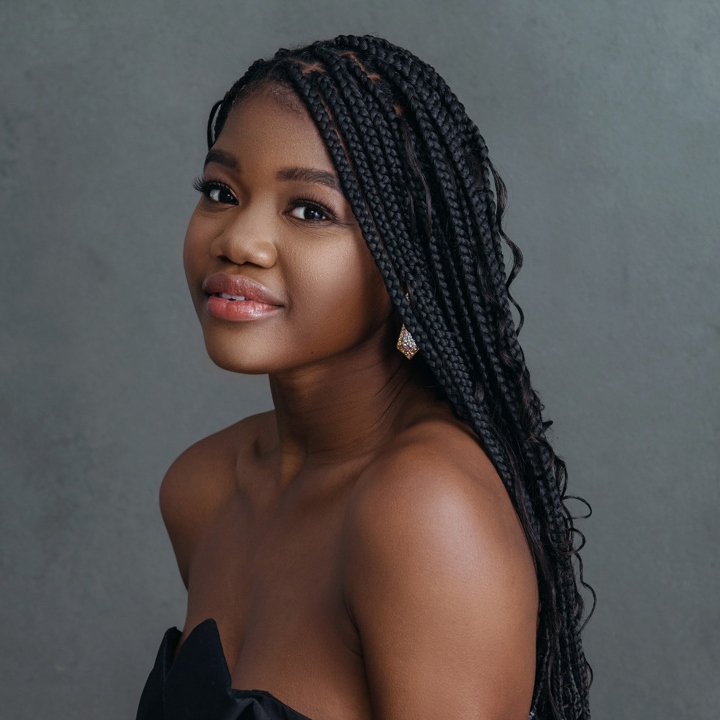
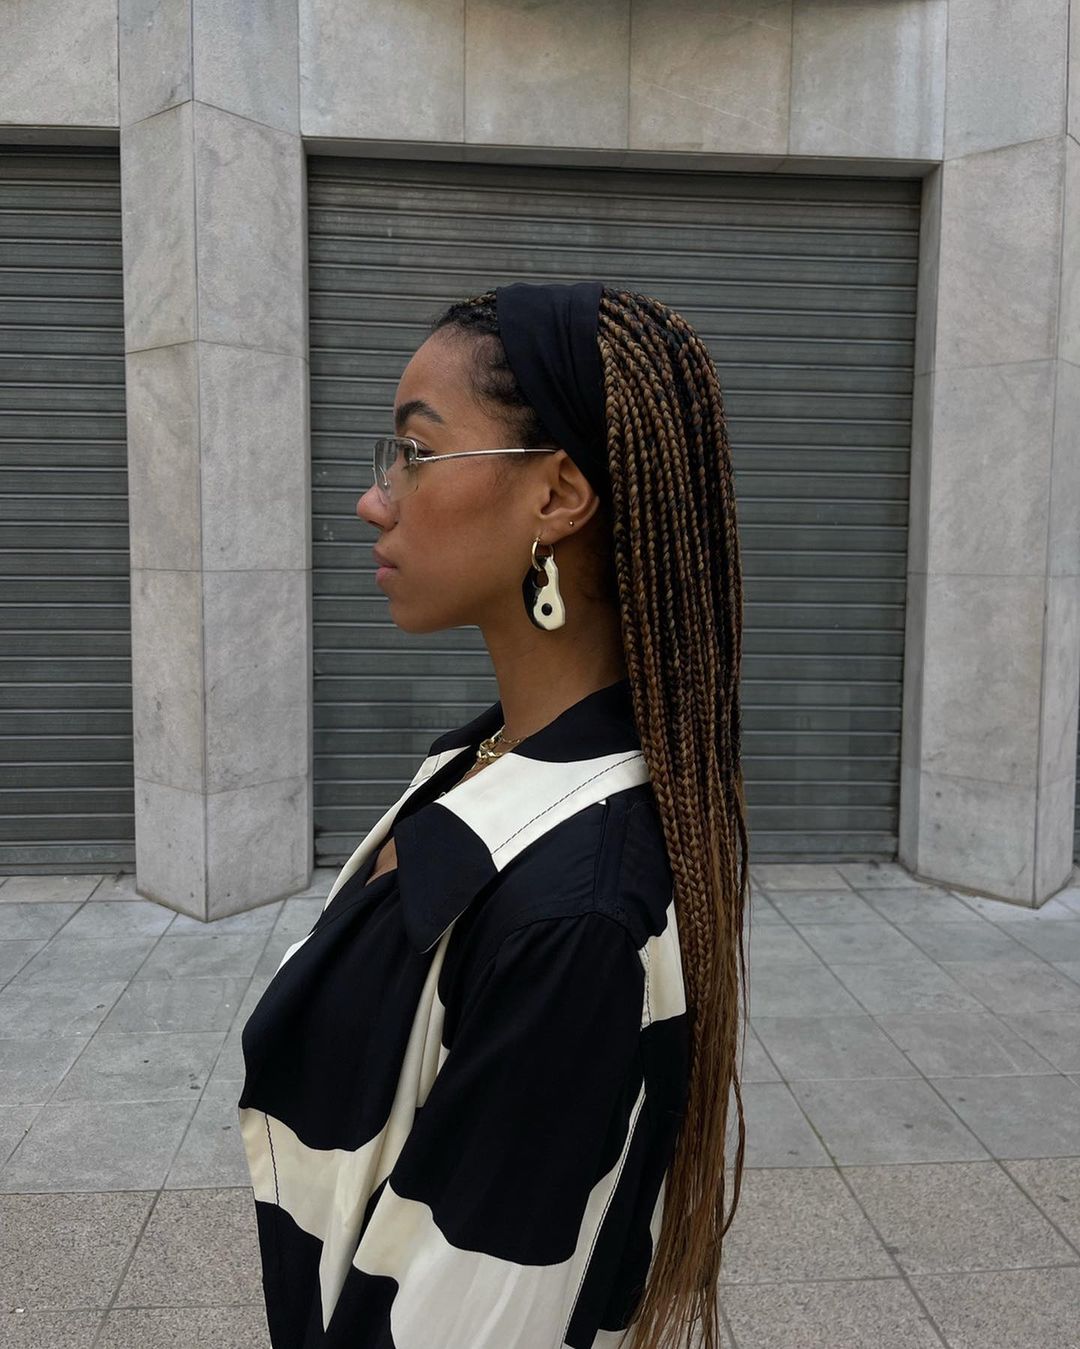
If you, like me, get your hair braided and twisted by someone else, then all you really have to worry about is the upkeep. It's simple: if you want your gorgeous hairstyle to last longer, you have to keep it healthy and hydrated. For your hair to remain frizz-free, smooth mousse over it daily and wrap it with a satin scarf or bonnet to allow the hair to lay flat naturally without any strain or tension. Lastly, using a satin pillowcase can work wonders for both your skin and hair. Lastly, I like to go in with hair gel or pomade on my edges to give my hair a little oomph where it needs it and keep my braids and twist looking fresh.
Perfect Pony
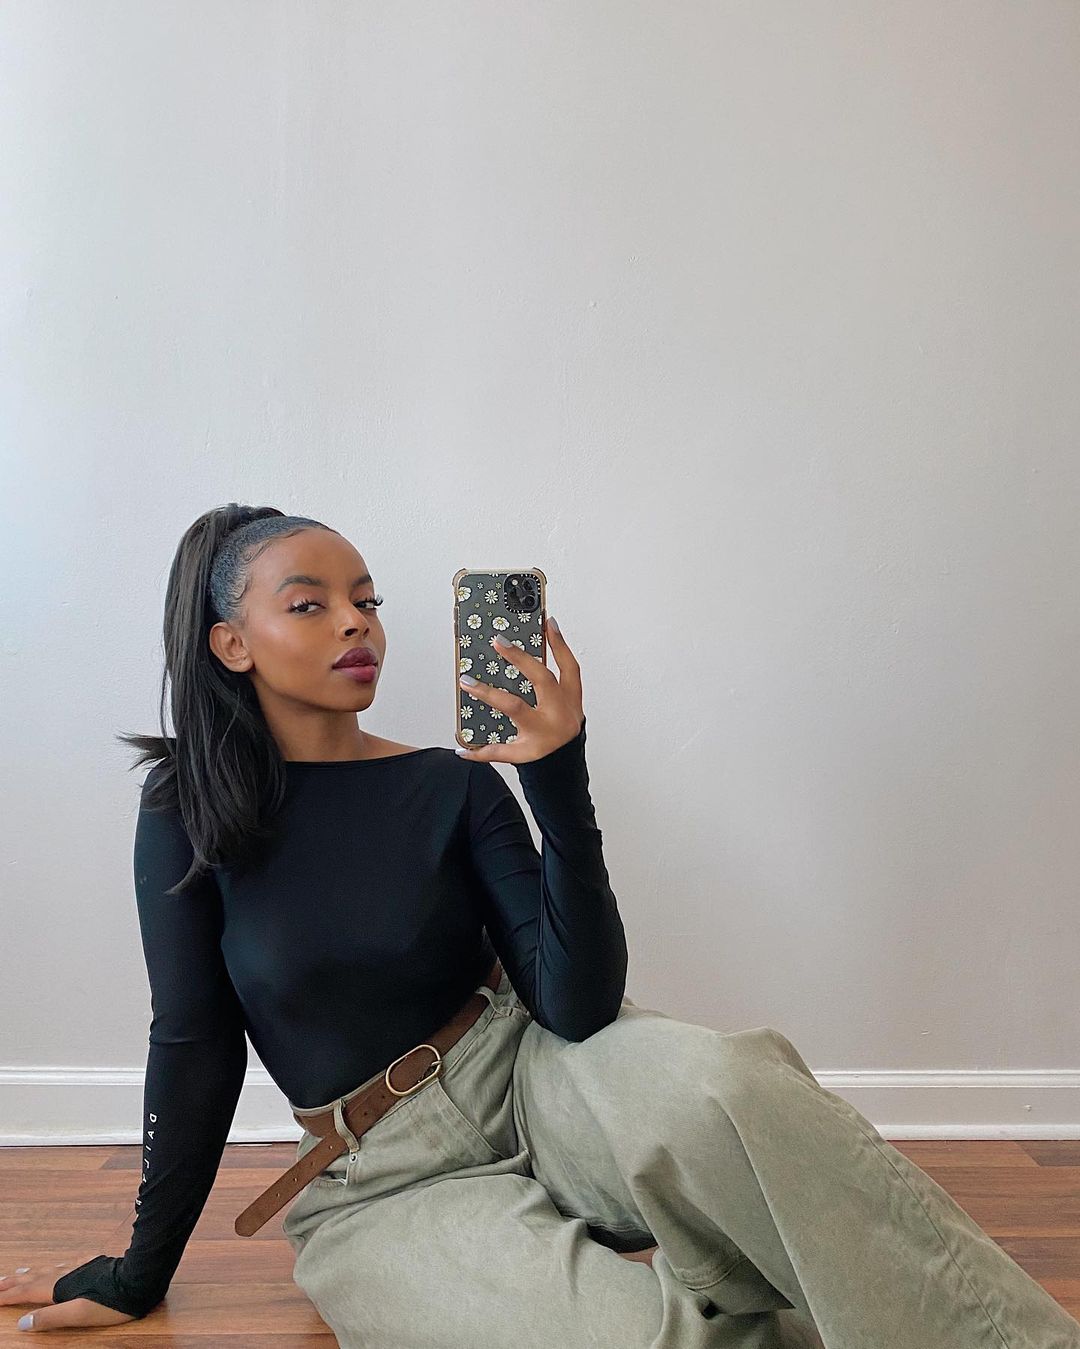
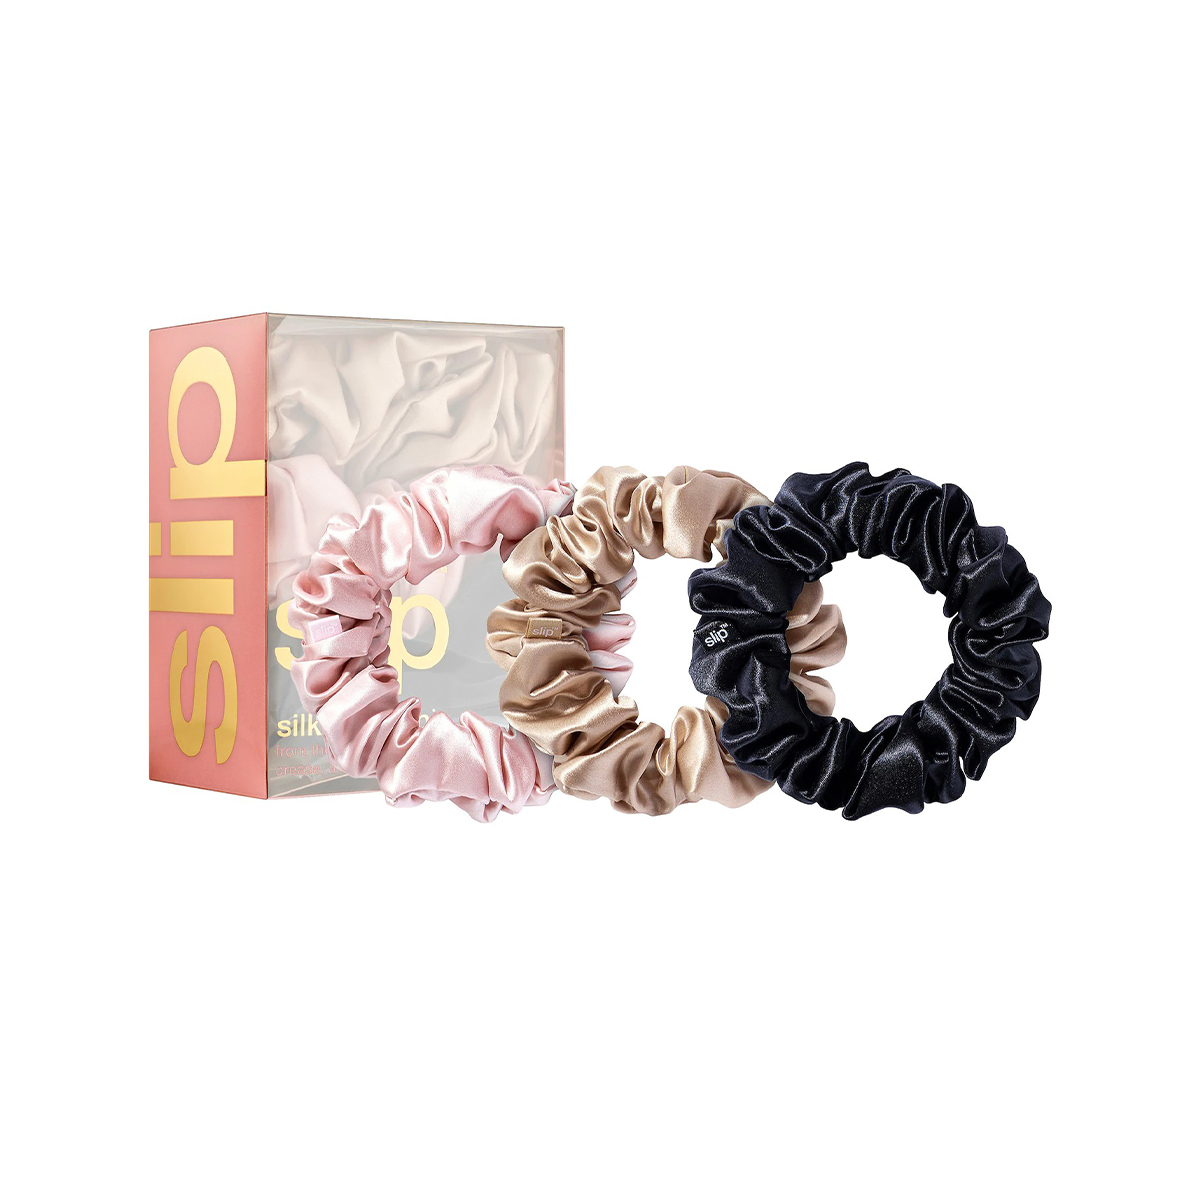
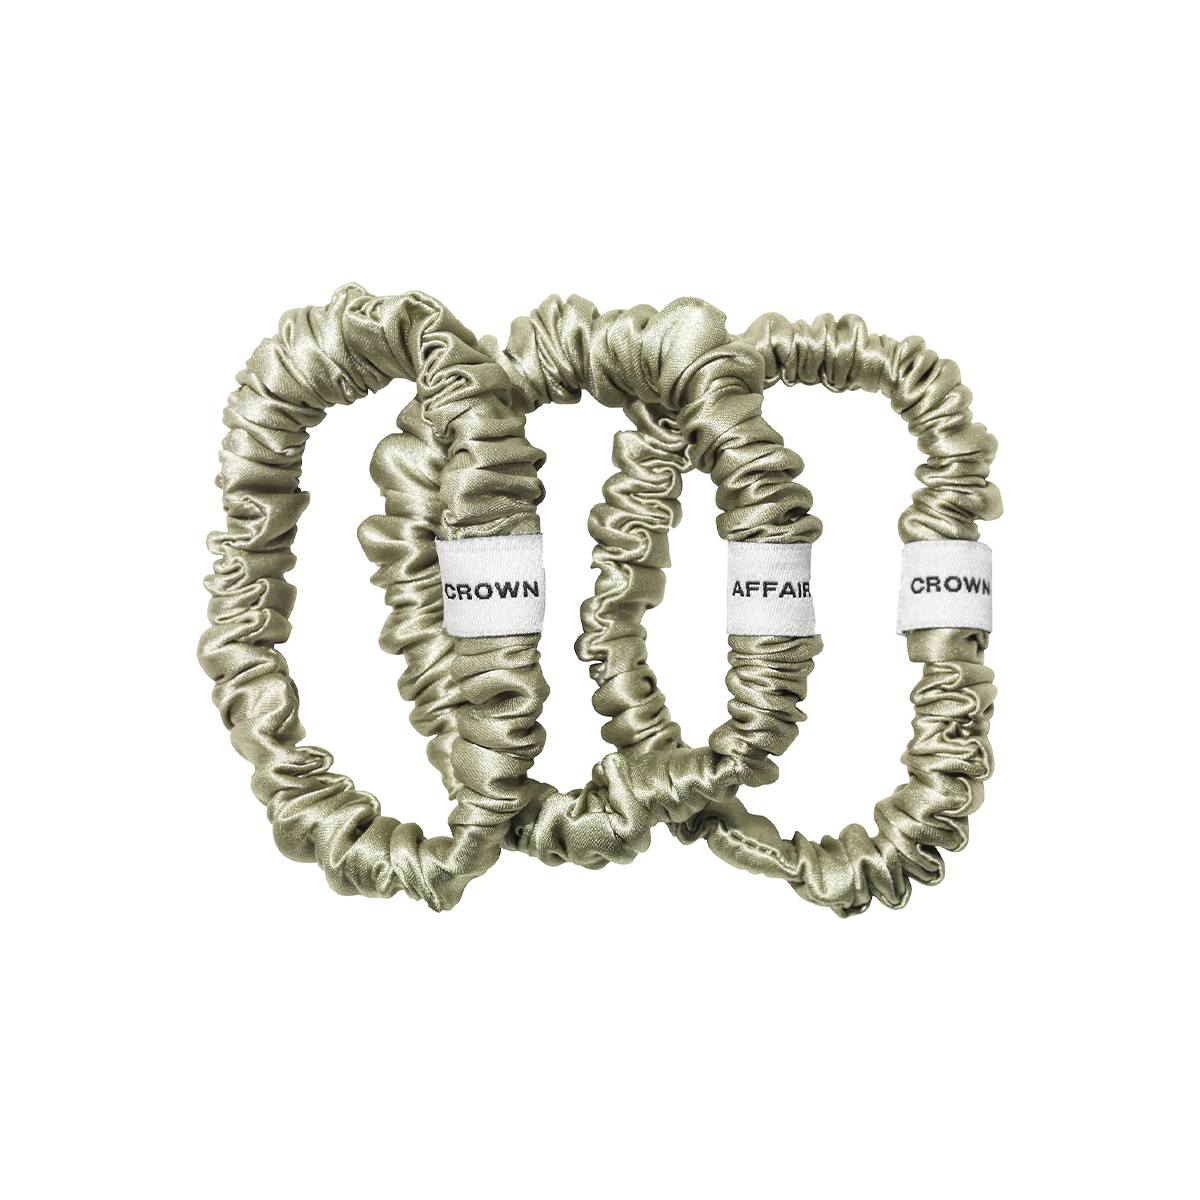
Looking for something easy to maintain and that's timeless? Try a sleek ponytail the next time you're in a hairstyle rut. Treat this style like a combination of the slicked-back bun and just-straightened hair, paying special attention to making sure your hair is frizz-free and flat against your scalp. To slick your hair back, use a pomade that doesn't leave any pesky white residue. For the ponytail, consider using a silk scrunchie to keep your hair healthy, shiny, and free of any knots or snags. After you've pulled your locks into a pony, make sure it's completely brushed through before you straighten it. Want to add a fun retro touch to the hairstyle? Flip your hair at the ends.
Bantu Knots
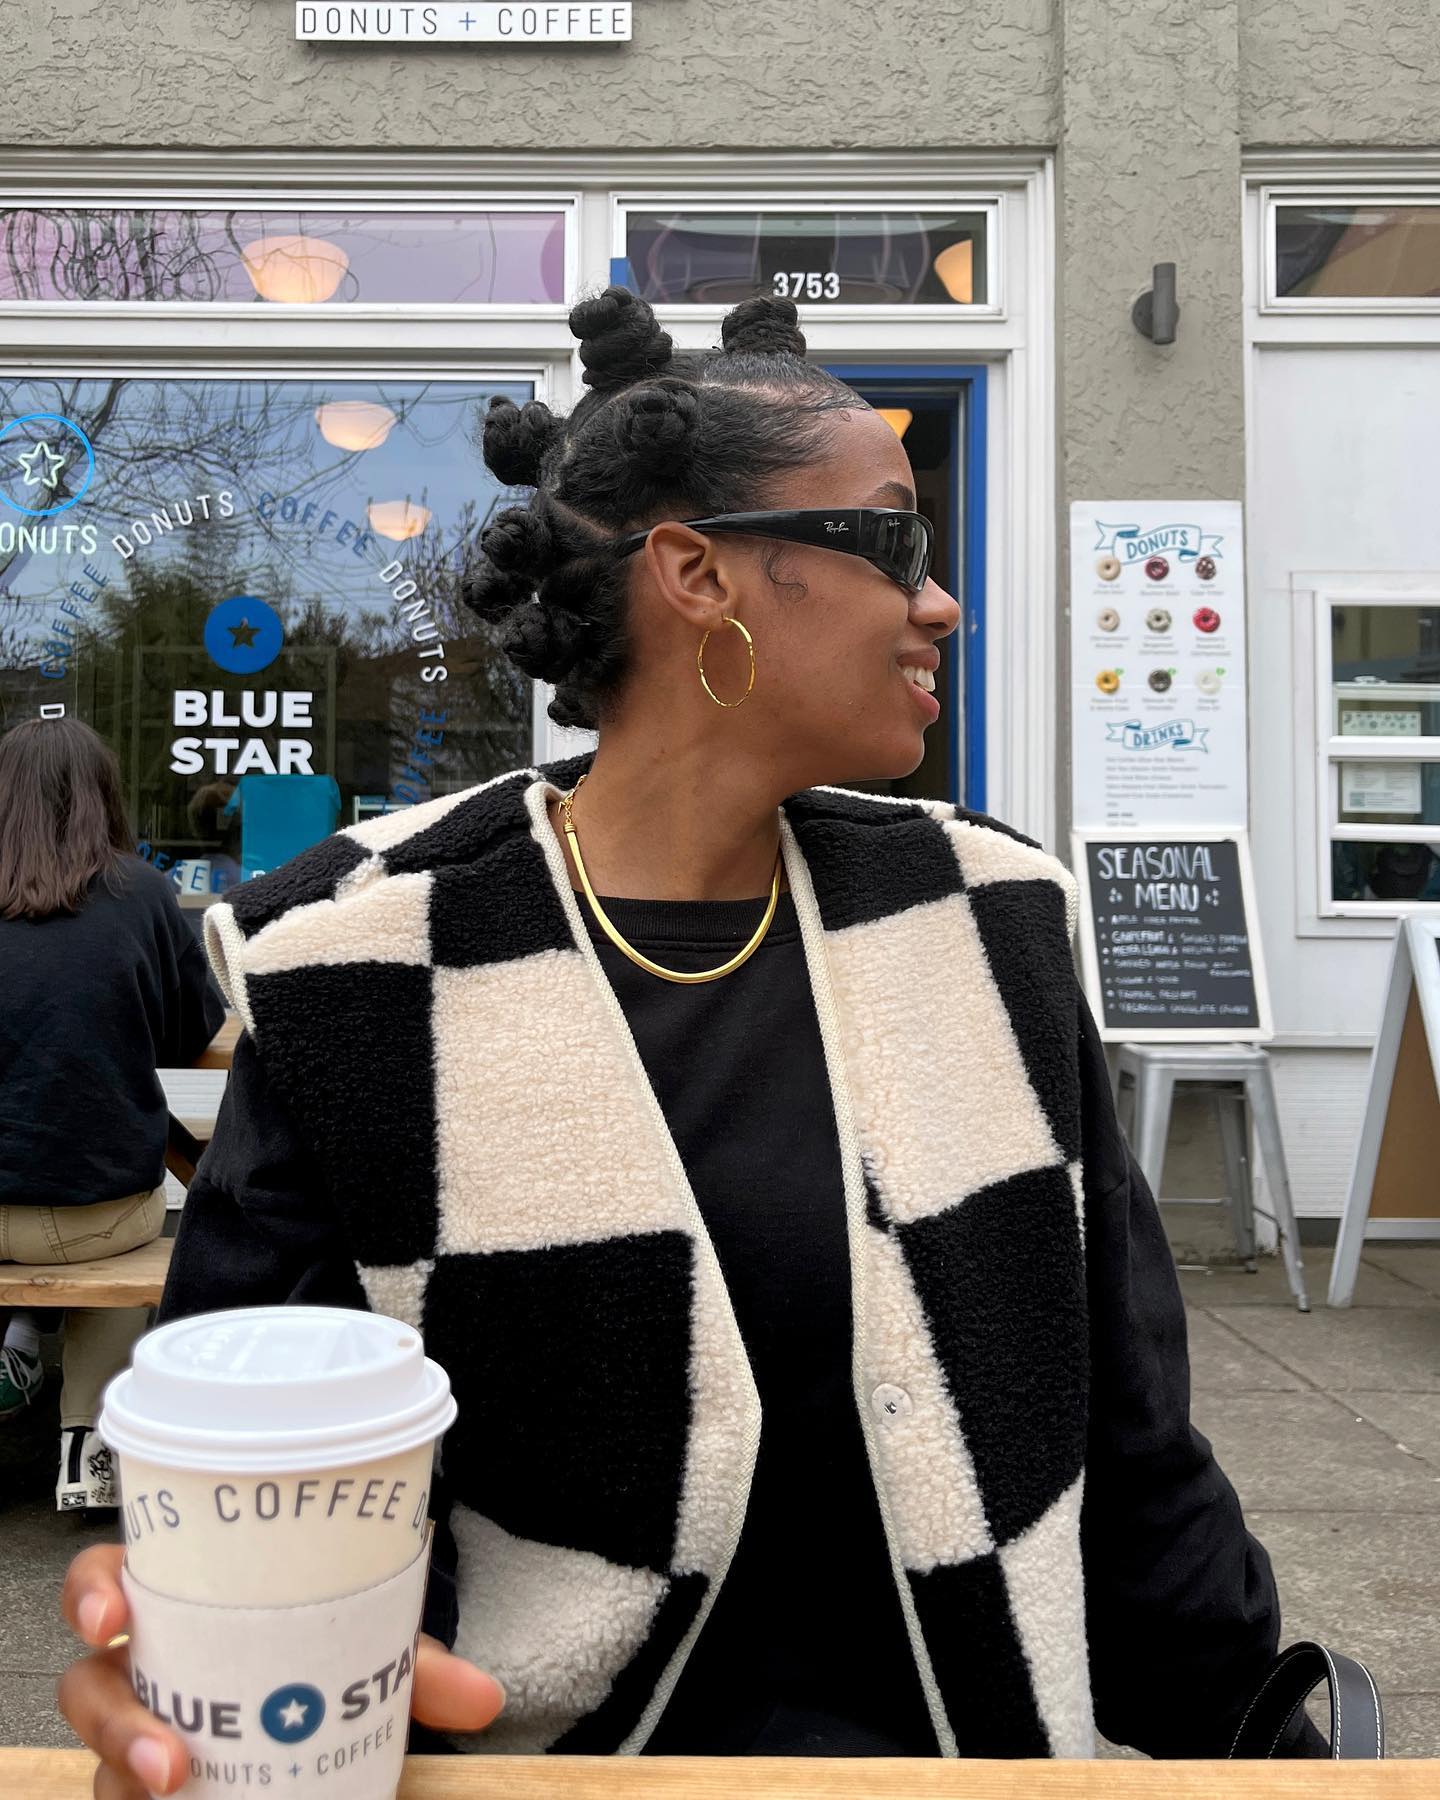
Bantu knots (also commonly referred to as Zulu, Nubian knots, or Chiney bumps) originated from the Zulu people of Southern Africa. Considered to be a protective style, they're a cost-effective way to help retain hair growth without the use of heat. They're also low-maintenance and can be done on almost any natural hair textures and lengths. After washing and conditioning your hair, section it into four sections (re-wet the hair where needed). Next, part your hair equally in each section and start a two-strand twist without adding too much tension. The next part is where it gets a little tricky: Wrap your two-strand twists around their base, then tuck whatever remaining hair is left from your two-strand twist under the base, and then fasten with bobby pins.
Next: This Oil Can Give You Longer, Stronger, and Shinier Hair, and It Only Costs $8

Maya Thomas is Who What Wear's Associate Beauty Editor based in New York City. Her strong love for all things beauty and fashion stems from a strong childhood interest in the fine arts. During a gap year spent in Paris studying the history of French fashion, she shifted her focus to English literature and journalism as a student at Loyola Marymount University with the goal of one day pursuing a career in fashion. After graduating in May 2021, Maya began freelancing for Parade.com as a contributing commerce writer while also building a following on her lifestyle blog, Itsmayalala.com. When she's not writing, Maya spends her free time catching up on reading, perusing art galleries, and enjoying a night out at the ballet every now and then.
