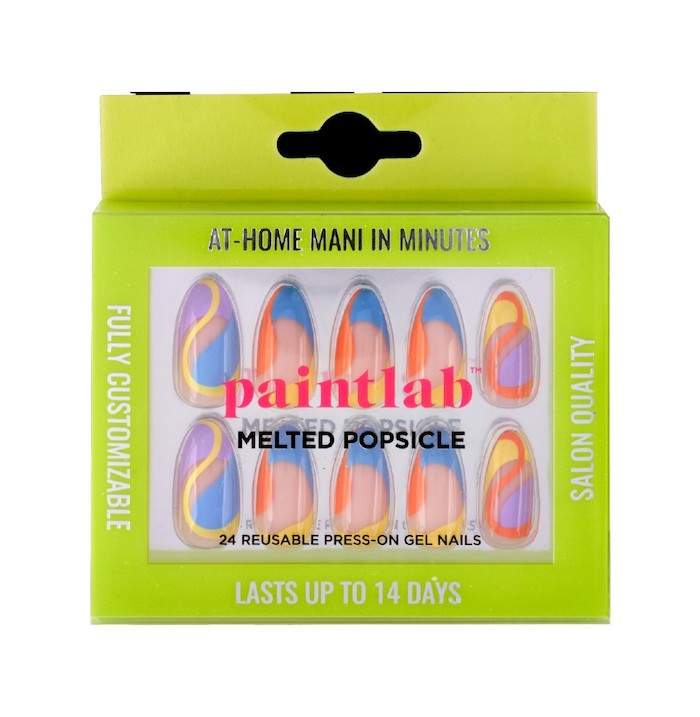
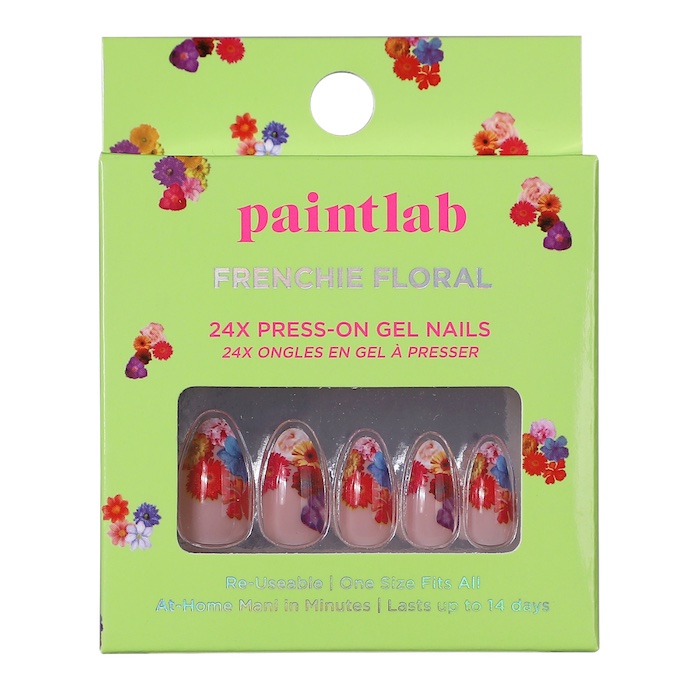
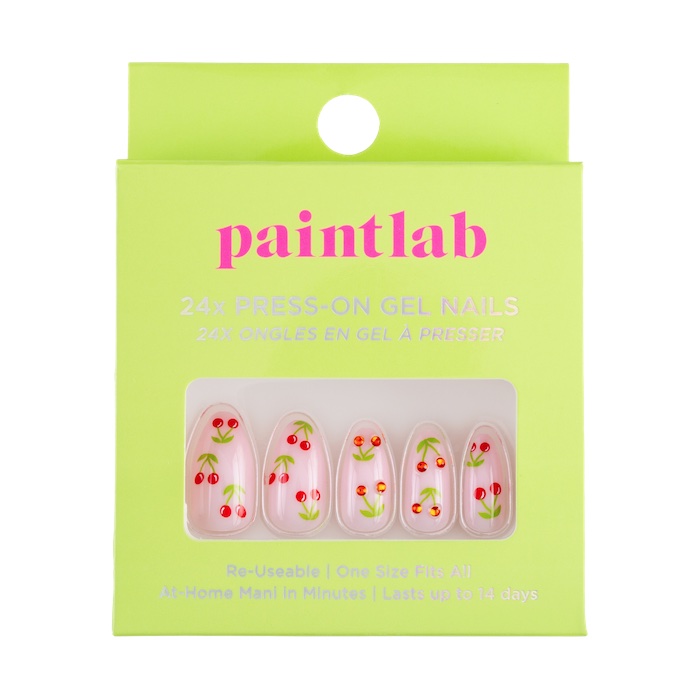
These $15 Press-Ons Look So Good My Nail-Tech Friend Complimented Them
Welcome to Deep Reviews—your one-stop destination to discover the absolute best products and brands the beauty industry has to offer. Every month, the Who What Wear staffers you already know and trust will research, test, and review the market's most sought-after and buzzed-about products to see which formulas (of the hundreds up for consideration) are truly worth your hard-earned money and attention. You can expect honest, completely uncensored feedback and no-BS recommendations our hard-to-please testers endorse without reservations. To put it simply, stick with us, and buyer's remorse will be a thing of the past.
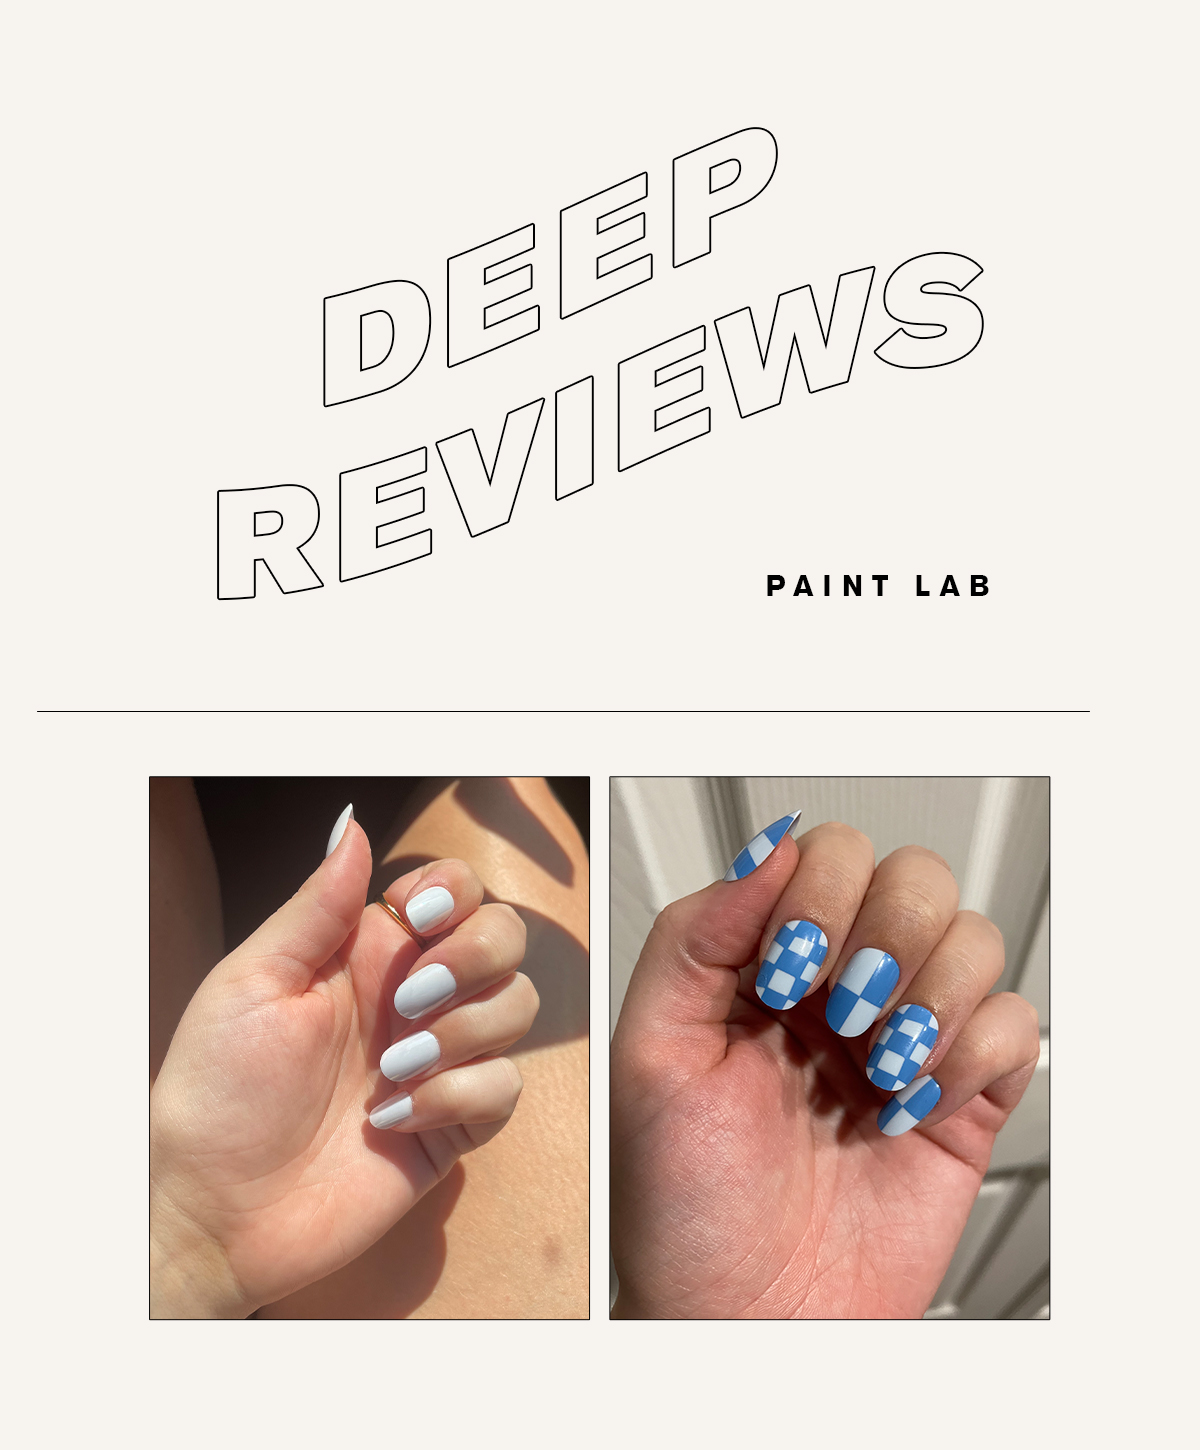
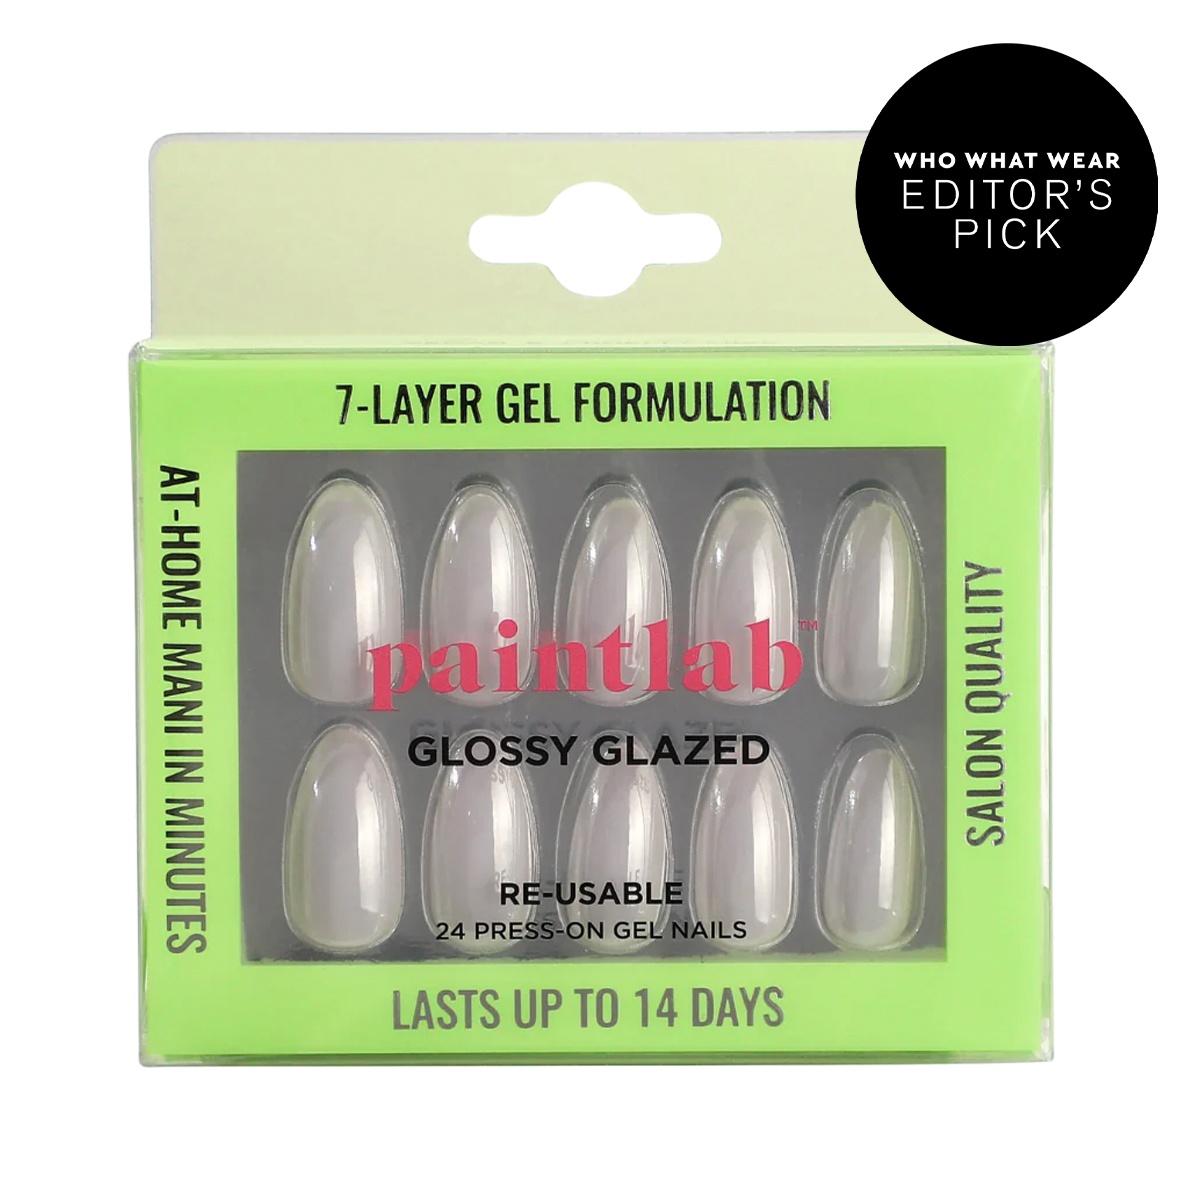
The majority of our Deep Reviews will feature our editors' honest, ultra-hot takes on entire product categories or multiple products from a particular beauty brand, but every so often, we'll sprinkle in a special single-product format called Honestly, I Love It. As the name suggests, these reviews will hone in on one standout beauty formula our editors quite literally can't shut up about. This time around, I'm highlighting PaintLabs' Press-On Nails ($15).
I've never been someone who wears press-on nails. I've tried so many of them, but some of them just looked too fake. Others looked okay but didn't fit my natural nails, so they were uncomfortable to wear. Then there were the ones that looked okay and fit well but were so flimsy they chipped or popped off after a day or two. That's why, for a long time, I thought I was better off living with my short, lackluster nails rather than going through all that trouble.
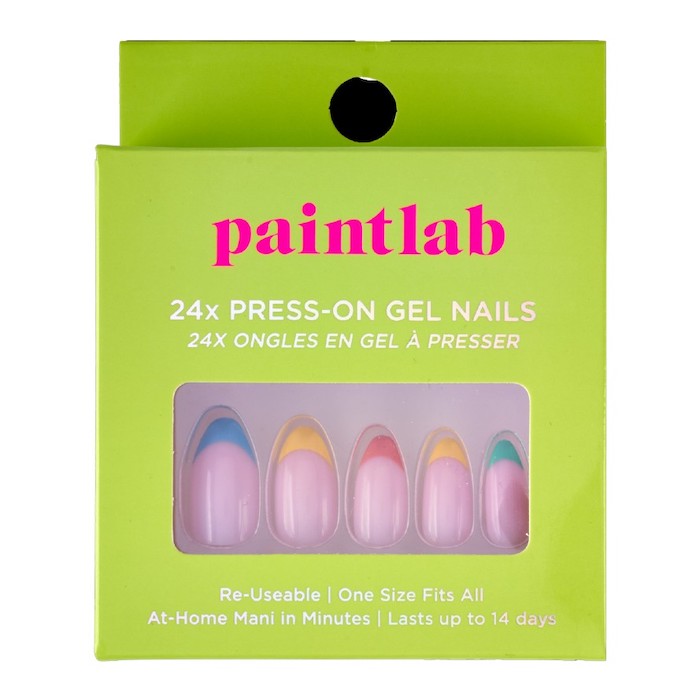
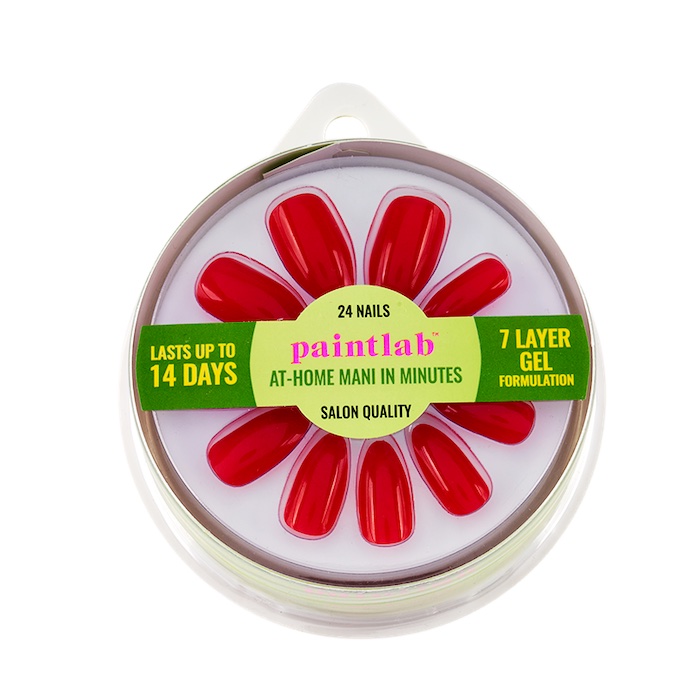
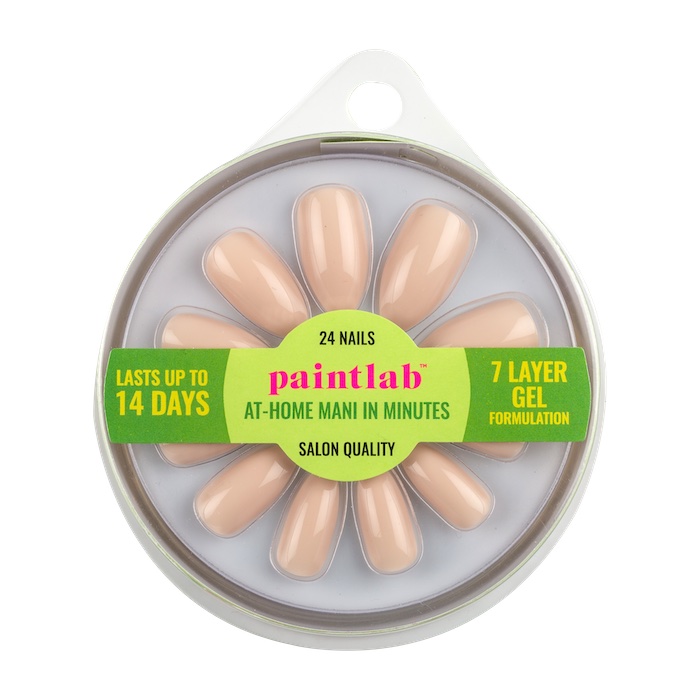
But then, a little green box came across my desk. They were PaintLab Press-On Nails, and they looked amazing—so amazing that I forgot all of my past press-on woes and decided to give them a try. I'm glad I did. They looked like real nails, they fit my natural nail beds, and they were so durable they lasted for a full 12 days with barely any upkeep.
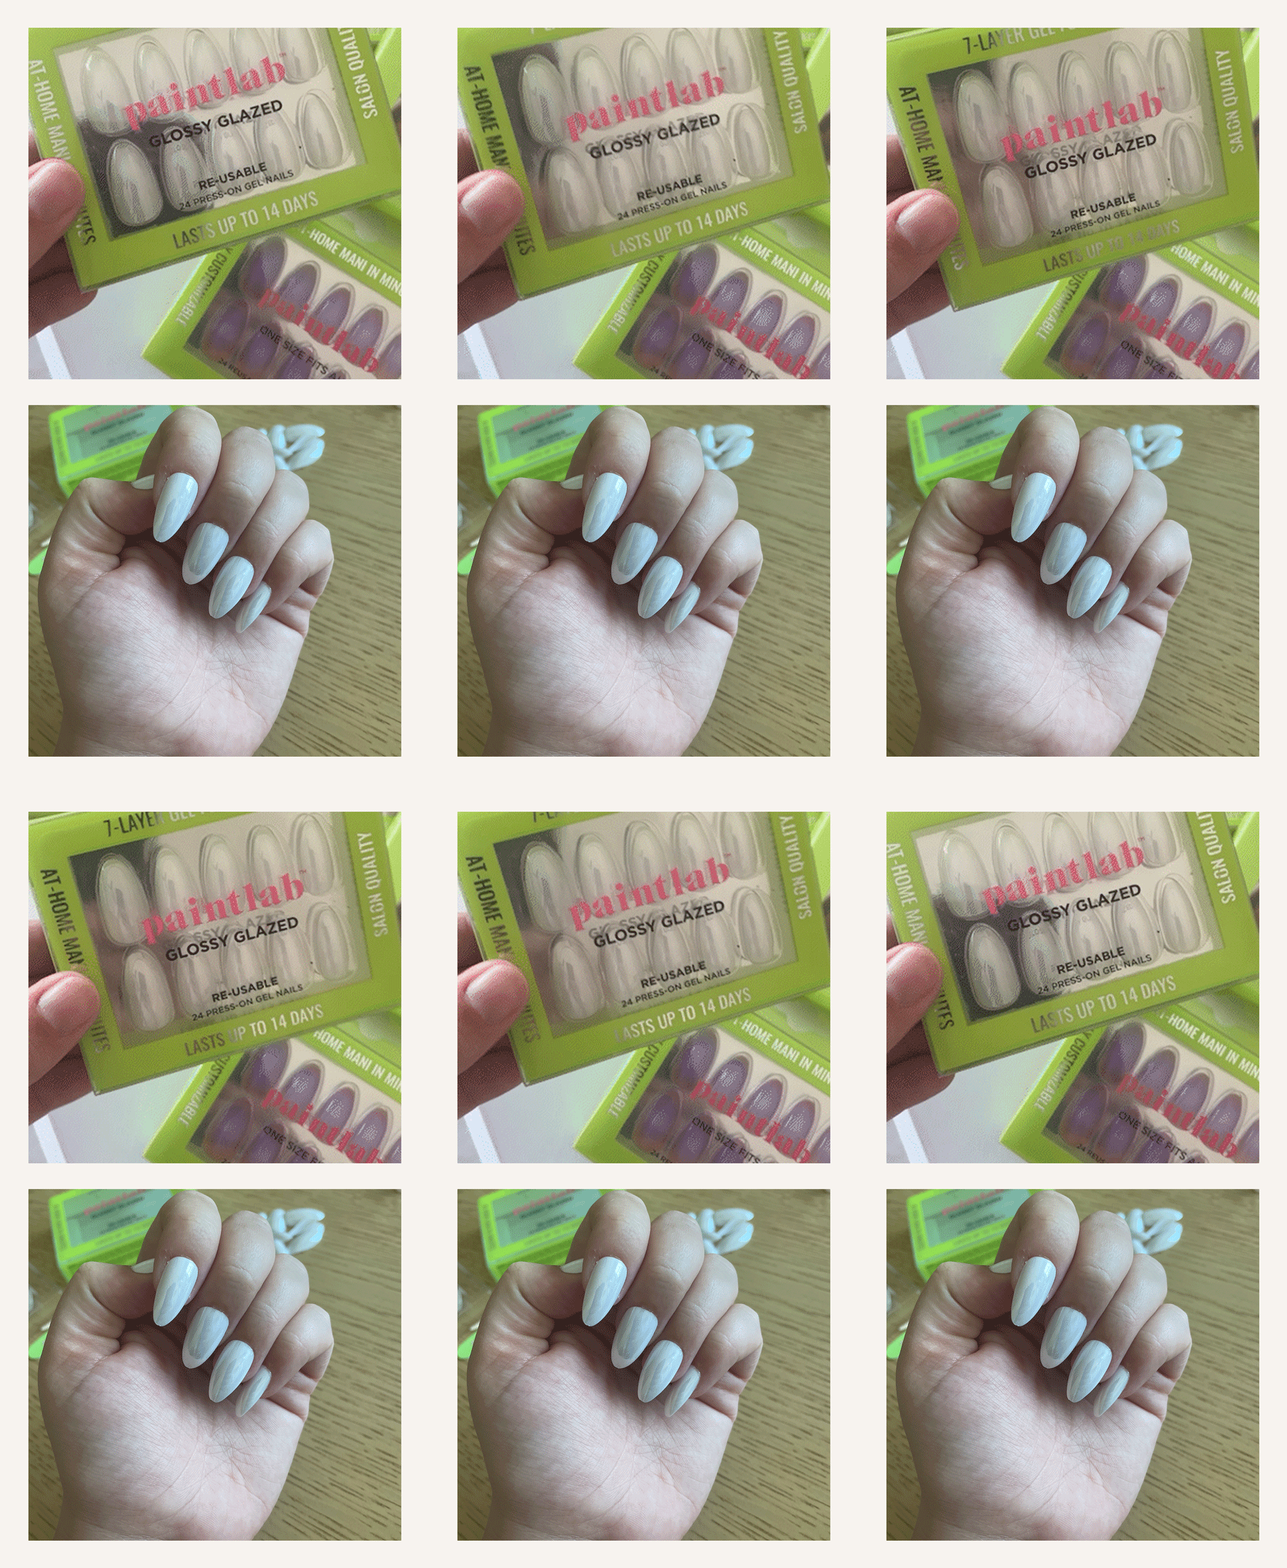
When I say barely any upkeep, I mean it. I swam, I showered, and I did the dishes without wearing gloves. I even used my nails to not-so-gently pick off the stickers that came on my new furniture. In other words, I put these nails through the ringer. Over the course of 12 days, however, only one nail popped off, and that was because I didn't use enough nail glue on it upon application. My bad.
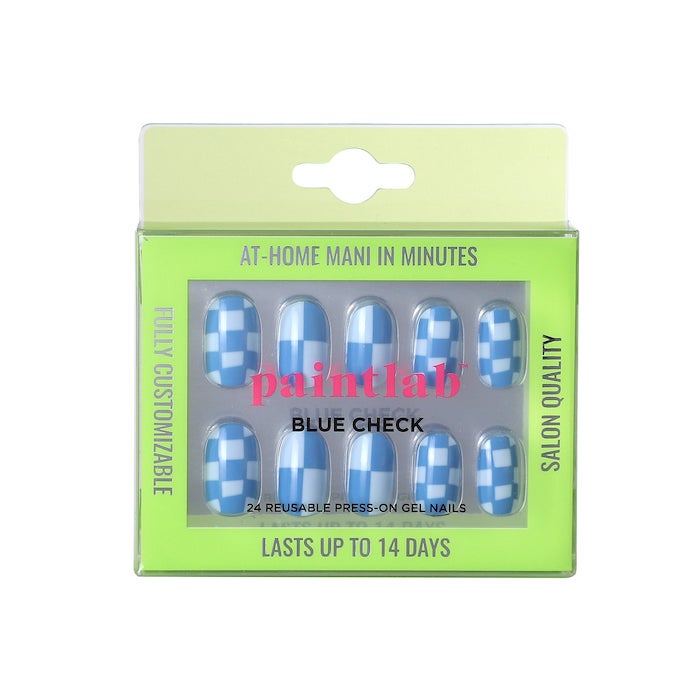
The real kicker was when I went to go meet a friend who happens to be a nail tech. She complimented them, saying (and I quote), "I swear I would have never known they were press-ons if I weren't a nail tech." That's when I knew they were the real deal. So I decided to test another set (a blue checkered one), and they were just as good.
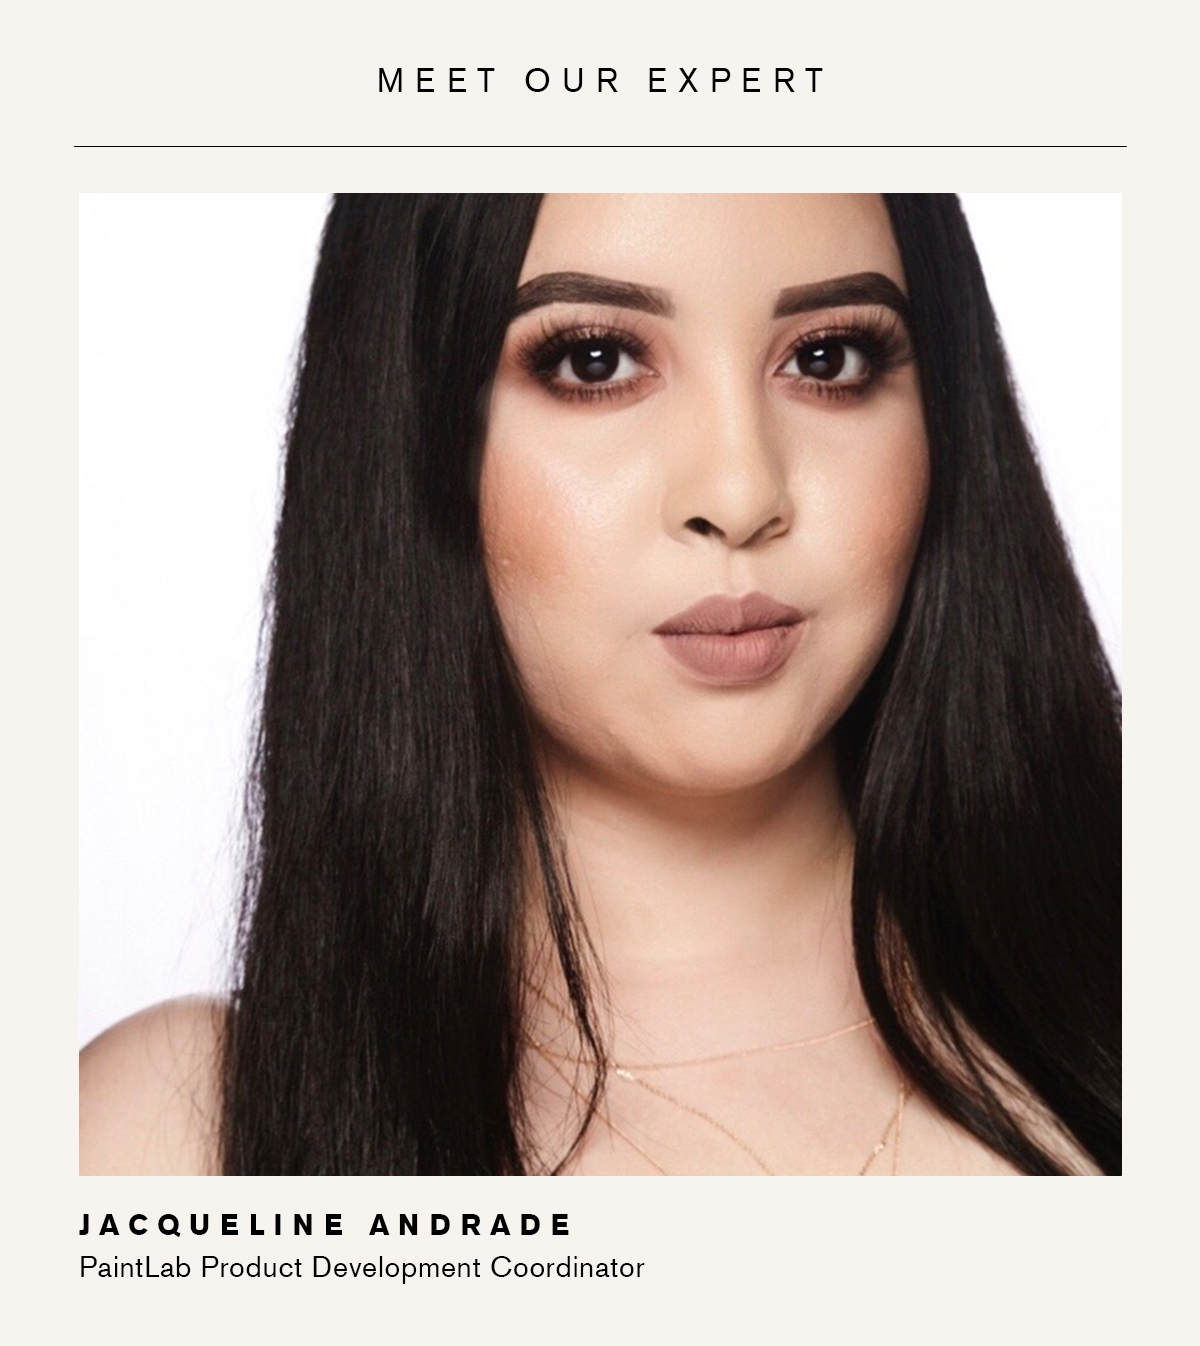
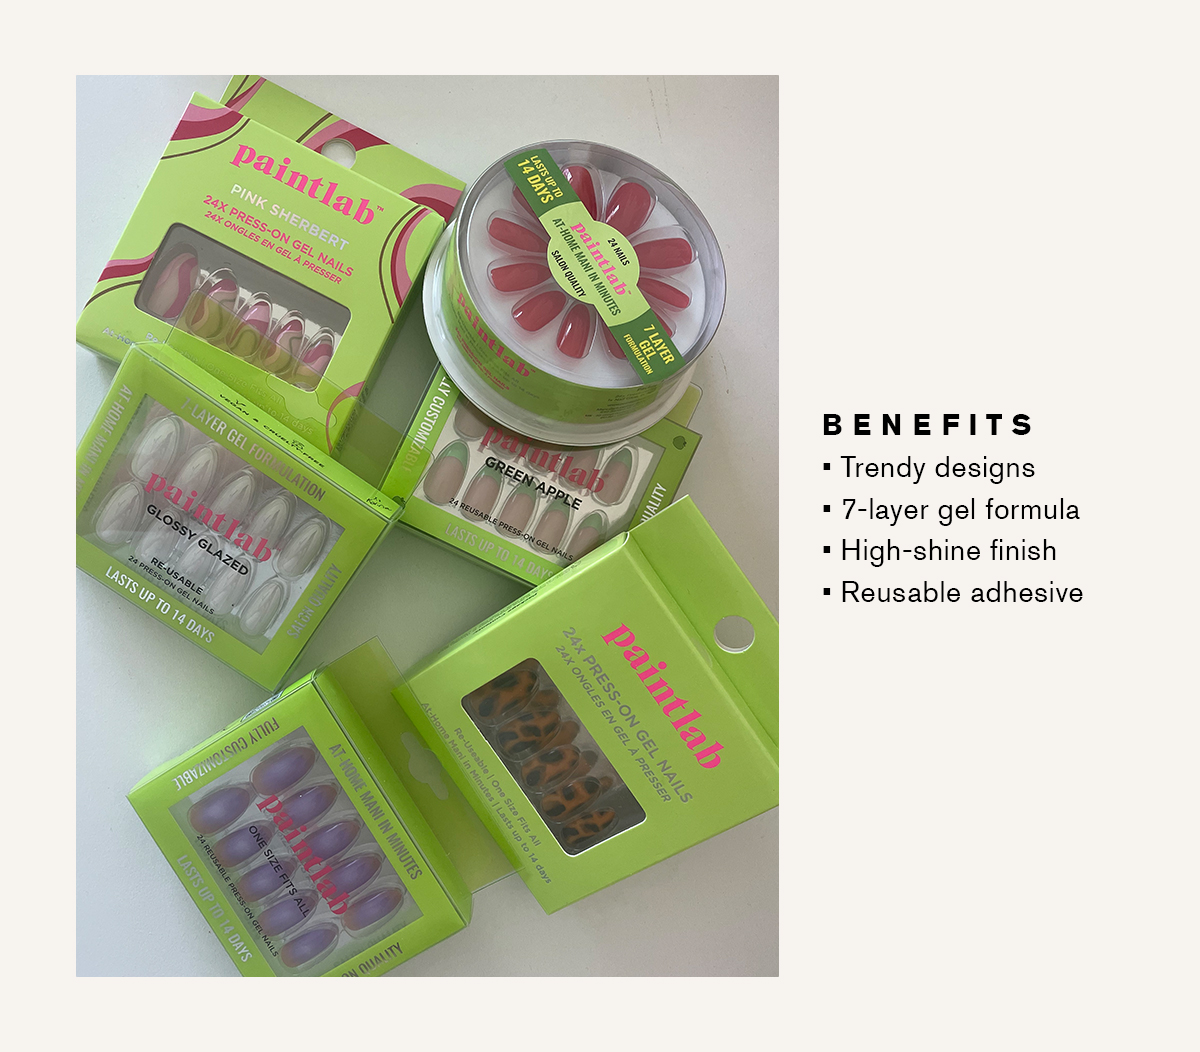
I wanted to know what sets these apart from other press-on nails I've tried. I also wanted to make sure I was using them correctly, so I reached out to an expert—Jacqueline Andrade, PaintLab's product development coordinator. "What sets PaintLab press-ons from the rest is our unique designs and forecasting nail trends," she says. "The nails also have seven-layer gel technology that provides the strength and look of a salon gel manicure."
With proper prep, the press-ons should last anywhere from two to three weeks since the glue is exceptionally strong. "The most important part of press-on nails is nail prep," she says. "You'll want to begin with a traditional soak using warm, soapy water. After soaking, you'll scrub, file, and trim your nails until they're nice and clean. Once clean, you'll use the alcohol prep pad provided to ensure there's no dirt or oil left behind."
From there, choose the correct sizes for each nail and place them to the side. I always place mine down in order to prevent mishaps, but Andrade says each nail has a small number under each tip to make things easy. "Once you have all your sizes selected, you'll want to apply a small amount of glue and push down on the nail for a few seconds, ensuring all air bubbles are removed. After your nails are in place, you can shape them to your preferred length and shape," she adds.

Since every PaintLab box contains a set of press-on nails as well as a mini nail file, a wood cuticle stick, a prep pad, and a small tube of nail glue, I had everything I needed to easily and successfully apply them. Following instructions, I wiped my nails with the prep pad, applied a small amount of glue to each finger, and pressed down for a few seconds. Then, I repeated the process with the rest of my fingers. In the end, I had a salon-quality manicure that took 10 minutes.
The only thing I did differently was that I decided to cut mine down for a more rounded shape. Here's how I did it: Once the glue had dried and the nails felt secure, I took a pair of nail clippers and carefully shortened each one. I then filed the edges until they were smooth with the nail file. It only took a couple of extra minutes, and I was left with a shorter oval shape that I preferred over the long, almond-shaped one I started with.
Now, I know what you're thinking: How do you remove them if they're reusable? Andrade has the answer. "If you're planning on reusing your press-on, you'll want to avoid cutting them in the removal process and stick to soap and water. Acetone will break down the nail," she says. In other words, soak your nails in warm, soapy water until they're easy to pop off. Mine popped off on their own after I took a warm shower on the 12th day.
"Once the nail is off, wipe off the adhesive on the inside of the nail with alcohol and a Q-tip. When the adhesive is gone, set them aside to dry and store until next time. My favorite trick for reusing is to use a non-wipe gel topcoat and cure the nail for 120 seconds to keep it extra strong," Andrade adds.
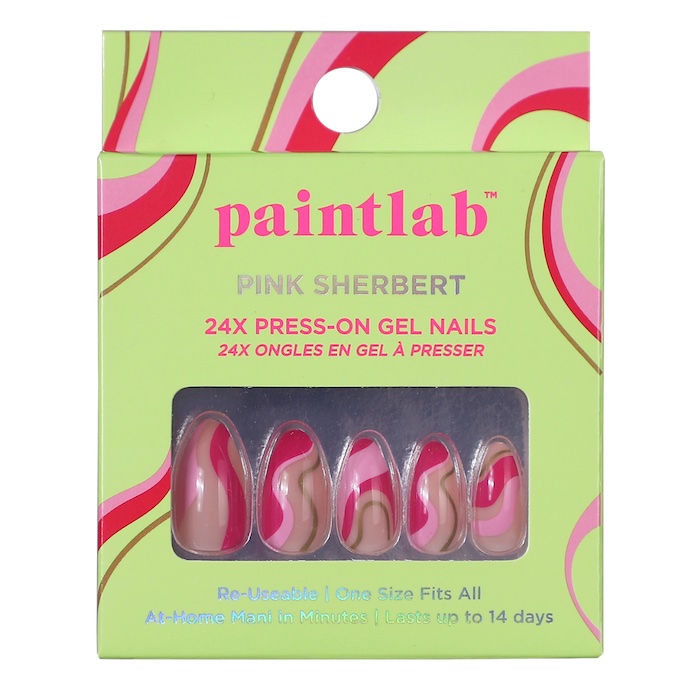
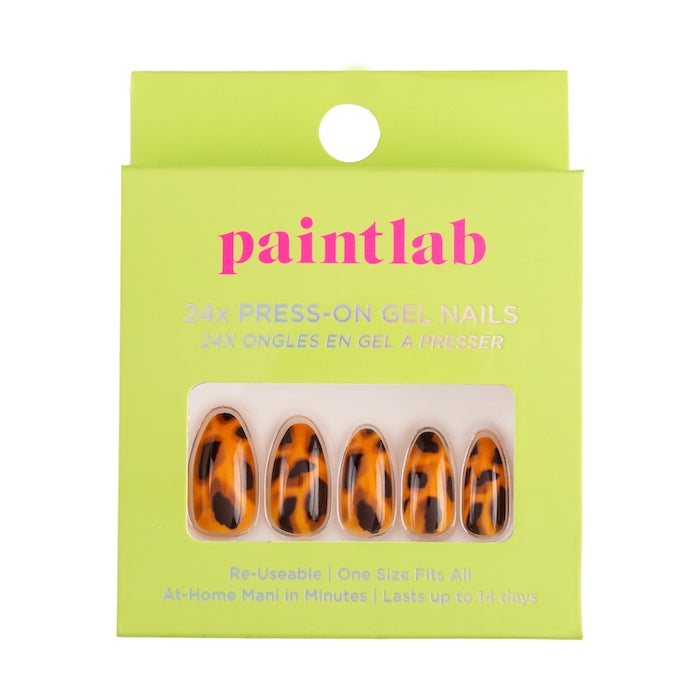
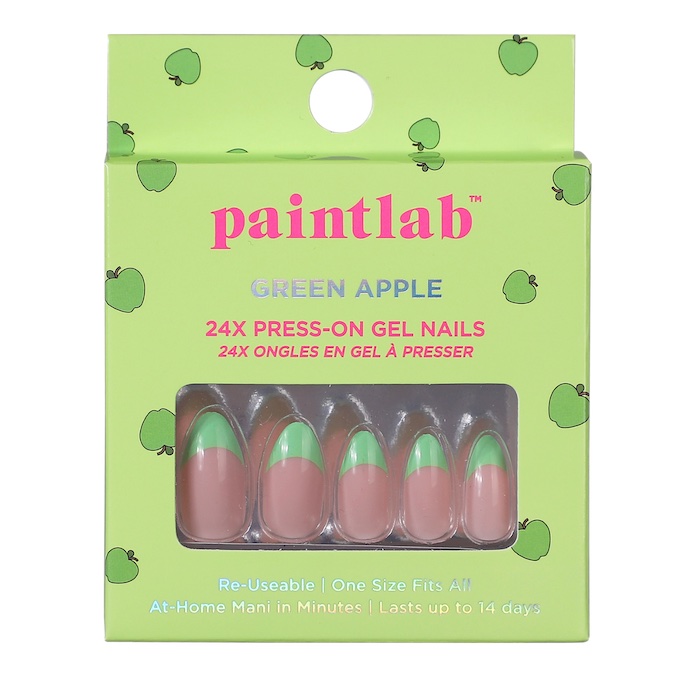
Shop 10 More PaintLab Press-On Nail Designs
Next, Hair Serums Never Worked on My Thin Hair—Then I Tried This Growth-Boosting One

Kaitlyn McLintock is a Beauty Editor at Who What Wear. She has 10 years of experience in the editorial industry, having previously written for other industry-leading publications, like Byrdie, InStyle, The Zoe Report, Bustle, and others. She covers all things beauty and wellness-related, but she has a special passion for creating skincare content (whether that's writing about an innovative in-office treatment, researching the benefits of a certain ingredient, or testing the latest and greatest at-home skin device). Having lived in Los Angeles, California, and Austin, Texas, she has since relocated back to her home state, Michigan. When she's not writing, researching, or testing beauty products, she's working through an ever-growing book collection or swimming in the Great Lakes.
-
 I Know Expensive-Looking Nails When I See Them, and I’m Swooning Over This “Candy Floss” Mani
I couldn't hit "save" fast enough.
By Jamie Schneider
-
 Rosie Huntington-Whiteley's Burberry Bikini Is About to Go Viral
Kickstarting summer style.
By Drew Elovitz
-
 Nordstrom Just Put Its Sale on Sale—These 11 Basics Are Regret-Proof
Peep our top picks.
By Drew Elovitz
