Rosie HW's Makeup Artist Gave Me a Glowing Summer Makeup Look—Here's How
I used to think the most important thing about a flawless makeup application was, well, a flawless makeup application. While I wish I had been enlightened much sooner (and pounds of bronzer earlier—eek), it wasn't until I began working as a beauty editor—regularly talking with and observing makeup artists—that I realized skincare and skin prep is pretty much the first commandment of an amazing makeup look. If you're not prepping your skin properly, your makeup probably won't be all that great either.
To prove my point, celebrity makeup artist and Elemis glow expert Katie Jane Hughes recently stopped by the Who What Wear headquarters to give me the ultimate scoop on creating a glittering, glowing summer skin-and-makeup look. Take one glance at her Instagram (worshipped by a whopping 293K followers), and you'll know she's the perfect woman for the job. Not only does she regularly bless models like Rosie Huntington-Whiteley and Ashley Graham with her mesmerizing makeup talents, but she's also beloved for creating some of the coolest eye and lip looks on the World Wide Web and regularly shares her getting-ready process on social media. A notable constant? Glowing, lusciously dewy skin.
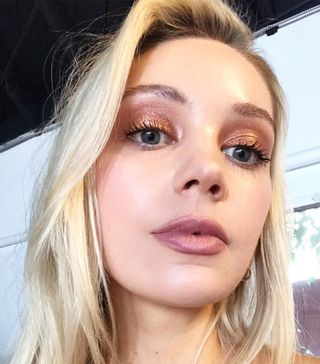
For the tutorial Hughes did on me, it was all about creating the perfect base with great skincare before building a glittering, sunset-hued summer eye and a pouty nude lip for balance. I highly recommend going ahead and watching the video tutorial yourself, but I'm also breaking the process down step by step and product by product below. Keep scrolling! Your new summer skin-and-makeup MO awaits.

The Skin Prep
Step 1
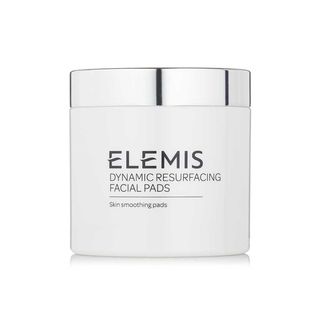
According to Hughes, the most important step in any makeup routine is a little bit of gentle exfoliation. She loves these easy-peasy swipeable pads from Elemis, which contain a strategic mix of lactic acid and a unique probiotic ferment complex. They take away dead skin so the makeup will sit more smoothly on the face, and she gives extra care around any areas with "creasing" (like around the nose, chin, etc.) where excess oil and dead cells are more likely to accumulate and dull the complexion.
Step 2
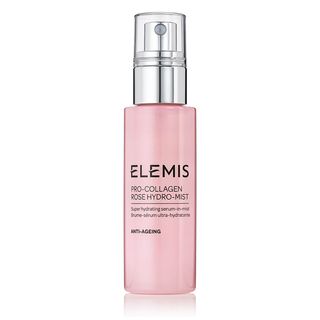
Since Hughes prefers to start her process with the skin a little bit damp and dewy, she gave my skin a spritz of the Elemis Pro-Collagen Rose Hydro Mist ($68). It smells amazing, and she says any products applied afterward will penetrate better on the slightly damp surface.
Note: Hughes also spritzed the sides of my face for a highlight effect as the very last step of the entire makeup routine.
Step 3
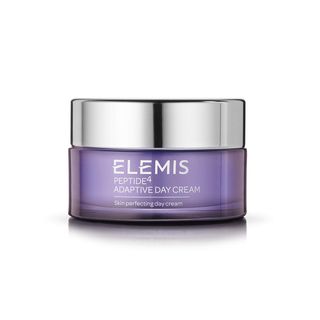
Hughes then reaches for a high-quality day cream to infuse my skin with some much-needed hydration. For application, she likes to target the areas she plans to highlight later on, like the nose, chin, forehead, and cheekbones. She recommends giving your face a massage as you work the product in, which will boost blood flow and circulation and help encourage a natural glow to enhance the makeup later on.
Step 4
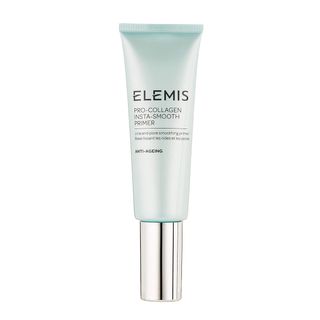
The final step for skincare? This skin-smoothing and -firming primer from Elemis. The formula has a unique cryotherapy complex, which results in a calming and soothing sensation as you finish prepping your face. Plus, it's filled with tons of other skin-savers like brown algae, Italian glacial water, and natural marine extracts (to name a few).
The Makeup
Step 1
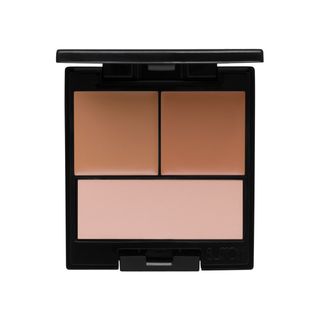
As someone who's rather addicted to full-coverage foundation, I found it interesting that Hughes forewent my favorite makeup product and opted for a more customized concealer approach instead.
"I'm just going to press this into any areas where you have redness or breakouts using a soft, small eye shadow brush," Hughes says. "I actually prefer using eye shadow brushes to makeup brushes on the entire face because of the smaller size and their ability to get into the smaller areas and corners of the face."
Step 2
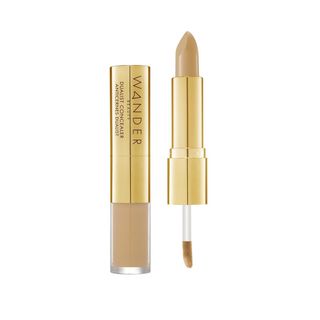
Next up? Actually, more concealer. She likes this creamier formula from Wander Beauty to add a little extra coverage; to "sheer out" the Surratt concealer, which functions more as a spot treatment; and to nix any residual circles or pigmentation. Again, she uses a small fluffy eye shadow brush for ultimate blending.
Step 3
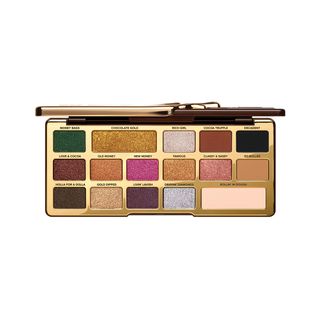
To start building the eye look, Hughes reached for the Too Faced Chocolate Gold Eyeshadow Palette ($49) and first went in with a taupe shade called Cocoa Truffle. She pressed it into the crease of the lid to enhance the natural contour and shape of my eye.
Then, wetting her brush slightly for a more intense pigment payoff, she began layering the palette's rich metallic gold shade called Chocolate Gold over the rest of the lid for dimension and shimmer.
Step 4
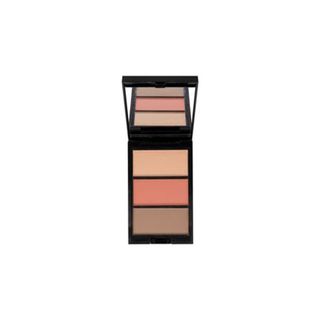
Up next? Blush, which she applied first to the upper inner corners of the eye (right beneath the start of the eyebrow) to help blend in the earthy colors of the Too Faced palette. And then later (after lips and before bronzer), she applied it to the tops of the cheekbones and temples with a big fluffy brush.
Step 5
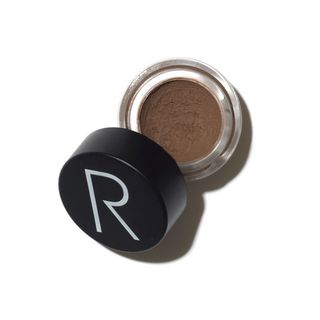
To make the lip look fuller and super plump (think à la Rosie), Hughes is a big fan of adding contour around the lip. She uses Rodial Eye Sculpt ($38) to add a touch of color at the top of the lip right at the bottom of the Cupid's bow, under the lower lip, and then softly around the perimeter of the entire mouth to add a hint of shadow and a cool, smoke-and-mirrors effect of more fullness.
Step 6
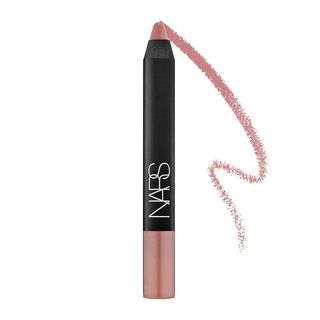
To pump up my lip's natural shade of nude but ensure the lip contour would still show through, Hughes reached for Nars Velvet Matte Lipstick Pencil in Bettina ($27). It's one of her favorite lip colors and is a pretty, dusty rose tone.
Step 7
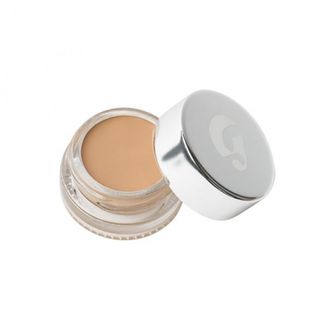
To touch up the skin, Hughes—wait for it—reached for another concealer.
"I love this concealer because it's great for making sure the skin looks like skin while still covering any imperfections," she explains. "It polishes everything up, and I love to apply it either at the end or the beginning of a makeup look. In the beginning, I'd be using it to achieve kind of a tinted moisturizer effect, while at the end, I'm using it to address any just refined bits of the complexion I want to do to complete the look."
Step 8
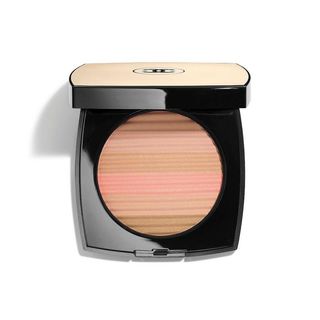
"Because your face is a little bit lighter than your neck, I'm going to warm you up with bronzer," says Hughes. "I don't like to warm up too much on the complexion when there's a difference in color because if the makeup moves later on, it becomes more obvious. I'll press it around the hairline and will take it around the perimeter of the face wherever you'd naturally get a glow and connect it down the jawline into the neck."
Step 9
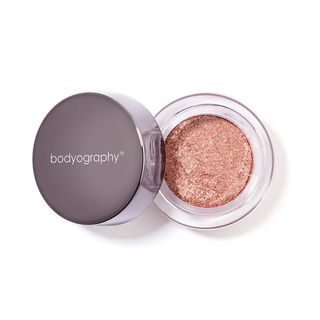
To keep in line with the summery, copper-orange color theme of the look, Hughes next used Bodyography Glitter Pigment in Stellar ($23) to add extra sparkle and dimension to the lids.
"I'm obsessed with this brand, and this is literally the finest, micro-grade glitter you can find," Hughes says. "It looks almost wet and glossy on the lid; it's awesome. It's super finger-friendly, and I recommend starting with a little bit of product and slowly building to the finish you want. It's always easier to add than subtract."
Step 10
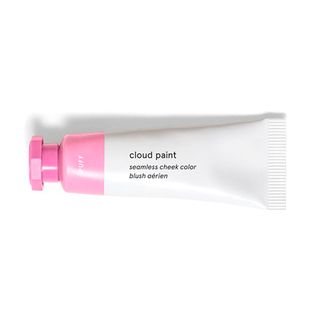
To enhance the dusty rose shade on the lip, Hughes next added a pop of pink color using Glossier's fan fave Cloud Paint in Puff ($18). She patted it into the center of the lip to make it look "pouty and pretty" before blending it seamlessly out into the sides of the lip.
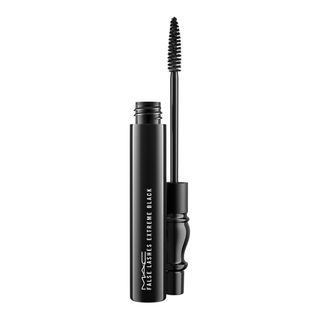
Next comes lashes! Hughes handed her favorite MAC Cosmetics mascara over to me (which she says she does with all of her clients) so I could apply the mascara to my own liking. "In my opinion, you'll always be able to put your own mascara on better than someone else," Hughes laughs. Since I'm a mascara fiend, I added about three coats to my upper lashes and just added a light tap to the out lower lashes.
Et voilà! The ultimate summer skin-and-makeup look.
Next up: how to master a minimal makeup look, courtesy of Kendall Jenner's go-to makeup artist.
Erin has been writing a mix of beauty and wellness content for Who What Wear for over five years. Prior to that, she spent two and half years writing for Byrdie. She now calls Santa Monica home but grew up in Minnetonka, Minnesota, and studied writing, rhetoric, and communication at University of Wisconsin, La Crosse. She studied abroad in Galway, Ireland, and spent a summer in L.A. interning with the Byrdie and Who What Wear family. After graduating from UW, she spent one year in San Francisco, where she worked as a writer for Pottery Barn Kids and PBteen before moving down to L.A. to begin her career as a beauty editor.
-
 Tate McRae's 10-Minute Makeup Routine Involves an Internet-Famous Foundation Hack and a $9 Mascara
"If I find something I like, I stick to it."
By Kaitlyn McLintock
-
 From Vacation Skin to Orchid Lips—3 White Lotus Beauty Trends That Will Define the Summer
In conversation with the show's lead makeup artist.
By Alyssa Brascia
-
 Bella Hadid's 3- to 5-Minute Makeup Routine Includes This $12 Concealer-Foundation Hybrid
If you ask me, it's a top-tier drugstore product.
By Kaitlyn McLintock
-
 It's Official: "Gothic Romanticism" Is the Sultriest Way to Wear Makeup This Valentine's Day
Skip the rosy flush.
By Jamie Schneider
-
 I've Been Championing the No-Mascara Trend for Years—Here's What Makes It so 2025
The ultimate power move.
By Jamie Schneider
-
 I Needed Quick Holiday Party Makeup Inspo, so I Asked My Favorite Makeup Artist for Guidance
Perfect for any lazy girl.
By Shawna Hudson
-
 Nicole Kidman Just Cosigned the Romantic Color Trend That's Taking Over 2025
So elegant.
By Jamie Schneider
-
 Ashley Olsen's 2000s Glam Is Going Viral, so Here's Every Step From the OG Makeup Artist
Still iconic 20 years later.
By Jamie Schneider
