I Tried This Seriously Underrated Hair-Extension Technique, and I'm in Love
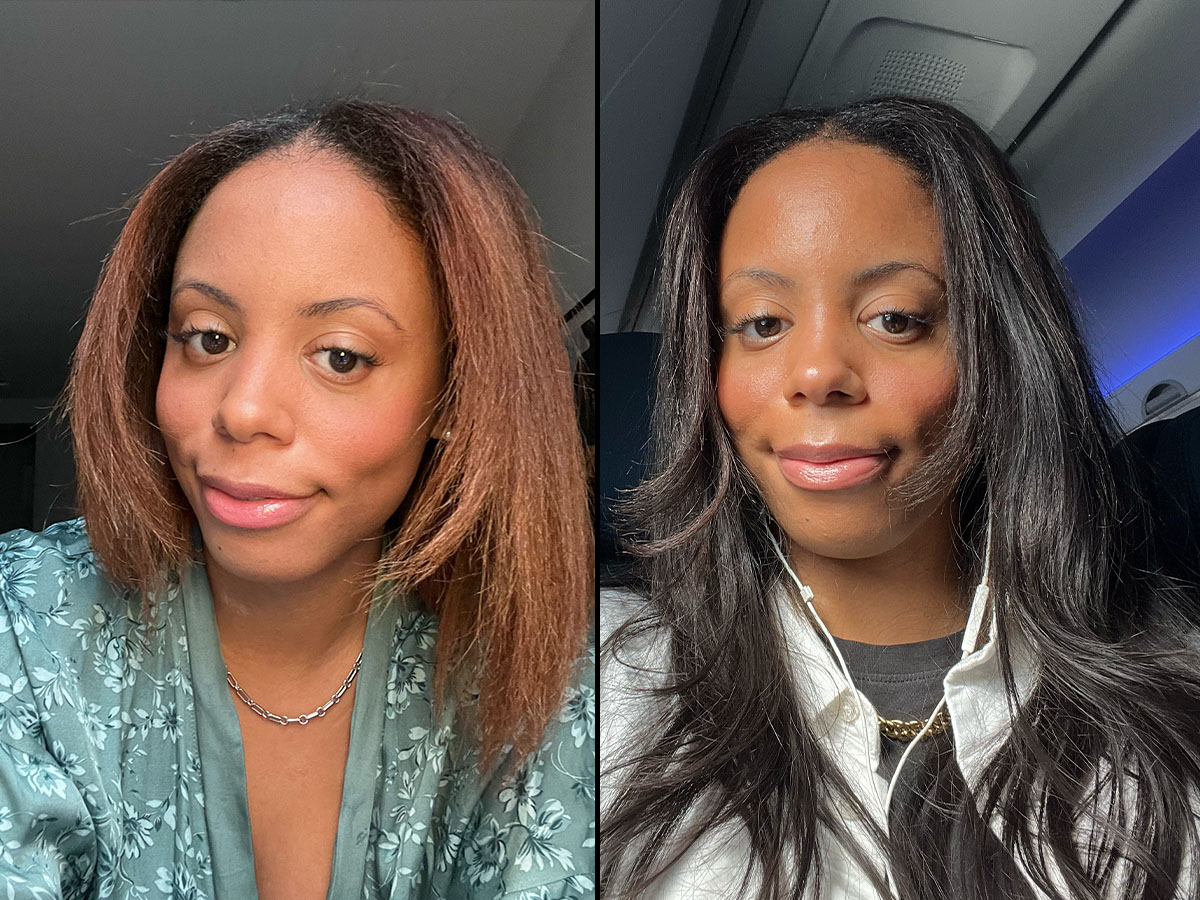
My hair has been through the wringer. As a teenager, I used to wake up every morning in the summer by 8 a.m. and go to swimming practice. For two hours every single morning, I would swim back and forth nonstop without a care in the world about the chlorine soaking into each strand of my hair. Let’s just say those summers weren’t my greatest hair moments, but what’s important is that I had a lot of fun and was in the best shape of my life.
Things have only slightly begun to look up for my hair since then. I have spent most of my adult life getting my hair straightened professionally, and it hasn’t been looking its healthiest in recent years due to my poor choice of salons. (Don’t let a lower price point determine your decision-making process when it comes to your hair!!)
Although my hair was already facing some serious breakage, I decided to bleach it last summer. I have absolutely no regrets about this decision and loved my red hair, but the time came for me to say goodbye. After a quick visit to my favorite place in NYC, Rita Hazan Salon, I was back to my natural color. However, after all the heat I had put on my red hair, things weren’t looking their best. This is when it became clear to me that it was time to try microlinks for the first time.
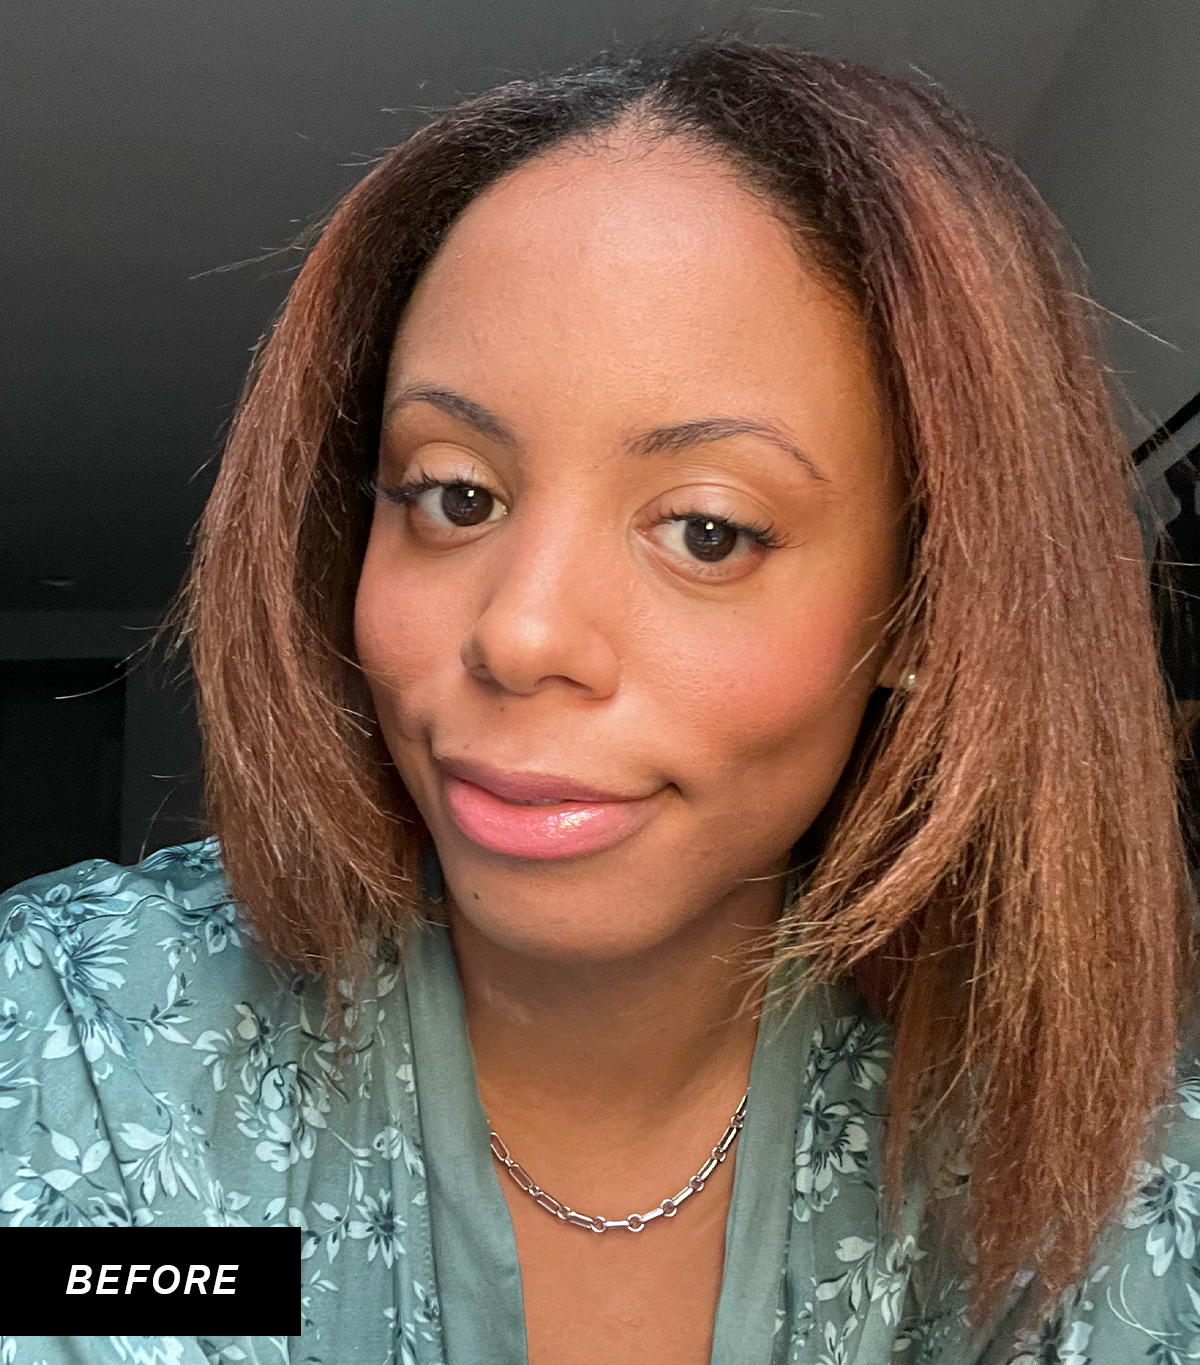
My hair has never really grown that far past my shoulders thanks to all of the damage that it’s faced, and I’ve always dreamed of long and voluminous locks, so I was ready to embark on this journey. Come along with me as I walk you through the steps that took me there.
Step #1: Decide which extension technique is best for your lifestyle.
The biggest debate that I have ever had with myself in my life was about what hair-extension technique I should try. My number one goal was to have the most natural look possible. I’ve had an aversion in the past to this idea after seeing people with extensions, wigs, and weaves that simply did not look like their own hair. The natural look has always won me over, so it was a must for me.
My second concern was that I work out a lot, and I know that having a weave and a rigorous workout schedule at the same time can make it difficult to keep the hair clean and fresh. This is what led me to my decision to try microlinks, also known as I-tip extensions or keratin-bonded extensions, for the first time. They give the most natural look because your real hair is blended in with the extensions perfectly, and you can easily access your scalp when it’s time for a wash or dry-shampoo refresh.
Step #2: Now, it’s time to find your hair extensions.
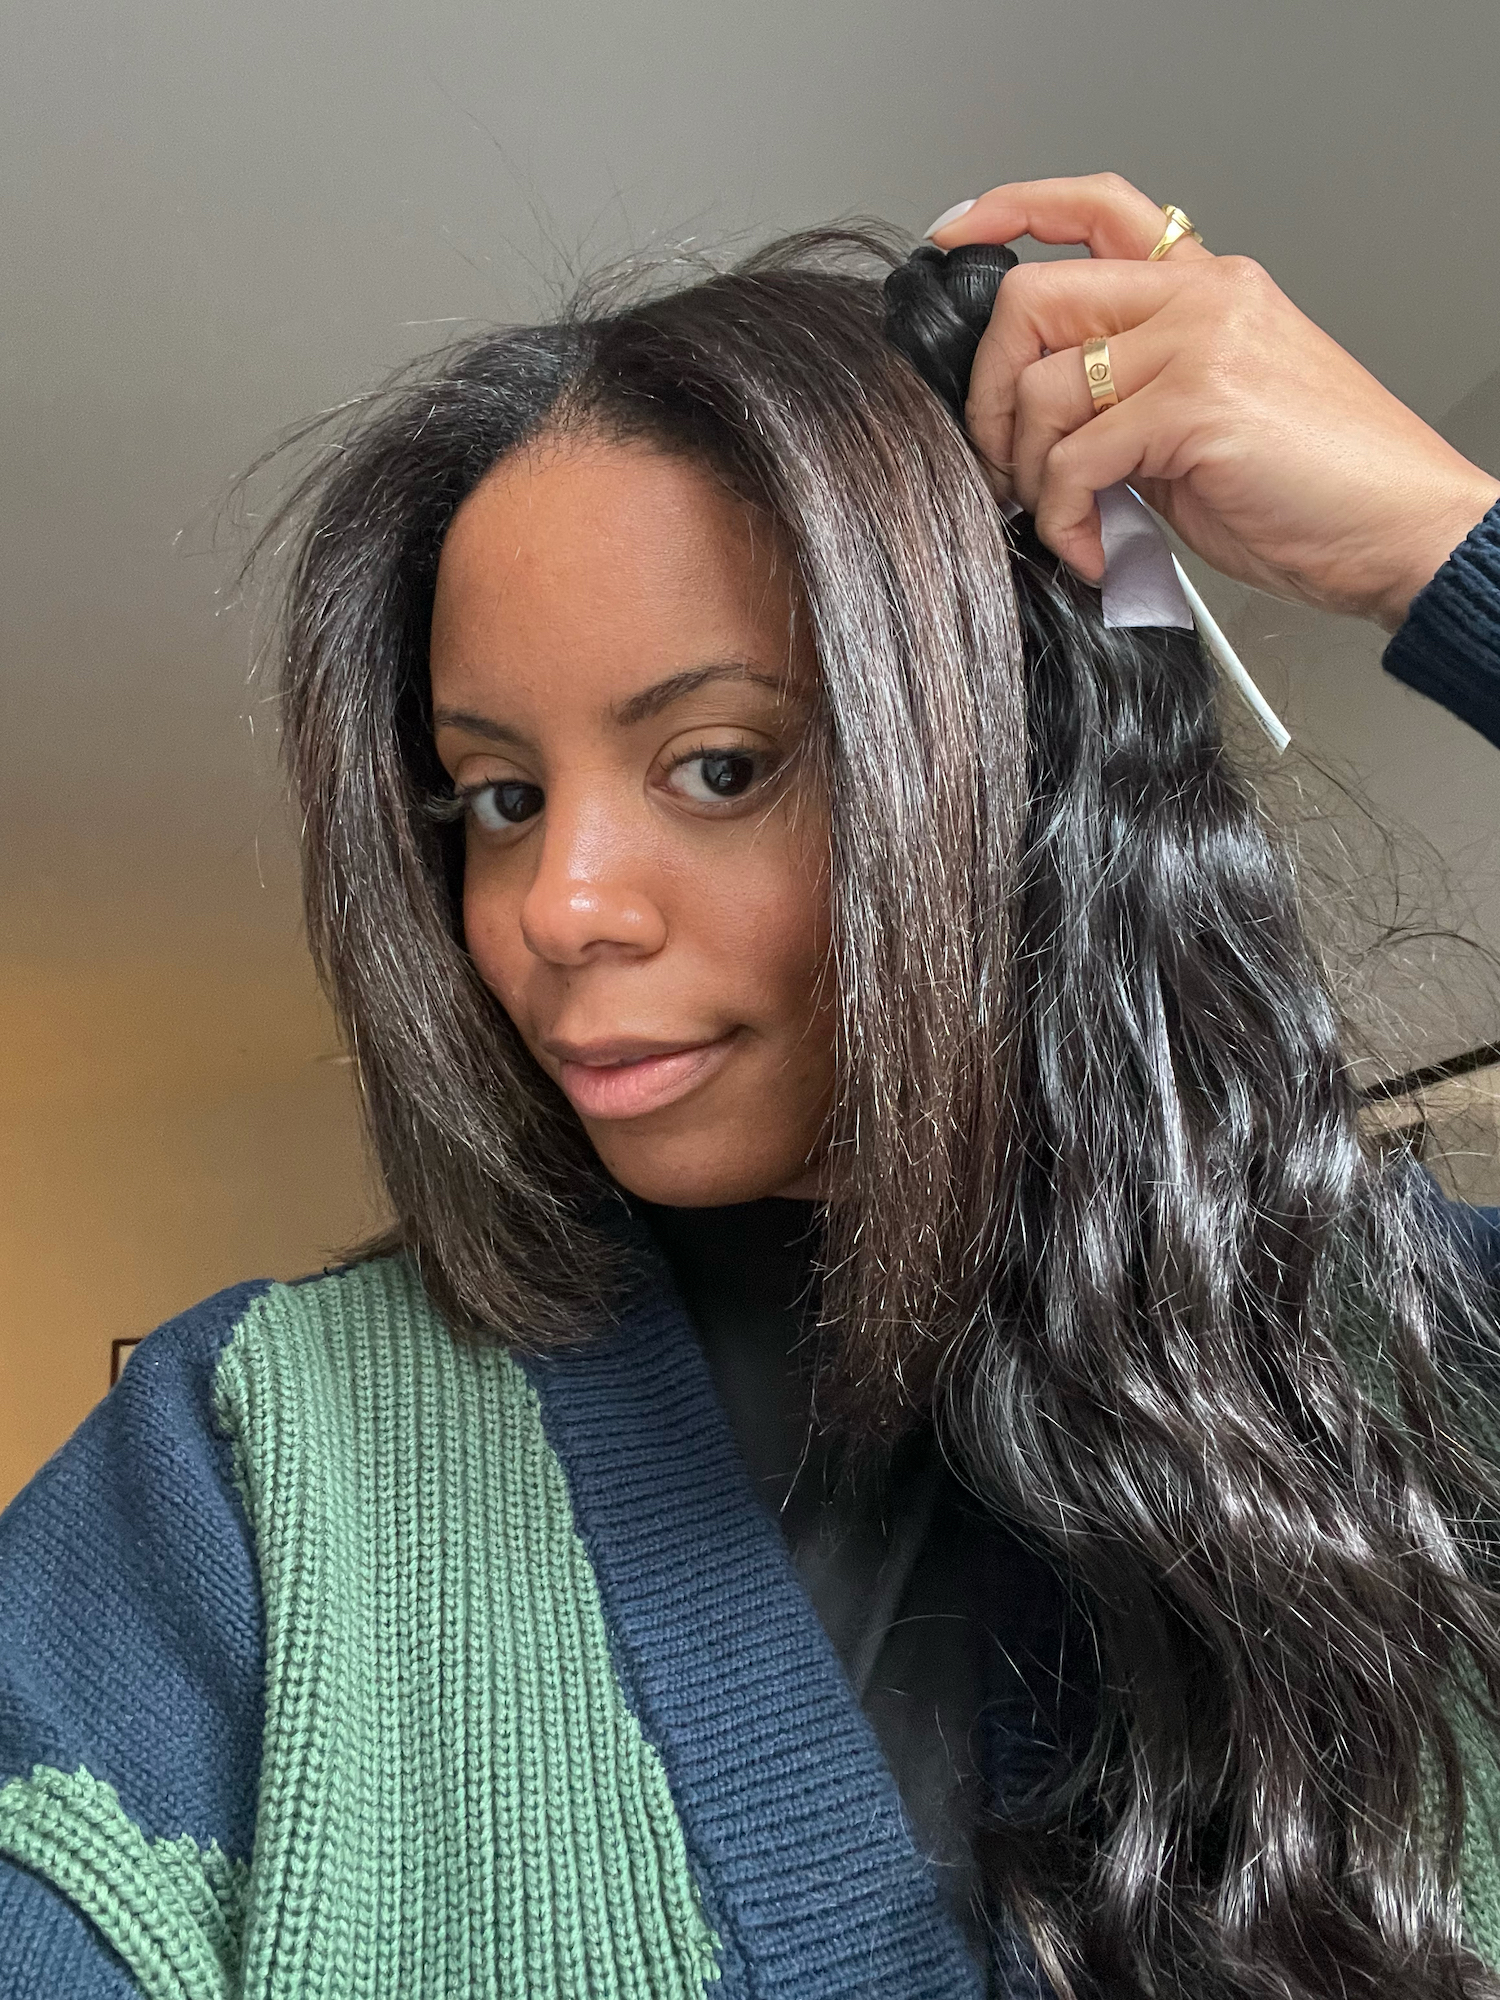
I searched high and wide for the best hair extensions I could find. They’re an investment, so making the right purchase is crucial. After scrolling through endless reviews, I decided to try Indique Hair and ended up so happy with my decision. They’re known for being the best in hair extensions, and that is the truth. The quality is amazing, and while the prices are between $150 and $400 per bundle, I saw higher pricing for the same quality elsewhere on the web. The look that I went for required two bundles of 20-inch hair. I love that I went with a wavy style so it could blend in with my natural hair.
Some salons and hairstylists like to have a say in what type of hair you choose, so if you’re planning to splurge, contact your hairstylist first.
Shop my hair:
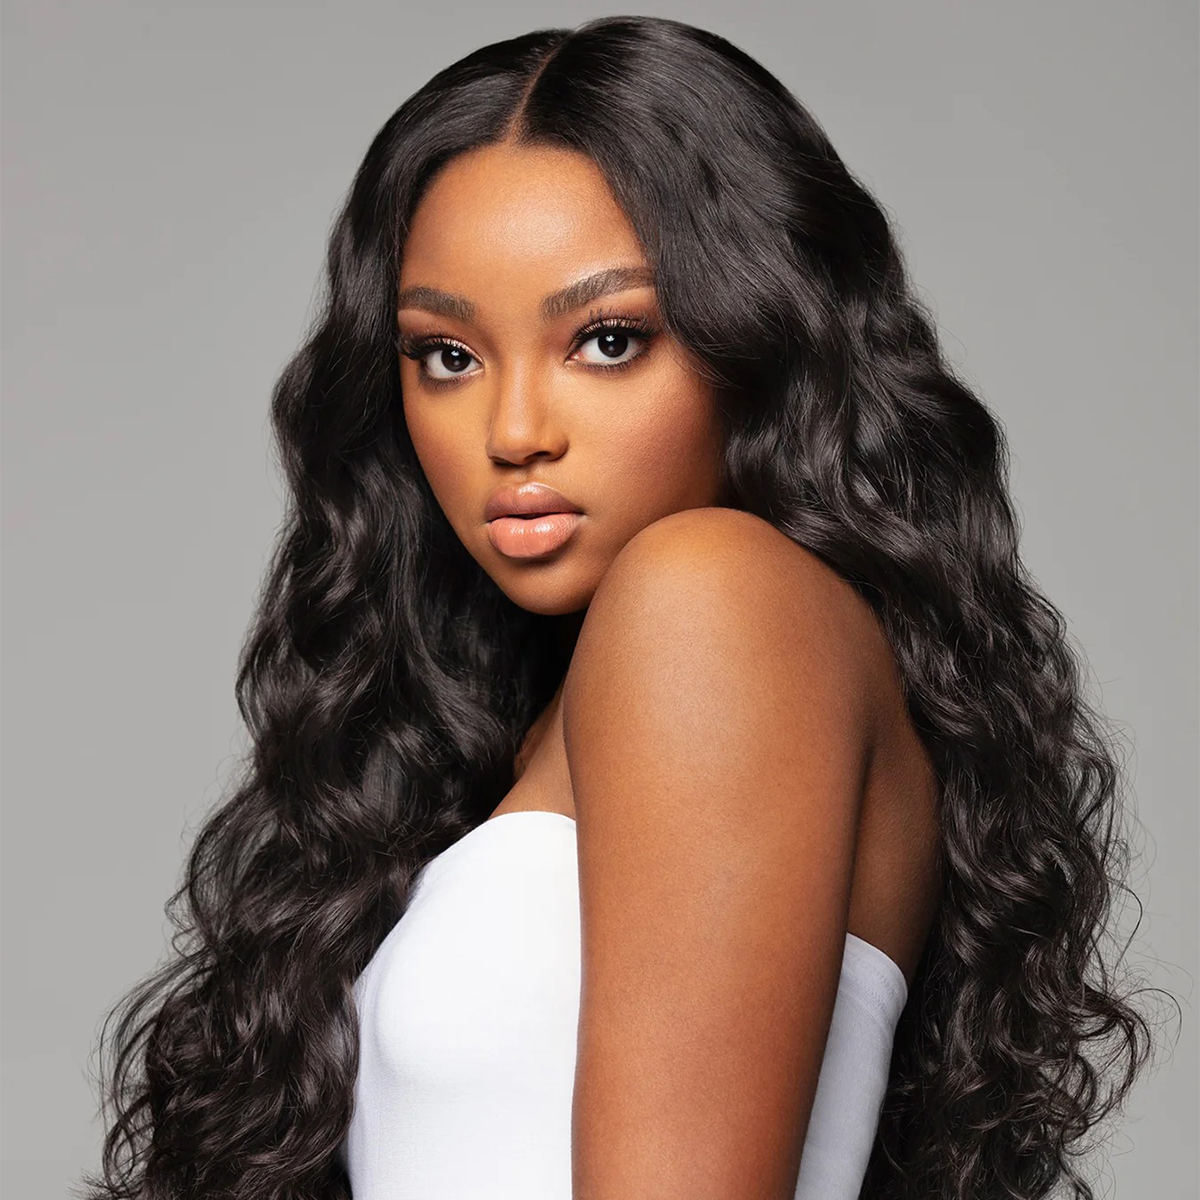
Saying "wow” would be an understatement. The quality of the hair is so good that I feel like it’s my own. I went with wavy, so even when my hair is straightened, it has a bit of a bend that gives it the movement I’m after. When my hair is natural, it looks amazing blended in with the waves meaning there are many options for styling it.
Step #3: Find a stylist in your area.
The process of finding a stylist that had stellar reviews and didn’t charge a fortune took weeks in itself. When I finally locked down the appointment, I was so excited. The first step here is to always ask friends for a recommendation, but in my case, all the stylists my friends use were booked up. I spent hours one day searching Google and making phone calls until I found the right person for me. The installation process will cost you between $300 and $1000 depending on who you see.
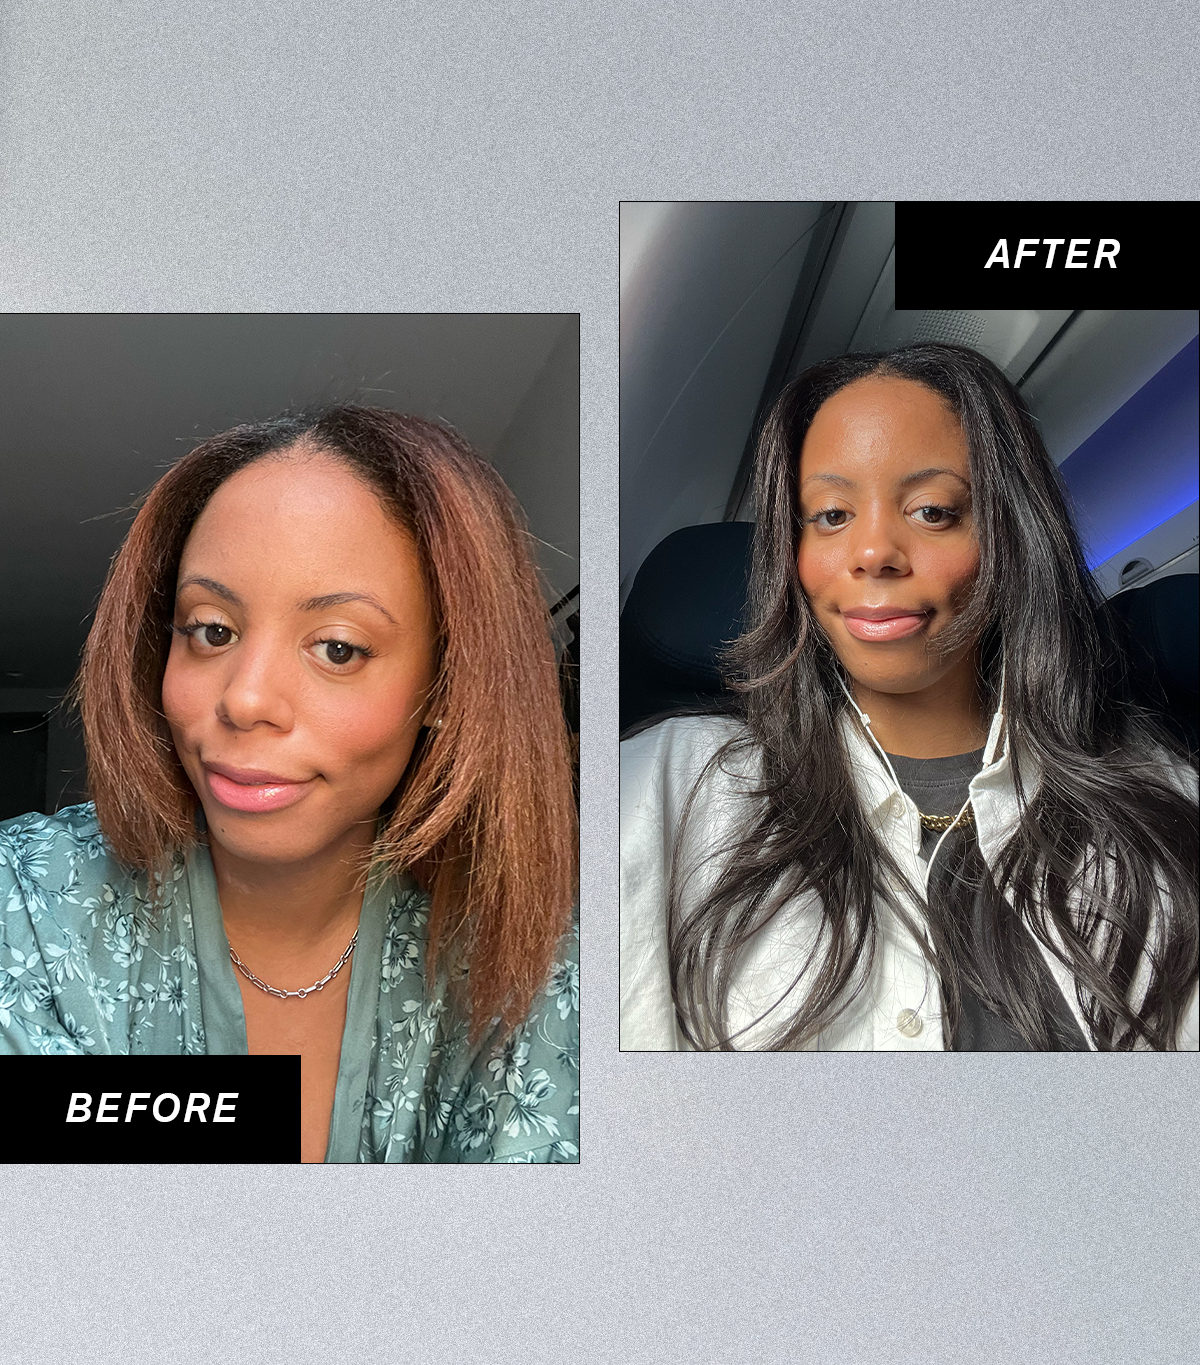
I have never felt more confident in my life since I made this hair change. I’m so happy with the final results, and I can’t stop asking myself, "Why didn’t I do this sooner?” I don’t think I’ll ever go back.
Now, let’s talk about maintenance. Here are the steps to maintaining your hair post-extensions. My hairstylist gave me some tips that I’ll share below along with some advice of my own.
Tip #1: Adjust your bedtime routine.
My stylist recommended flexi rods before bed to maintain the curly look that I love without applying too much heat to my hair. Before bed, I give my hair a quick brush through with the Tangle Teezer. I’ve been loving the flexi-rod method, but I also enjoy a heatless curl option that I’ve been seeing everywhere on TikTok. The two combined—with the flexi rods focused on my bangs and the heatless curls on the rest of the hair—always make for a stunning final look when I wake up in the morning with little effort required on my end.
Shop my evening routine:
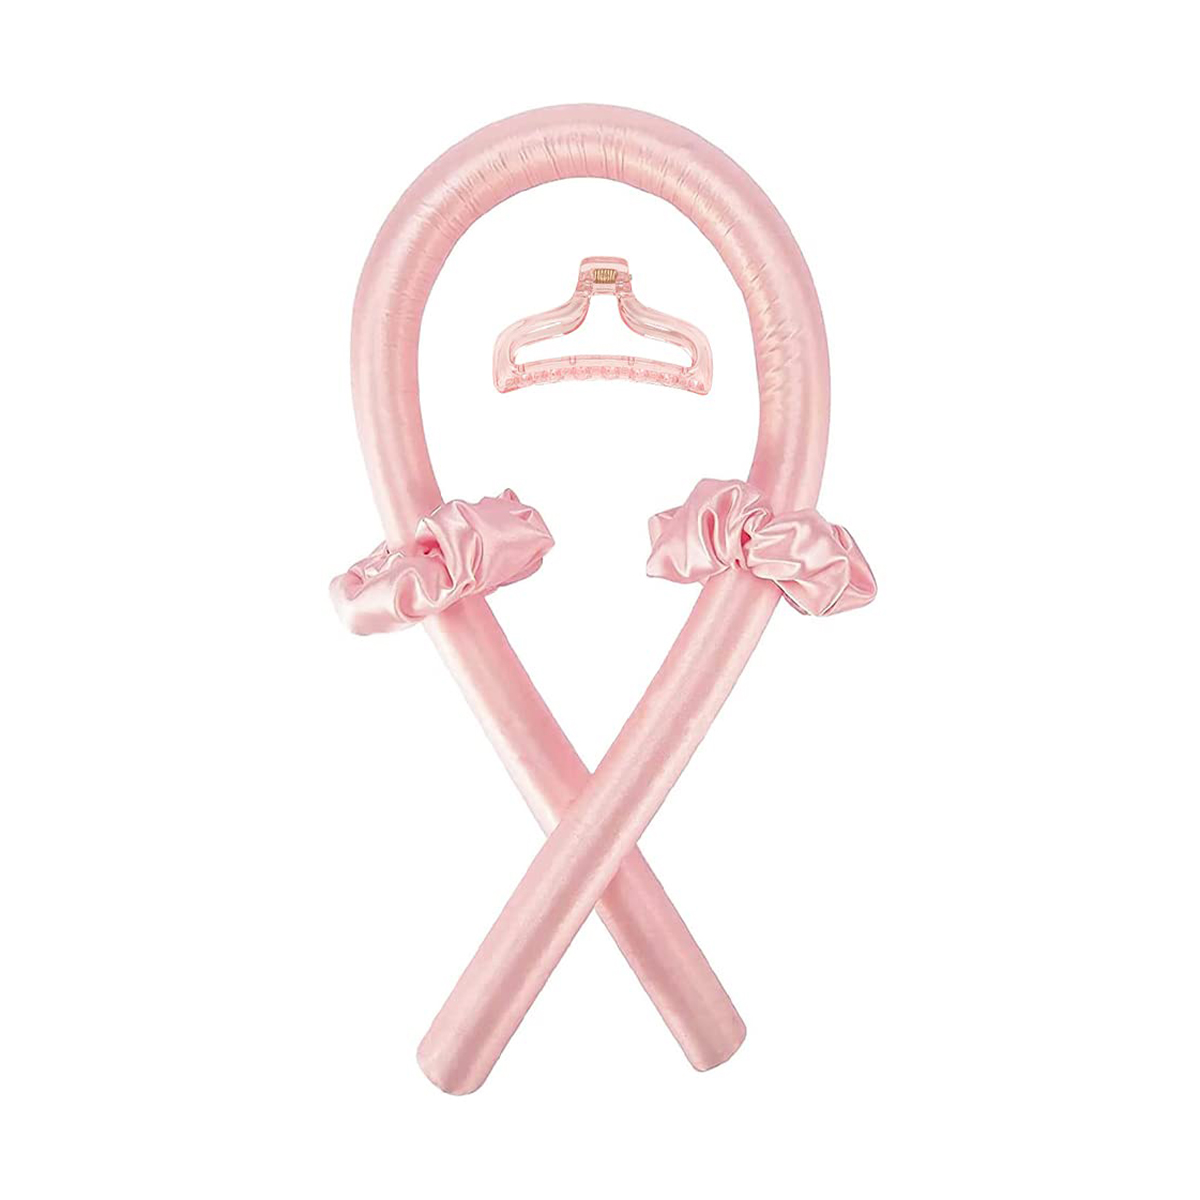
I don’t care how crazy I look. This product has been a game changer. In the morning, I don’t want to be held up in the bathroom for too long, and the heatless curl method saves me hours every week.
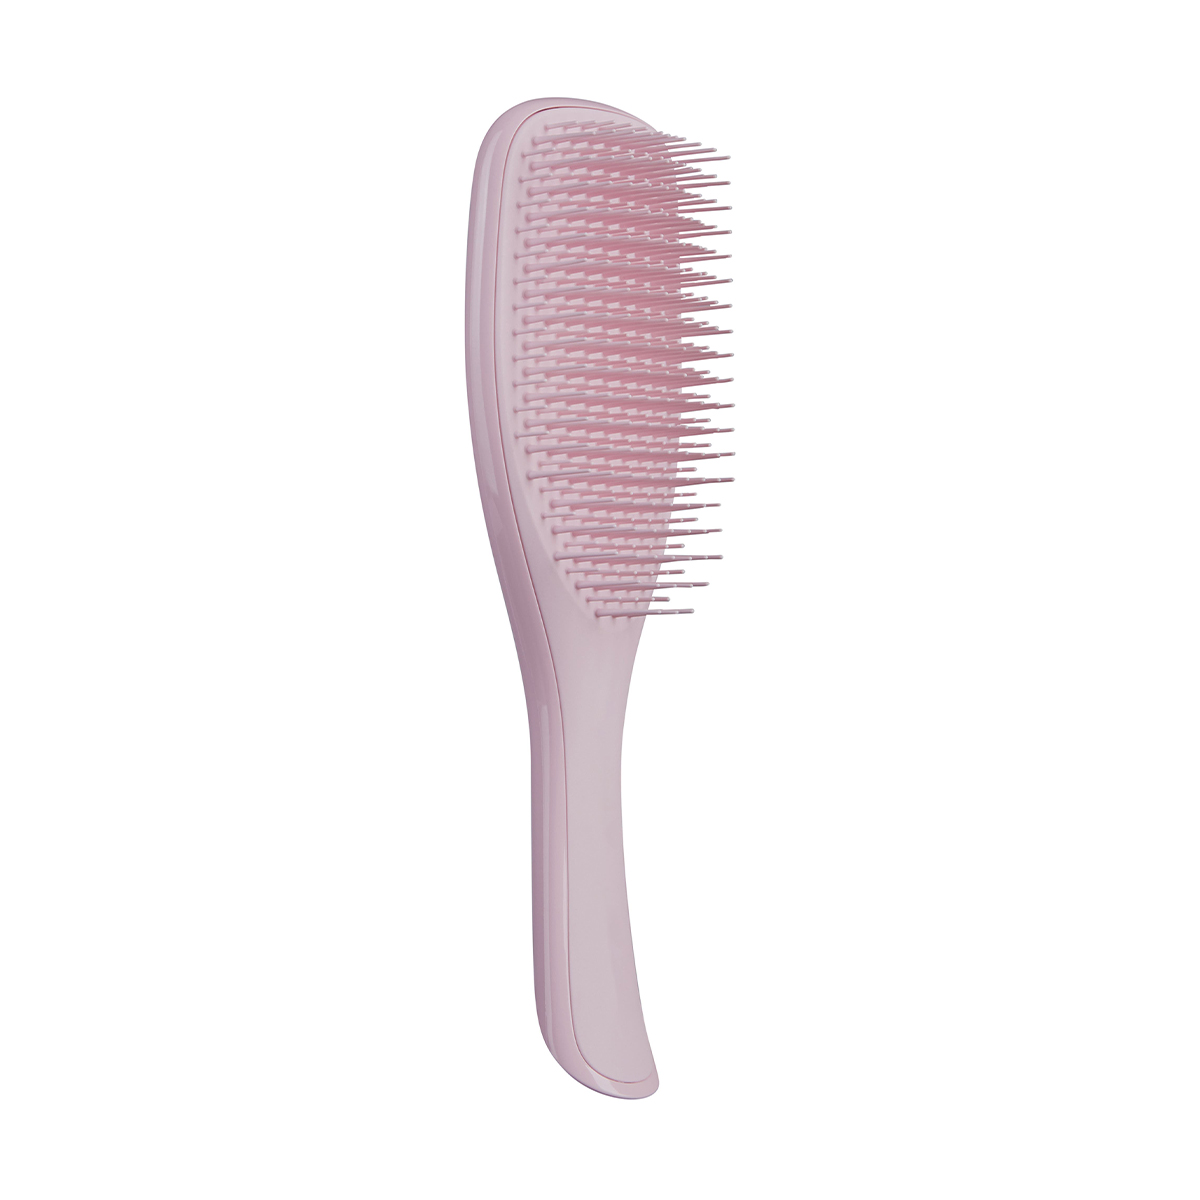
I’ve never seen a better hairbrush. The Tangle Teezer gets through every knot with minimal pain and breakage.
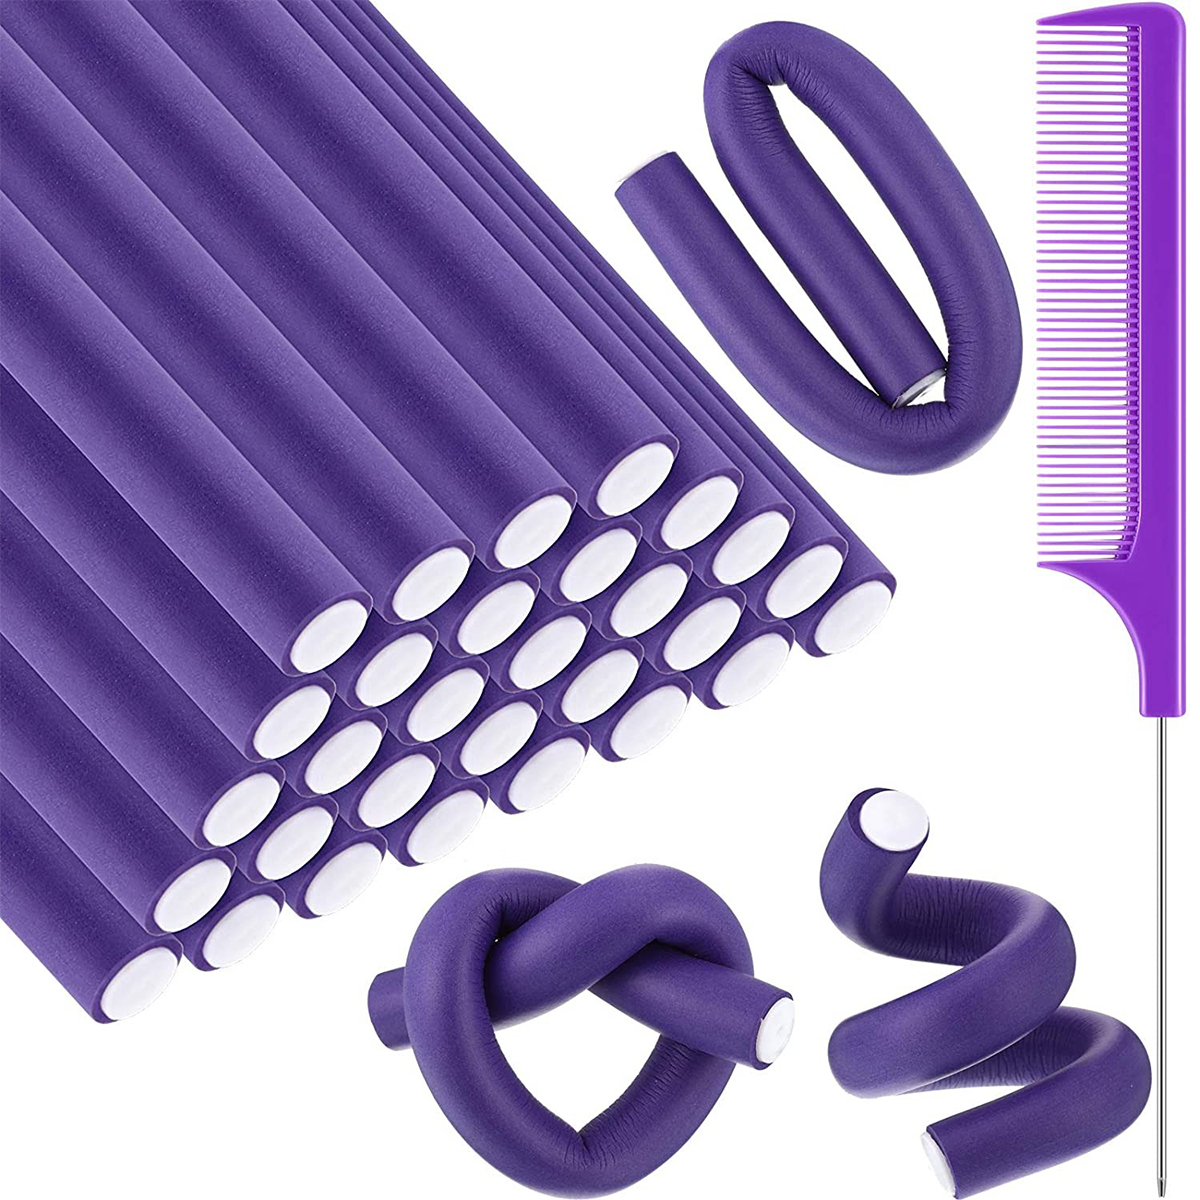
Flexi rods are simply classic and have never steered anyone wrong before. It’s a minor investment in such a time-saving buy.
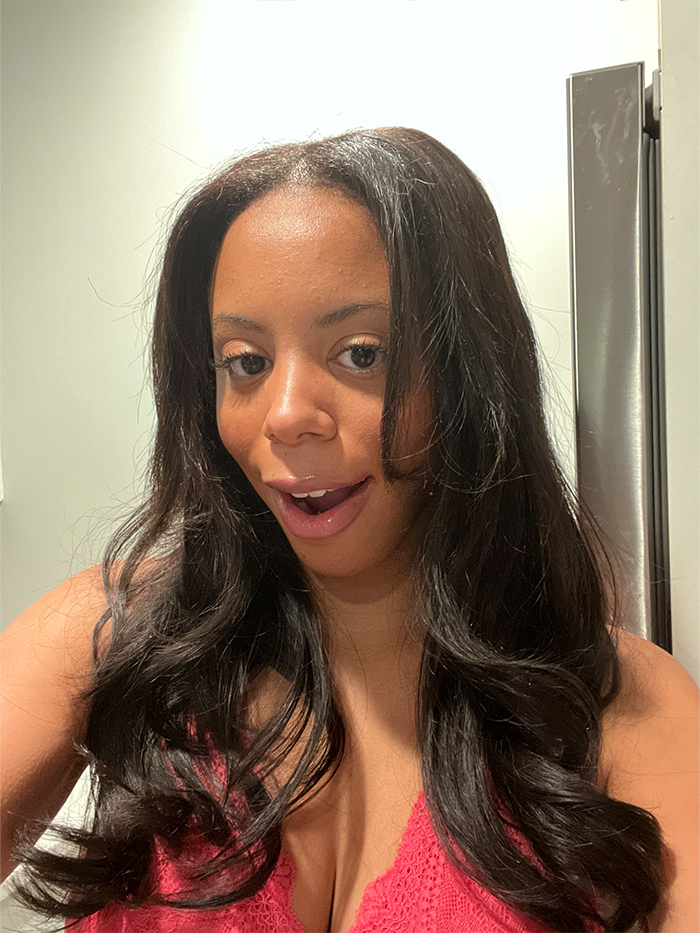
Peep my hair when I first wake up thanks to the heatless curl technique.
Tip #2: Dry shampoo is your new best friend.
You won’t be washing your hair as often now that you have microlinks, so dry shampoo is going to be your new best friend. I spray just a little bit of it at the root after every workout or any time that I feel like I need a refresh.
Shop my favorite dry shampoos:
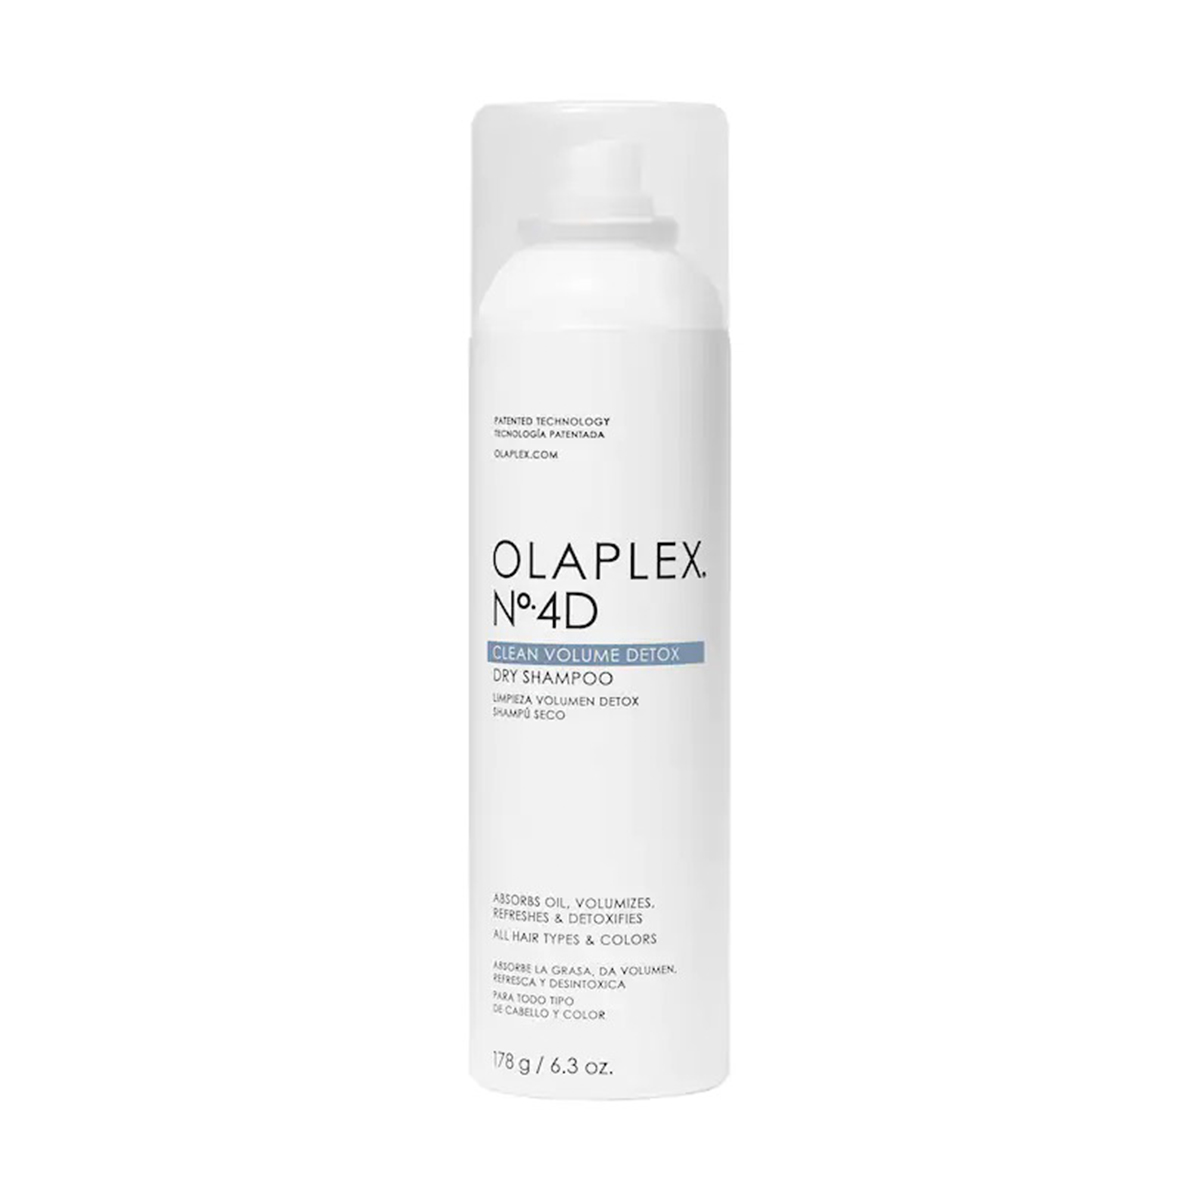
This is the newest dry shampoo to launch, and it immediately replaced the one that I’ve been using for years. It doesn’t leave any white residue, and my hair goes from greasy to freshly washed in seconds.
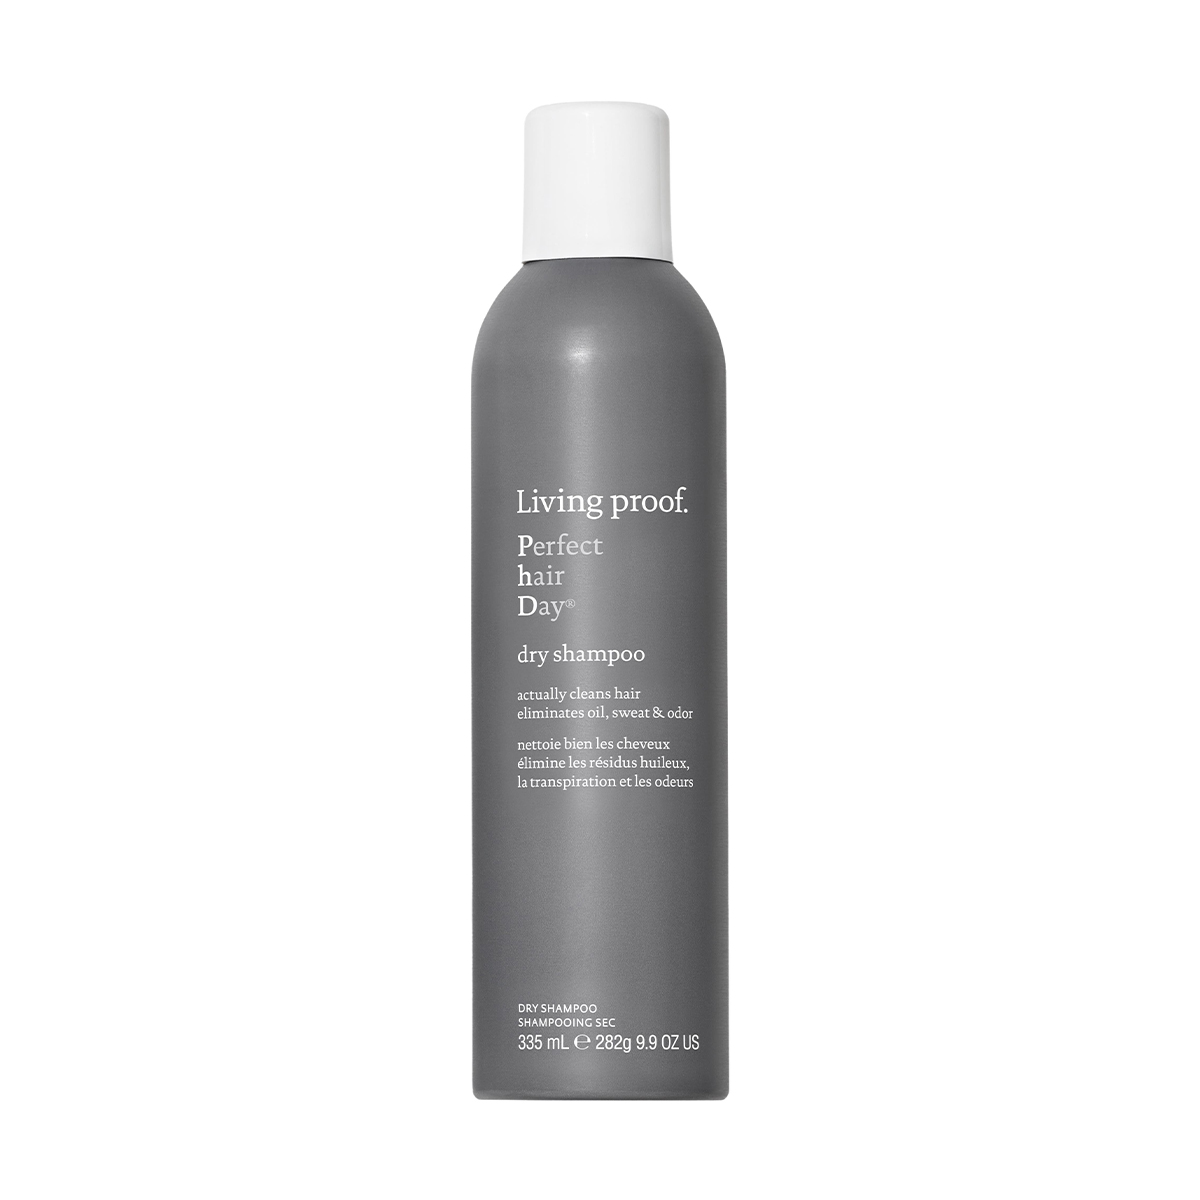
I was traveling last weekend and forgot my Olaplex dry shampoo at home. The drugstore I ran to didn’t have it yet, so I decided to try this cult-favorite one. I now get the hype. It works just as well as actual shampoo.
Tip #3: Go light on the products.
If you have thick hair like me, you might be used to piling on oil and hair masks on a weekly basis. I learned to adjust and focus on spray oils to keep the products light. The new hair I added to my head is more sensitive to getting oily, so I’d suggest a lighter approach to products.
Shop lightweight products:
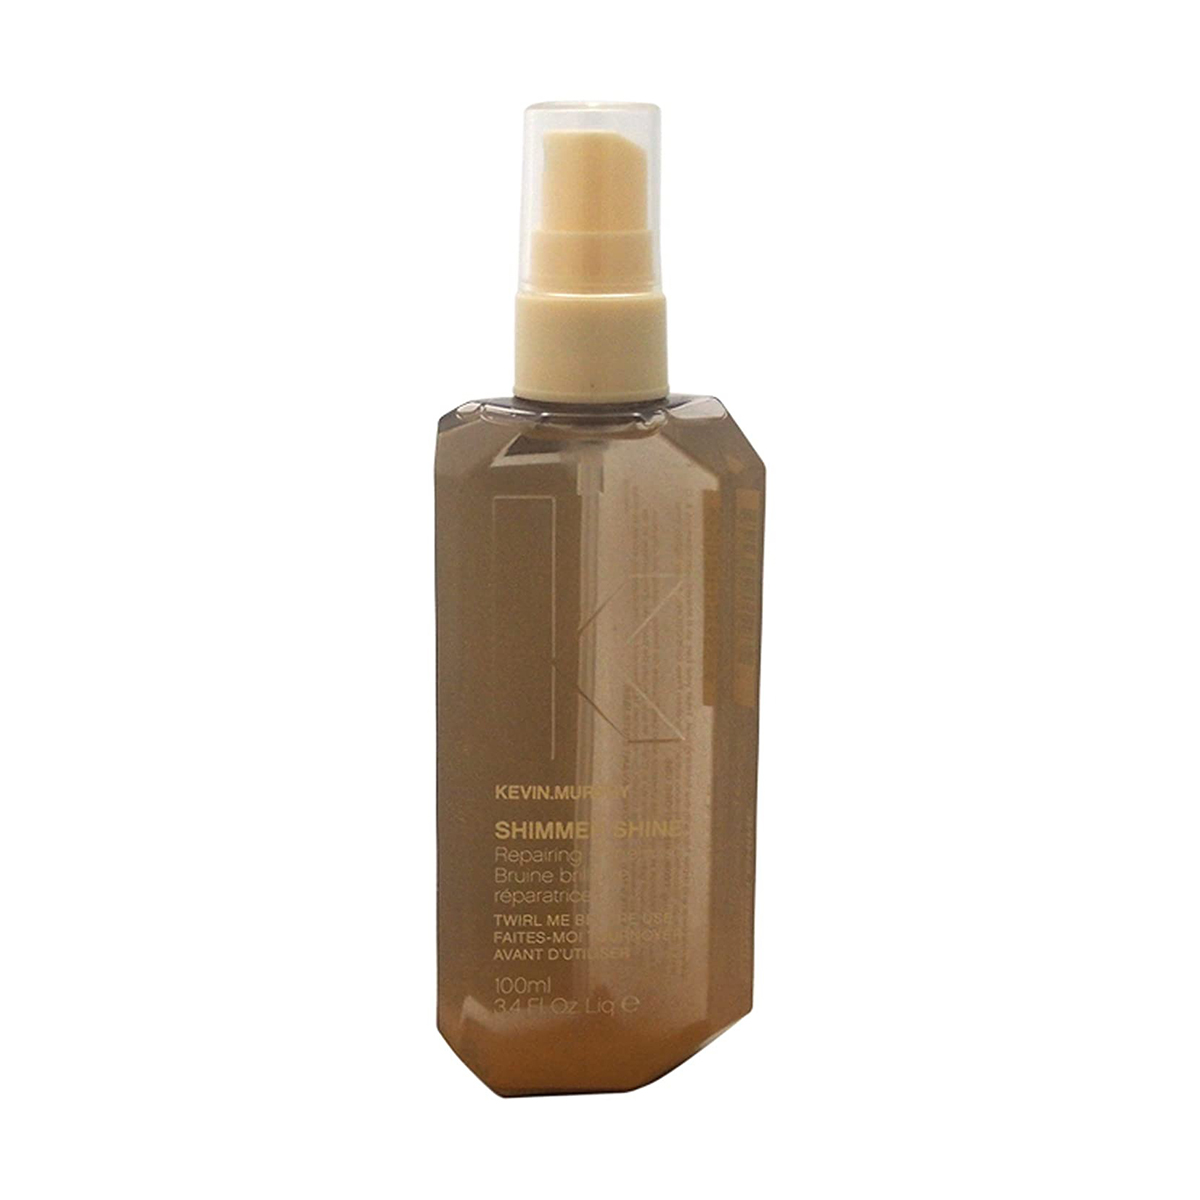
I’m obsessed with this product and think it’s so underrated. The fragrance is heavenly, and it adds just the right amount of shine.
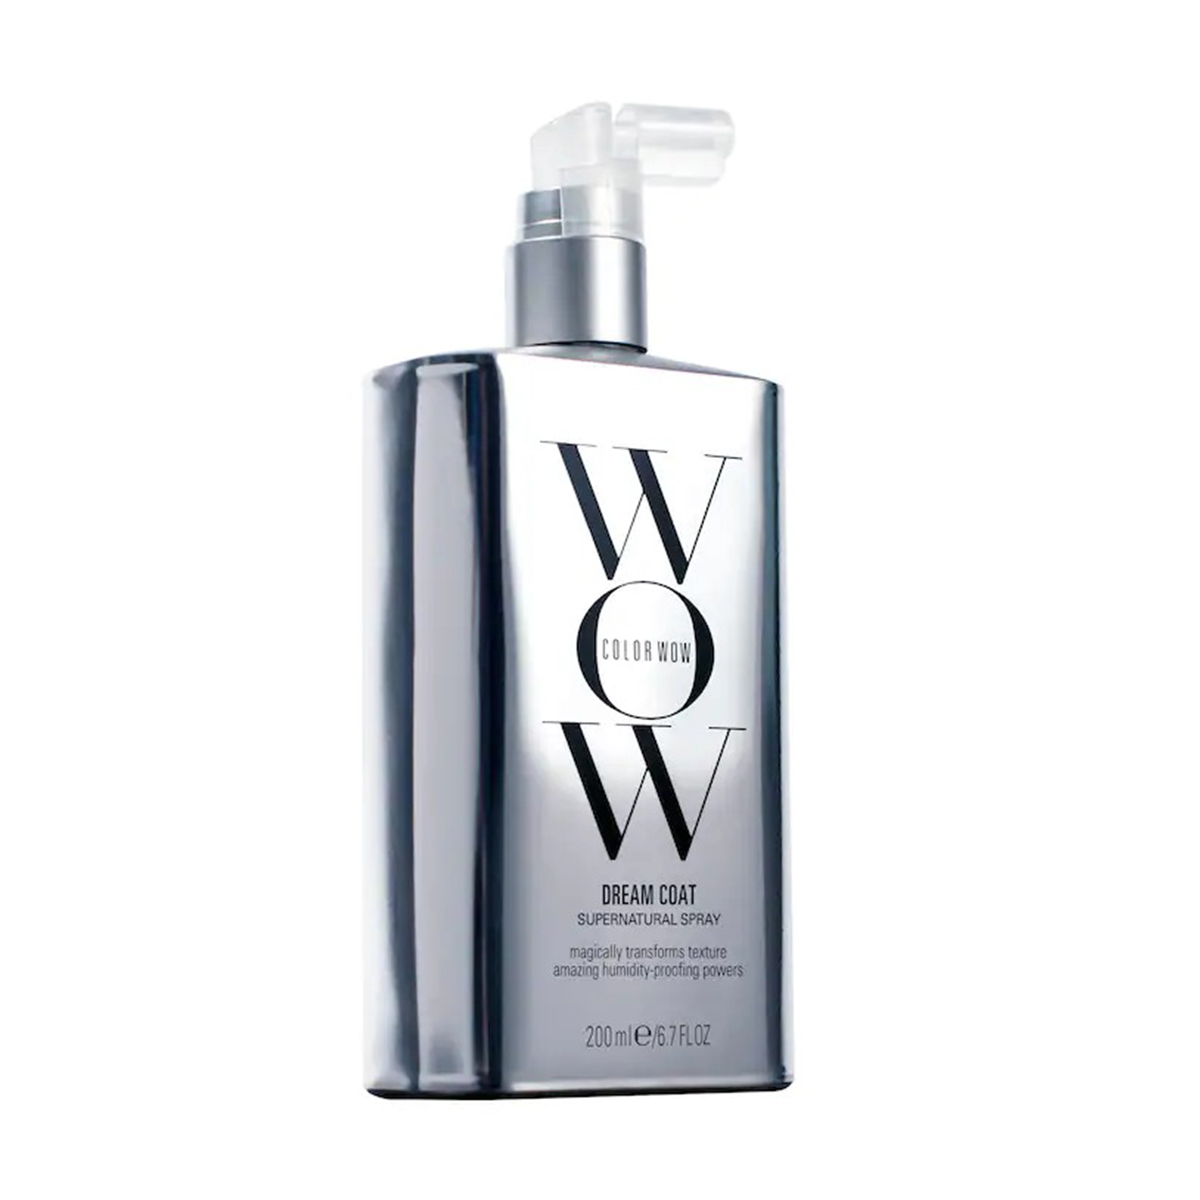
This product is officially at the top of my wish list. After seeing the magic that it does on TikTok, I need to try it next.
Tip #4: You’re going to want to add these hair accessories to your gym routine.
My stylist suggested that I wear a sweatband when I go to the gym to keep my edges in good shape. She also suggested twisting my hair into two buns if I’d like to maintain a natural wave (kind of like Princess Leia).
Shop gym essentials:
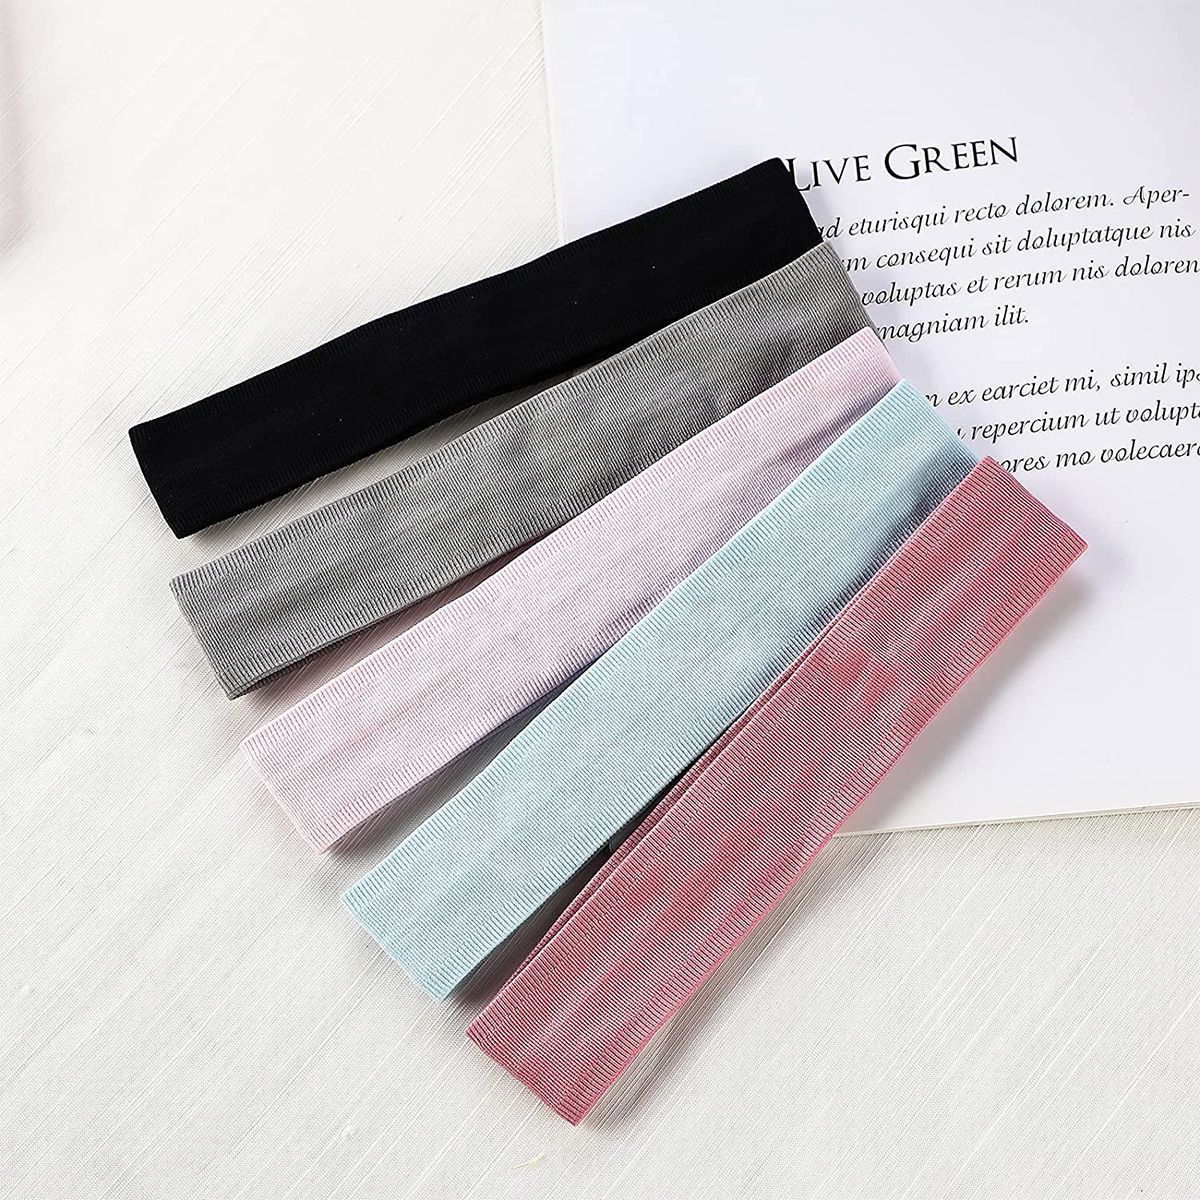
I usually don’t wear a headband when I work out, but that all is changing. Any style that looks like this won’t steer you wrong.
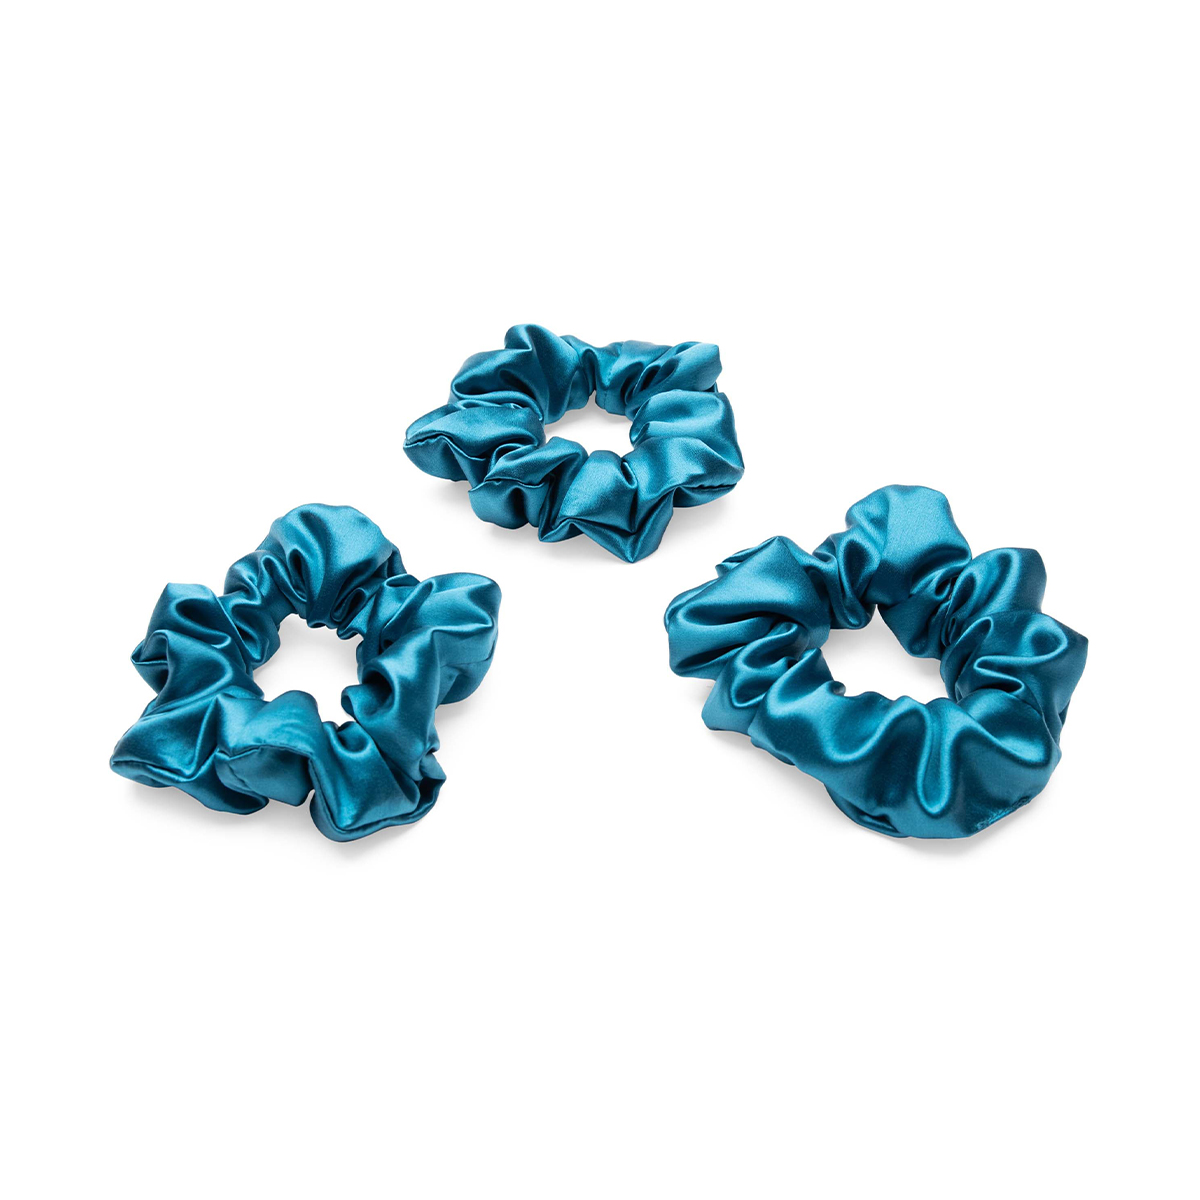
I have more hair than ever before, and a regular hair tie doesn’t always cut it. Scrunchies are built to hold more hair, so I’ve been wearing them to the gym lately.
Tip #5: Go easy on the heat.
Having longer hair has made me tempted to curl it every day, but so far, I have yet to touch the curling barrel. I plan on turning it on for special events, but otherwise, my Dyson Airwrap is my best friend when I’m not using heatless curls. It intelligently controls the heat element and keeps the temperature low while still being effective.
Shop heat-friendly products:
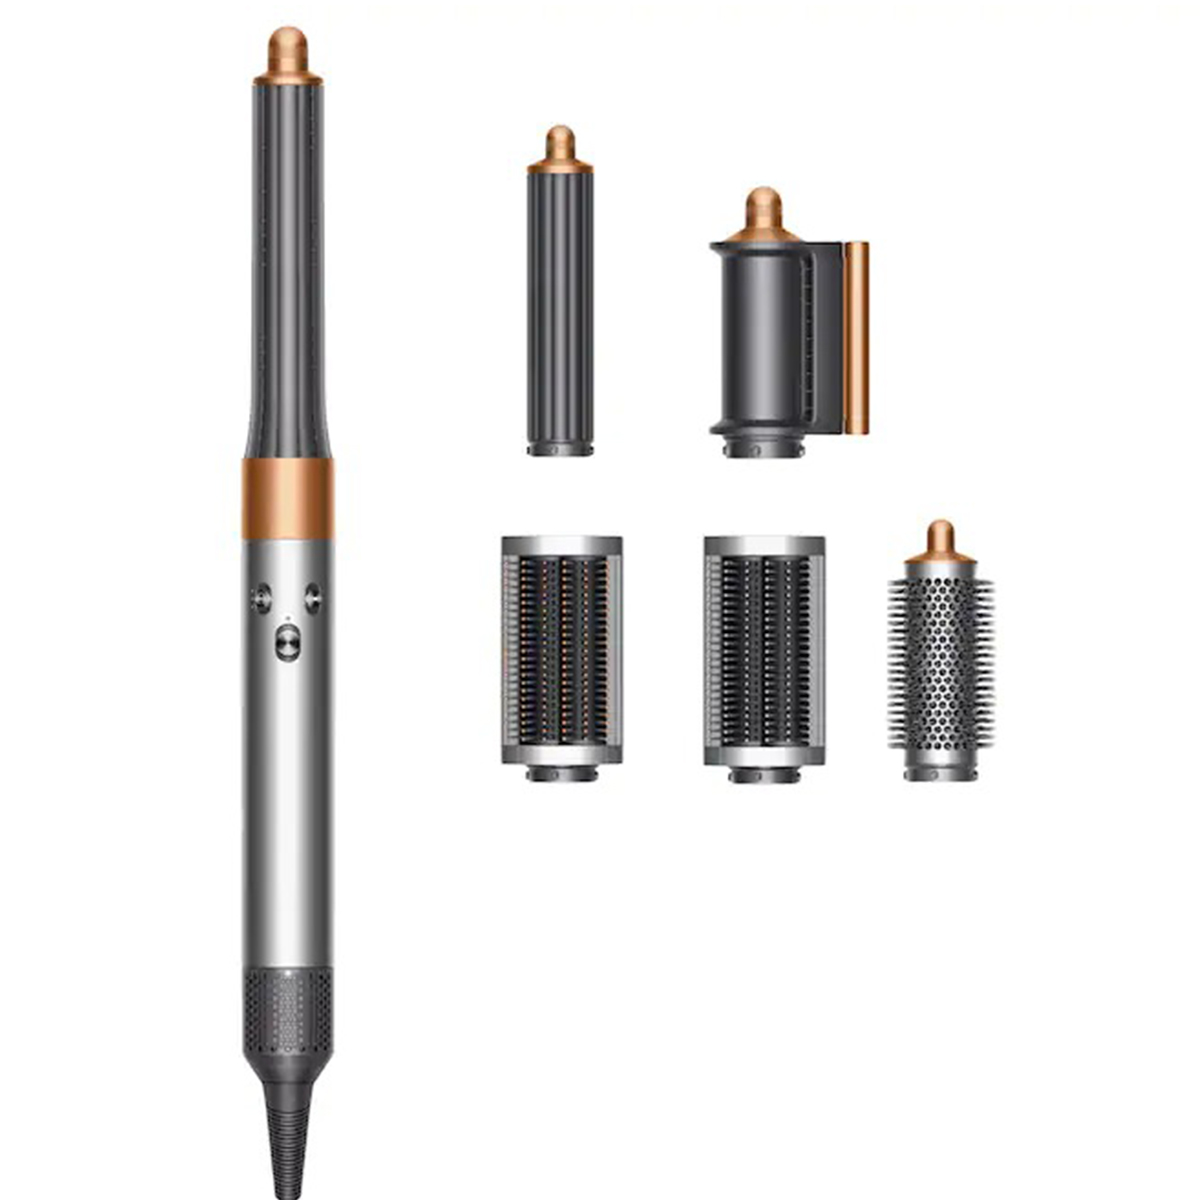
Ever since adding microlink extensions to my hair, I’ve loved using my Dyson Airwrap to create pin curls. This helps my hair last all day long and gives me the wavy look that I’m after.
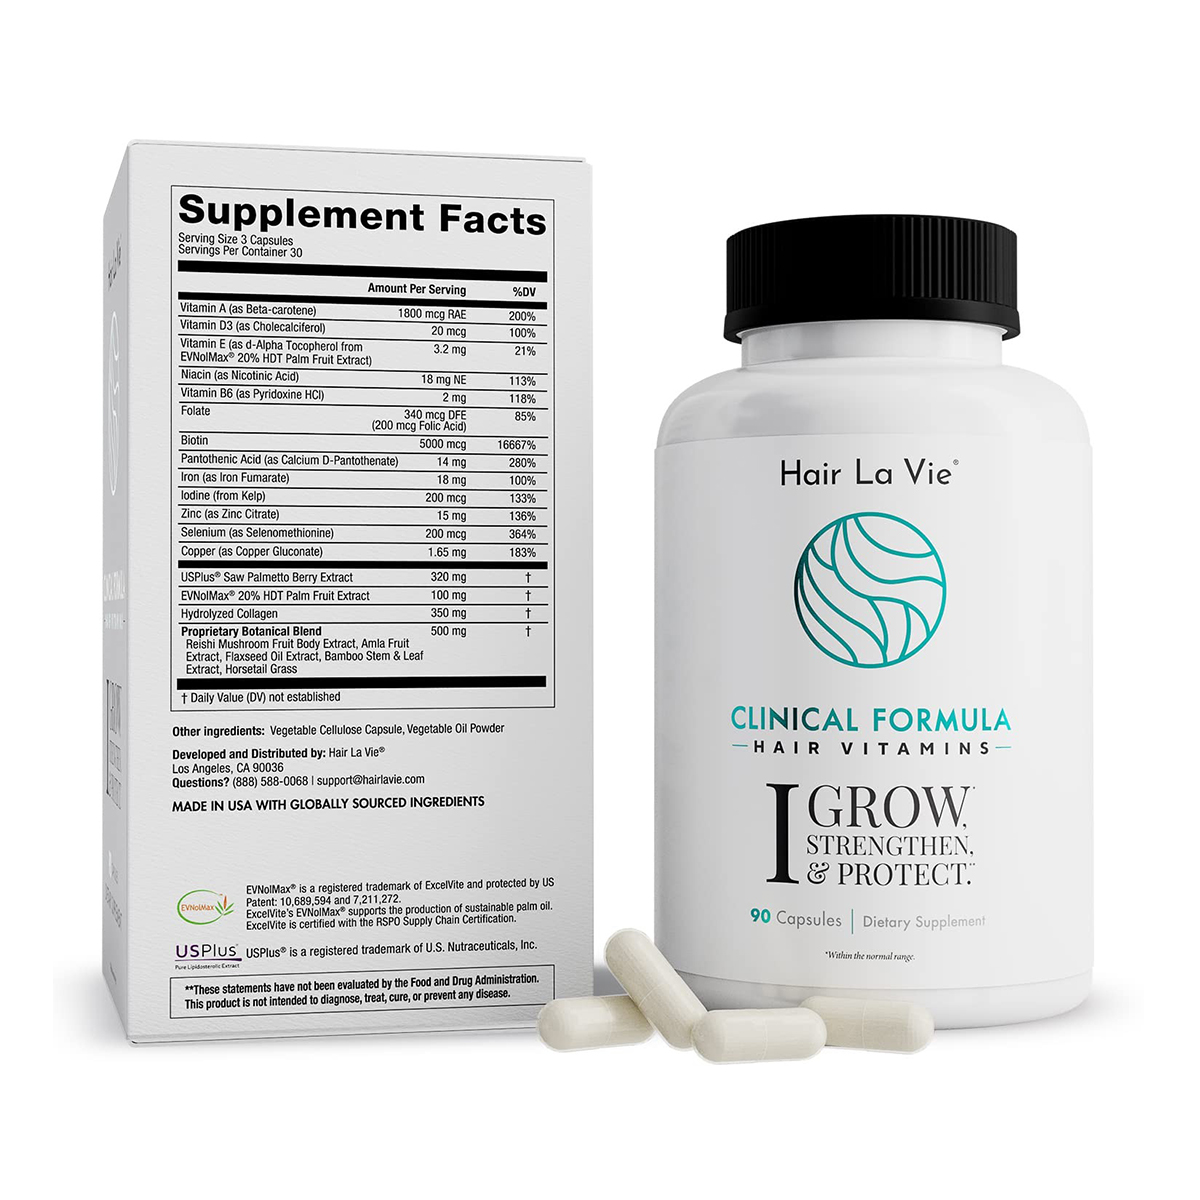
While weaves and wigs are known as "protective styles,” microlinks are not. This is because your real hair is out and at risk of heat damage and stress. I’m investing in strengthening my hair while sporting this style, and these vitamins are my current favorite.
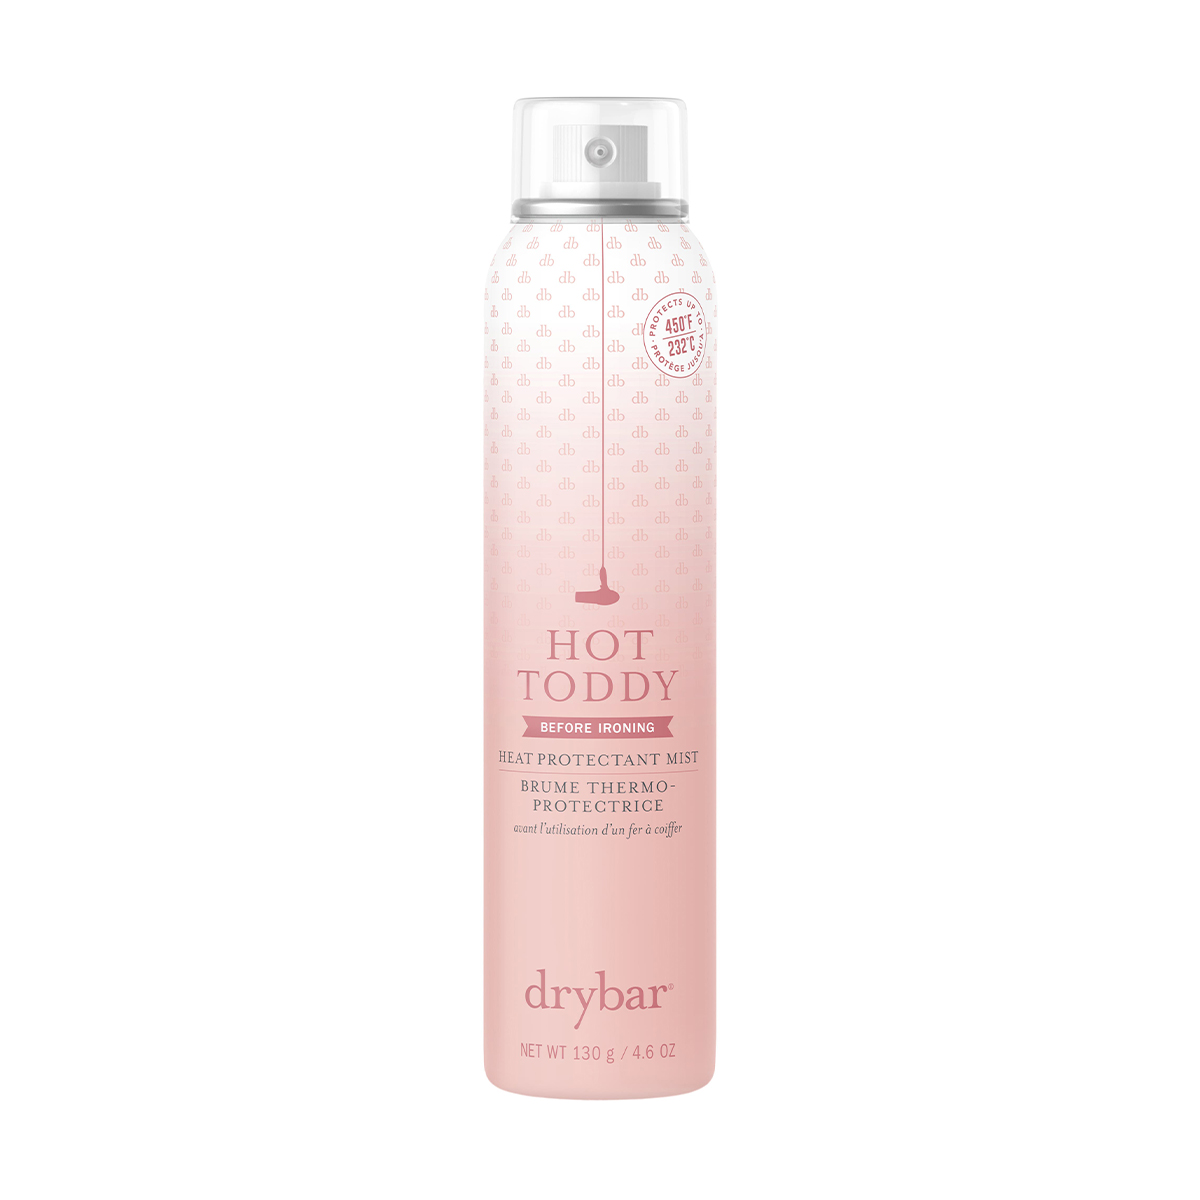
I’ve been reliant on the Hot Toddy for quite some time, and it’s one of the best heat protectants on the market. Plus, I love the way that it smells.
Tip #6: Itchy scalp is a real thing—be prepared.
No one warned me how itchy your scalp can get as it’s adjusting to having extensions in. At first, everything was fine, but at the one-week mark, I was itching like crazy and wondering if something went wrong. Prepare yourself with products that can help soothe your scalp and keep it hydrated.
Shop scalp-soothing products:
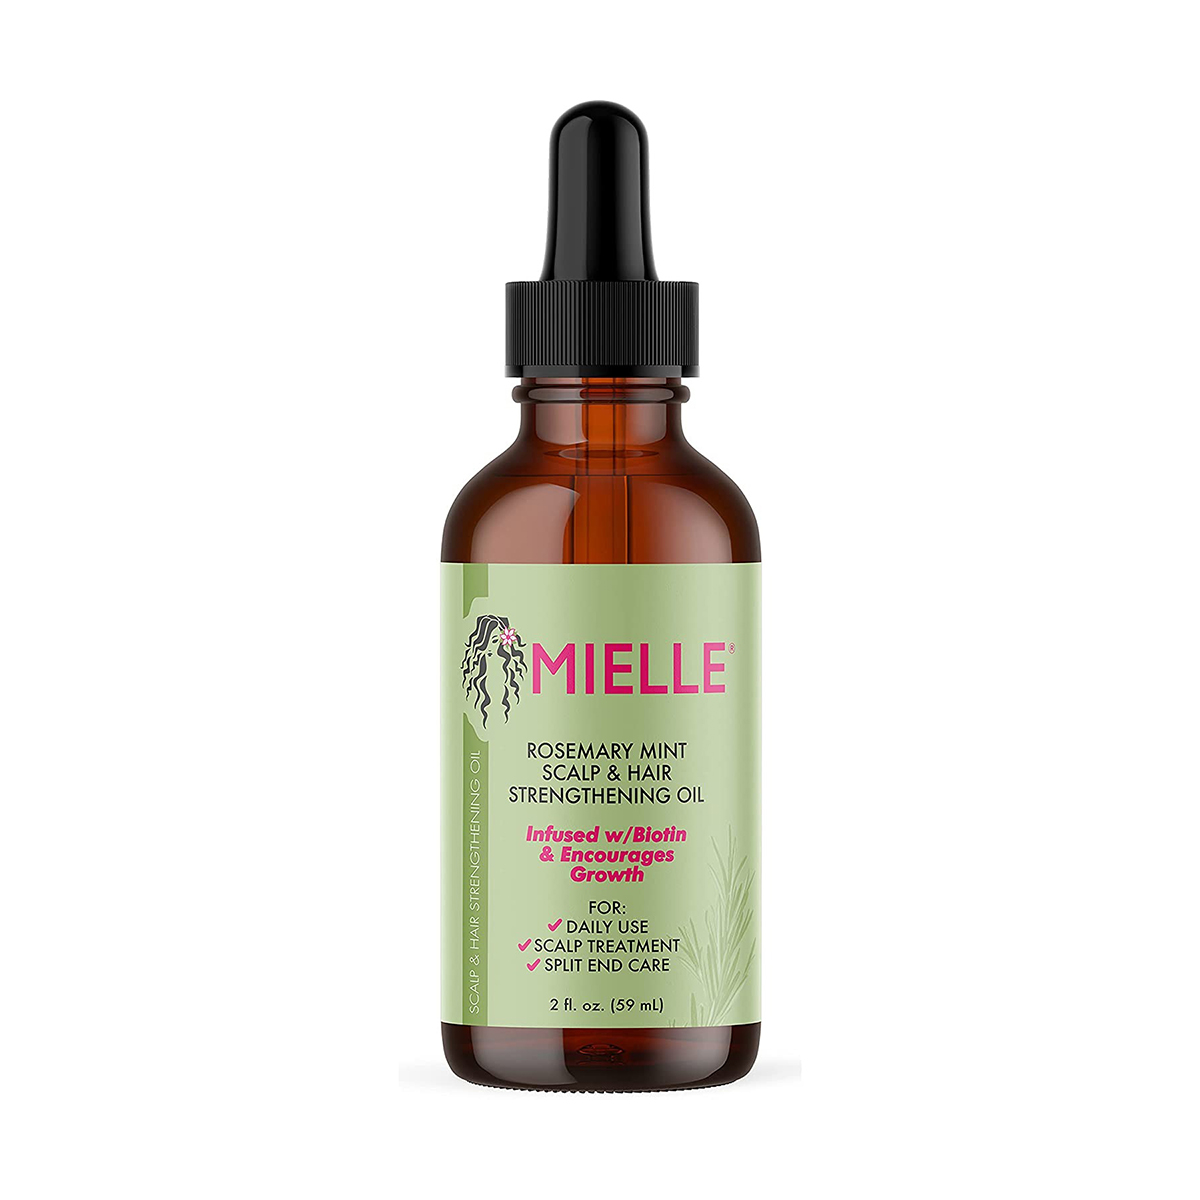
Although you’re supposed to keep your hair products light, your scalp is going to get dry at some point, and you’ll need an oil treatment. There’s a reason that Mielle’s hair oil is selling like crazy right now. It’s really, really good.
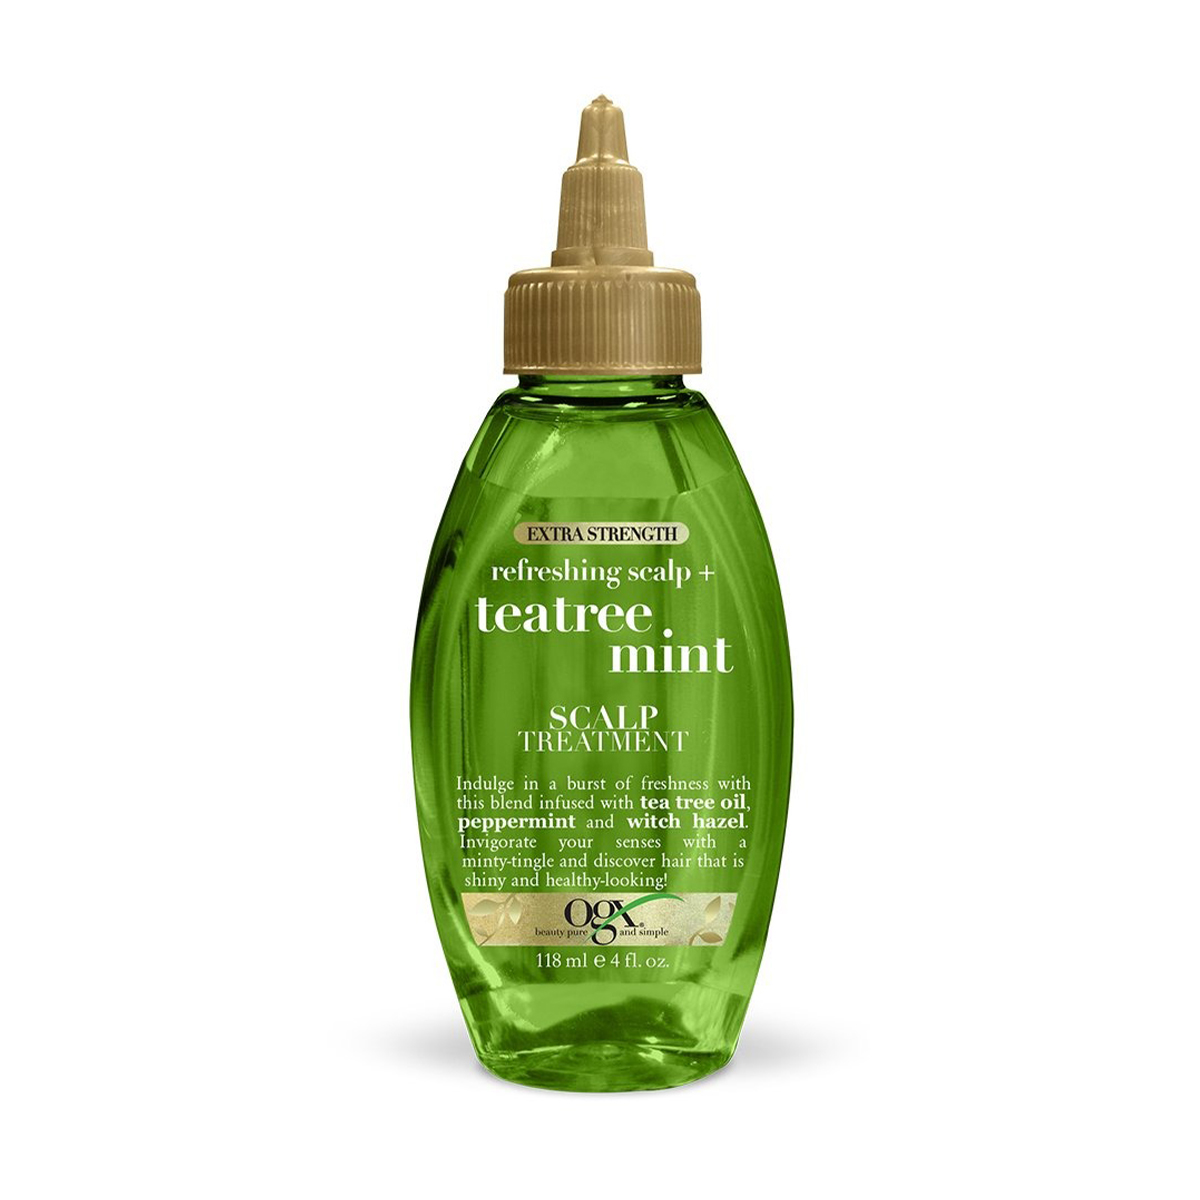
My friend recommended this product for itchy scalp while wearing a weave or microlinks, and it’s been a lifesaver. Its pointy tip helps me get into the crevices and apply product where I need it the most. Plus, it’s extremely lightweight and doesn’t leave my hair greasy.
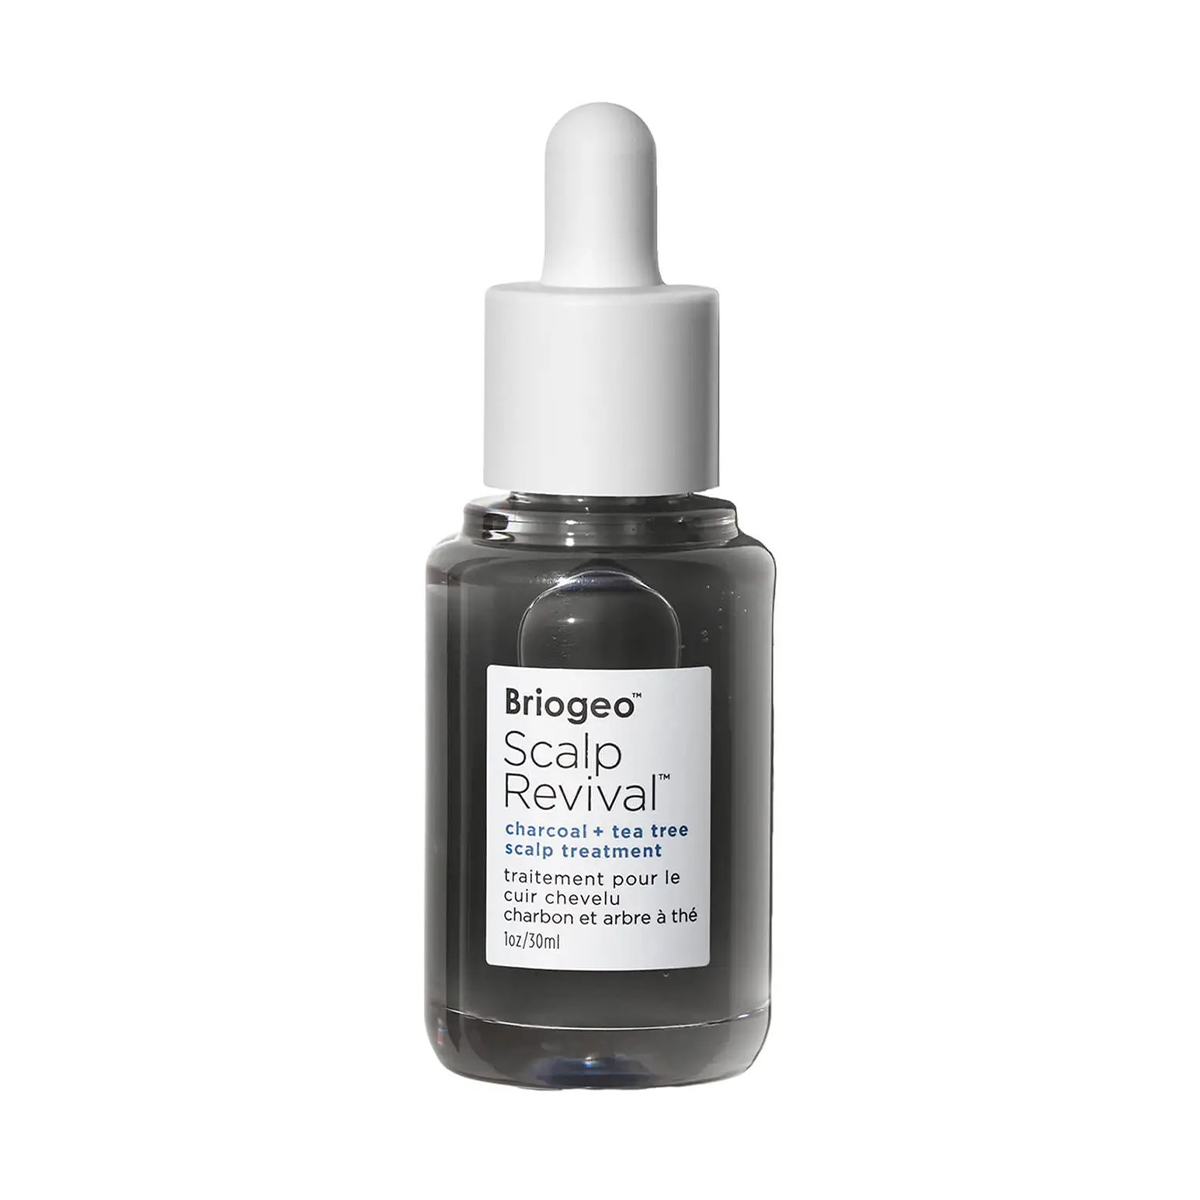
I’ve heard amazing things about this scalp treatment and think it needs to be next on my list. It keeps you hydrated and fresh at the same time.
Up Next: The "Red-Nail Theory" Is Viral on TikTok, But I'm Not Buying It—Experts Weigh In

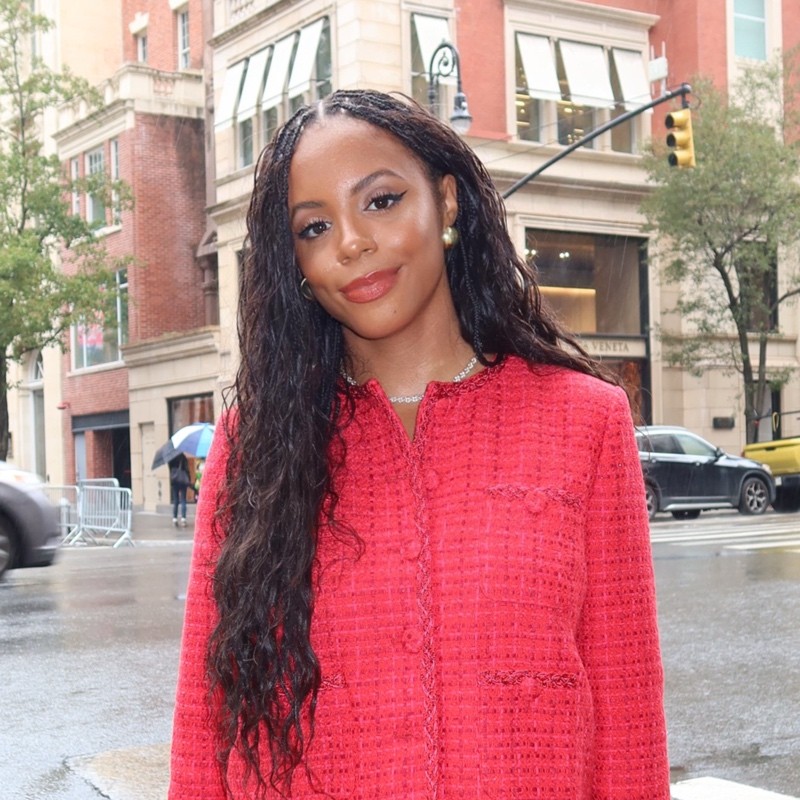
Sierra Mayhew is a fashion editor at Who What Wear, bringing a decade of industry experience to the editorial team. Since joining in 2021, she has made her mark by blending luxury and accessible fashion, decoding runway trends, and curating must-have shopping lists. Before joining Who What Wear, Sierra sharpened her skills at Harper's Bazaar and Elle, with bylines in Bazaar.com and collaborated with iconic brands such as Gucci and Ferragamo. A graduate of the University of Notre Dame, Sierra translates editorial expertise into viral social content, making fashion engaging for a new generation. Her unique perspective is rooted in her love for travel, music, and discovering the hidden gems that make New York City a constant source of inspiration.