How to Blow-Dry Your Hair at Home in 5 Easy Steps
Grace Lindsay
A blow-dry is sadly one of the very few beauty treatments that is virtually impossible to do on yourself. Especially one to salon standard. Let’s face it—there is no better feeling than skipping out of the salon with freshly blow-dried hair. With the magic hands of a hairstylist, flat, limp lengths can be transformed into bouncy, voluminous waves in a matter of minutes using nothing more than a hairbrush and a hair dryer.
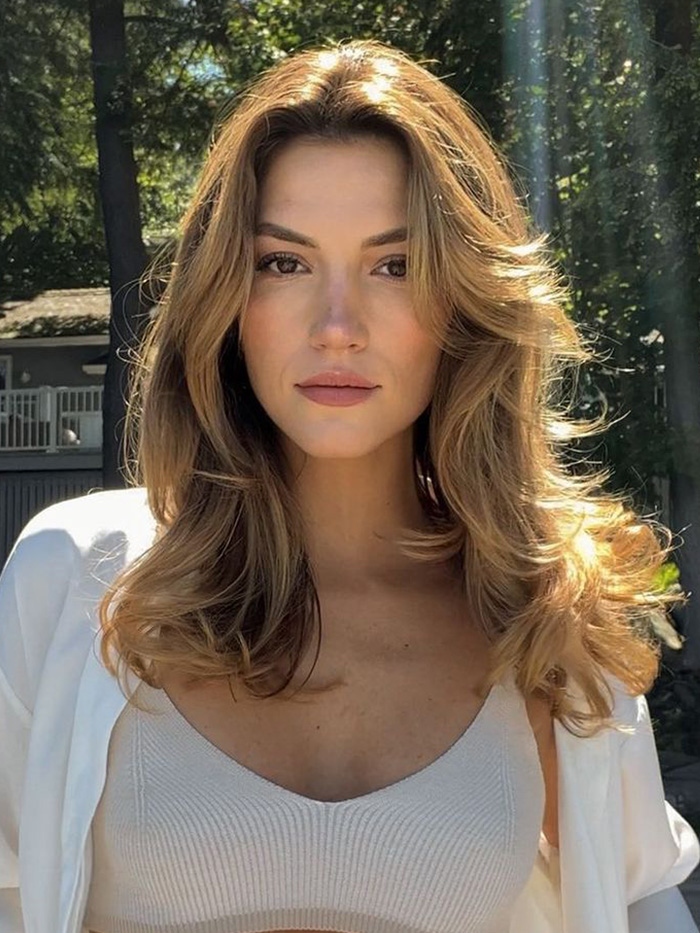
So why is it when we try to do it ourselves at home, it’s such a palaver? With aching arms, mirror reflection confusion and dryer-inflicted burns, there is nothing remotely glamorous about blow-drying your own hair. And 99% of the time, after all of the flap and fuss, the results are so drab that you wish you hadn’t bothered.
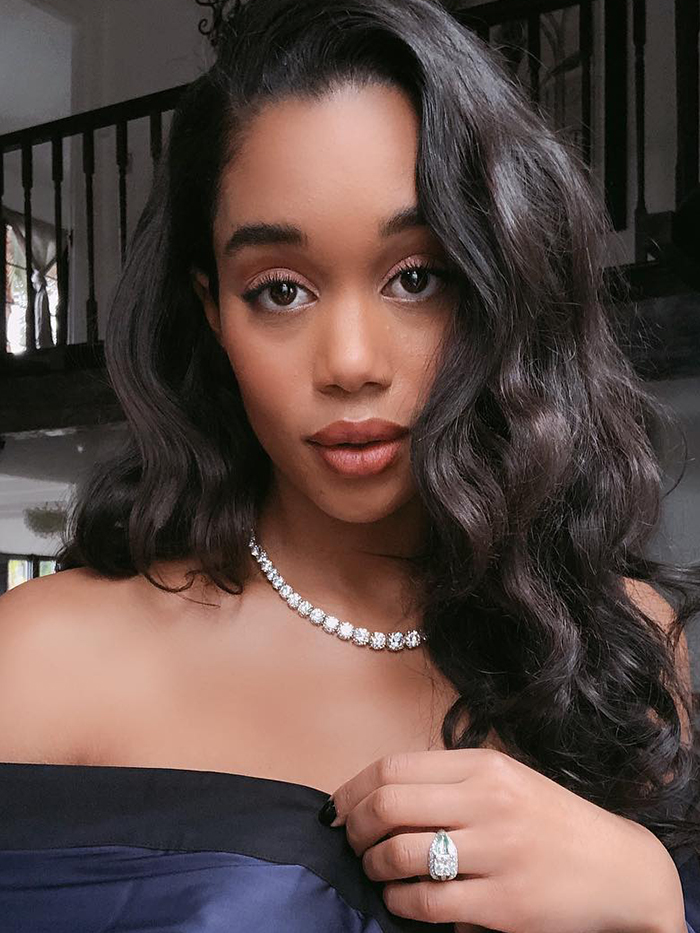
However, it doesn't have to be that complicated. In a bid to try and make things easier, I caught up with GHD ambassador and hairstylist extraordinaire Adam Reed to reveal exactly how you can achieve salon-level blow-dry results at home. Although this step-by-step guide uses a hair dryer, don't forget to check out our roundup of the best hot brushes to make drying your hair even simpler.
How to Blow-Dry Your Hair, According to an Expert
1. Apply Product
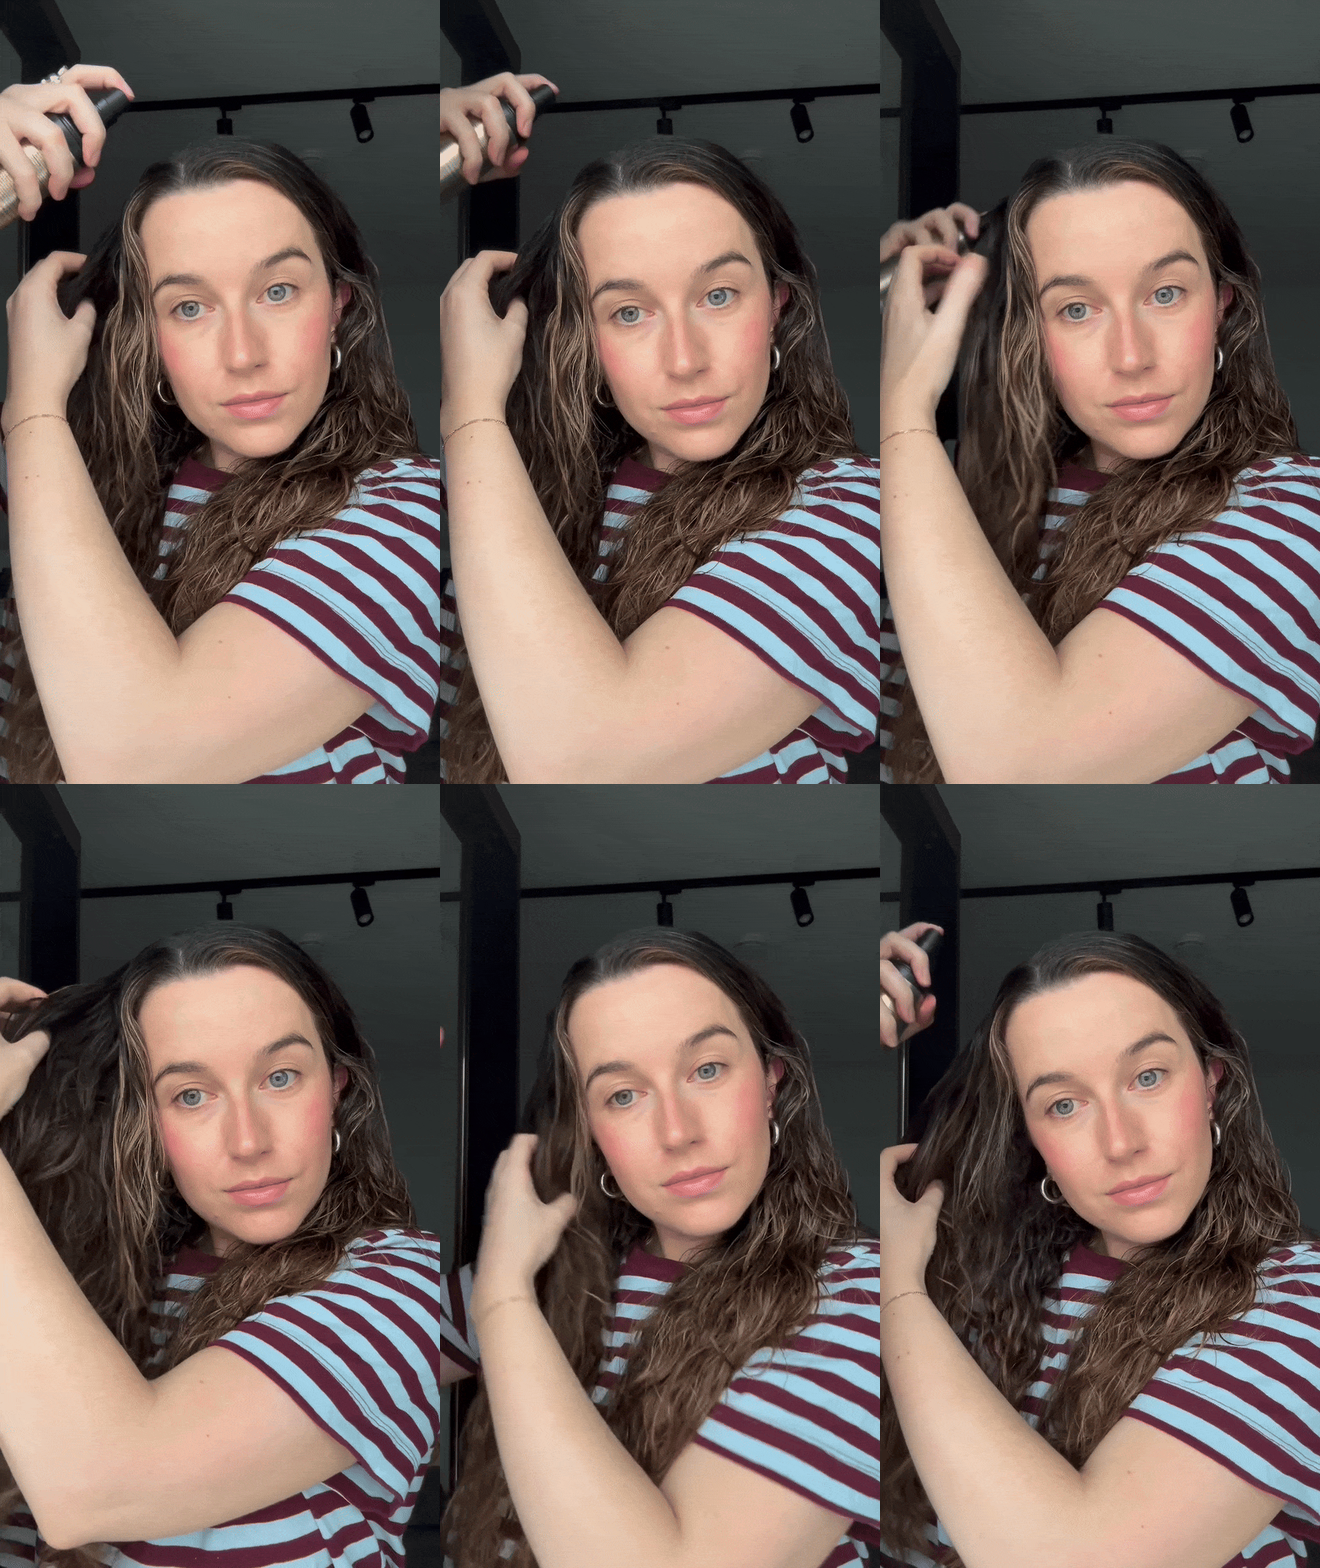
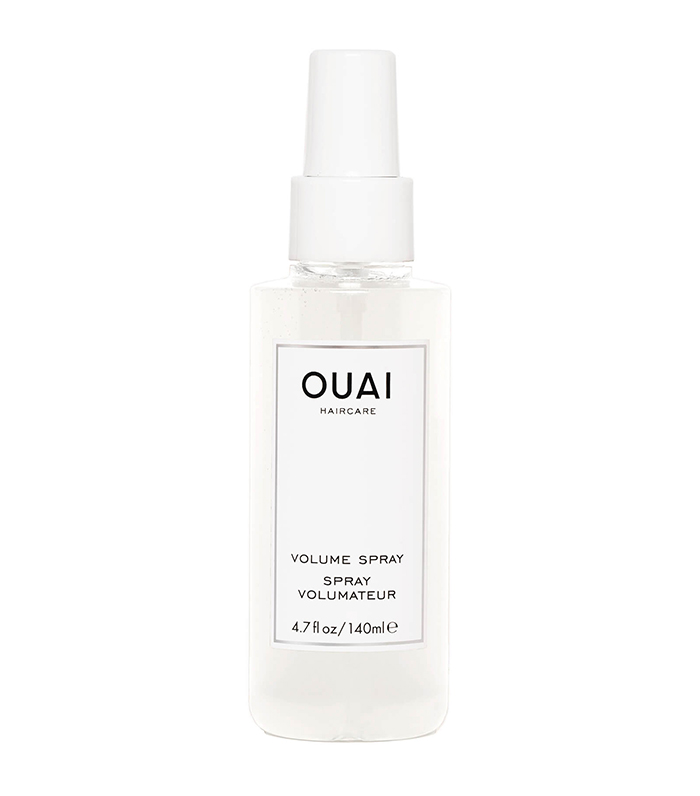
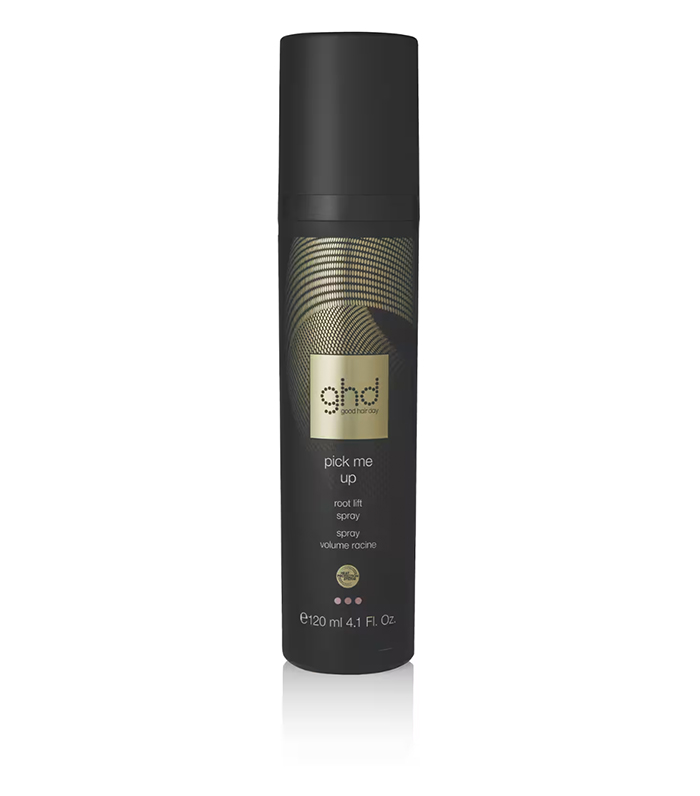
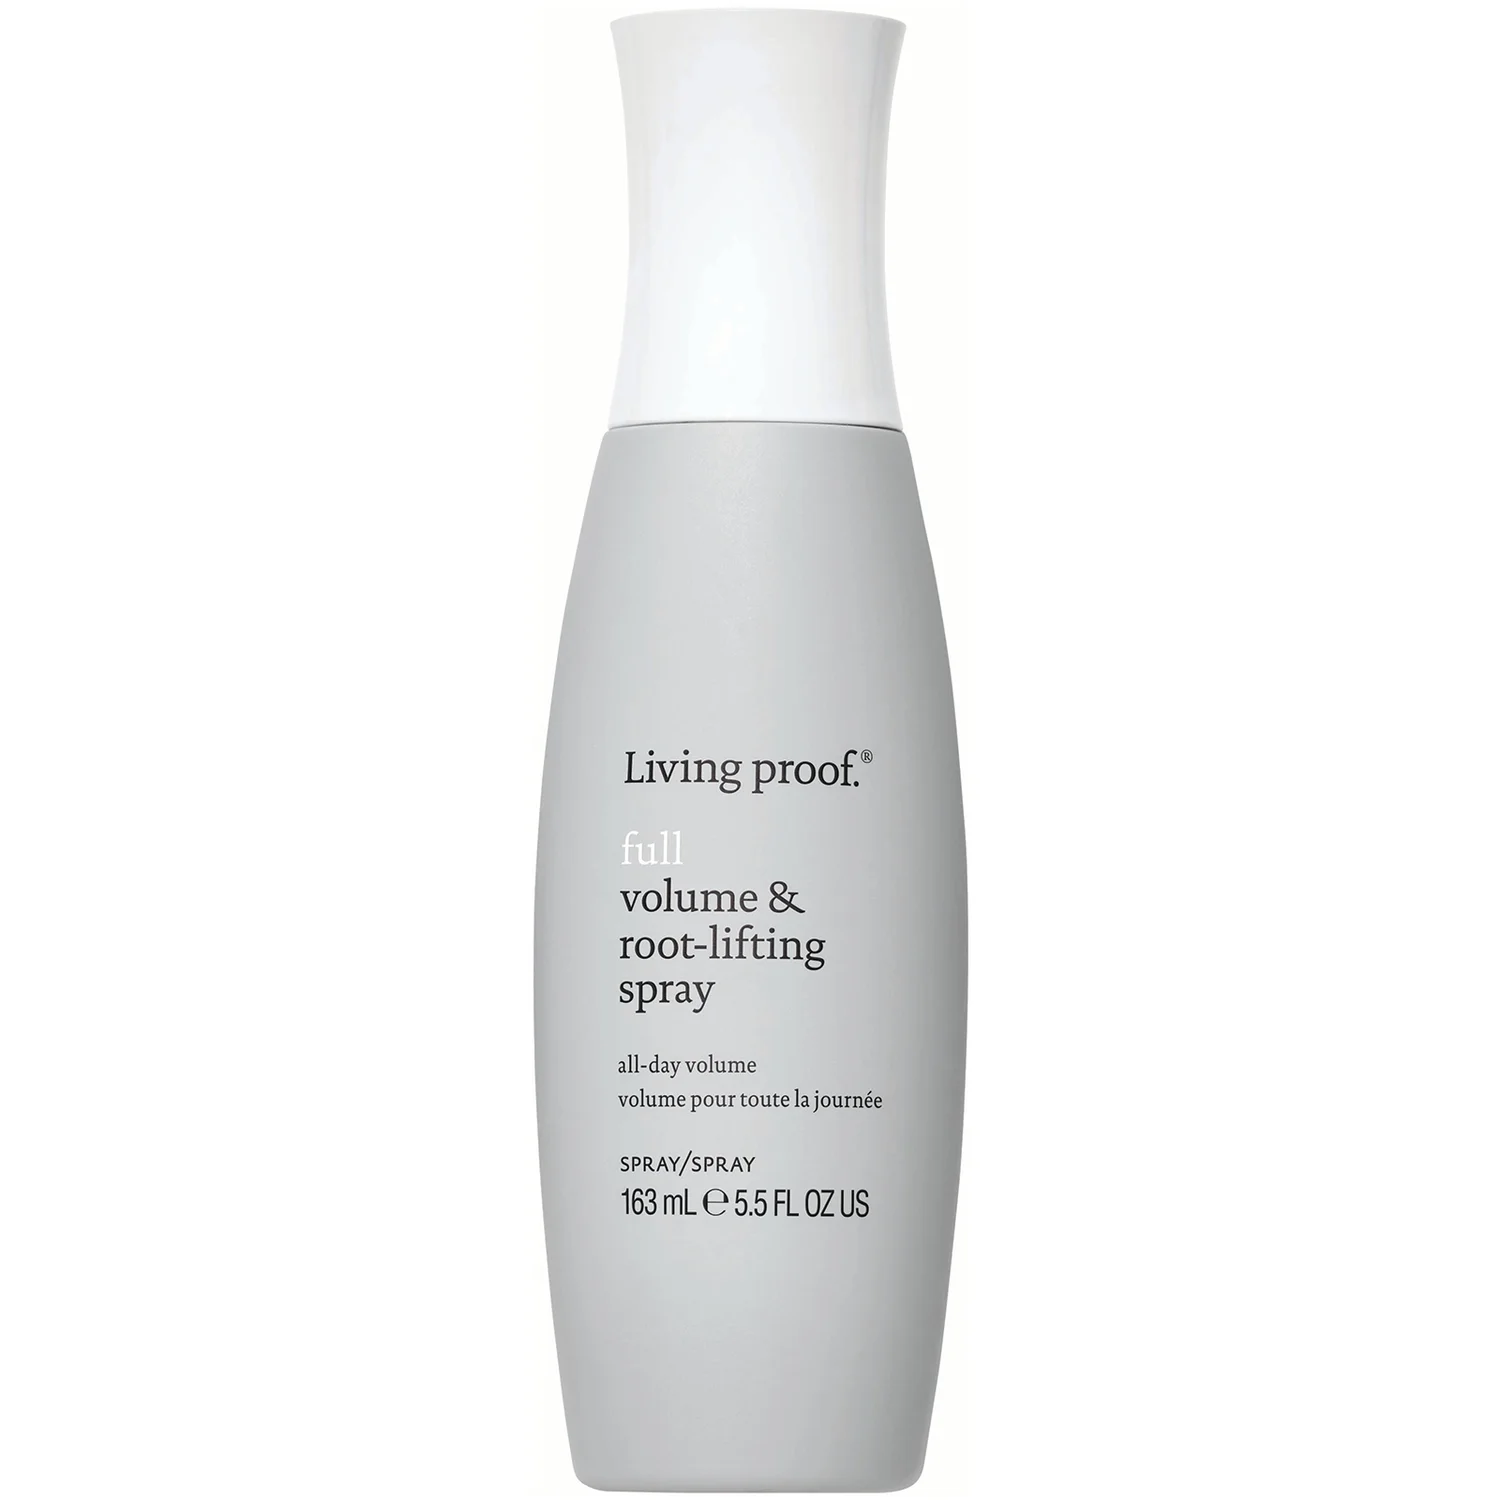
The thing that is very often overlooked when trying to achieve salon results at home is the sheer number of products a stylist applies in one single appointment. If you’re struggling to get the lifted volume that a salon blow-dry promises, it’s likely because you’re not utilising what’s out there. Before you even plug the dryer in, Reed advises prepping the hair for maximum volume. "Prep hair with a root-lift spray. Start at the roots, and then comb it through the ends,” he says.
Shop Root Sprays:
2. Apply Heat Protector
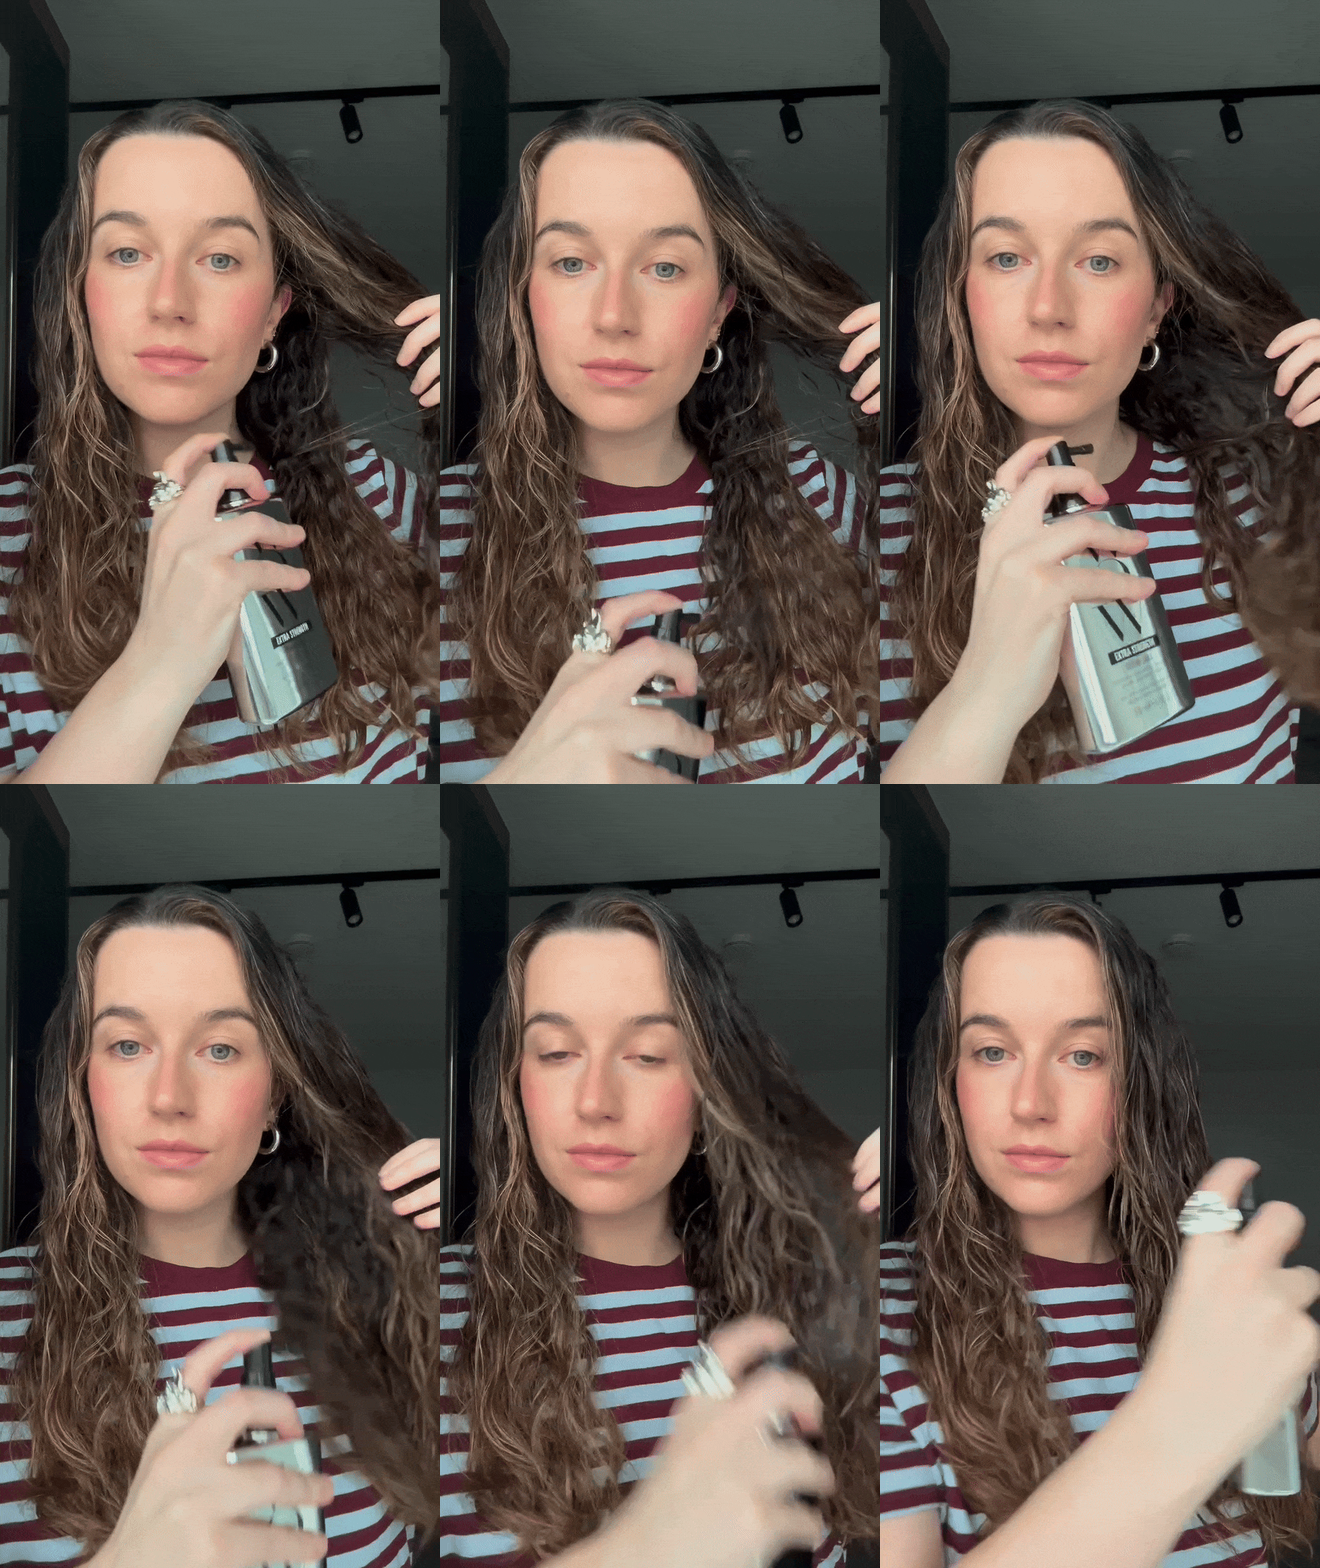
We know that we should be using heat protectant every time we blow-dry our hair, but that doesn’t mean we all do. When reaching for the straighteners or tongs, it’s almost instinctual to ensure you’re protecting your strands with some sort of heat-safe product first. However, when it comes to using the dryer, we often forget about the damage we’re inflicting on our hair.
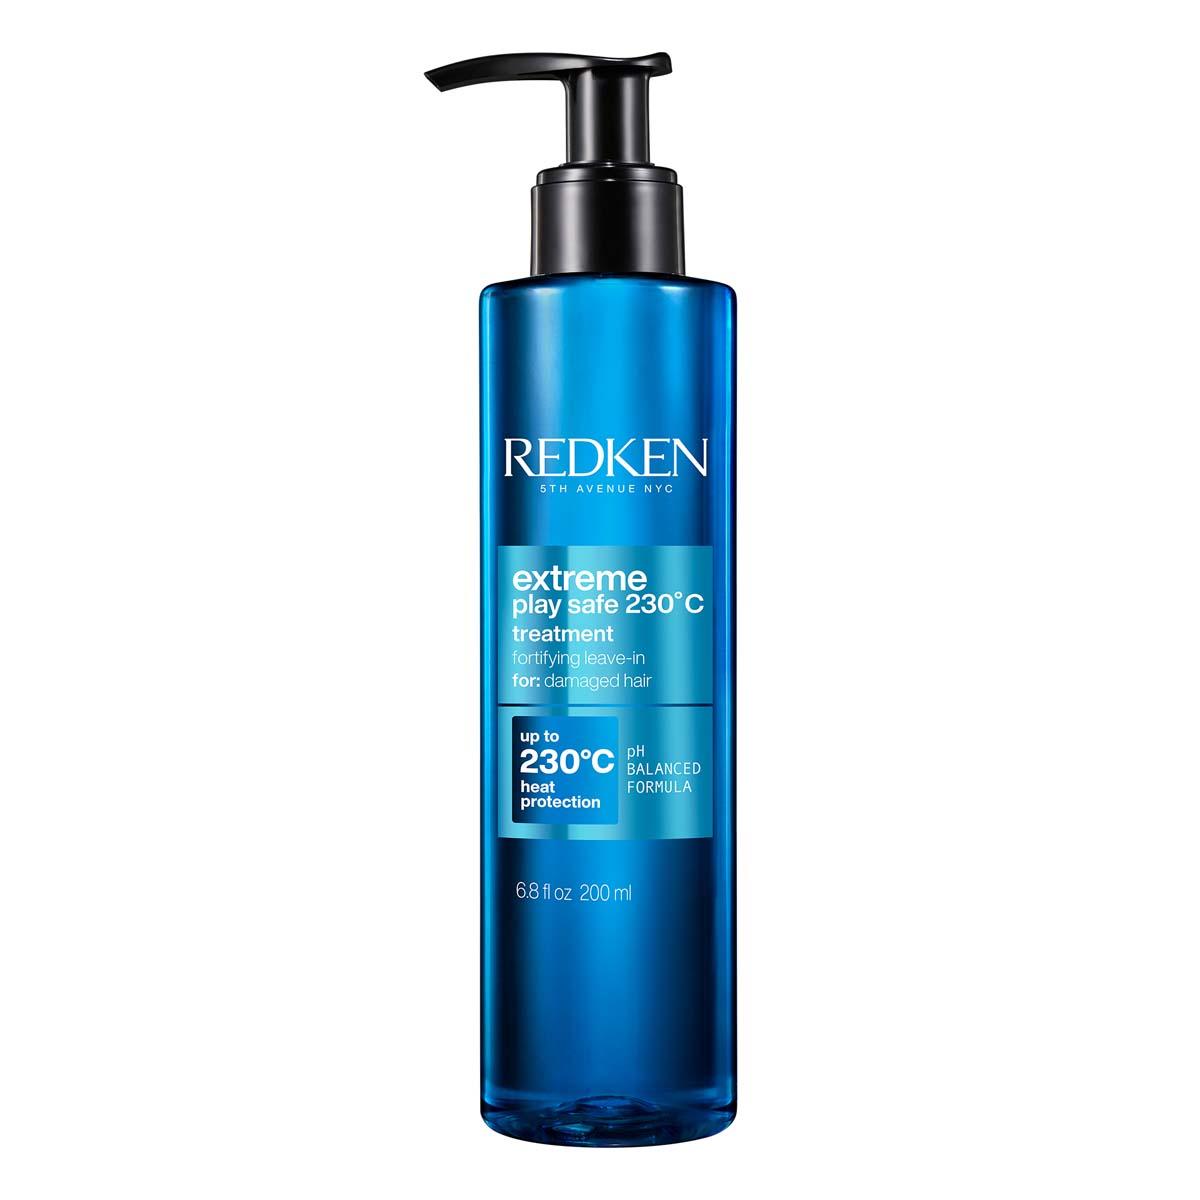
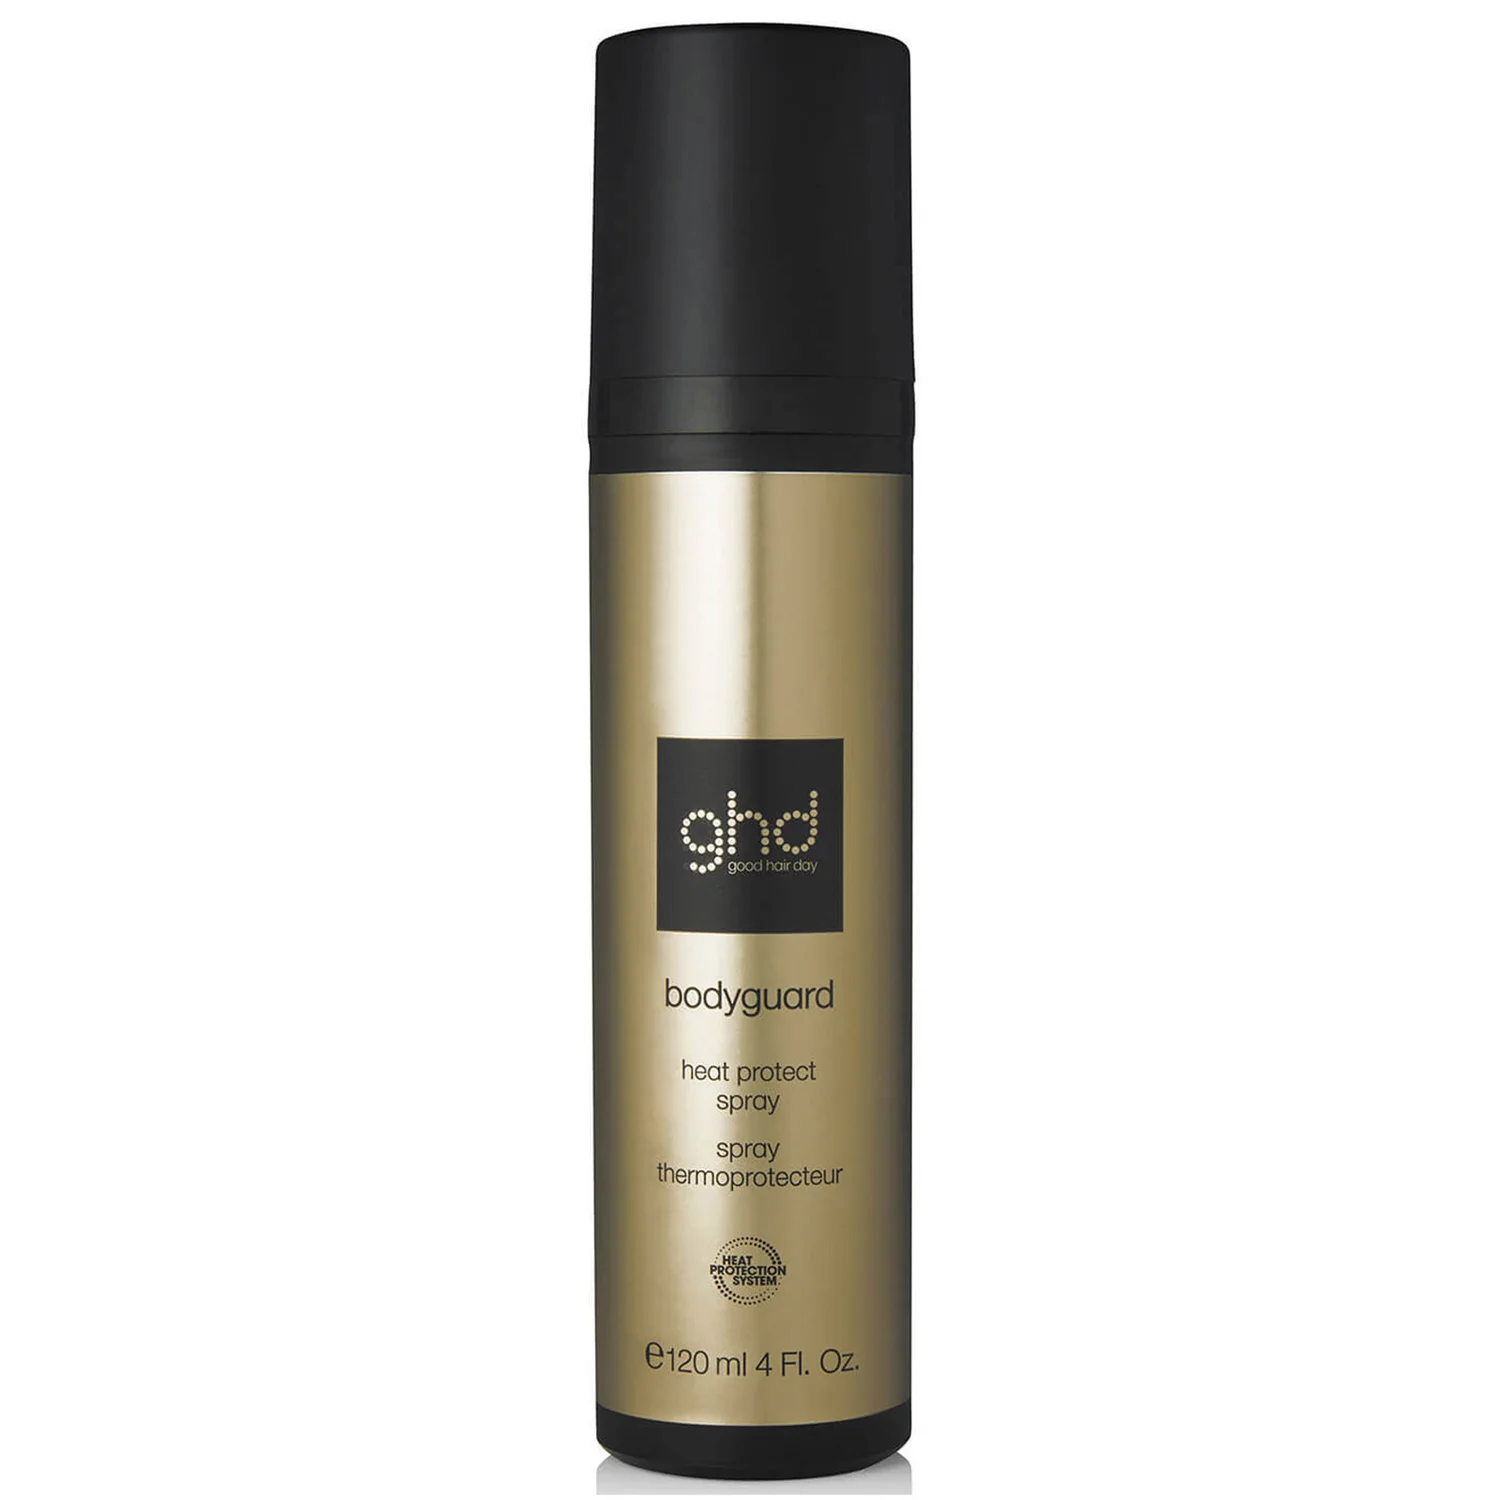
"Lightly mist a heat protect spray all over the hair, lifting the hair as you go to ensure even coverage,” says Reed. And if you think this step won’t make a huge difference to the results of your blow-dry, you’d be sorely mistaken. Unlike your standard at-home blow-dry, the level of heat that your hair is subjected to when carrying out a professional-style blow-dry is more directed and intense. Not taking the necessary steps to protect each strand can cause splitting, frizz and long-term damage.
Shop Heat Protection:
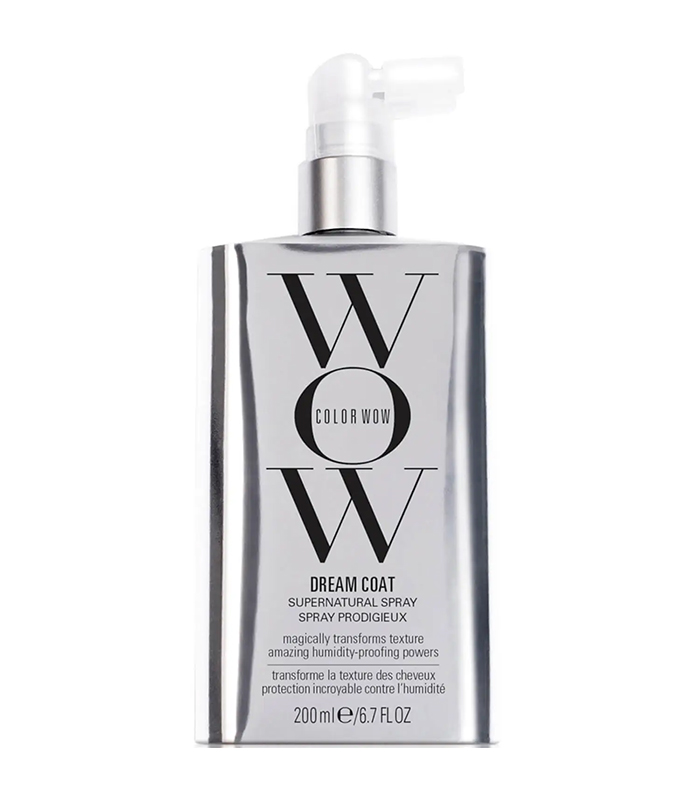
This TikTok sensation protects against heat and leaves hair humidity proof, even in rainy weather.
3. Blowdry With A Round Brush
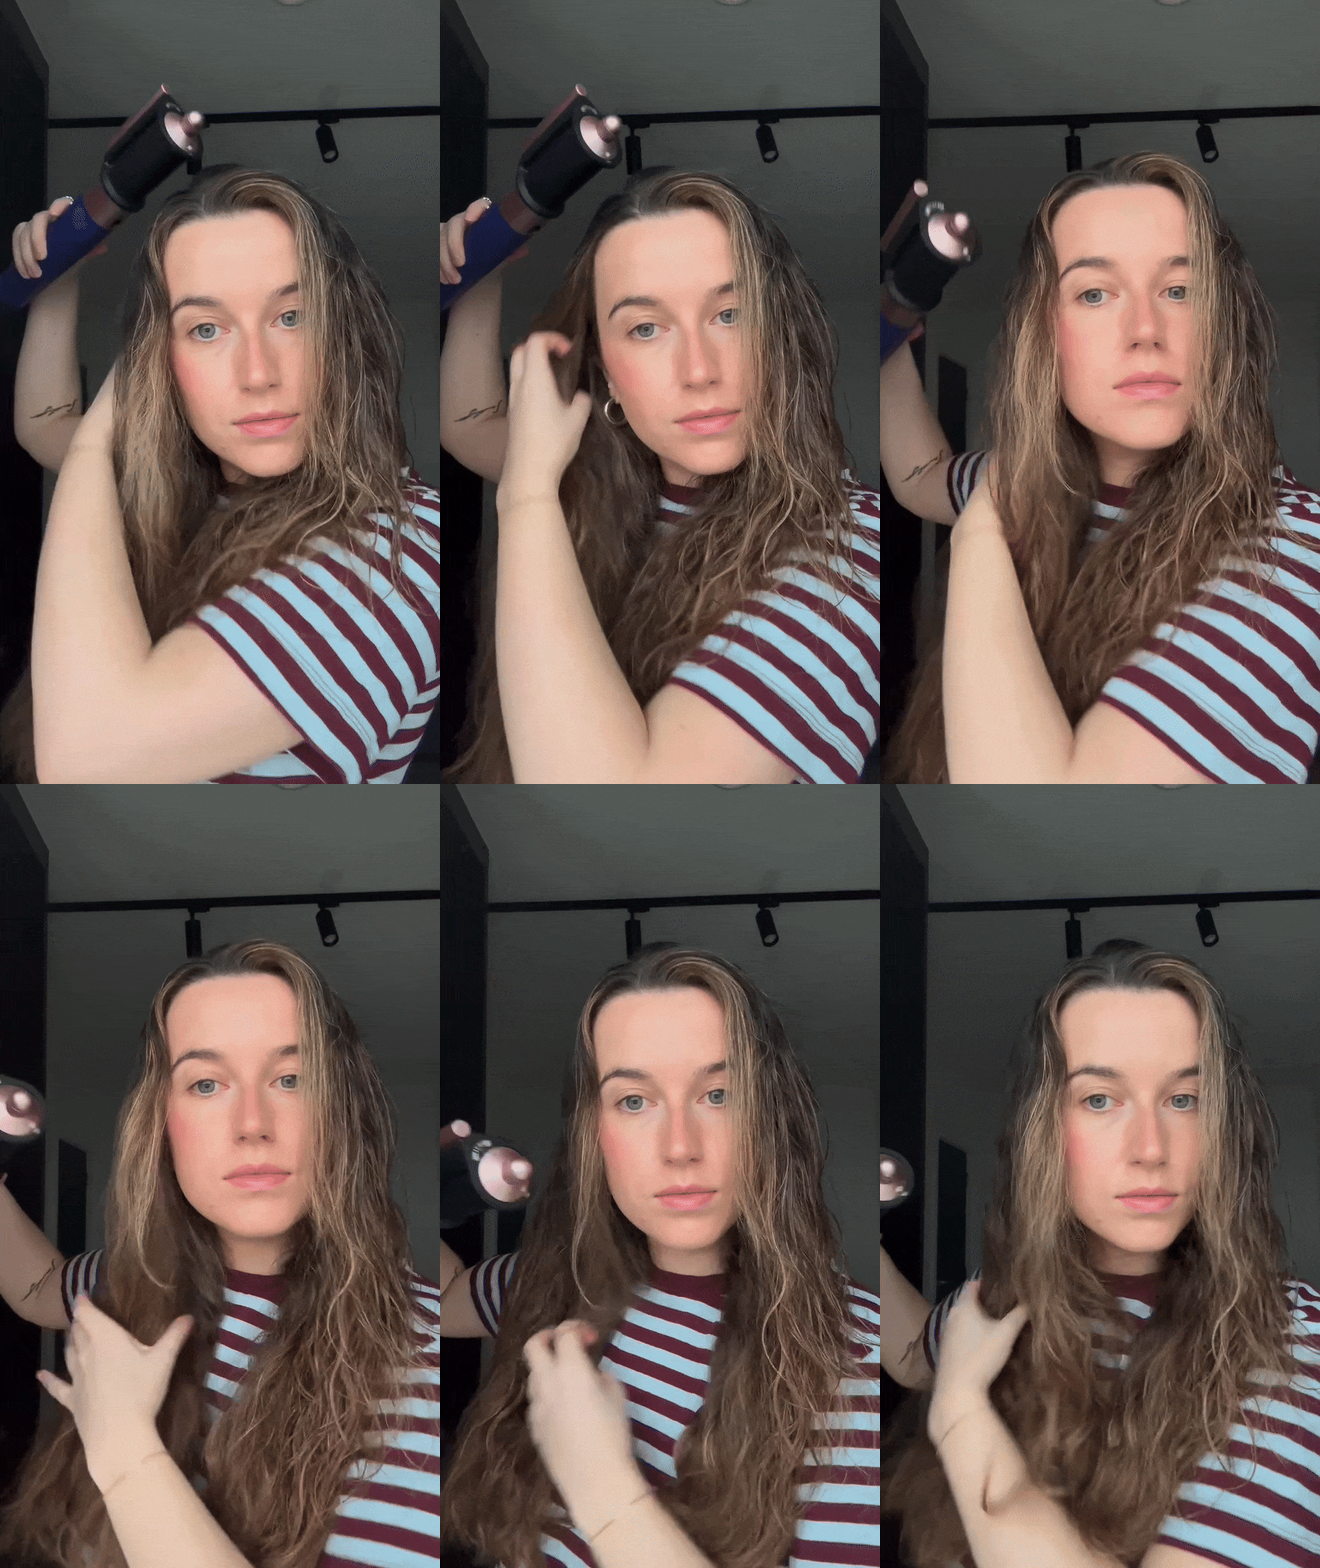
Now comes the tricky part. First of all, before you start reaching for the styling brush, it’s important to make sure your hair is mostly dry. "Hair should be about 85% dry before you start styling with your dryer. Dry the hair on a low heat setting and only use the hotter setting for finishing touches,” says Reed.
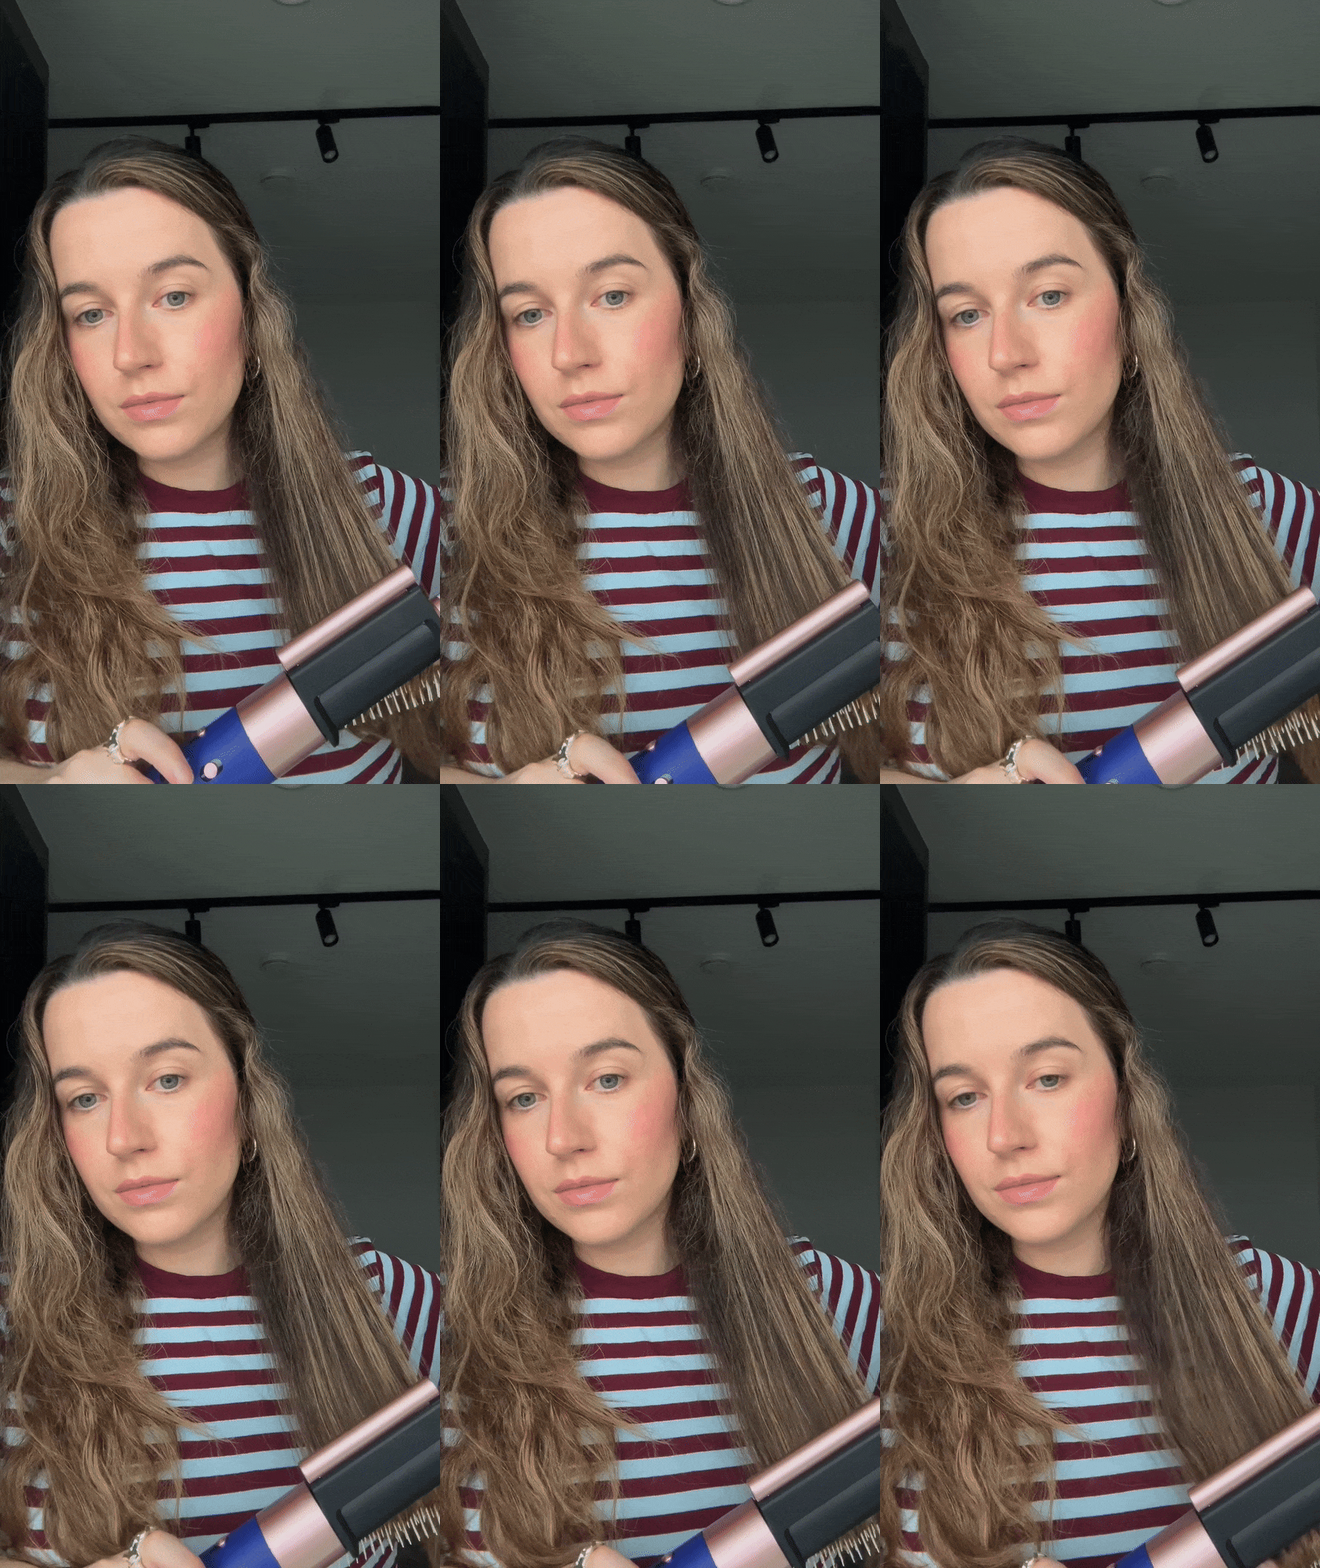
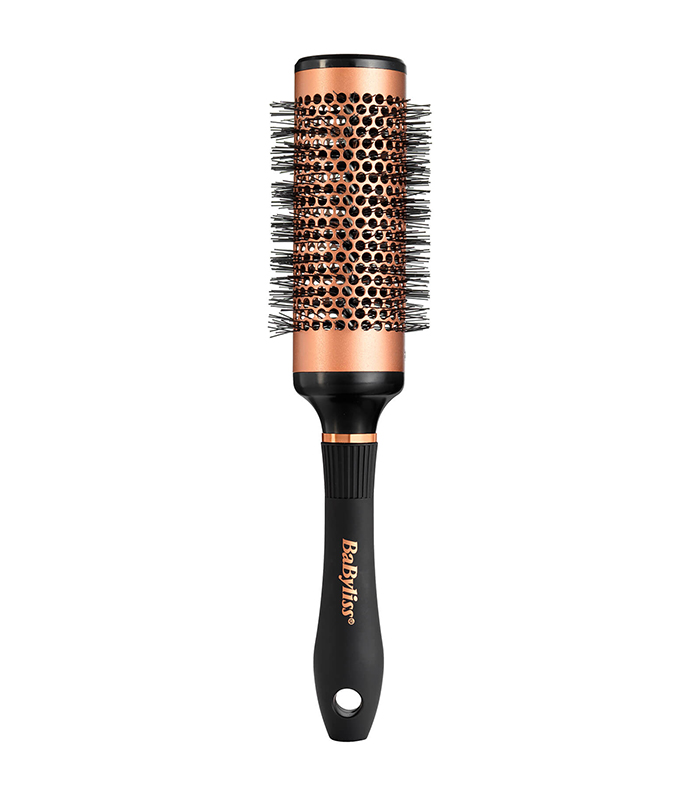
Once you’ve rough-dried your lengths, you’ll want to take a large radial brush (the bigger the brush, the greater the movement) and start working it through your lengths. Reed explains, "Start at the base and move the brush along the hair, following closely with the hair dryer.”
Despite what you think you might have seen, it’s important to keep the hair dryer moving in the same direction. "Many people move the dryer up and down over each section of the hair, or just hold the dryer in one place. That’s wrong! The nozzle of the dryer should always follow the brush continually, facing the direction of the brush. Go over the same section several times until fully dry and smooth.” Be sure to work from the nape up to the top of the hair.
Shop hairdryers:
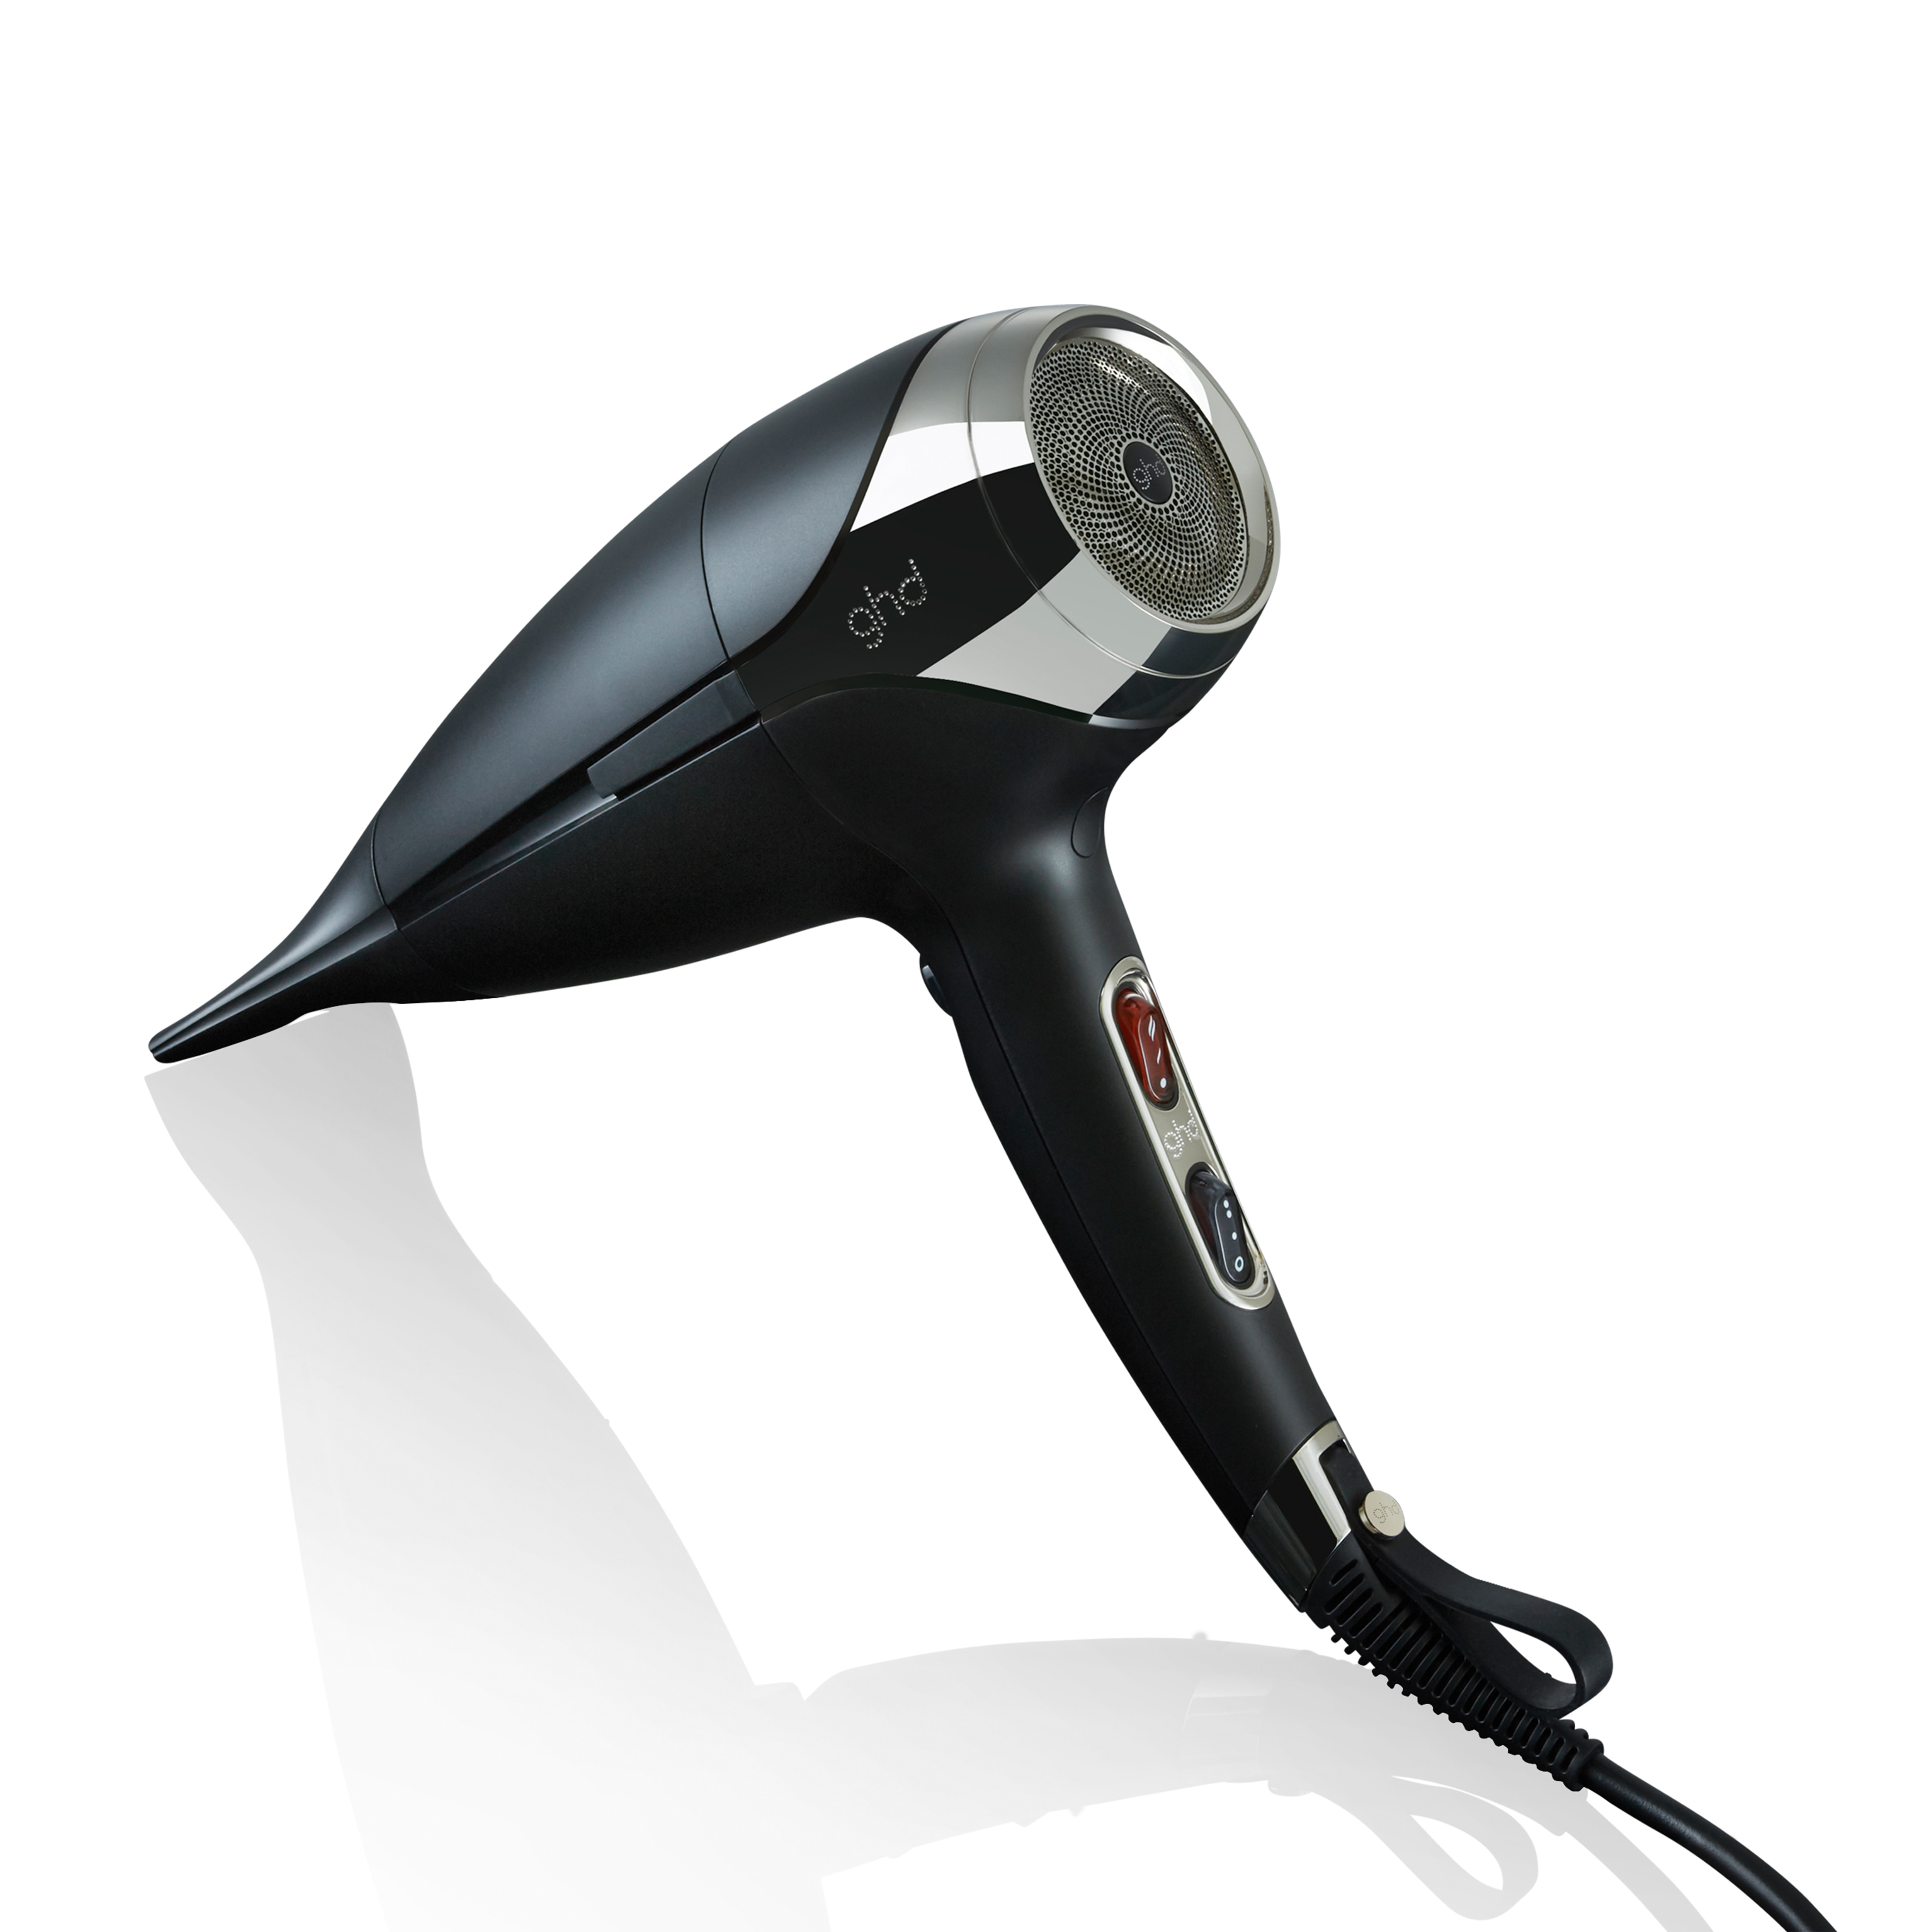
Many hair stylists say this is their favourite hair dryer.
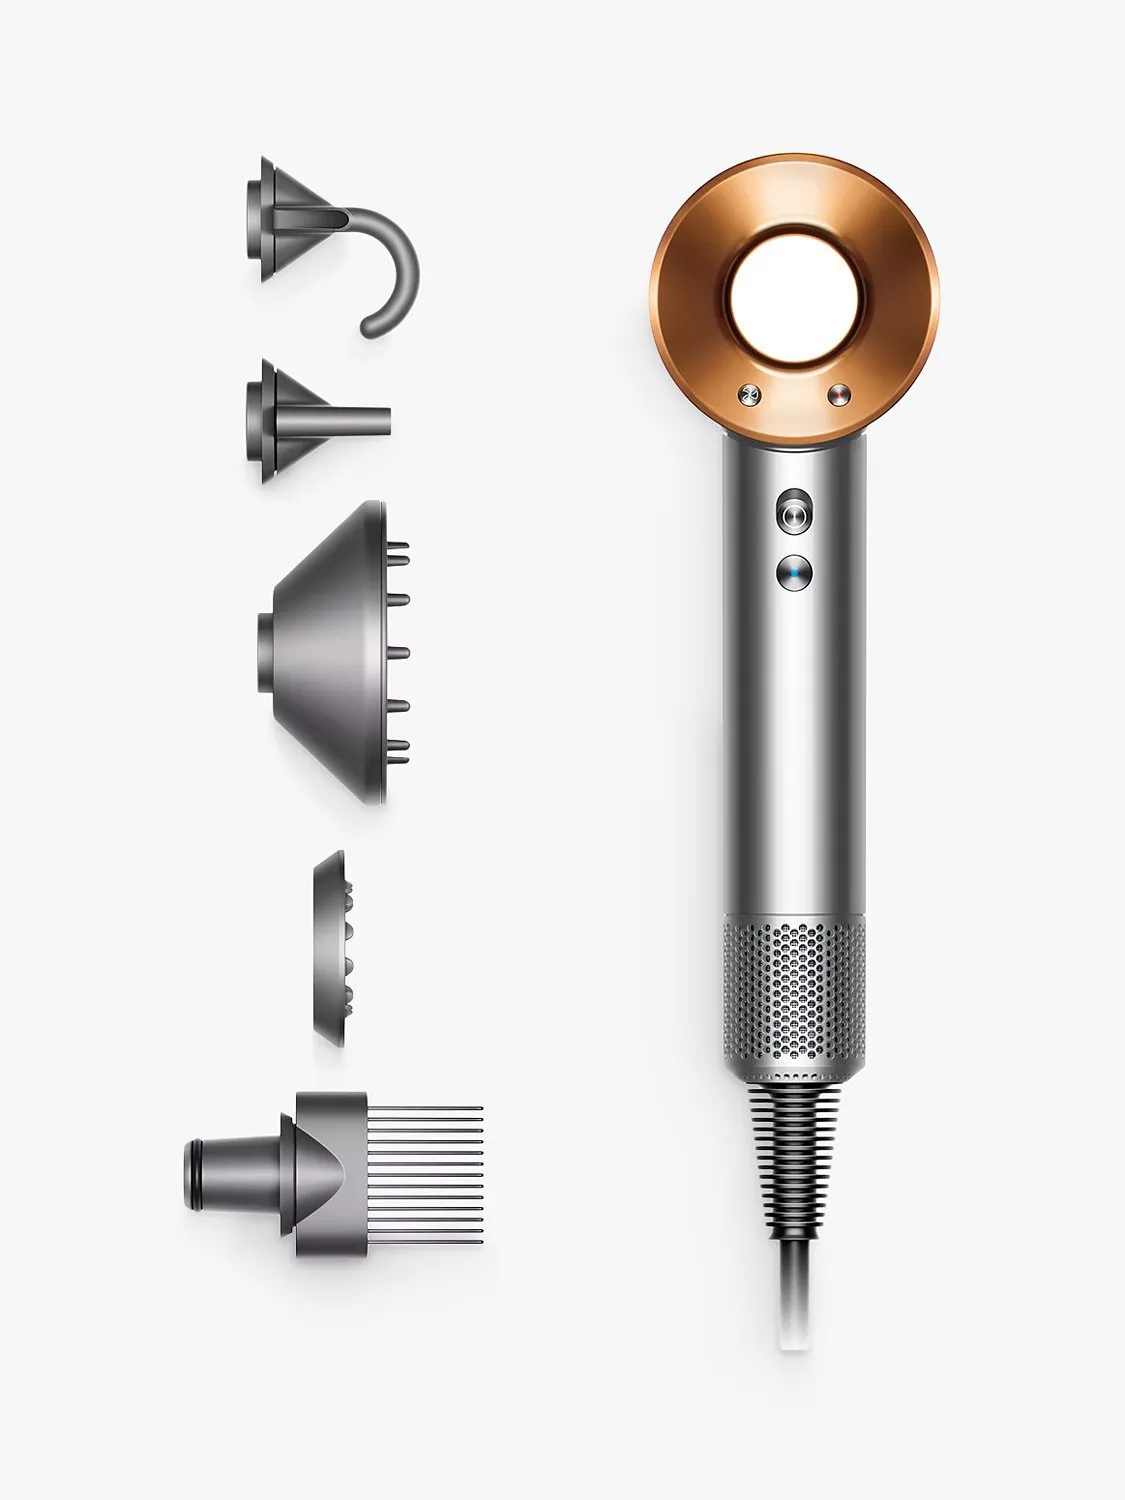
Every beauty editor loves the Dyson Supersonic Hair Dryer.
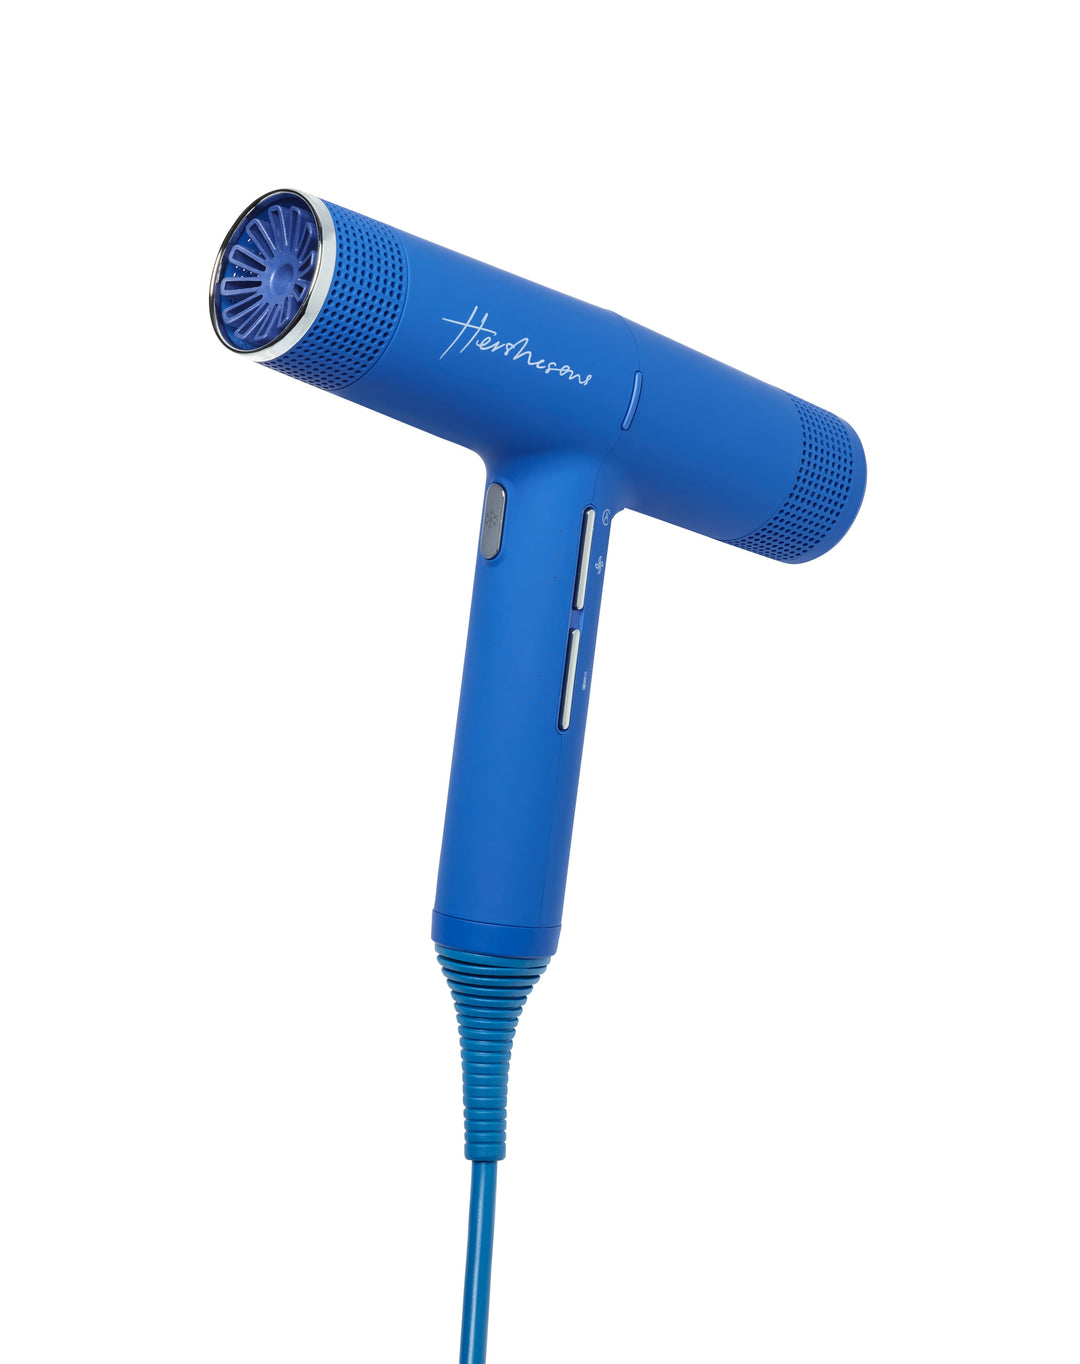
This is the lightest hairdryer we've ever tried—it weighs less than a can of Coke.
Shop round brushes:
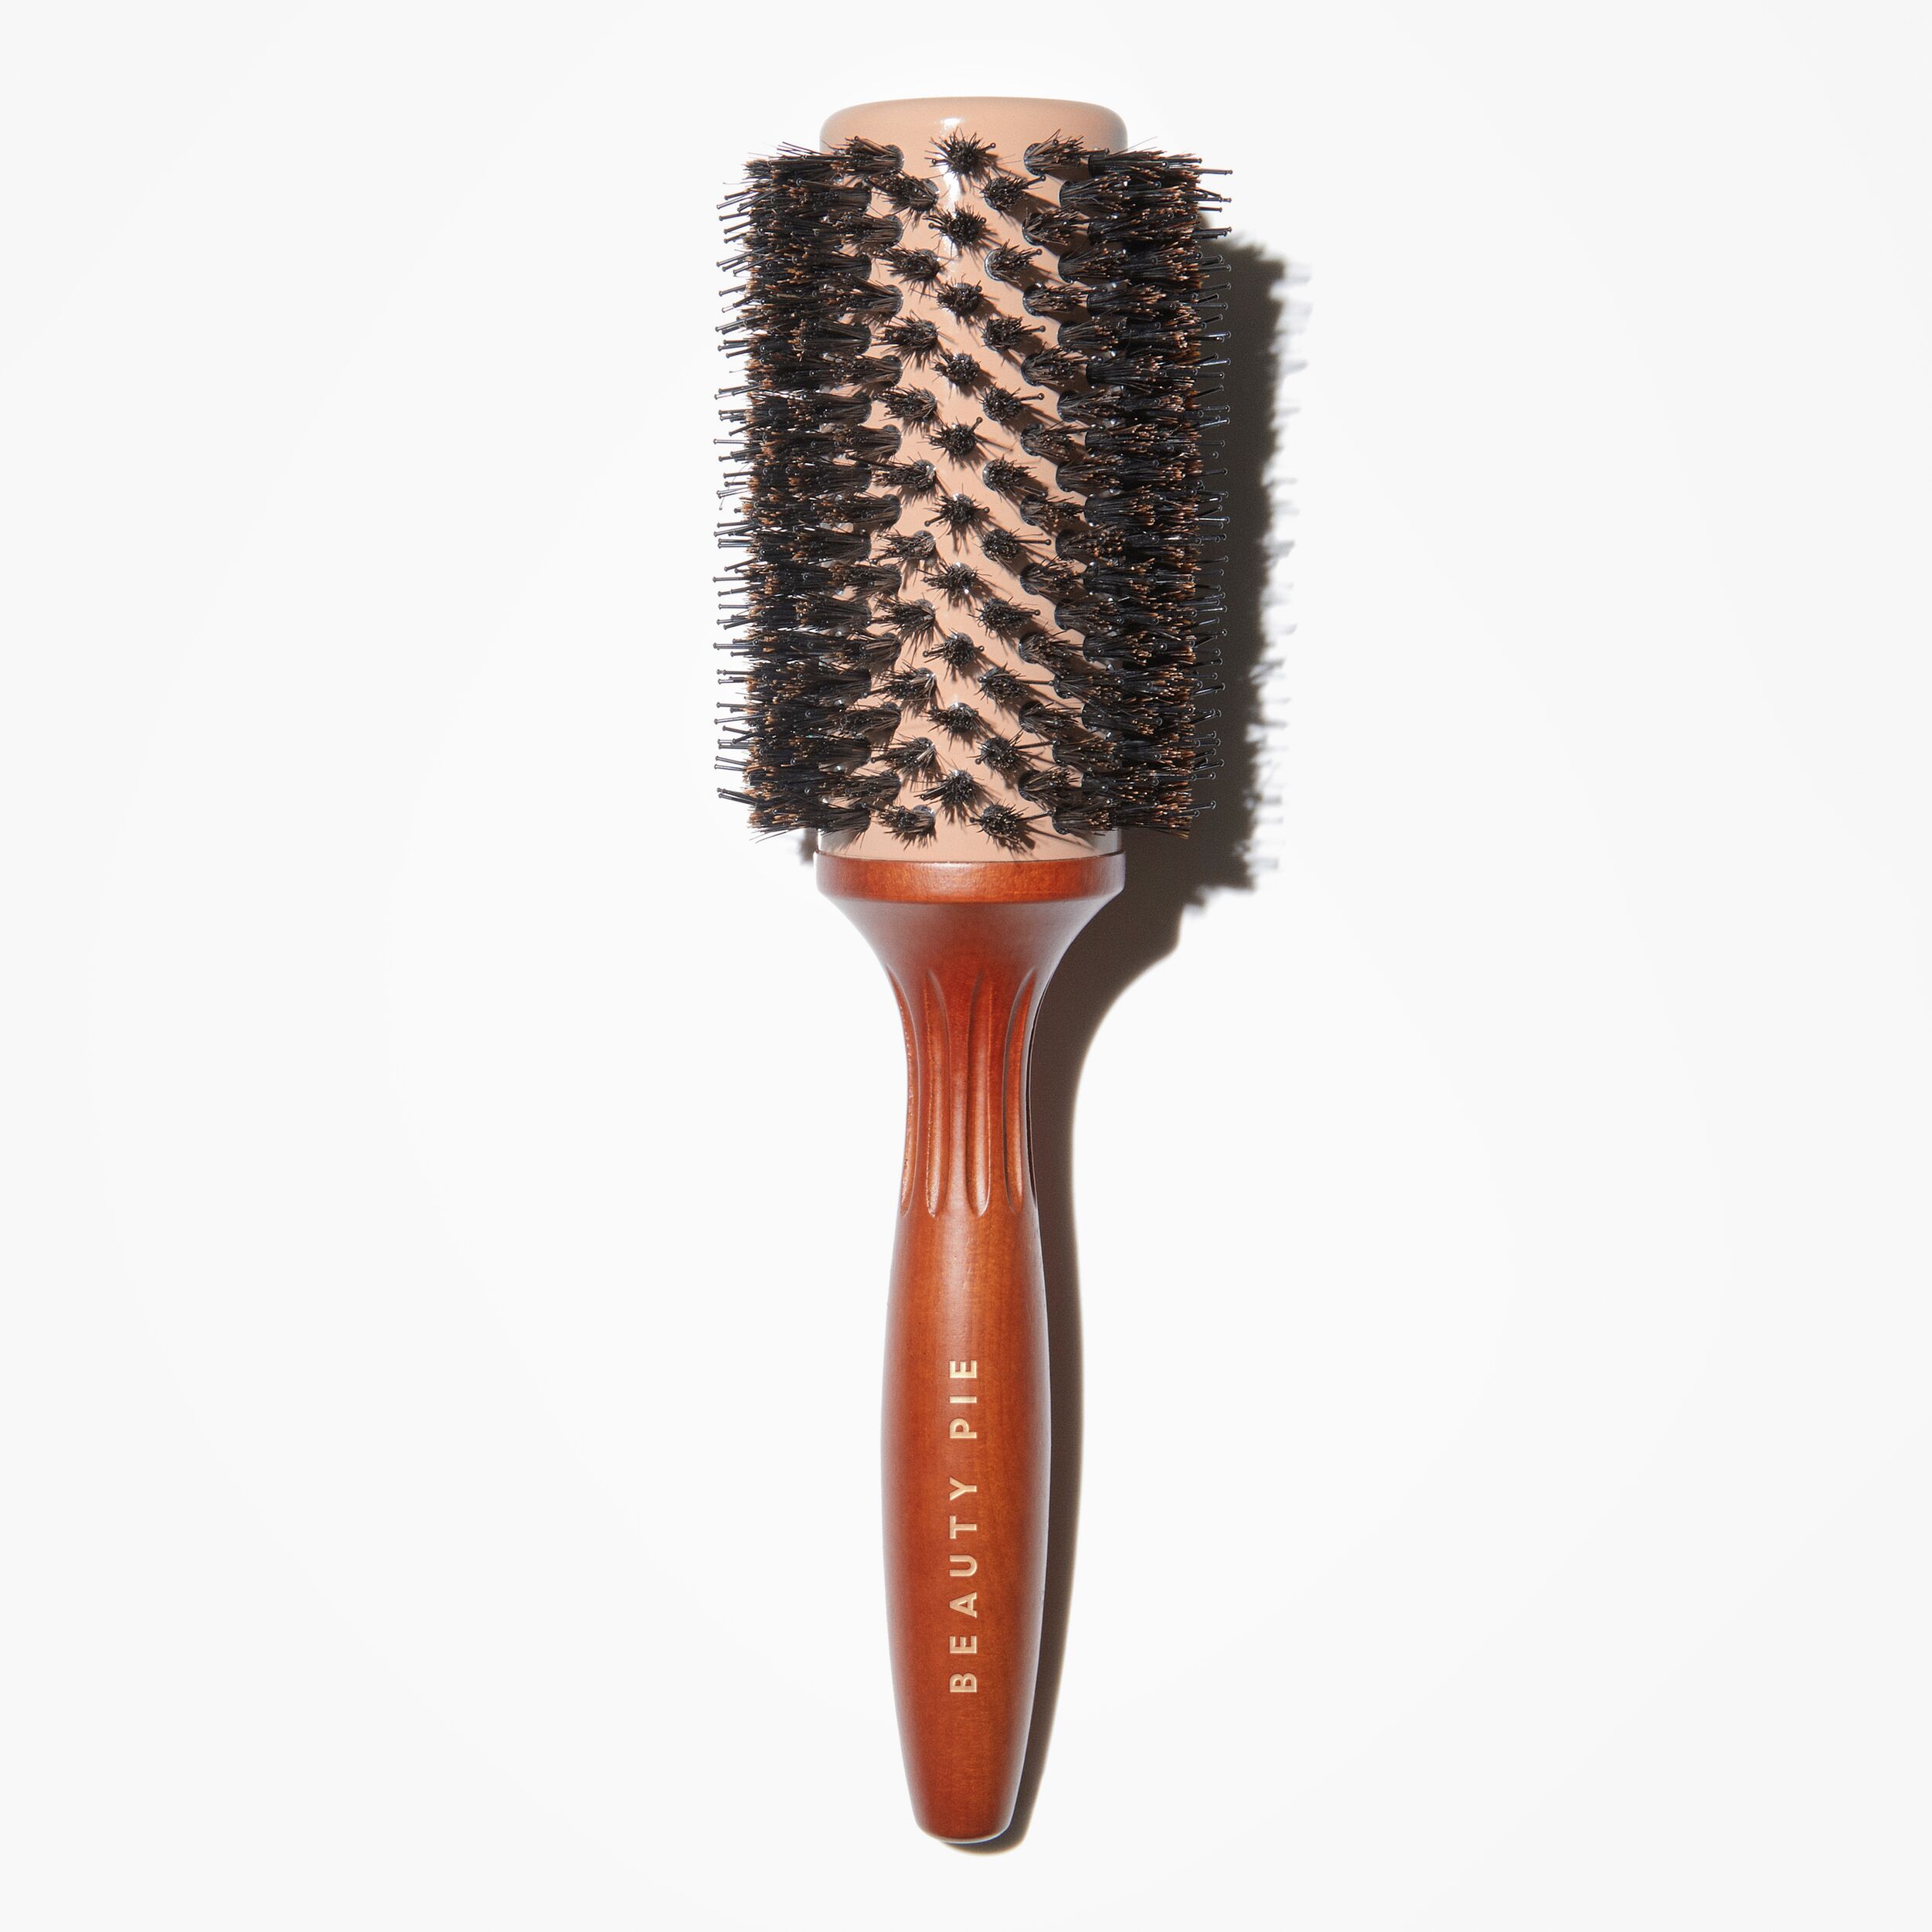
Price shown is member price.
As a general rule of thumb, the longer your hair, the bigger your round brush needs to be. Beauty Pie's largest size is ideal for very long hair.
4. Allow Hair To Cool
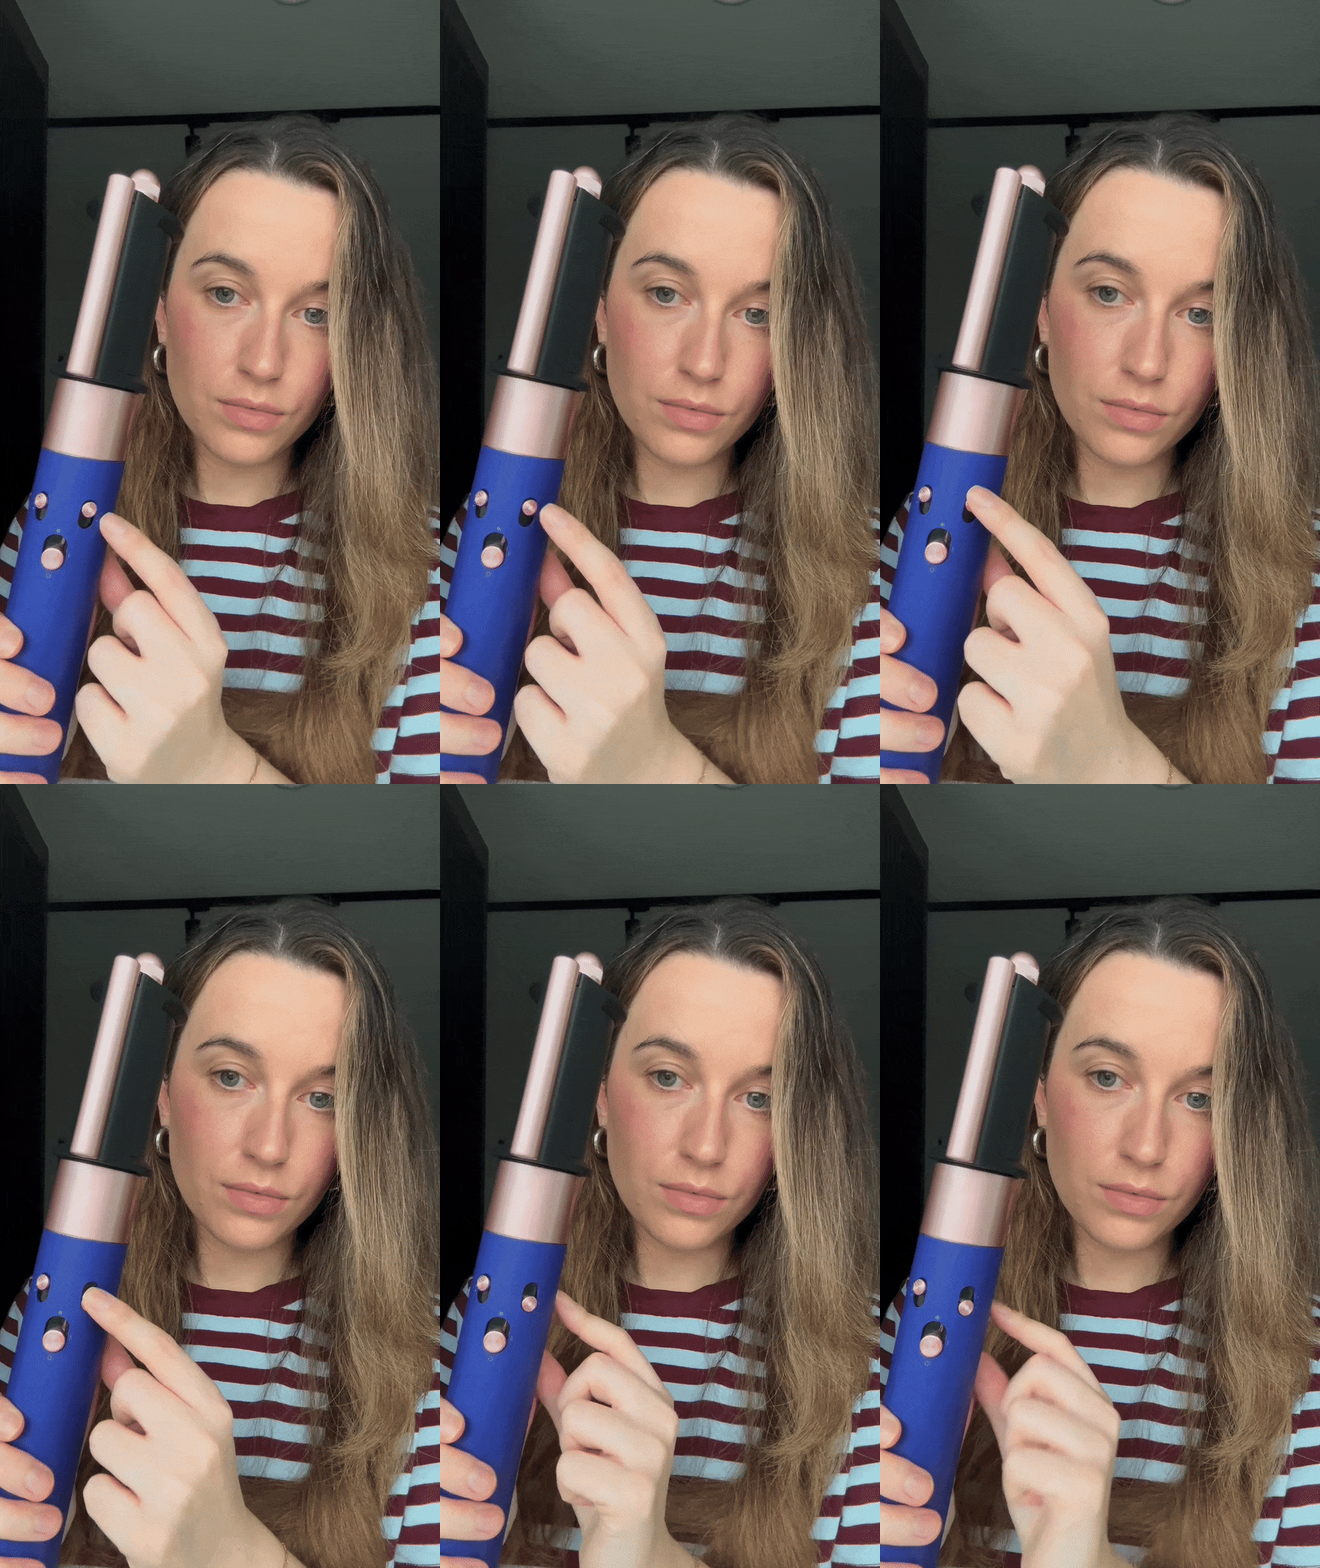
We have to admit we had never even thought about this one. It turns out that adapting the heat settings on your dryer throughout the blow-drying process makes all of the difference. "Always dry on a medium setting, but then smooth each section with a cool blast at the end,” says Reed. He advises keeping your thumb on the cool button throughout and pressing down when you’re ready.
Why, you ask? "Cold air seals the hair cuticle. This gives amazing shine and incredible hold and longevity to the blow-dry,” he adds.
5. Fix In Place
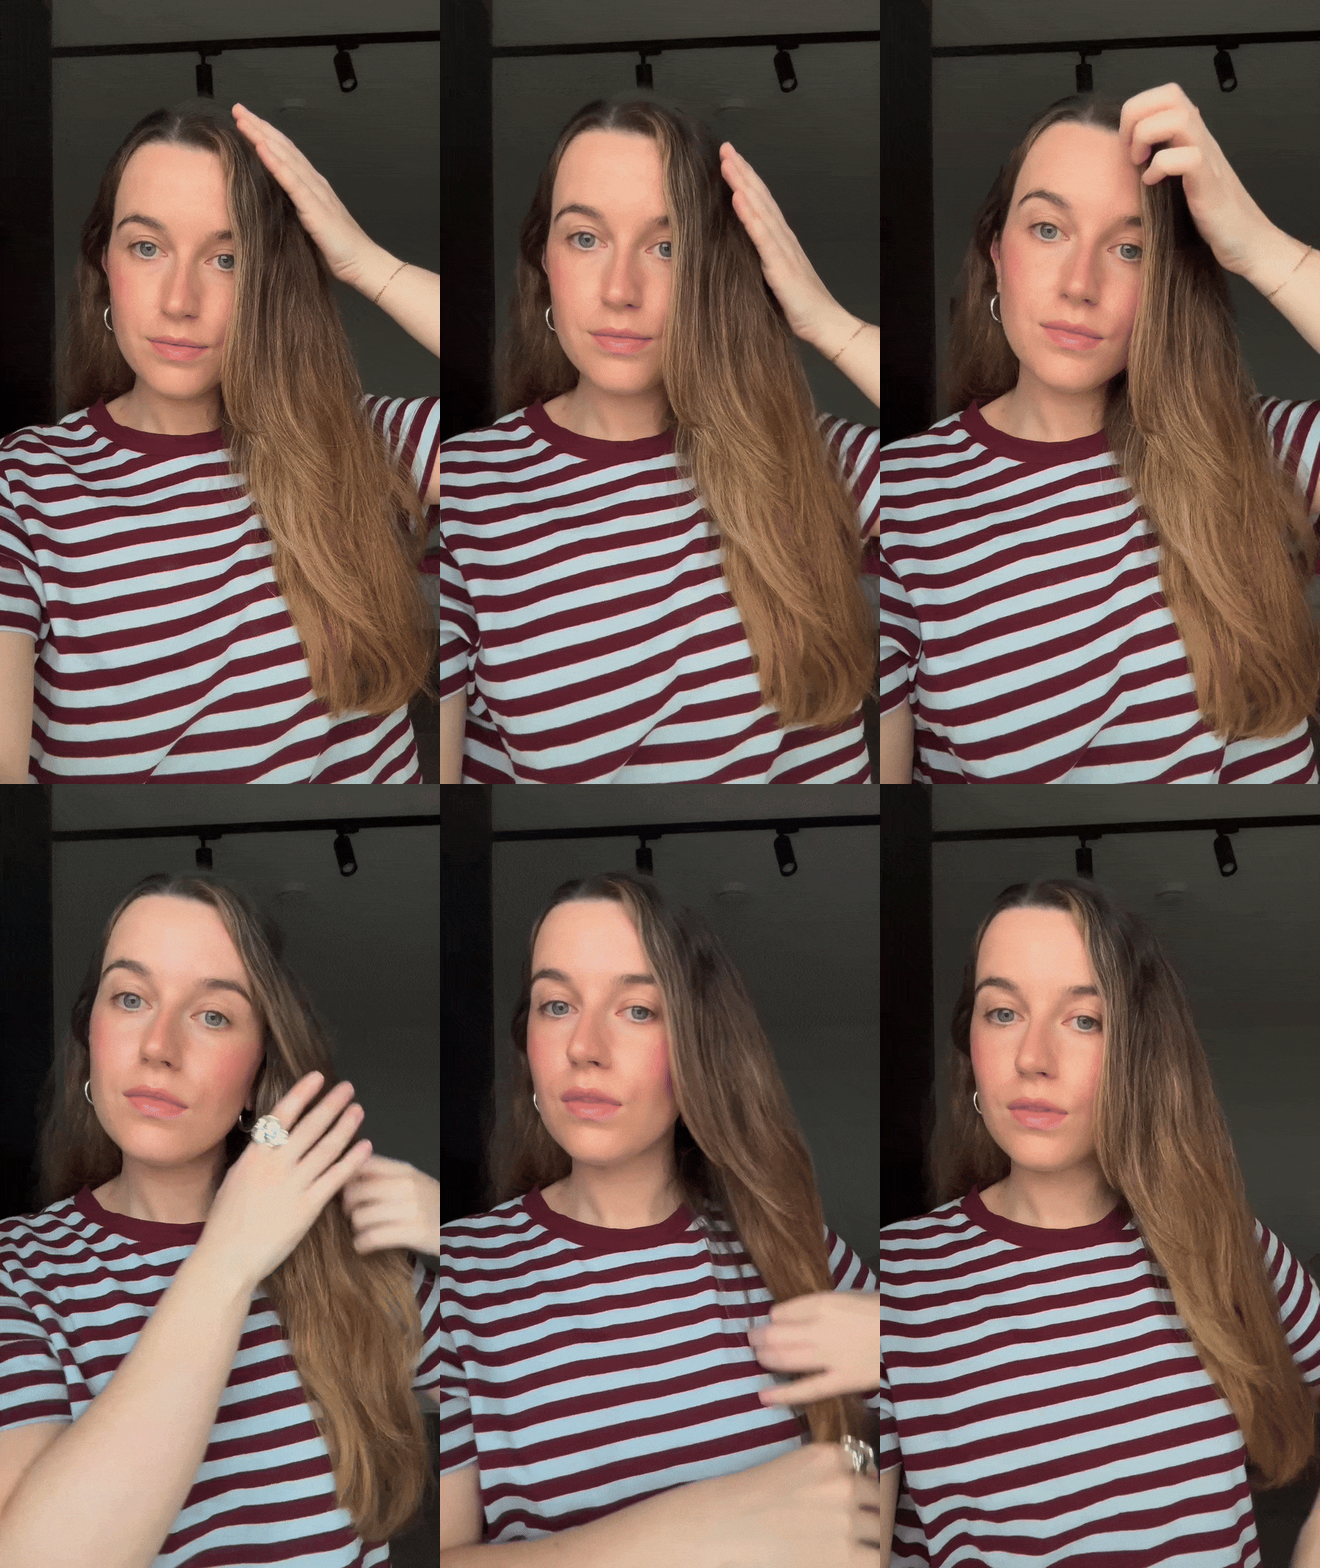
To finish off and create a sleek, glossy finish, it’s time to go back to your product line up and go in with some fixing hair spray. However, if you feel as though hair spray makes your hair too weighty and stiff, listen up.
"Never apply hair spray directly onto your hair! Apply onto hands and gently press the product onto the roots using your palms,” advises Reed. Start at the parting and smooth out as you go to tame flyaways and give your blow dry the ultimate salon finish.
Shop Hairsprays:
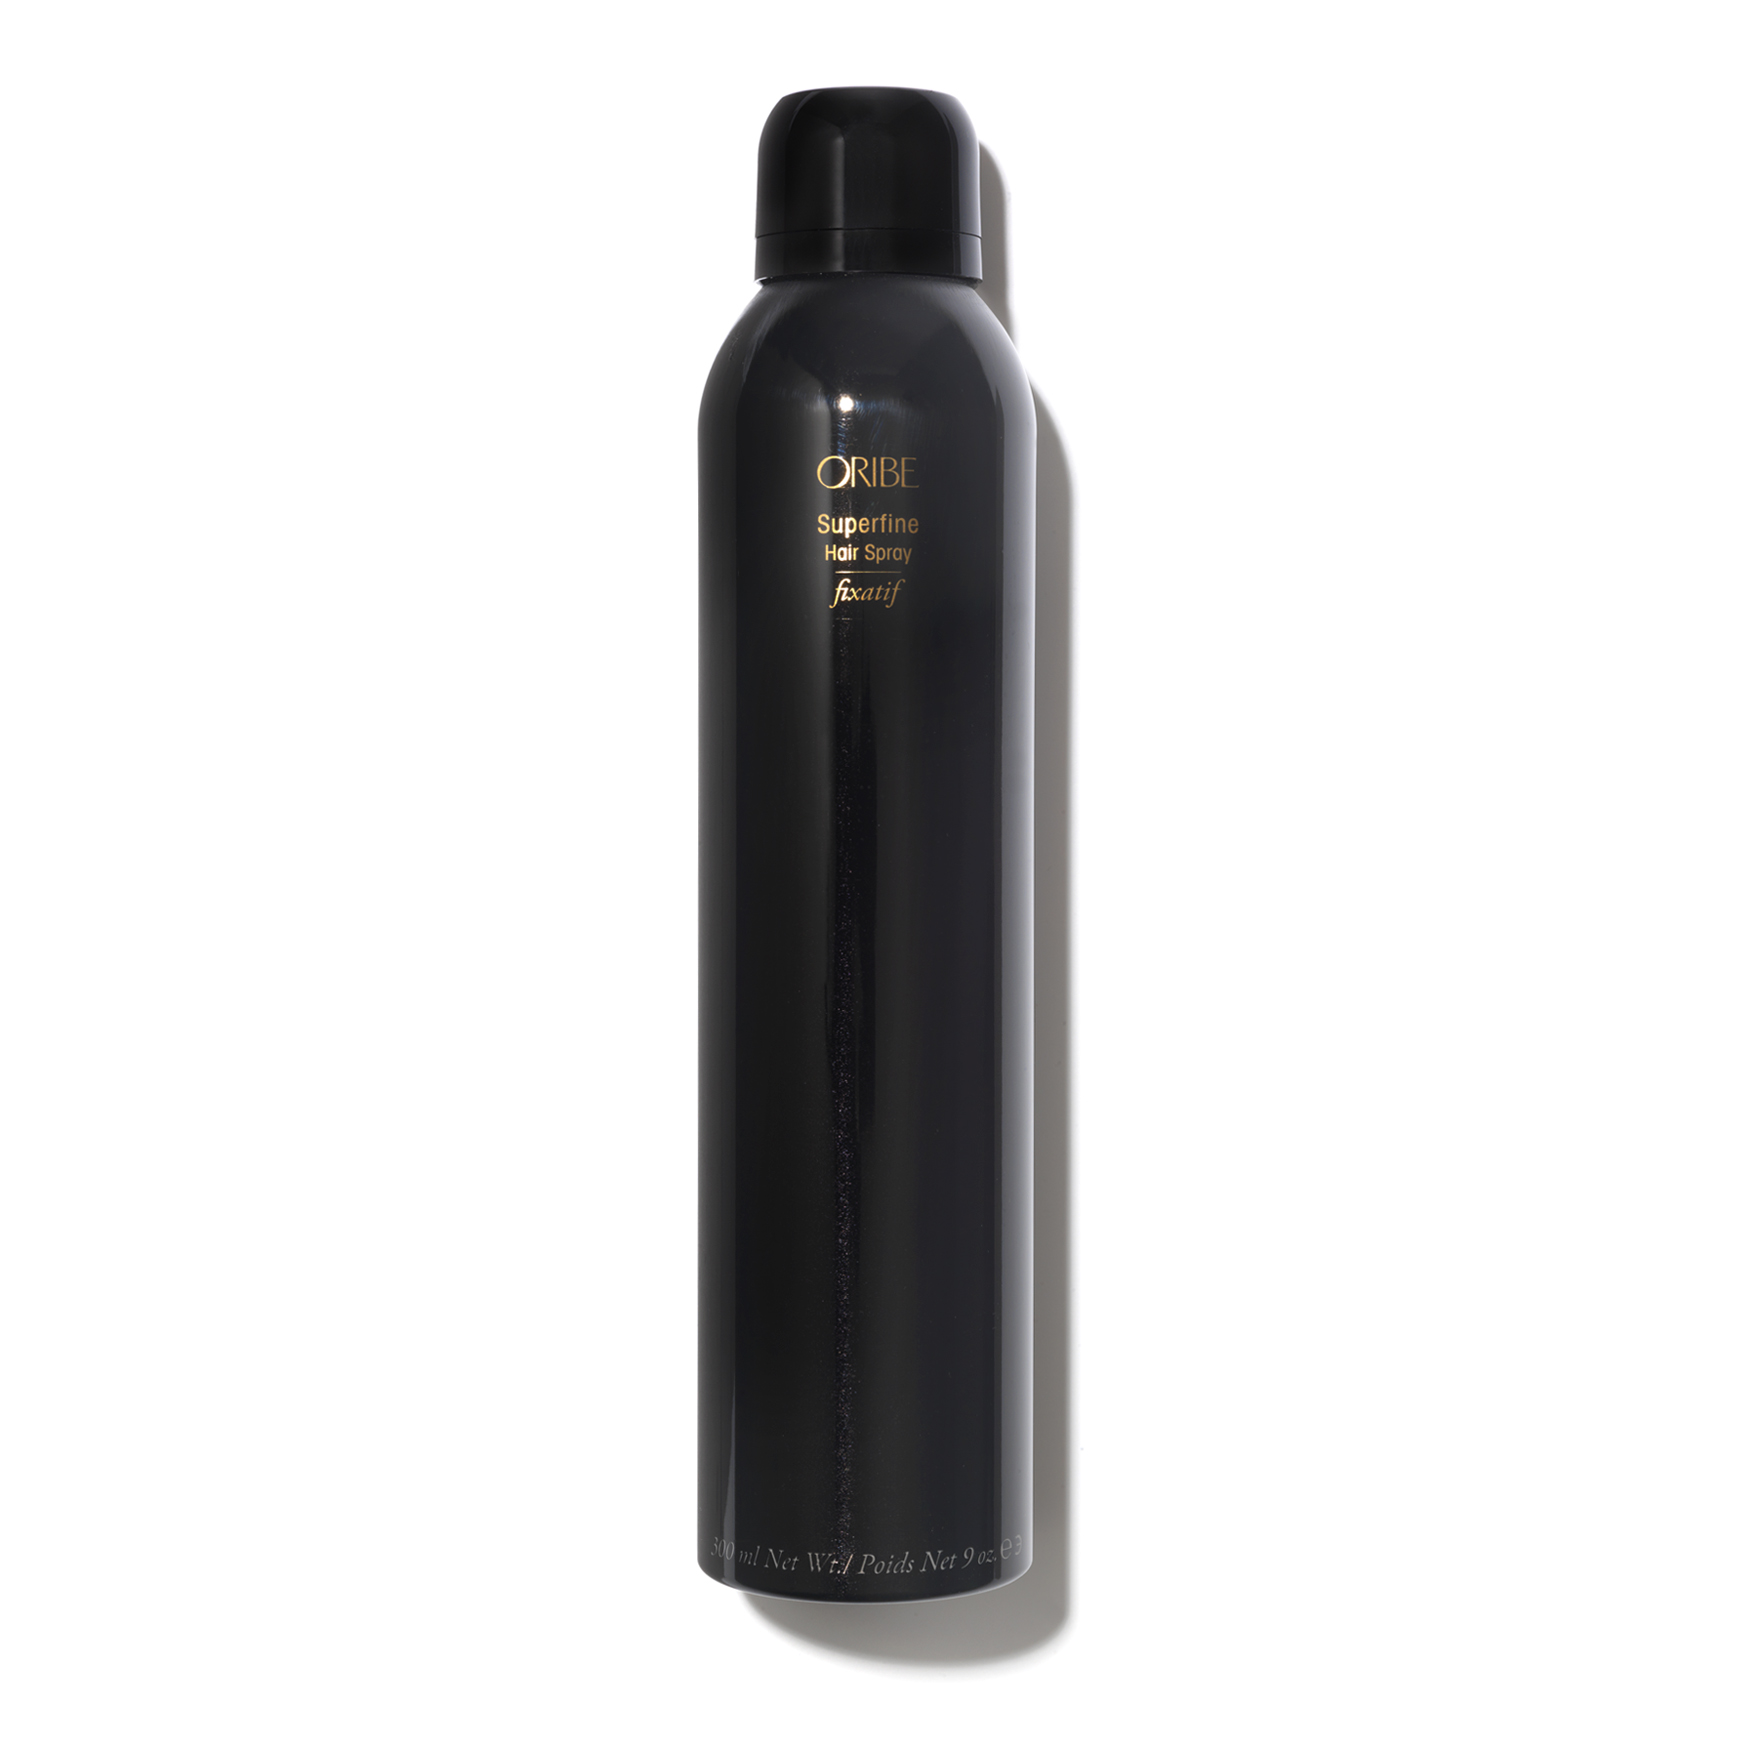
Leaves a non-sticky, totally undetectable hold to hair, which brushes out well.
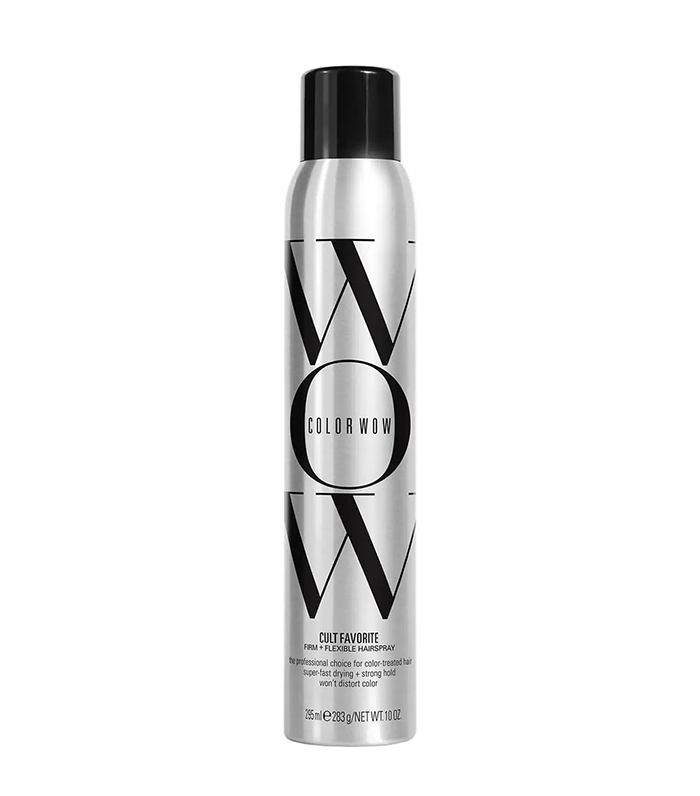
Locks in your blowdry with a flexible hold and glossy finish.
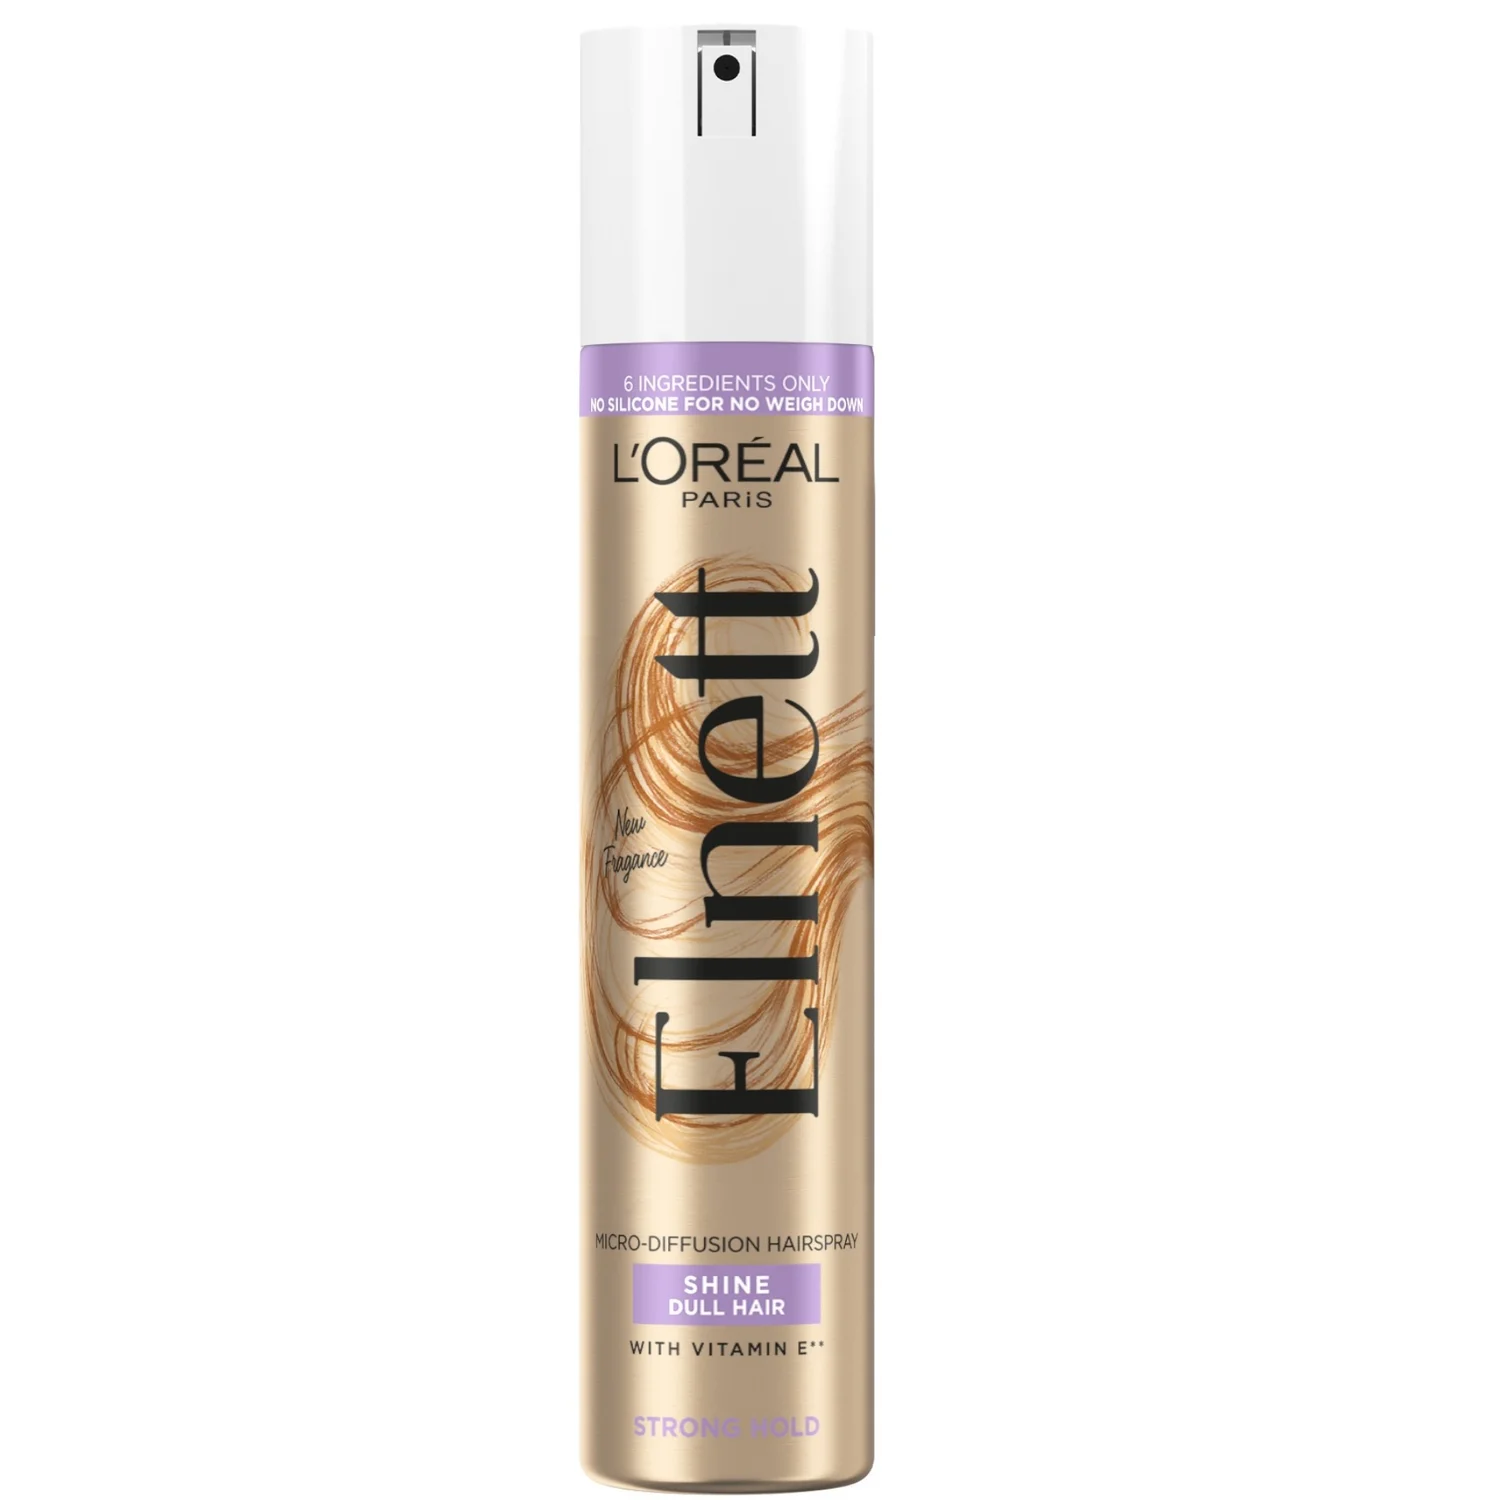
L'Oréal Paris Elnett is a timeless classic that's both affordable and effective.
At-Home Blow-Dry FAQs
What Is the Correct Way to Blow Dry My Hair?
One of the most commonly asked questions is to do with the correct way to blow dry your hair at home. As you can see above, these five simple steps will help achieve that bouncy, salon-worthy finish. One of the most important things to remember is to dry your hair around 85% before styling with your hair dryer for the best results.
How Long Should It Take to Blow Dry My Hair?
Another question I get asked a lot is how long it should take to blow dry your hair. Sadly, there isn't really an answer for this, as it all depends on your hair type, thickness, length and so on. If you have longer, thicker hair, I would advise setting aside a little more time to do a proper blowout at home.
Should I Use Heat Protectant When Blow Drying My Hair?
As mentioned above, heat protectant is key when blow drying the hair in order to protect it from heat damage. Not only will this help with long-term damage, but it will also give you better results from your blow dry as your hair will be in a much healthier place.
What Hair Dryer Is Best to Blow Dry My Hair With?
Sadly there isn't a definite answer for this as this also totally depends on your hair type and preferences. However, if you're unsure, why not read our guide to the best hair dryers on the market.
This story was published at an earlier time and has since been updated.
Shannon Lawlor is the beauty director at Who What Wear UK. With over a decade of experience working for some of the beauty industry’s most esteemed titles, including Marie Claire, Glamour UK, Stylist and Refinery29, Shannon’s aim is to make the conversation around beauty as open, relatable and honest as possible. As a self-confessed lazy girl, Shannon has an affinity for hard-working perfumes, fool-proof makeup products and does-it-all skincare.
- Grace LindsayJunior Beauty Editor
