
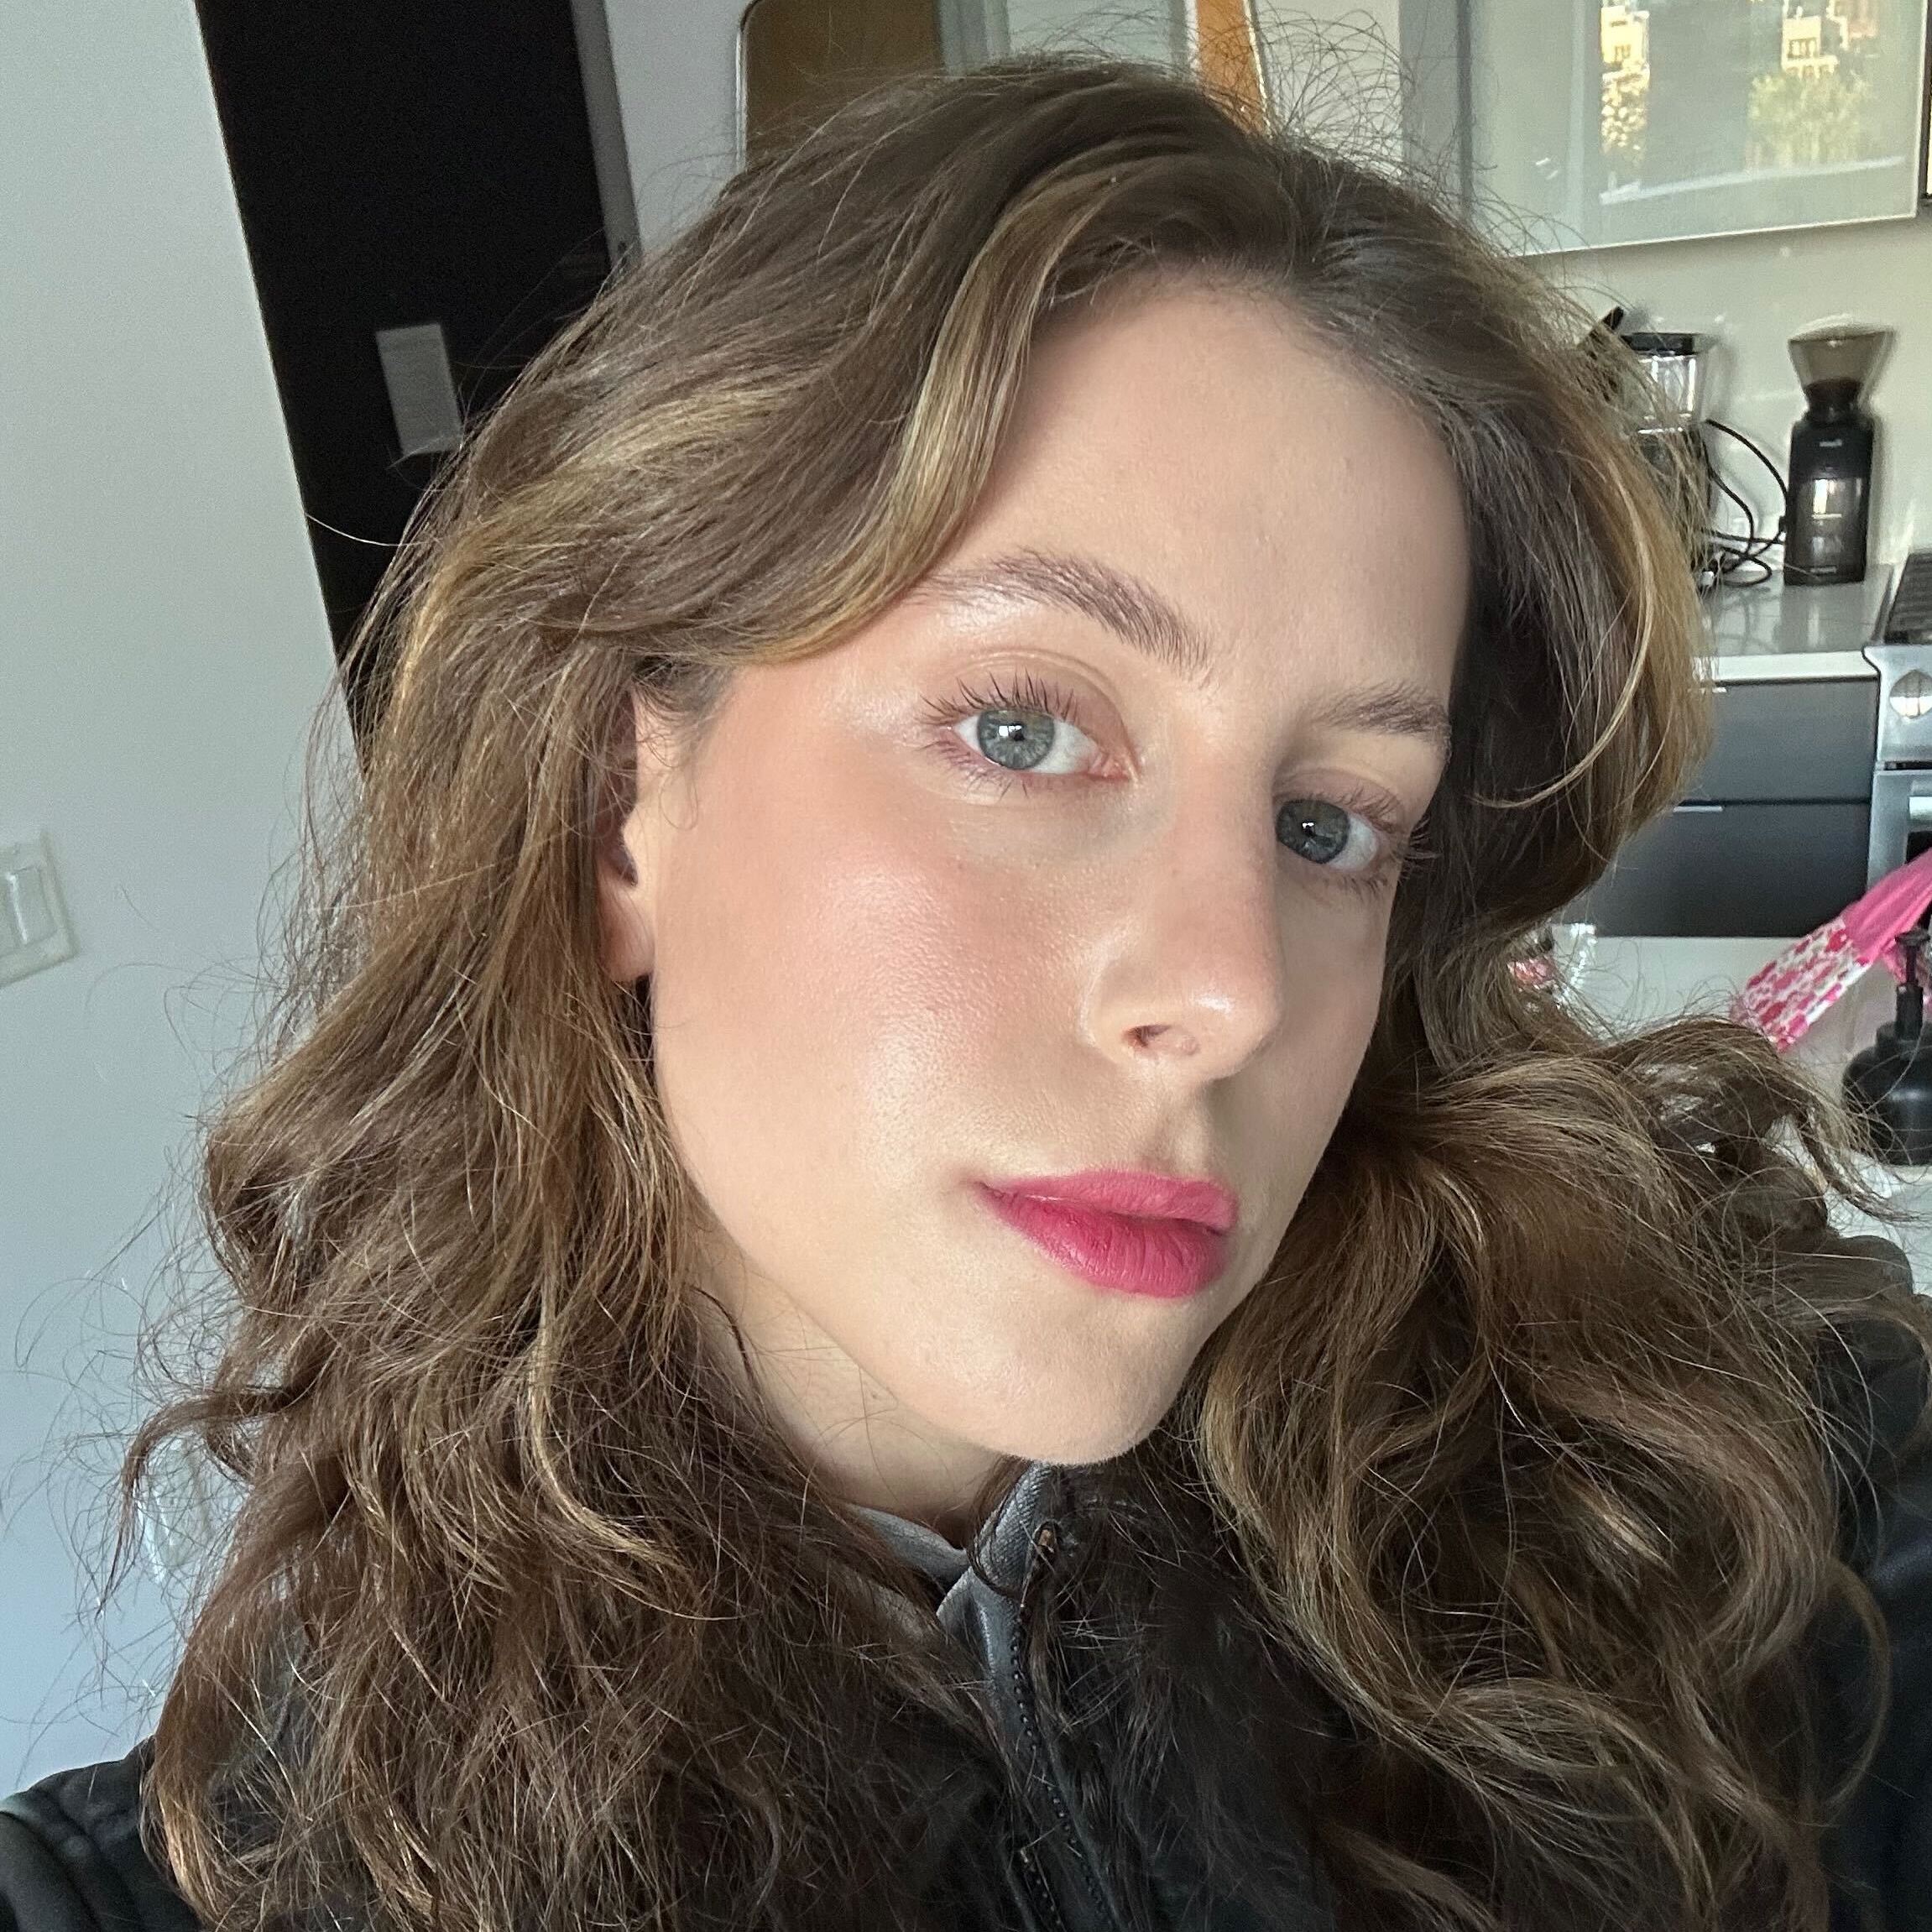
I'm going to 11 weddings this year. Do I have 11 dresses to wear? Nope (good thing I can source inspiration from my very fashionable co-workers), but you can bet your bottom dollar that I have my glam down pat. It's all thanks to celebrity makeup artist Kelli Anne Sewell, who posted a three-part series on TikTok called "Wedding guest makeup when you want to be snatched but natural" that quite honestly deserves an Oscar. She also has eight videos on her platform, Makeup by Kelli Anne, dedicated to the wedding weekend—clearly, she knows a thing or two about getting ready for the big day.
I've studied every swipe of shadow and contour from the full 25-minute tutorial, but I have some follow-up questions (call it my journalistic curiosity), so I reached out to Sewell for every single tip. Ahead, find the full step-by-step tutorial she swears will transform you into a "golden goddess, snatched human," plus some ways to switch it up depending on the season. Your outfit may be up in the air, but this glam never fails.
The Ultimate Wedding Guest Makeup Tutorial
"This routine is great because it's [full of] techniques that make sure your makeup lasts for six-plus hours [and] accentuates your natural features yet still feels natural and wearable, especially under the summer sun at an outdoor wedding," says Sewell. Let's get into it!
1. Start With Skincare
Ask any makeup artist, and they'll tell you that the first step is always skin prep. "If you find yourself oily after a few hours of wear, I would recommend tweaking your skin prep," Sewell tells me. She loves to use a water-based moisturizer, like Tatcha's Water Cream, to create a nice, hydrated base. However, feel free to use richer creams if it's wintertime or your skin generally runs dry.


2. Prime and Set
"Just because I want to be beaming like a golden goddess doesn't mean I don't want to minimize pores and control shine," Sewell says in the video. That said, oil-absorbing primers are your friends, here. You don't even have to apply it all over—Sewell dabs a pore-blurring formula just on the sides of her nose. She then follows up with a spritz of setting spray. Note, a setting spray sandwich (aka, spritzing before and after makeup application) is best for heavy-duty long wear.


3. Enhance the Brows
Sewell also swears by kicking off the routine with brows; otherwise, you might wind up with flakes or pesky foundation particles. "Always do your brows before you put on makeup products, or else you'll be dragging those products [through] your brows. It'll adhere to the sticky formula," she explains in the video. "Always [do] brows before face, and immediately, you're snatched—it's a great template."


4. Add a Glowy Base
If you're headed to a summer wedding (especially one outdoors!), Sewell recommends a no-foundation look with a glowy base. If it's during the day, she relies on a bronzy SPF; if it's nighttime, she recommends opting for an illuminating formula to layer on beneath concealer. "Anything that gives you a little bit of tint, a little bit of glow, and a little bit of coverage," she mentions. Don't forget to blend it on your ears, shoulders, and down your neck, too, for a cohesive, natural-looking base.
"I stick to more sheer, liquid products that give your skin a healthy boost, look great in person, and don't add extra oil to your face (because we are already sweating!) in the summer," she adds. That said, if you prefer to use foundation here, you totally can. Find a glowy, preferably liquid, formula to mix with the illuminator and apply in sheer layers until you reach your desired coverage.


5. Spot Conceal
Next, Sewell applies a brightening concealer on the center portions of her face and underneath her eyes. She'll dot another shade that's truer to her skin tone to spot conceal problem areas. "This avoids putting unnecessary product all over our face," she notes.
Take a concealer brush and blend using light pressure, especially when diffusing near the under-eyes. Stop blending about a centimeter below your lash line to avoid creasing.


6. Bronze and Contour
Then she grabs a warm-toned bronzing formula and applies it to her cheekbones and hairline with a large, fluffy brush. "We're not focusing on shaping or contouring," she caveats. "I'm letting this product expand further than really precise contouring placements." It's basically meant to mimic the warm glow from the sun.
After you have that bronzy base, then grab your cool-toned contour product to further snatch your cheekbones, jawline, sides of the nose, and eyes. (I really recommend watching Sewell's demonstration for the nose-and-eye portion—it makes such a subtle difference!)


7. Add Your Blush
Next, she uses a big, fluffy brush to swirl a cream blush on the apples of her cheeks. Start there, then blend upward around your eyes, temples, and forehead. You can even apply the excess on your brush to your nose and chin. "I don't love when blush is just sitting on the apples. I think it looks really isolated and unnatural. I like when it moves onto the eye, onto the forehead, like a true blush or the blood that rushes to your cheeks," she says.


8. Set (Again)
Next up: another layer of setting spray. "This is going to ensure, like, 12-hour wear," Sewell notes. She also applies some loose setting powder all over her face with a fluffy eye shadow brush to mattify oil-prone areas.
"You'll still get the glow because all of your products [will] have a really nice luminosity and hydration to them, but I want to give myself a good powder layer. After hour four [or] five, the sweat and natural-ness of your face will start to wear through [that] layer of powder. That's when your makeup looks so freaking good," she says. Don't forget to brush some powder on the eyes, especially if you have oily eyelids, to prep the skin for your subsequent shadow.


9. Start Your Shadow
In the video, Sewell smudges a rust-colored shadow right on the lash line—don't worry about being precise here—and buffs it out with a fluffy eye shadow brush. In terms of shades, she recommends matching your accessories or outfit.
"If I was wearing silver, or if I wanted kind of a cool-toned look, I would mess around with some cool tones," she explains. On the other hand, if she's wearing gold jewelry or really wants to commit to the whole "golden goddess" bit, she'd stick to warmer-toned shadows. Get yourself a palette with both options (like the ones below!) and you'll be set.
No matter which direction you head in, she suggests taking a cooler-toned shadow and blending it toward the inner corners of your eyelids. "This is just going to carve out and shape that area versus looking like you're putting a lot of shadow there," she says.
Then take a lighter shade and press it into the center of your lid to highlight the center of your iris. You can use that same fluffy brush to blend and soften those lines if it looks a little out of place, she adds.


10. Add Eyeliner
"This is a trick that I feel like elevates every single look," Sewell notes. "It doesn't matter if it's daytime or nighttime; it's going to look really natural, but it's also going to snatch the eye."
Take a light and dark pencil (either cream and black or cream and brown), and use the latter to tightline your upper waterline. Trace the lower waterline as well, but stop right where your iris begins. Then take a cream or white pencil and line the rest of your lower waterline. "This just takes the eye look to the next level. It sculpts it, it gives it drama, but it still opens it [and] makes it smoky," Sewell notes. You can then take a darker shadow to create a smoky wing on your upper lash line, if you please.


11. Set With Bronzer and Blush
After the eyes are complete (save for mascara!), give them a light wash with a powder bronzer. Use said bronzer on your cheekbones and hairline, too, to set all those cream products. "This is going to tie the whole eye look in with the face," Sewell notes. Then grab a powder blush to emphasize and set the color there as well.


12. Curl and Coat the Lashes
Give your lashes a good curl. Then go ahead and apply your favorite mascara. Brown formulas are great for that natural, golden goddess vibe, while an inky black is bold and striking, especially if you're wearing a black dress. You could even use burgundy or other jewel tones to add some low-lift intrigue—artist's choice!
Sewell also recommends the "waterproof sandwich" method to prepare for a night of happy tears. "Start with a layer of non-waterproof mascara, then a layer of waterproof, then finish with a layer of non-waterproof mascara," she tells me. "The waterproof sandwich helps you get the waterproof benefits but helps you avoid the tough removal at end of night."


13. Tap on Cream Highlighter
If you're gunning for some extra glow, she recommends popping a balmy highlighter on the high points of your face—your cheekbones, brow bones, and tip of your nose—as well as the inner corners of your eyes. "This is going to give that skin-like finish," she shares.


14. Line, Gloss, and Set
Sewell uses two lip liners—a warm- and cool-toned option—to "contour" the lips before adding a juicy, clear gloss. Another spritz of setting spray, and there you have it: golden goddess wedding guest makeup that lasts.
Of course, Sewell brings reinforcements with her on the go. "I always have a long-lasting lip liner, a clear gloss, powder, and concealer in case I need to do emergency tear touch-ups," she shares. "My favorite powder to carry is the Fenty Invisimatte because no matter how much you layer on it never gets cakey."


8 Stunning Ideas to Switch It Up
Sewell's step-by-step tutorial will have you covered, but you always have the freedom to add a little something extra, like a bold eye or fun lip. Browse some gorgeous ideas below.
1. Sultry Eyes

If you want a bolder, sultrier look, Sewell recommends opting for shadows with deeper tones when carving out the eye and smoking out the lash line. "Additionally, opt to tightline your full eye with a dark pencil for a bold lash line and cut out the nude liner," she shares.
2. A Red Lip

A red lip is always a romantic choice. Since the eyes are pretty neutral, you can easily swap in a shade of crimson during the lip portion in Sewell's tutorial.
3. Gilded Lids

If you prefer extra shimmer, pop a glitter topper (like Urban Decay's Space Cowboy) on the center of your lids to make them pop.
4. Pop of Color

A lilac moment is so ethereal for outdoor weddings.
5. Body Gloss

An allover glow easily elevates your summer wedding glam. "I never leave the house without body glow to match the face," says Sewell. "My favorite is the Elaluz Liquid Bronzer all over the body—it's transfer proof and truly does not budge. Makes you glow from a mile away!"
6. Bring the Heat

This sunset eye shadow is stunning.
7. Simply Glazed

"Glazed donut" skin and lids catch the light no matter the location.
8. A Wedding Wing

You can never go wrong with a strong wing. These waterproof eyeliners will be your BFFs!
