This Simple Concealer Hack Has Tricked Everyone Into Thinking I Have Good Skin

If there is one thing you should know about me, it is that my adoration for a great concealer knows no bounds. I have chronic dark circles and a complexion sprinkled with post-breakout marks and broken capillaries aplenty—and I like to disguise the lot. Another thing to know about me is that I am perhaps the furthest thing from a makeup artist that exists—I don't have an artistic bone in my body, and precision is not something I deem myself capable of. I approach any makeup trend or technique in the same way I approach everything in life—like a bull in a china shop.
I can't remember the last time I wore a full-coverage foundation (I hate the way it feels on my face), and have, instead, long opted for achieving a natural-looking base with strategic concealer application. I like a full-coverage concealer applied over blemishes and a hardworking under-eye concealer to soften the impact of my dark circles. On days when I want to make a little more effort, I'll apply over a lightweight skin tint, but for the most part, I want my face to look fresh and take less than five minutes to apply. How do I do it? It's all down to a certain form of concealer application famed by iconic makeup artist, Lisa Eldridge—her pinpoint concealing technique.
What is Pinpoint Concealing?
Eldridge's pinpoint concealer technique was born in the early nineties, when much like today, a barely-there makeup look was very much the desired aesthetic. As a makeup artist to some of the world's biggest models, Eldridge became famed for a specific micro-concealing technique. While she herself was dealing with acne, in an attempt to conceal her breakouts and maintain a natural-looking, foundation-free complexion, she began honing her targeted concealing skill—now known as pinpoint concealing.
"My personal complexion philosophy involves resisting the urge to apply a thick layer of blanket coverage to the skin, even if there are large blemishes or areas you want to cover. Pinpoint Concealing is all about precisely concealing only the areas you feel are absolutely necessary to camouflage, moving focus to the skin in between your problem areas—this allows the beauty of your natural skin to shine through," says Eldridge.
The Pinpoint Concealer Technique
Pinpoint concealing involves applying a high-coverage concealer in a very targeted way—dabbing it only onto the small areas you wish to conceal. For a long time, Eldridge has sung the praises of Laura Mercier Secret Camouflage Concealer for being the best product for the job. She would use a very small-nibbed concealer brush, dot it over the blemish and pat in with her finger.
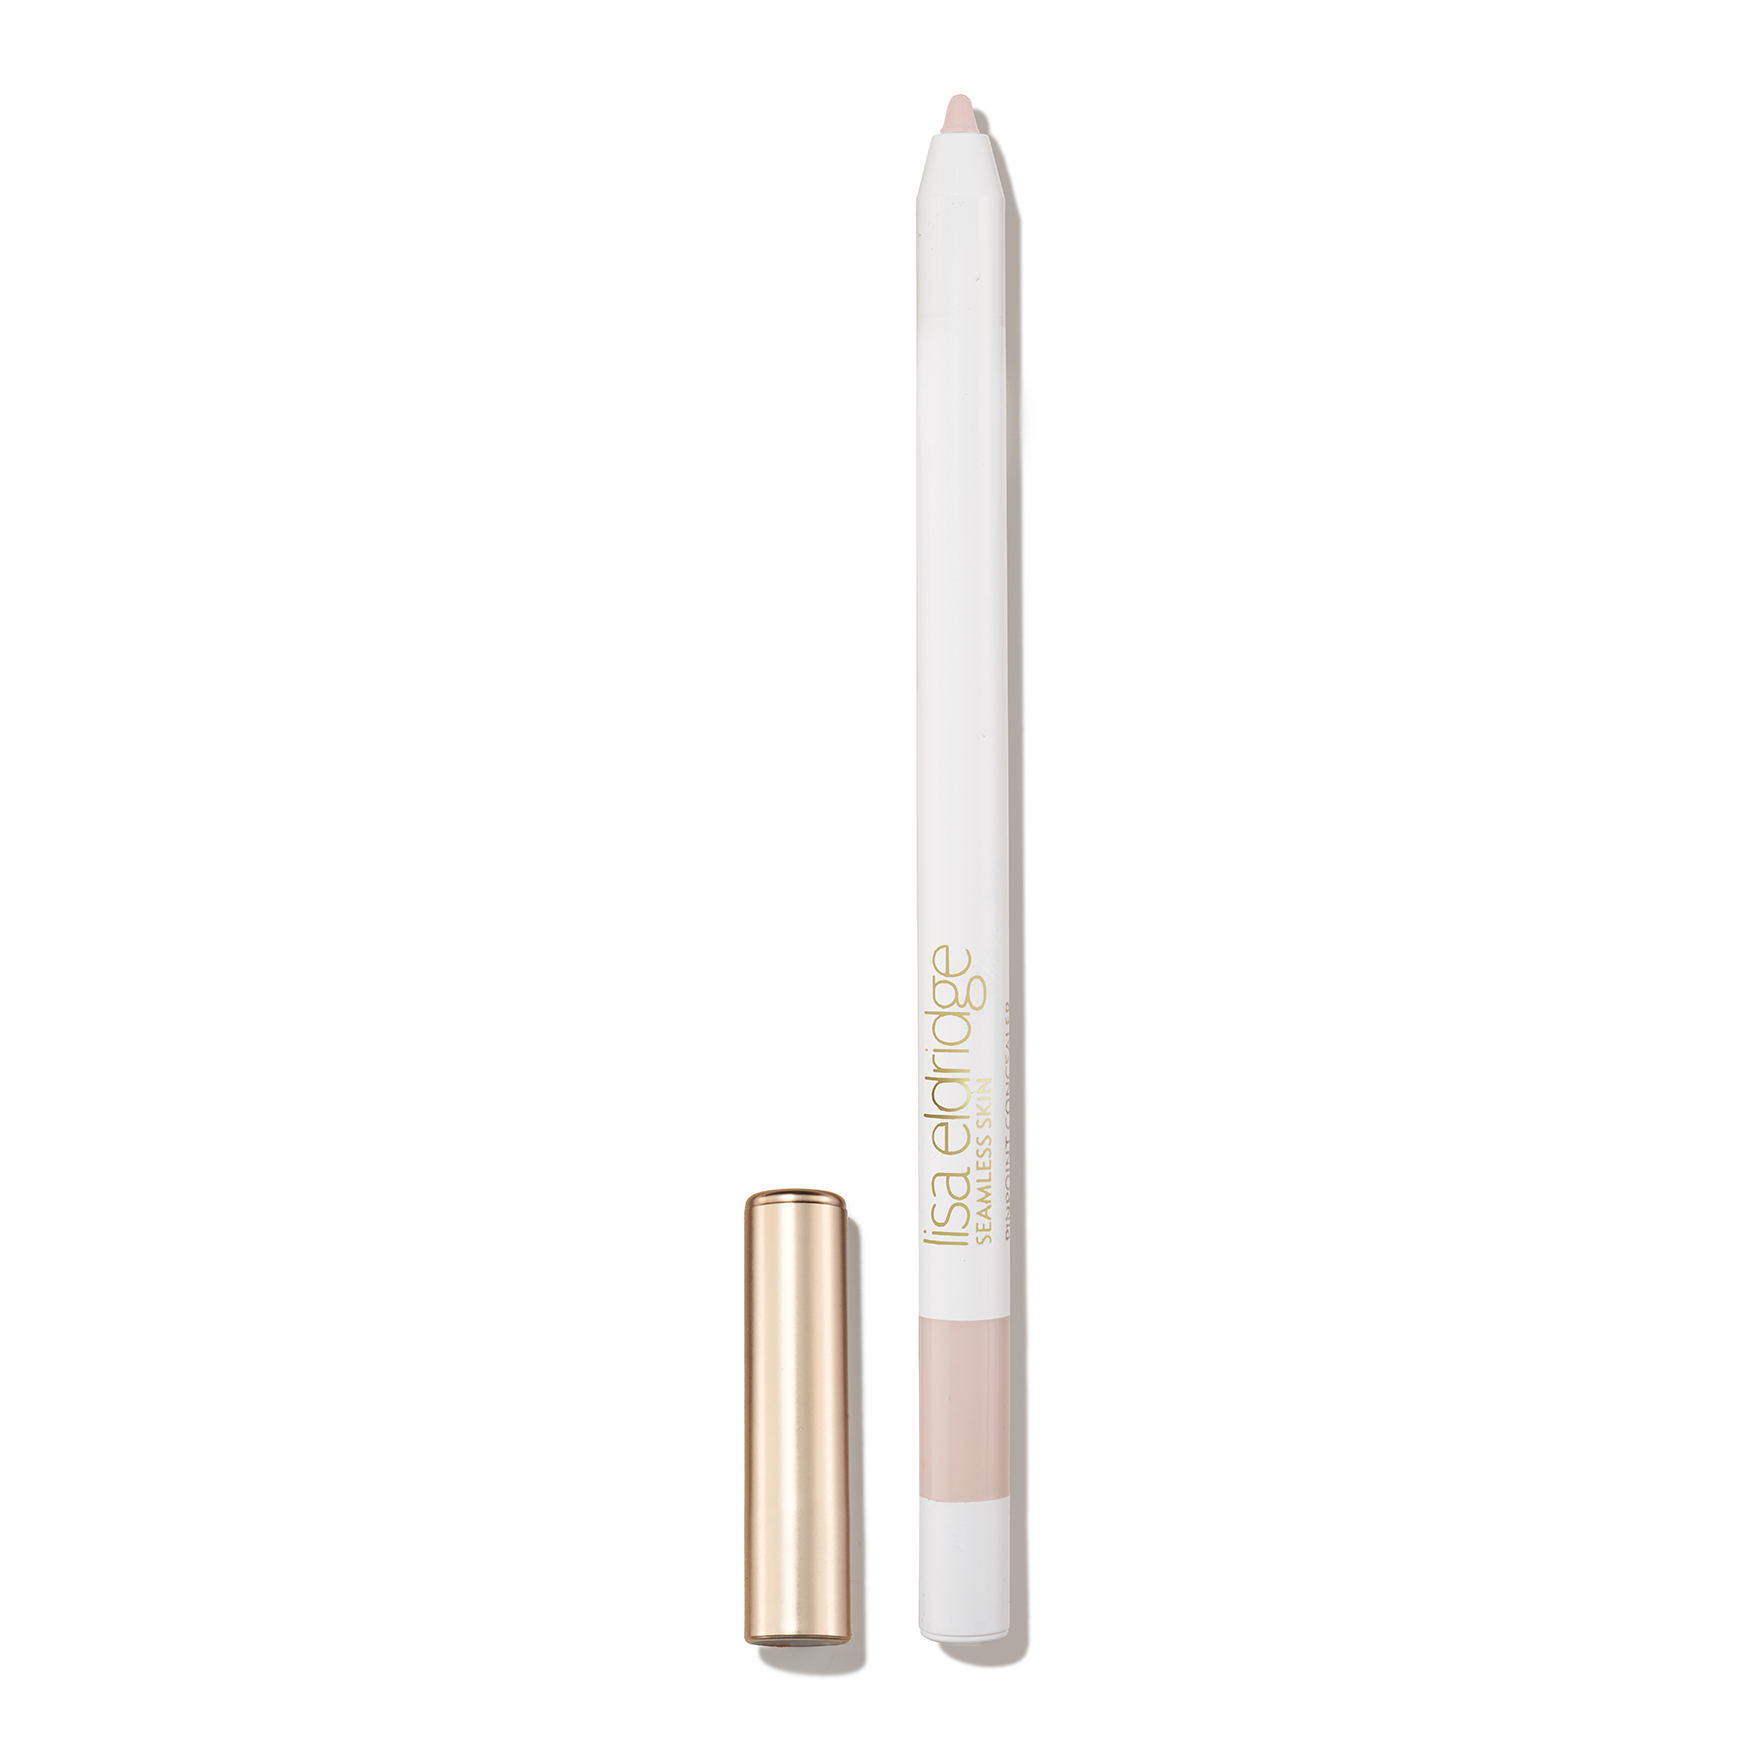
But now Eldridge has announced a simpler solution—a precise pencil concealer that she has created herself, specifically for this technique.
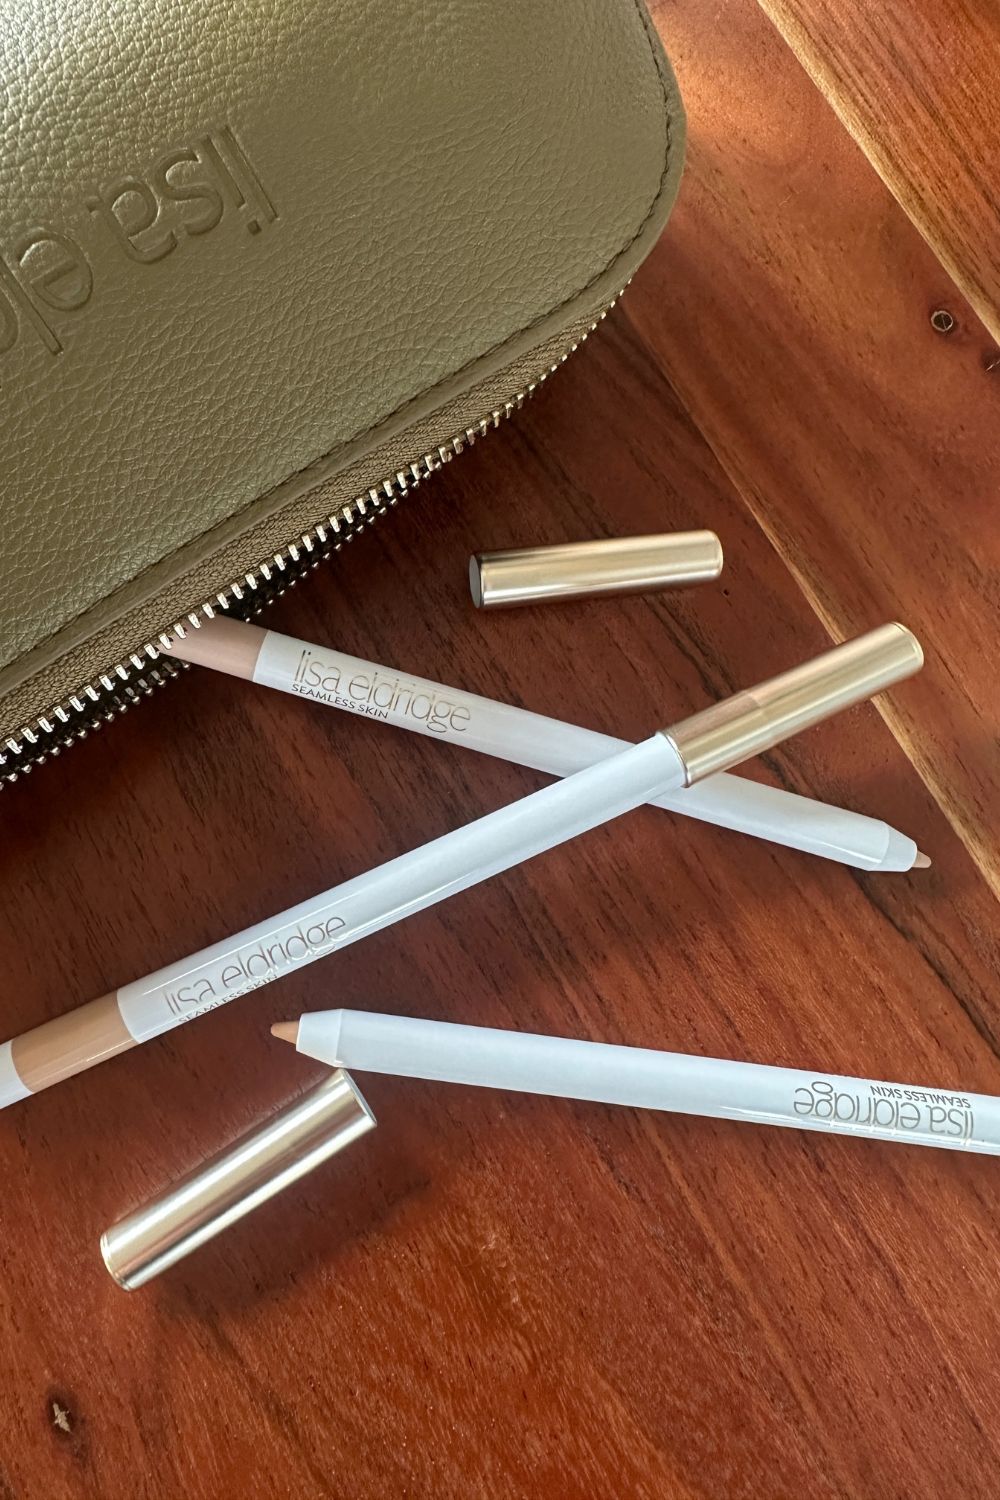
Instead of having to keep a cream concealer and small brush to hand, the new Lisa Eldridge Pinpoint Concealer Micro Correcting Pencil aims to make concealing small areas much easier. Here's how it is done:
- Prep skin with moisturiser, primer, skin tint and/or foundation.
- Using a brush or a fine-nibbed concealer stylo that matches your skin tone exactly, lightly scribble over the area you wish to micro-conceal.
- Dab your (clean) finger over the area to gently blend.
- Continue layering in this way until your desired coverage is achieved.
The trick to making this product work for you is in finding a shade that sits very closely to your natural skin tone (there are 16 to choose from, so this should be easy enough) and "scribbling" the pencil on, rather than drawing. "Don’t apply the concealer in a completely round circle over the area, make the edges non-uniform instead, as it will help with blending and will make it less visible to the eye," Eldridge advises.
So, considering I have been a pretty hardcore follower of this technique for many years, I wanted to give the new product a go to see just how foolproof it really is (and, most importantly, see how it compares to my current technique)...
A Beauty Editor's Review of the Pinpoint Concealer Technique
As a dedicated online follower of Eldridge for many years, her pinpoint concealer technique has been my exclusive approach to daily concealer application for most of my adult life. However, I must admit I haven't been quite as forensic with my technique—I'm a lazy girl who can't be bothered to faff around with makeup brushes. Instead, I have typically relied on concealer pens and stylos for a more precise application.
And for a very long time, this has worked for me. Despite the fact my chin is in a constant acneic state and breakout scars are dotted all over my cheeks, by using pinpoint concealing and adopting a natural-complexion look, I've managed to convince everyone who knows me that I have good skin. The reality is that, actually, my skin is really not that good at all, but by not wearing foundation and concealing only my main areas of concern (dark circles, spots and scars), my friends and colleagues seem to think my skin is always bare.
My current favourite concealer of choice for such micro-concealing endeavours is Sisley's Stylo Correct Concealer. I like that the creamy formula can just be dabbed or swiped over spots, areas of pigmentation and dark circles and then smudged out and blended with my fingers.
On initial inspection of the Lisa Eldridge Pinpoint Concealer Micro Correcting Pencil, things seemed promising. I like that the nib is fine enough to be super-precise, I like that it has a twist-up mechanism because I can't be bothered with sharpening and the formula itself seemed creamy enough when I swatched it—I was impressed. But how did the application fare?
Step 1: Moisturiser and/or Skin Tint
Truthfully, I hardly ever apply a base. My daily makeup routine involves applying a moisturising facial sunscreen and scribbling on my concealer stylo over the top—letting it melt into the moisturising base my SPF has provided. However, given that my skin is particularly dry at the moment and the Lisa Eldridge Pinpoint Concealer Micro Correcting Pencil is a little less creamy than my usual go-to, I opted to apply a sheer skin tint first.
I'll admit here that I did try to go in with the pencil on a bare face, but my post-breakout marks were just too dry, and I found the concealing pencil just wasn't blending in the way I wanted it to. So, I used my go-to Summer Fridays Sheer Skin Tint for a super-hydrating base that delivers a very light coverage. An all-over base is not my everyday product of choice, but I went with it for the sake of this review.
I would like to point out here that just because I felt as though I needed to apply a base first doesn't necessarily mean everyone will have to. If your areas of concern are broken veins or areas of hyperpigmentation and you don't have dry patches, you'll probably be fine without.
Step 2: Pinpoint Conceal
Once my base was on and my skin felt suitably hydrated, it was time to give the Pinpoint Concealer Micro Correcting Pencil a go. I have a lot of experience in the pinpoint concealer application technique, so it didn't take a lot of getting used to. I identified the key areas of concern and, in turn, lightly scribbled over them before dabbing with my finger to blend.
Most of my marks and spots were concealed on first go, however, some more stubborn areas of pigmentation needed two or three layers before I was happy with how disguised they were. That being said, I was really impressed with how effective the formula is at concealing. I was watching my spots and post-breakout marks disappear before my very eyes all in the space of a few seconds.
One thing I will say, however, is that due to its design and nature, this is not a product that will fare well under the eyes. My dark circles are big, bold and quite intrusive. If I were to use it under my eyes, too, I'd probably get through the entire pencil in a matter of days. Plus, the full-coverage formula is simply not designed to be used in this way.
Step 3: The Rest of the Face
The first thing I felt like I had to do to finish off my look was swipe some creamy concealer on my under-eye area. I went for my trusty By Terry Hyaluronic Serum Concealer for a light-medium coverage, in keeping with the natural-looking finish of the pinpoint concealer.
Because I had applied a skin tint, I also felt as though my face needed some dimension adding back into it, so I opted for my usual Merit Flush Balm, a swipe through of a Refy brow gel, a coating of L'Oréal Paris Paradise Big Deal Mascara and a slick of Chanel Rouge Coco Baume on my lips.
The result? A genuinely natural-looking makeup look that took approximately four minutes to apply.
My Final Verdict
Overall, I'm really impressed with this new product. As somebody who has been using the Lisa Eldridge pinpoint concealer technique for a very long time, it is needless to say I was already sold on the application method—it really is the secret to a natural- and healthy-looking complexion.
As for how the Lisa Eldridge Pinpoint Concealer Micro Correcting Pencil fares in comparison to my usual product choices and routine, I would say that it is far more effective at covering my surface-level dark spots and patches of broken veins. My chin looks much more even in tone for using it. However, on my more recent spots and breakouts, I would say that the fuller-coverage formula does cling to dry areas more than my creamier products do. Going forward, I'd be sure to apply heaps more moisturiser to my face first.
Ideally, I like a concealer that I can apply on both blemishes and dark circles—and this isn't that. You see, I'm a really, really lazy makeup applier, and I'm always looking for get-outs where I can find them. Because of this, I just know that most days I'll inevitably end up dabbing my under-eye concealer over my blemishes, too.
So now the million-pound question: would I recommend? The short answer is yes—pinpoint concealing has totally changed my makeup routine, and I think everyone can benefit from it if you're after a natural-looking base. As for my recommendation of the new Lisa Eldridge concealer, I would absolutely recommend giving it a go if you are looking to conceal small areas of hyperpigmentation and legacy spots—it genuinely eradicates their appearance in a matter of seconds in a way that I have never seen before. But, if like me, you have active acne and are a far cry from a makeup artist, you might prefer a creamier concealer that covers more ground. All in all? I'd say it's a pretty revolutionary addition to the makeup scene.
Shop More Full-Coverage Concealers for Blemishes
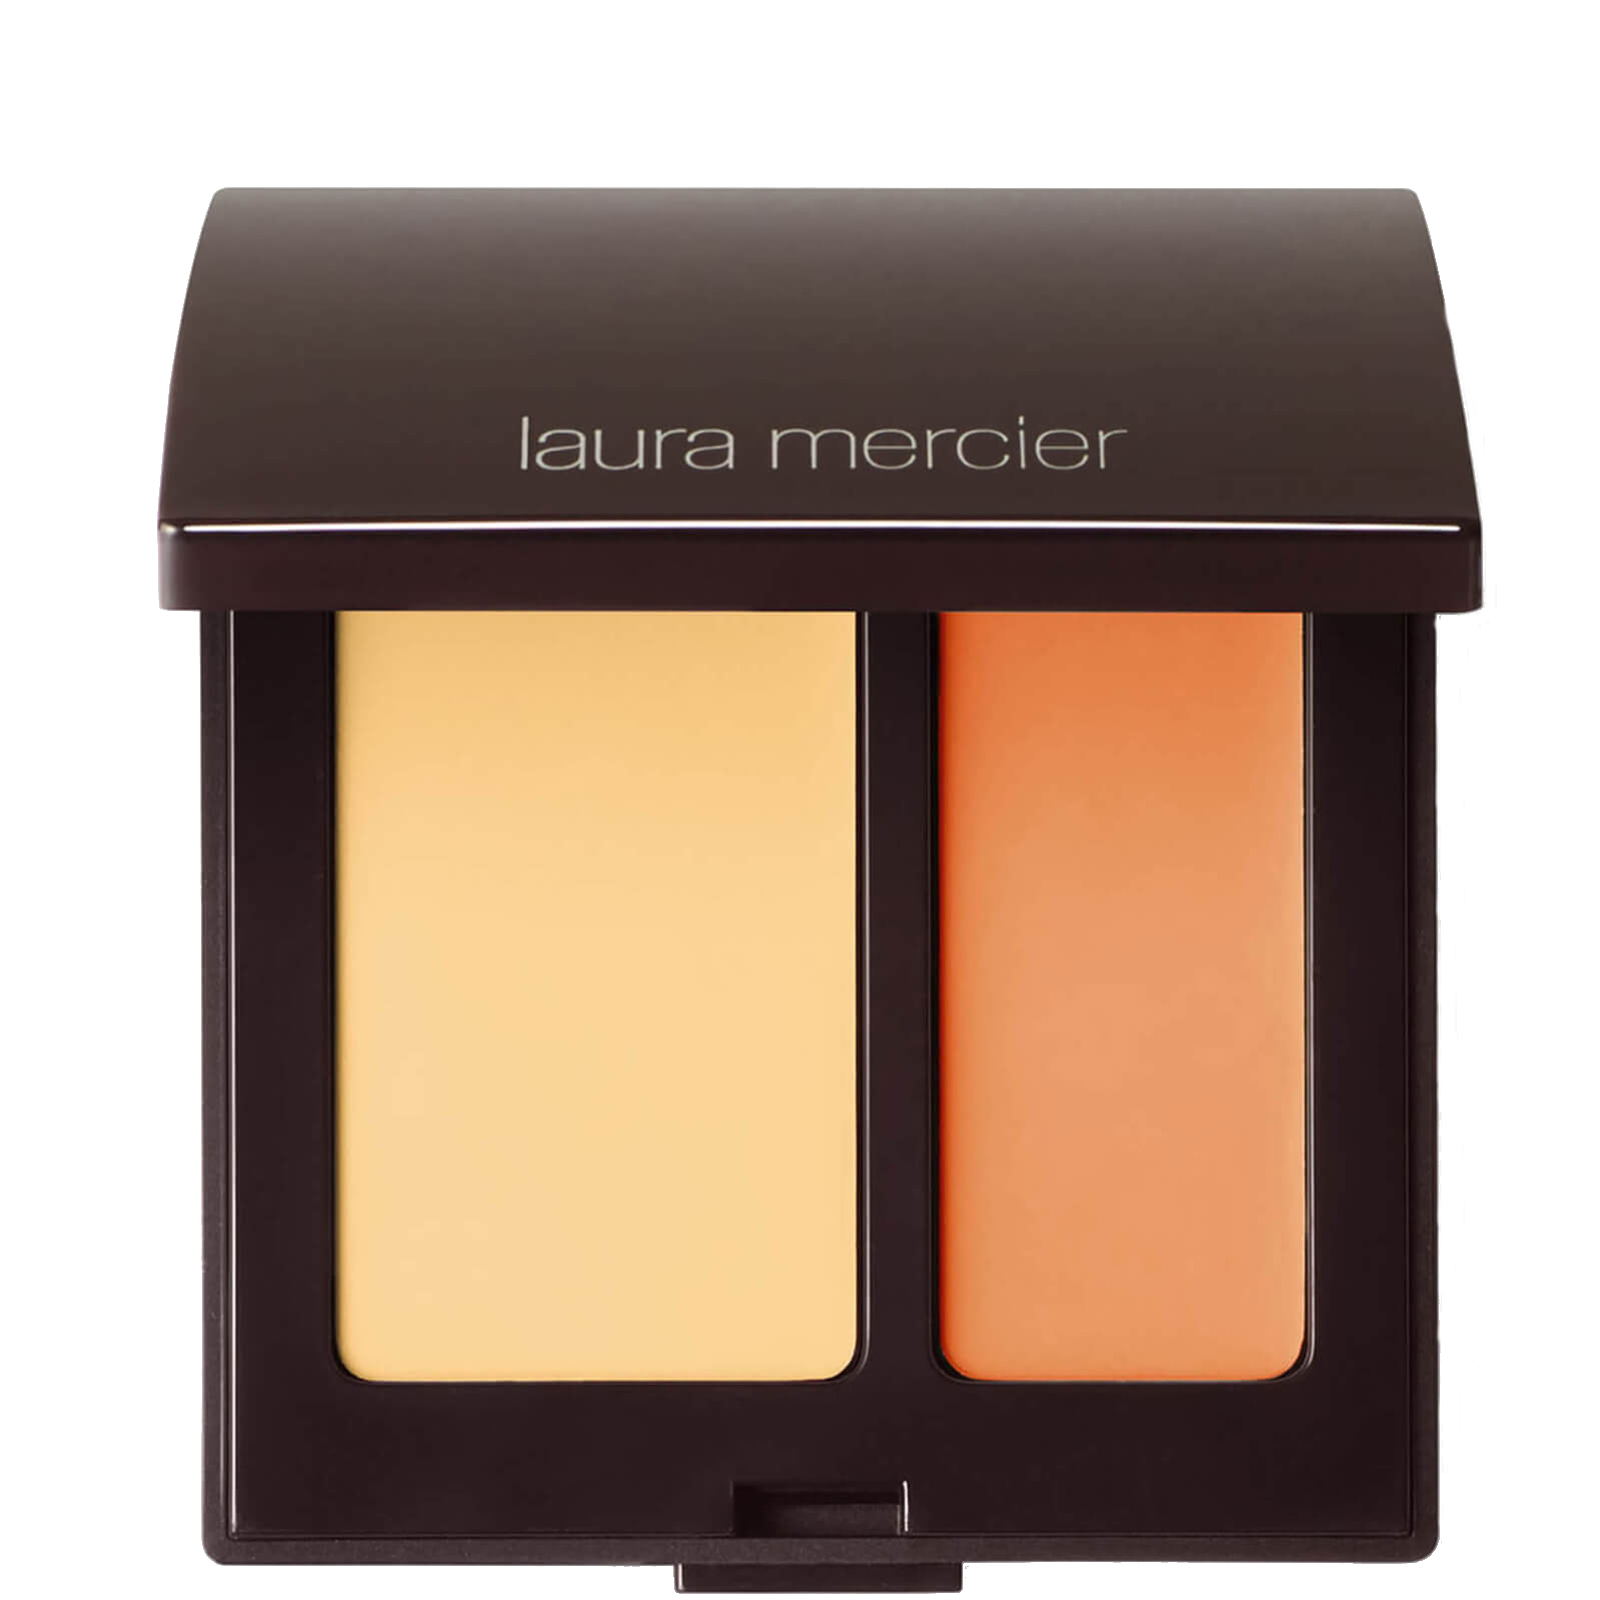
This is the original concealer that Eldridge swore by for pinpoint concealing.
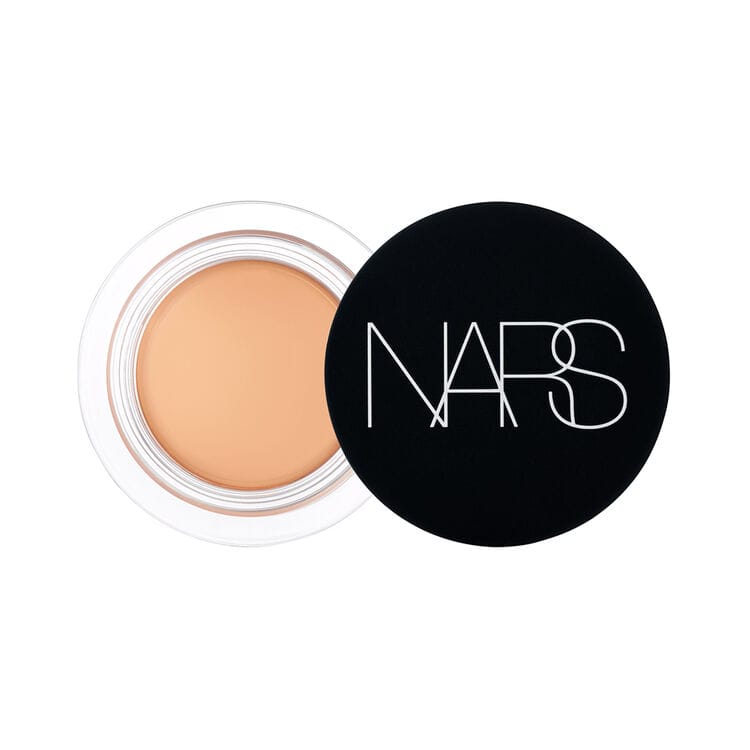
I have long adored this full-coverage concealer for both disguising breakouts and dark circles.
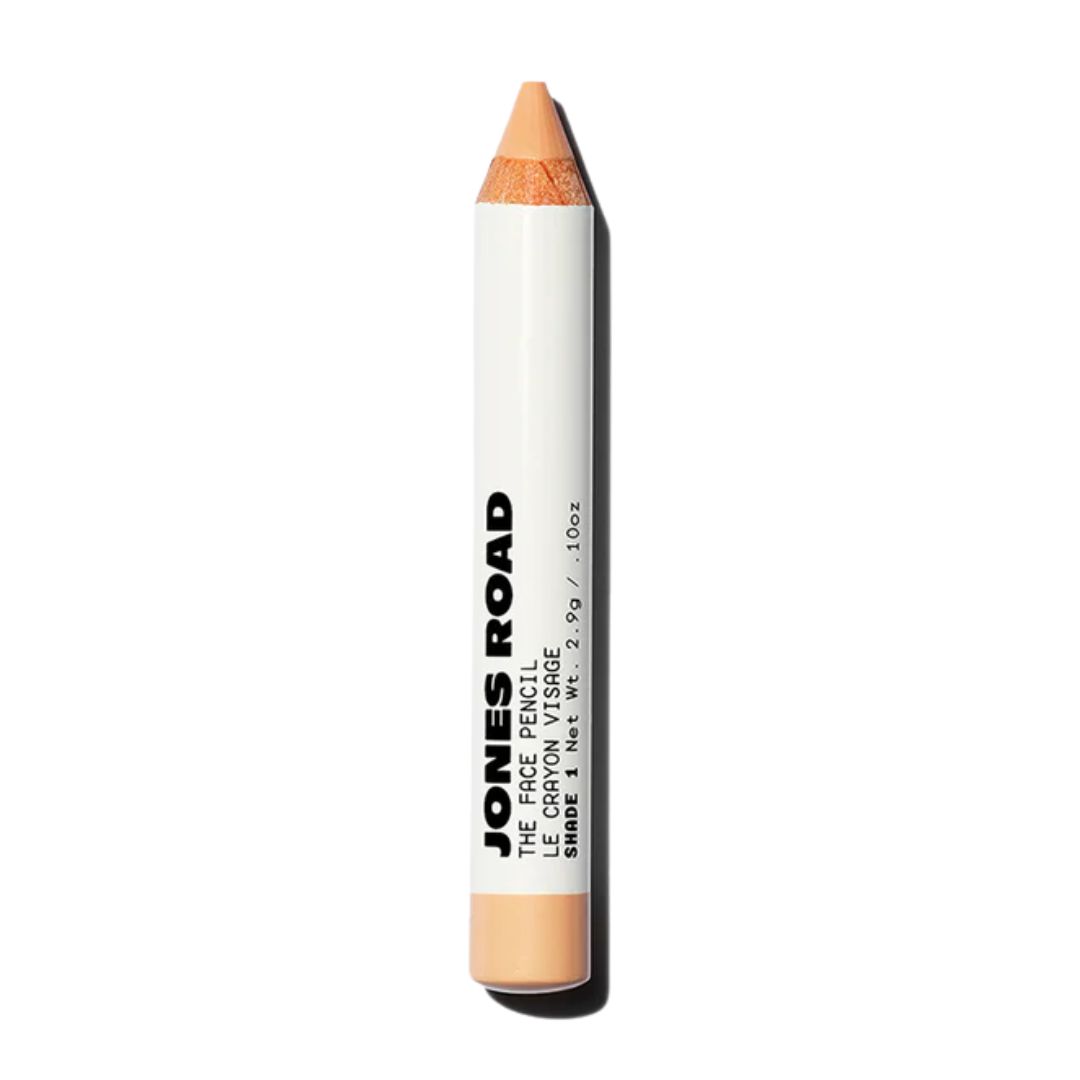
Another pencil formula, this concealer from Jones Road is chunkier than the Lisa Eldridge one, but also very good.
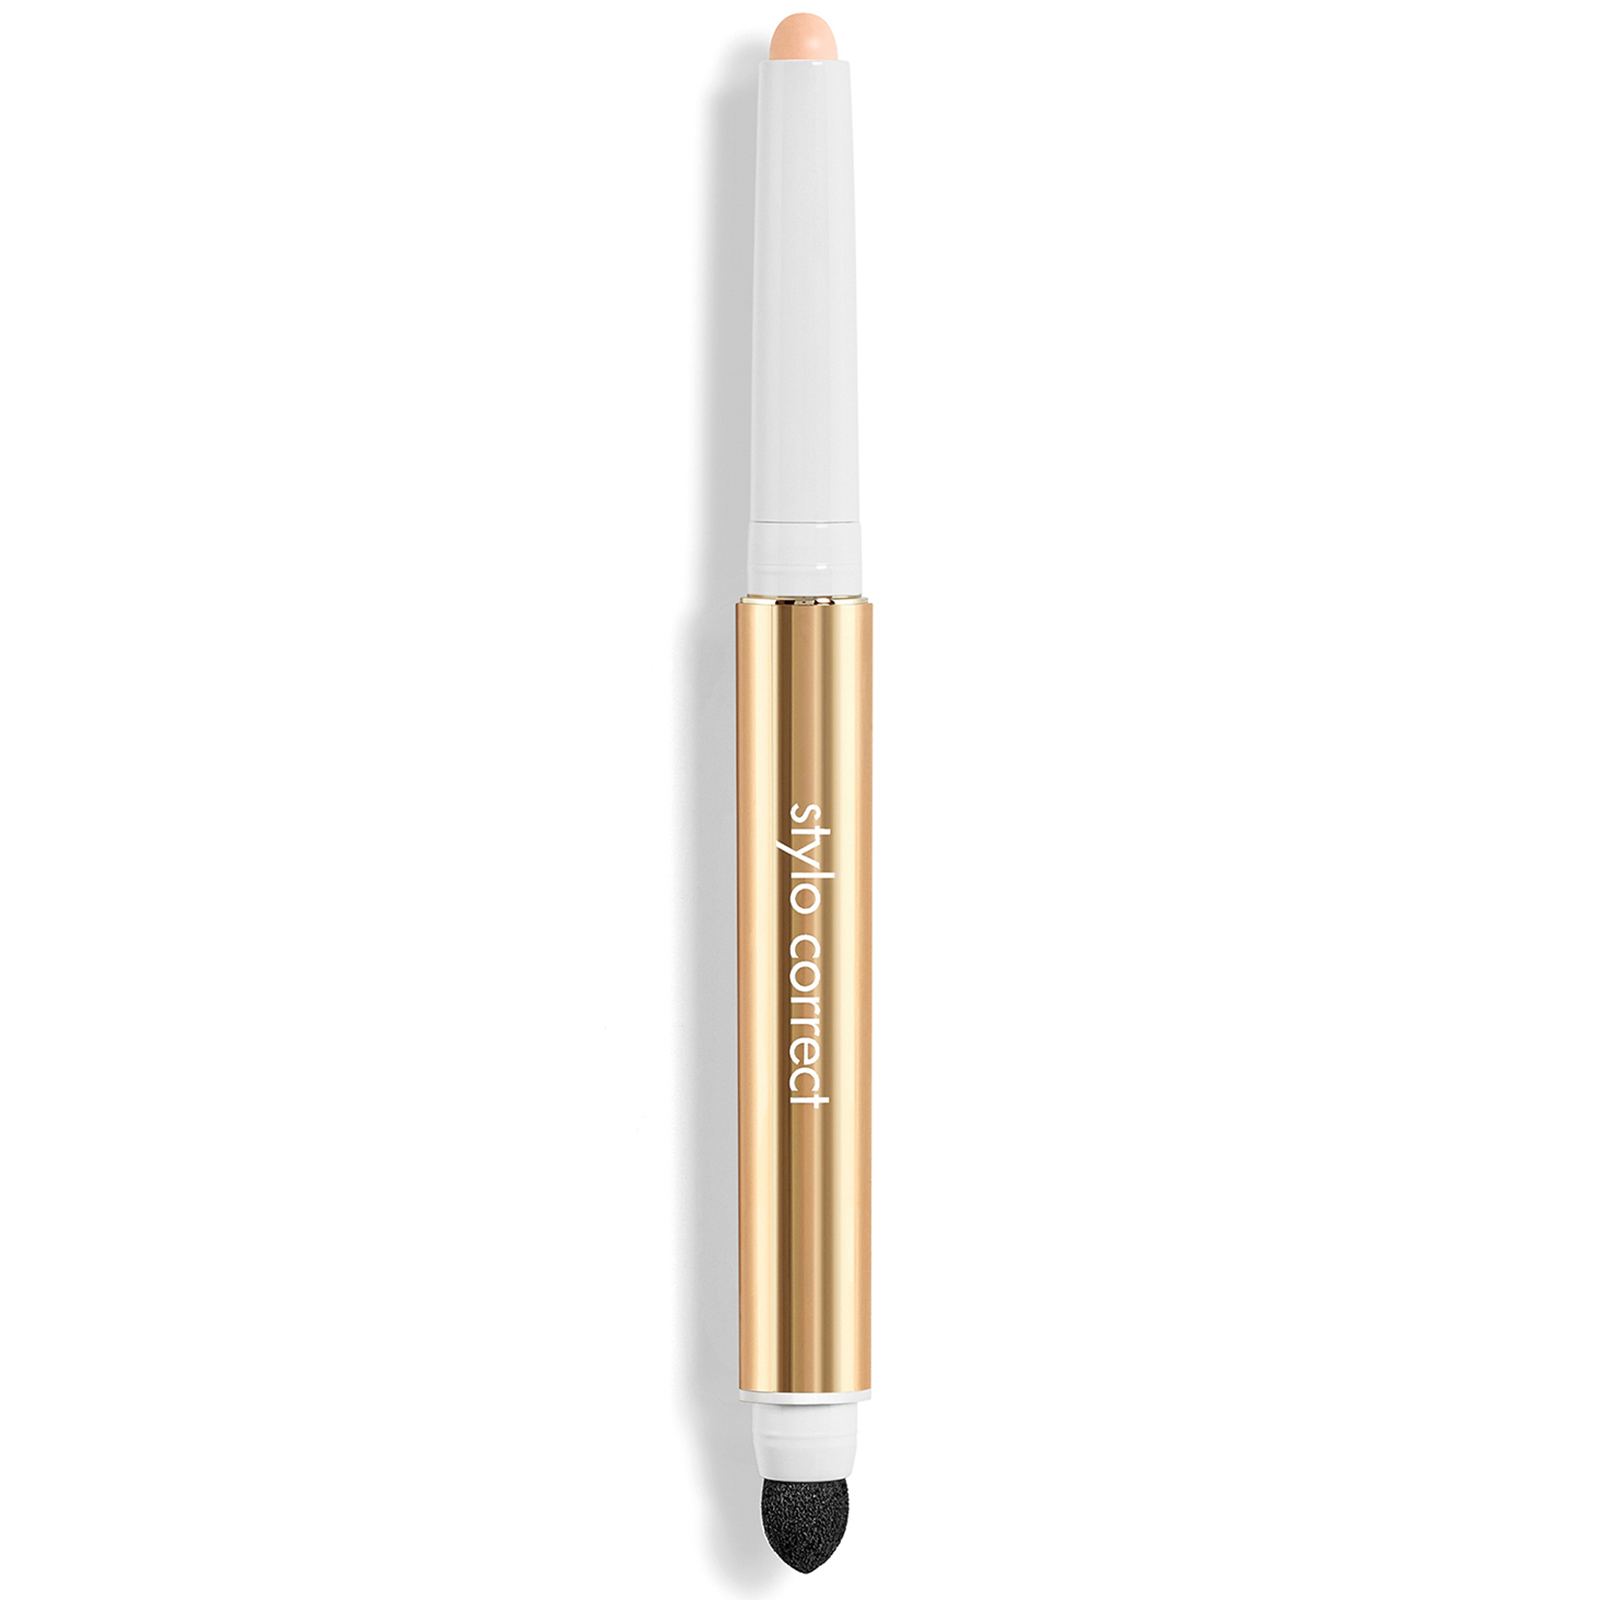
My beloved Sisley Stylo Correct swipes over the skin and blends with unparalleled ease.
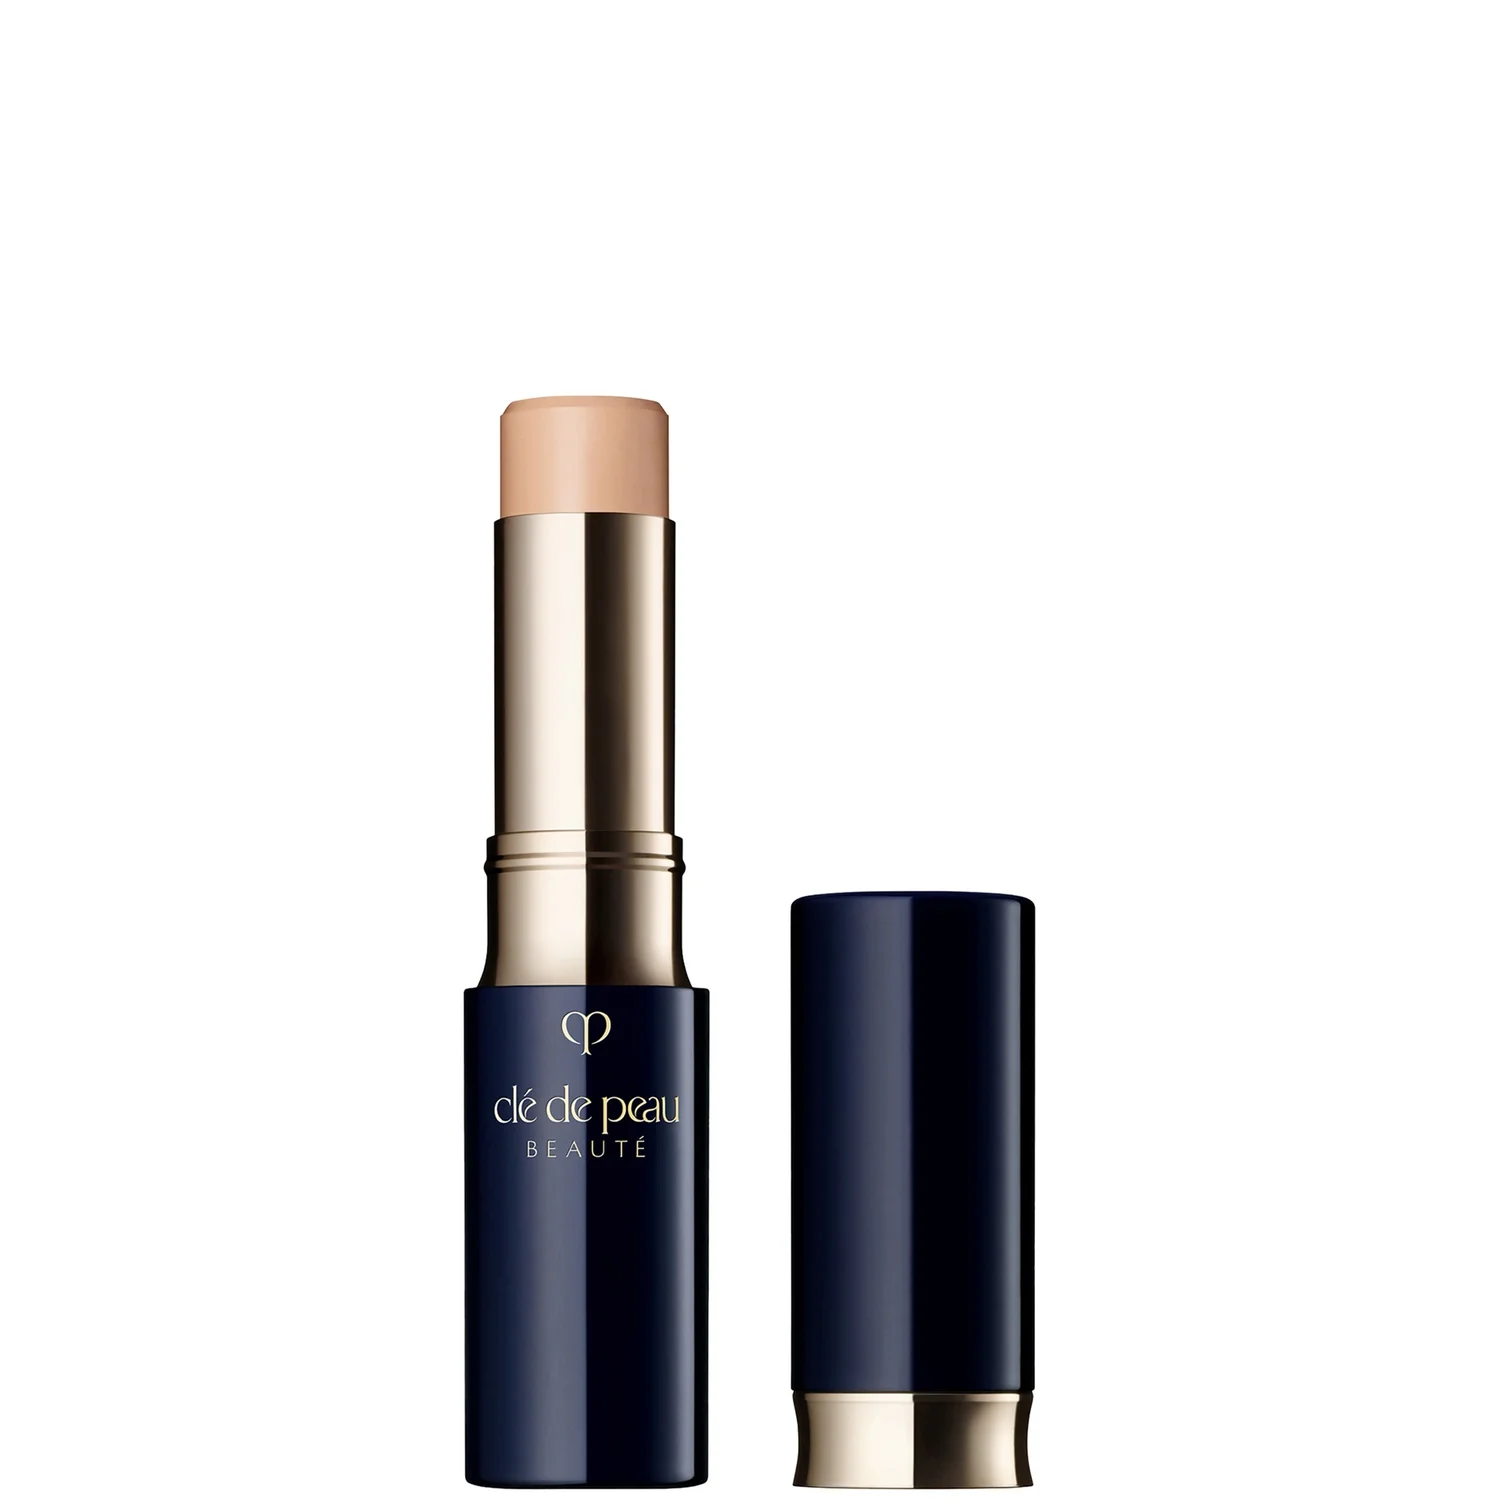
If you're in the market for a luxury concealer that covers a multitude of skin sins while delivering a second-skin finish, this is it.
Shannon Lawlor is the beauty director at Who What Wear UK. With over a decade of experience working for some of the beauty industry’s most esteemed titles, including Marie Claire, Glamour UK, Stylist and Refinery29, Shannon’s aim is to make the conversation around beauty as open, relatable and honest as possible. As a self-confessed lazy girl, Shannon has an affinity for hard-working perfumes, fool-proof makeup products and does-it-all skincare.
-
 I Called the Cuffed Jeans Trend—7 Shoes Fashion People Are Wearing With the Chic Denim Style
Style the jeans like a fashion person.
By Jennifer Camp Forbes
-
 All Your Favorite Celebs Book This Lymphatic Drainage Expert Before Events—I Scored Her At-Home Tips
Genius de-puffing tricks ahead.
By Jamie Schneider
-
 This Lip-Contouring Guide Is Essentially Your Cheat Sheet for a Fuller Pout, Sans Needles
A plumper pout has never been so painless.
By Alyssa Brascia
-
 I'm Calling It: Cherry Blossom Makeup Is the Enchanting, Hailey Bieber–Coded Trend We'll See All Spring
It's too elegant to ignore.
By Jamie Schneider
-
 Blurred Makeup Is Trending, and Gracie Abrams Is the Blueprint—the Pre-Show Glam She Swears By
It's all about soft-focus skin.
By Jamie Schneider
-
 No One Knows Festival Makeup Like This Iconic MUA—4 Trends She Says We'll See All Over Coachella
Grab your tickets and glitter.
By Alyssa Brascia
-
 I've Been Applying Mascara Wrong for 15 Years—An Iconic MUA Just Gave Me a Life-Changing Tip
My lash game will never be the same.
By Jamie Schneider
-
 Tate McRae's 10-Minute Makeup Routine Involves an Internet-Famous Foundation Hack and a $9 Mascara
"If I find something I like, I stick to it."
By Kaitlyn McLintock
-
 From Vacation Skin to Orchid Lips—3 White Lotus Beauty Trends That Will Define the Summer
In conversation with the show's lead makeup artist.
By Alyssa Brascia
-
 Black Beauty Brands Set the Standard for Inclusive Shade Ranges—These Industry Experts Are Leading the Charge
It's not marketing; it's mandatory.
By Kaitlyn McLintock
