Don't Make the Same Mistakes I Did—Here's *the* Goof-Proof Way to Apply At-Home Lash Extensions
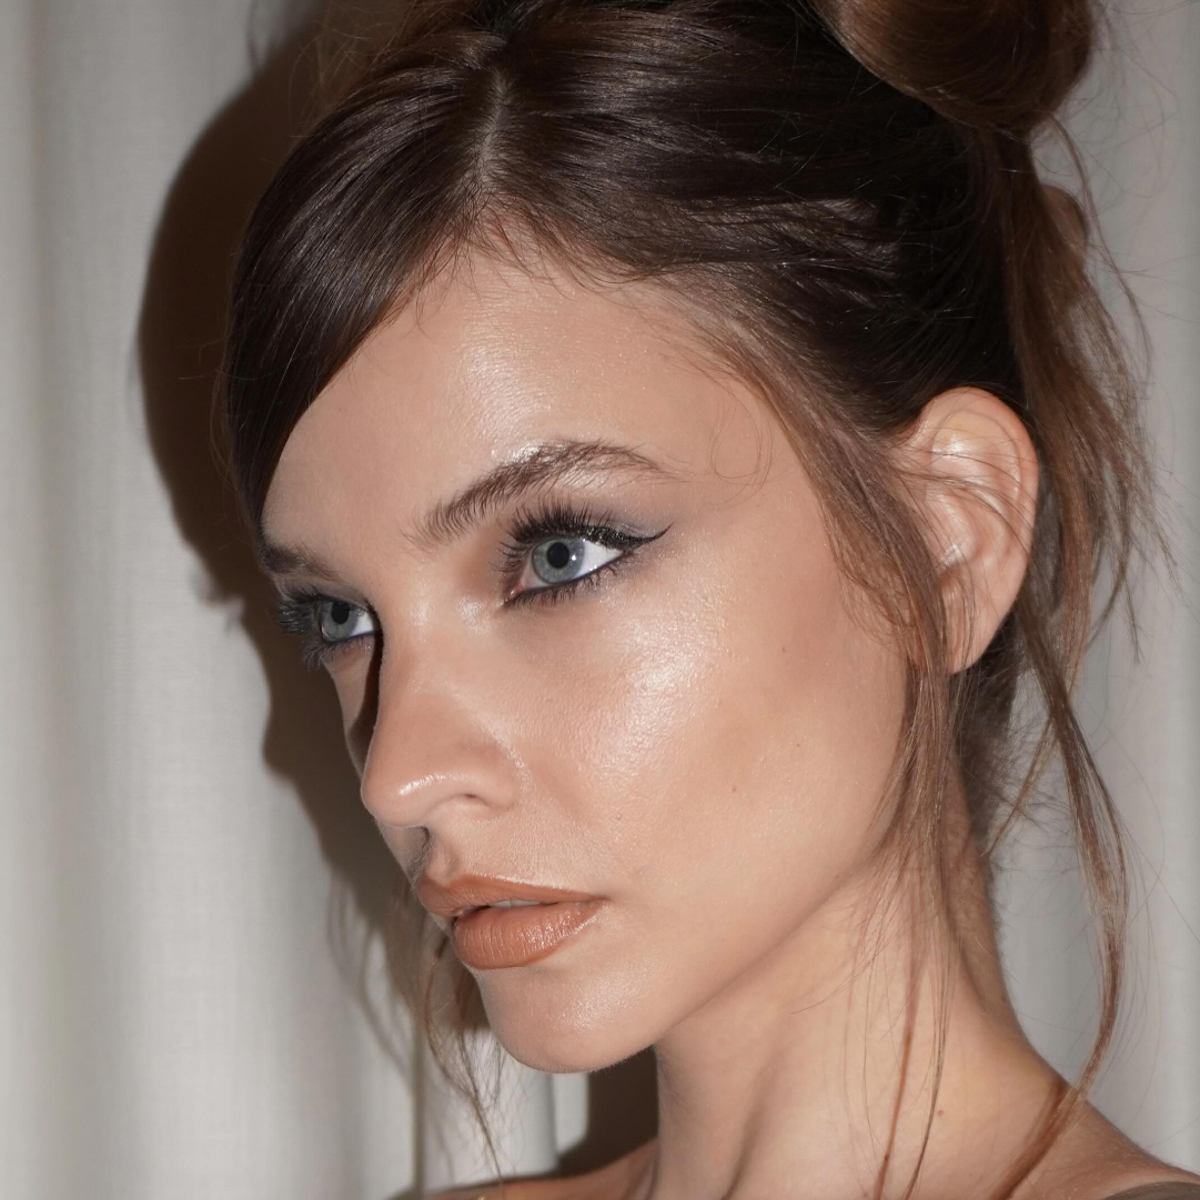
This probably isn't a statement that you expect to hear from a beauty editor, but I never wear false lashes. There, I said it. Honestly, I find that a lot of them look a little too false on me, and most days, I just can't be bothered with applying them since I love a lazy-girl makeup routine. Recently though, I decided to get ambitious and try DIY lash extensions because they're designed to look more natural. I figured, why not? I might become a false-lash convert!
Well, I gave them a try before an event one night, and let's just say it was a serious expectation-versus-reality moment. To put it bluntly, it was a minor disaster, and I realized that I needed expert advice very badly before attempting this again. If you're like me and struggle with at-home lash extensions, keep reading. I tapped two experts to help us all out.
How to Apply At-Home Lash Extensions the *Right* Way
Celebrity makeup artist Judi Gabbay and LashifyPro Director Beau Nelson provided a few goof-proof tips for applying lash extensions at home. I took rigorous notes to ensure that the next time I try these lashes, it will go a lot smoother.
1. Use a standing mirror: Both Gabbay and Nelson consider this key.
"The easiest way I've found to apply them onto myself is to use a standing mirror and to lift the mirror upward toward your face," says Gabbay. "[This is so] you're not looking straight on into a mirror; you're looking down into it. This way, you can actually see where you're going with the lash."
Nelson adds, "With a little bit of practice, DIY lash extensions are really easy to do at home. I recommend looking down into a mirror, like Lashify's LED Infinity Mirror, so you can see the underlash and the placement."
2. Make sure your eyes are free of oil: "For maximum longevity, make sure your eyes and lashes are free of oil. You can use a prep product, like Lashify's Pre-Cleanse Cleansing Water, and brush it through the lashes or on a cotton round. For girls with extra-oily eyelids, an eye shadow primer can help!" says Nelson.
3. Watch your bonding technique: Nelson says, "Make sure your bonding technique is good—not too much, not too little. I recommend building really thin coats of bond for maximum wear. I know when I do three layers of bond and let the bond dry for a minute or two in between, or longer, they aren't going anywhere. Over time, you'll learn which bonding techniques and products work best for your eye chemistry."
4. Allow the glue (or bonding material) to become tacky before applying: Gabbay also recommends letting the glue or bonding material sit for a second before you go in with your lashes. "It'll be a little bit more forgiving, and where you place the lash, it will actually stay," she says.
5. Use tweezers: This might seem obvious, but it's worth noting here. Don't make the mistake of thinking you can apply the lashes with your fingers—they probably won't apply or stick well if you do. Tweezers also come in handy after you've applied the lash because you can use them to gently clamp down on it to get them to further adhere to your regular lashes.
6. Use brush-on glue vs. tube glue: Gabbay says that once you get used to applying lash extensions, you can apply them under your normal lashes instead of on top of them for a more natural look. "This is when you'll want to use brush-on glue as opposed to a tube glue because it will be stickier and easier to place on underneath [the lashes]," she says. "You also won't need to wait for it to get tacky; it will just stick already."
7. Placement is everything: "Another tip for longevity is placement. Do not place them right against the bottom lash waterline. Instead, put them one millimeter to two millimeters above that. You will not be able to see it face on at all, and they will last days longer than if you were to place them closer." — Nelson
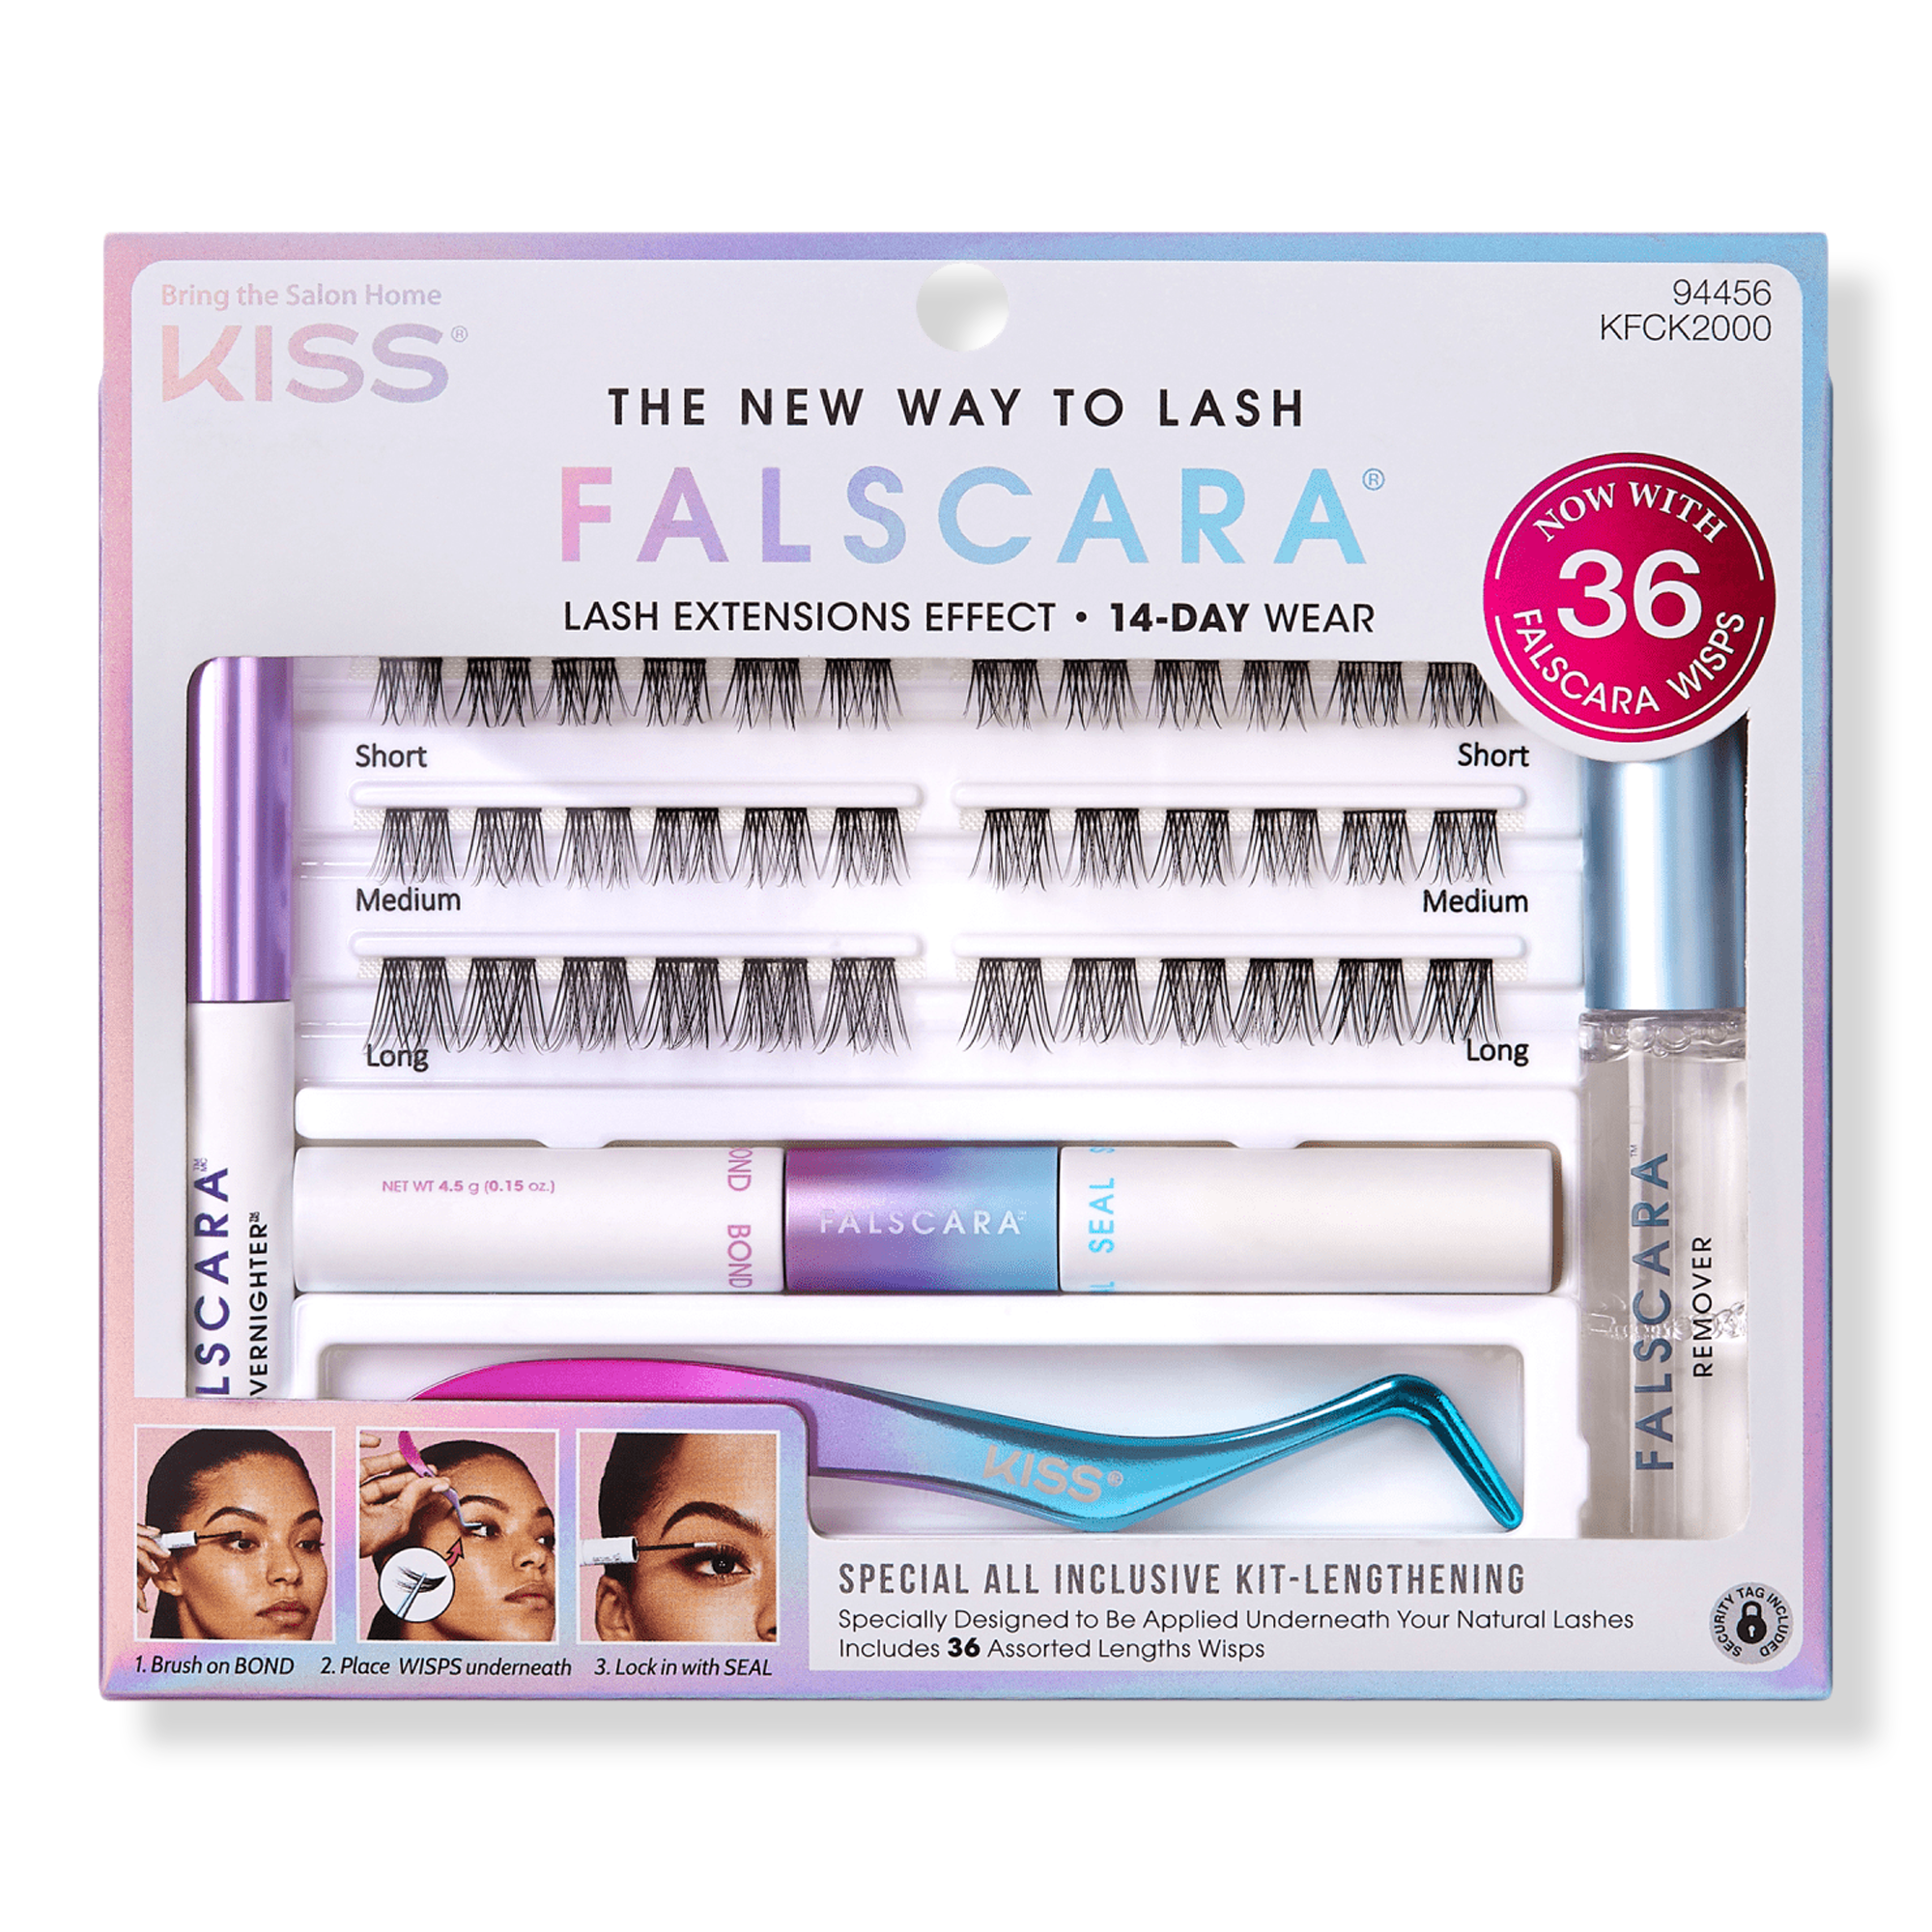
The Lash Extensions I Tried: Kiss Falscara Special Edition Starter Kit
Honestly, this lash extension kit is fantastic. I just lacked the skills and know-how when I first attempted to apply them. I'll spare you the photos because LOL, but when I was able to apply a few wisps, they looked really pretty and natural. You definitely have to work more quickly than I did with the bonding adhesive because it does dry pretty fast, but if you're a false-lash pro already, this might be easier for you.
I love that there are several sizes of lashes featured in the kit, and it comes with a remover solution so you can remove them whenever you want. If you're new to at-home lash extensions like I was, you definitely might need a few trial runs before you can really master applying these, but the kit is pretty simple to use otherwise. I think once I get the hang of these, I'll really love them because they're the most natural-looking ones I've found so far. According to the brand, they're also reusable if you're careful with them and keep them nice. This kit also provides the bonding adhesive and a sealing solution in a brush-on formula so you don't have to use anything else or apply separate lash glue—another huge plus.
I'd definitely say these are worth a try if you like adding a little extra lift, length, and volume to your lashes but don't care for strip falsies. These look really nice on and can be removed pretty easily. Overall, I think it's a great buy for $25.
More Great At-Home Lash Extension Options
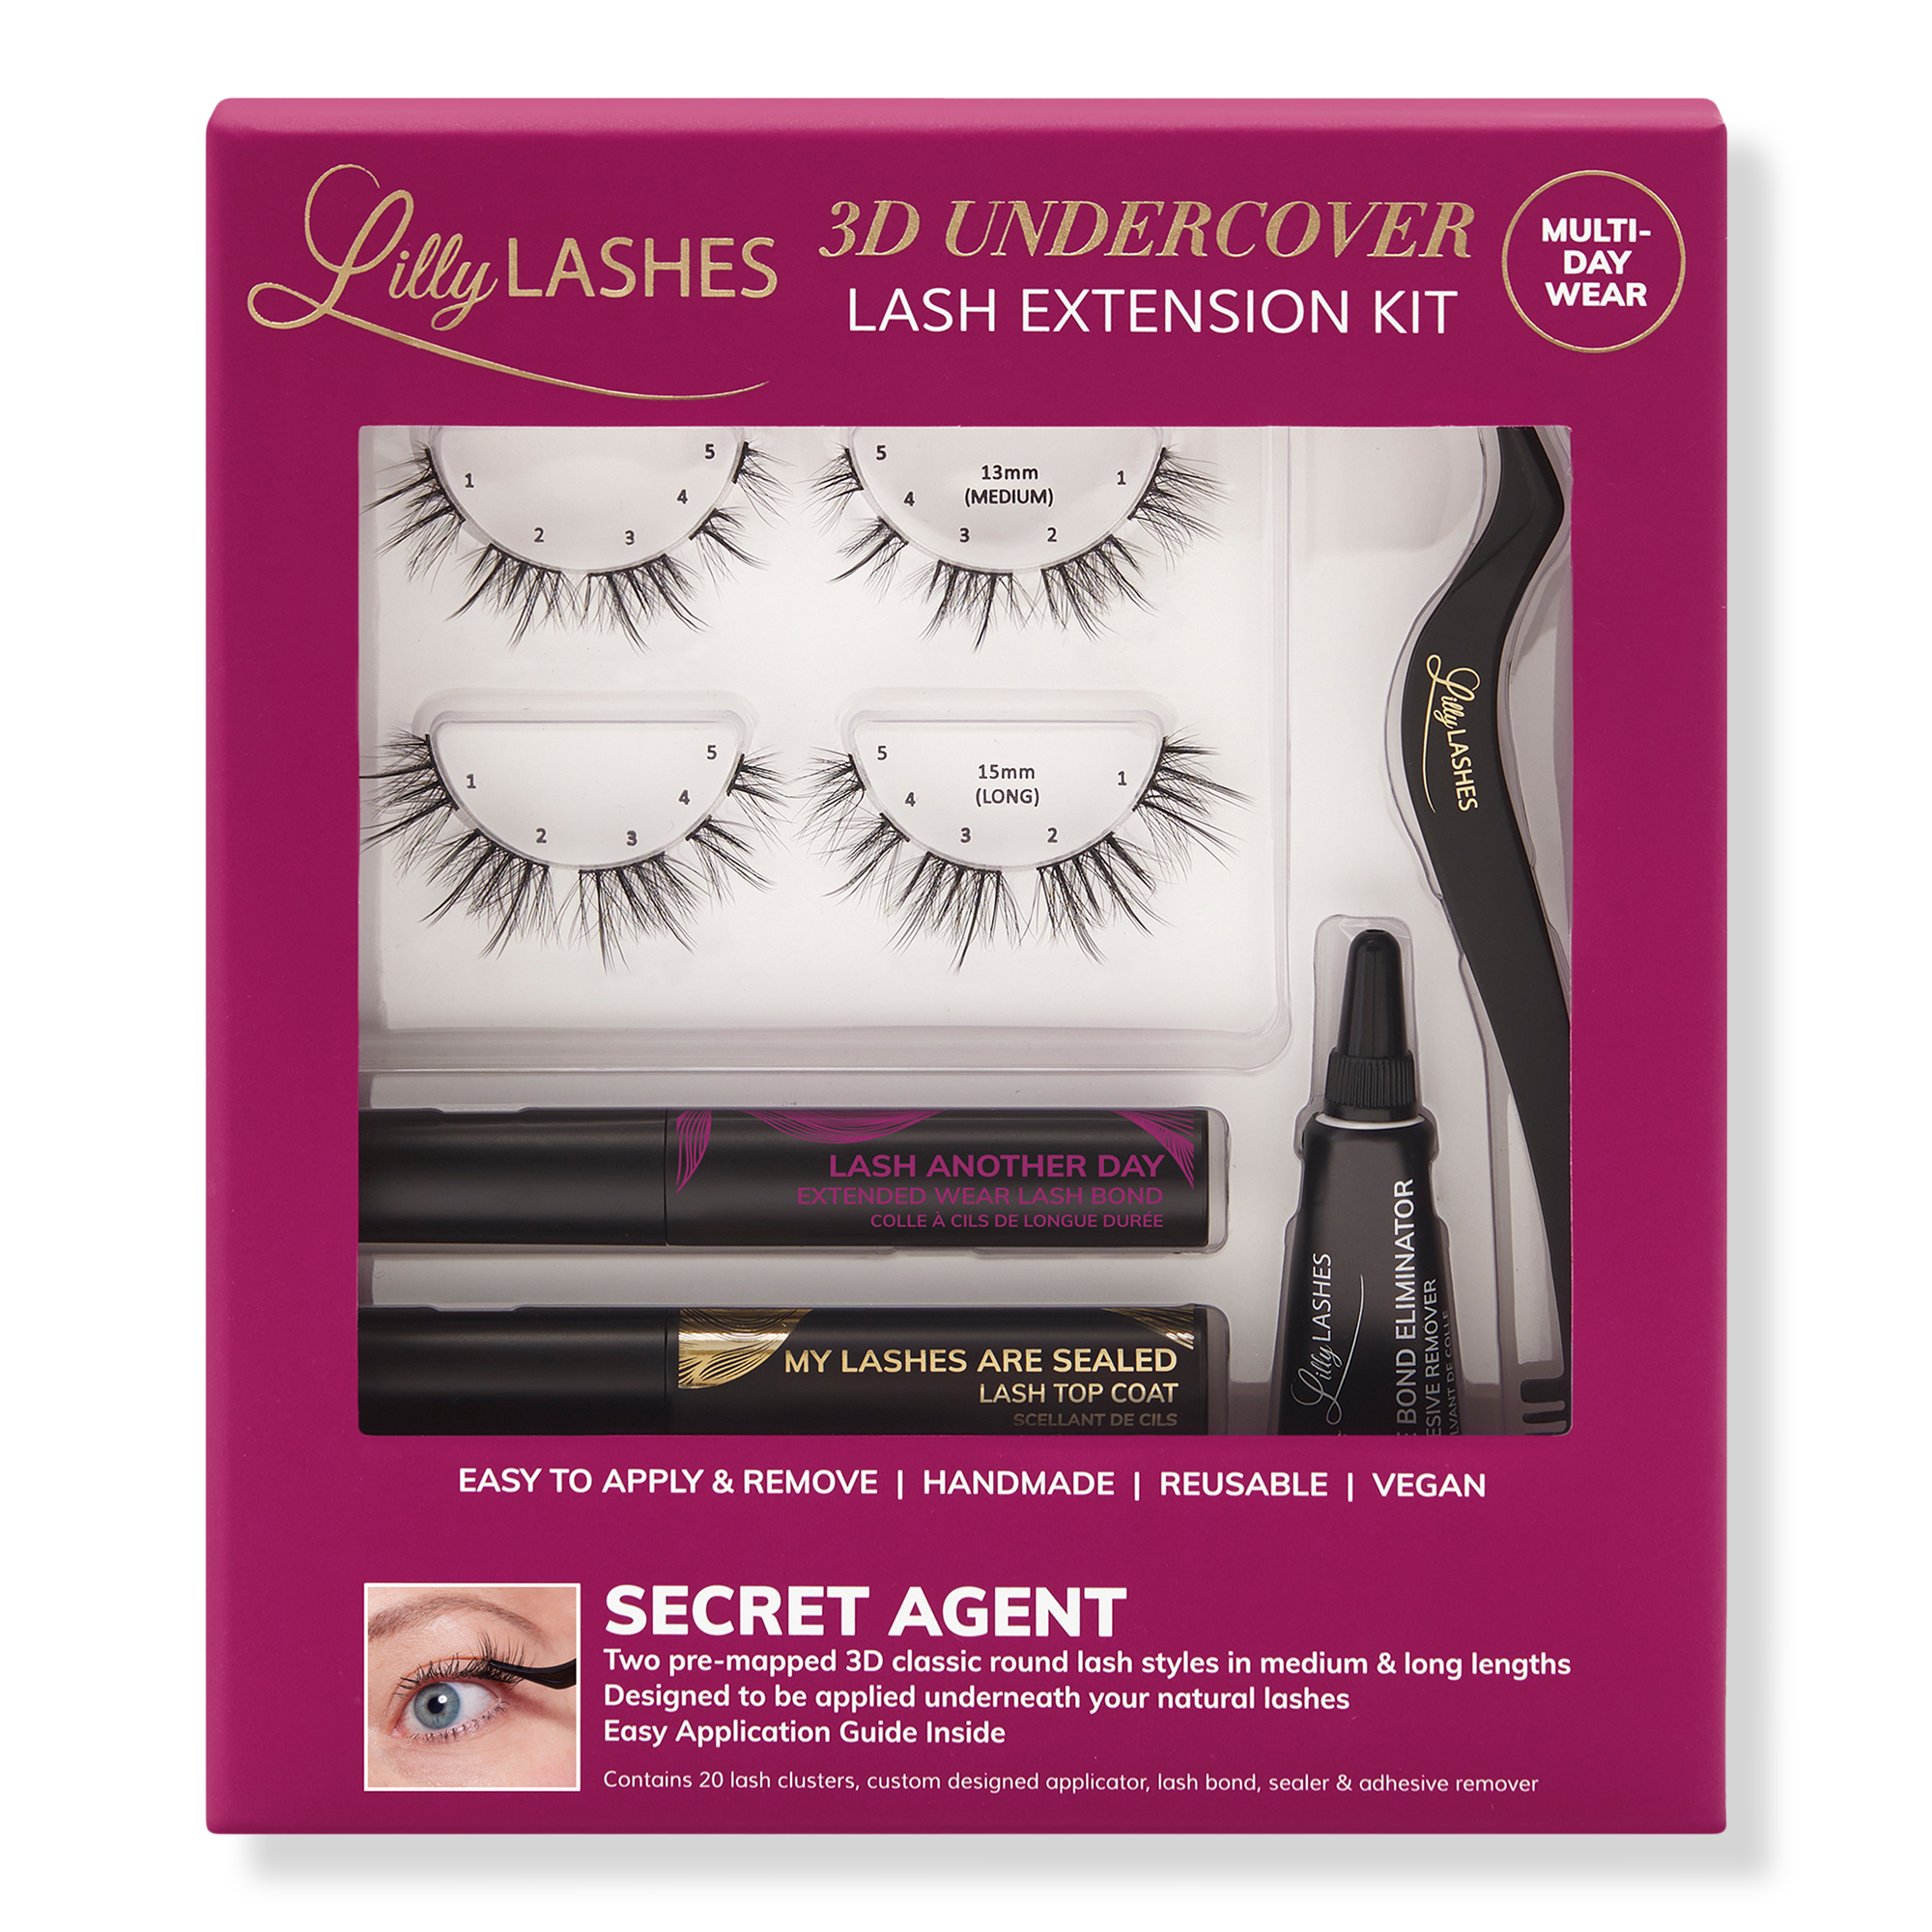
This kit from Lilly Lashes comes with pre-mapped styles that allows you to create a customized look. They have a soft curl and are light and wispy enough to look totally natural.
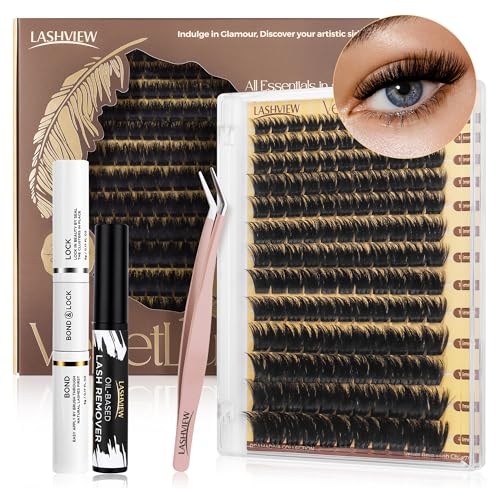
This kit is available on Amazon and is highly rated (4.6/5 stars!) by falsie fans everywhere.
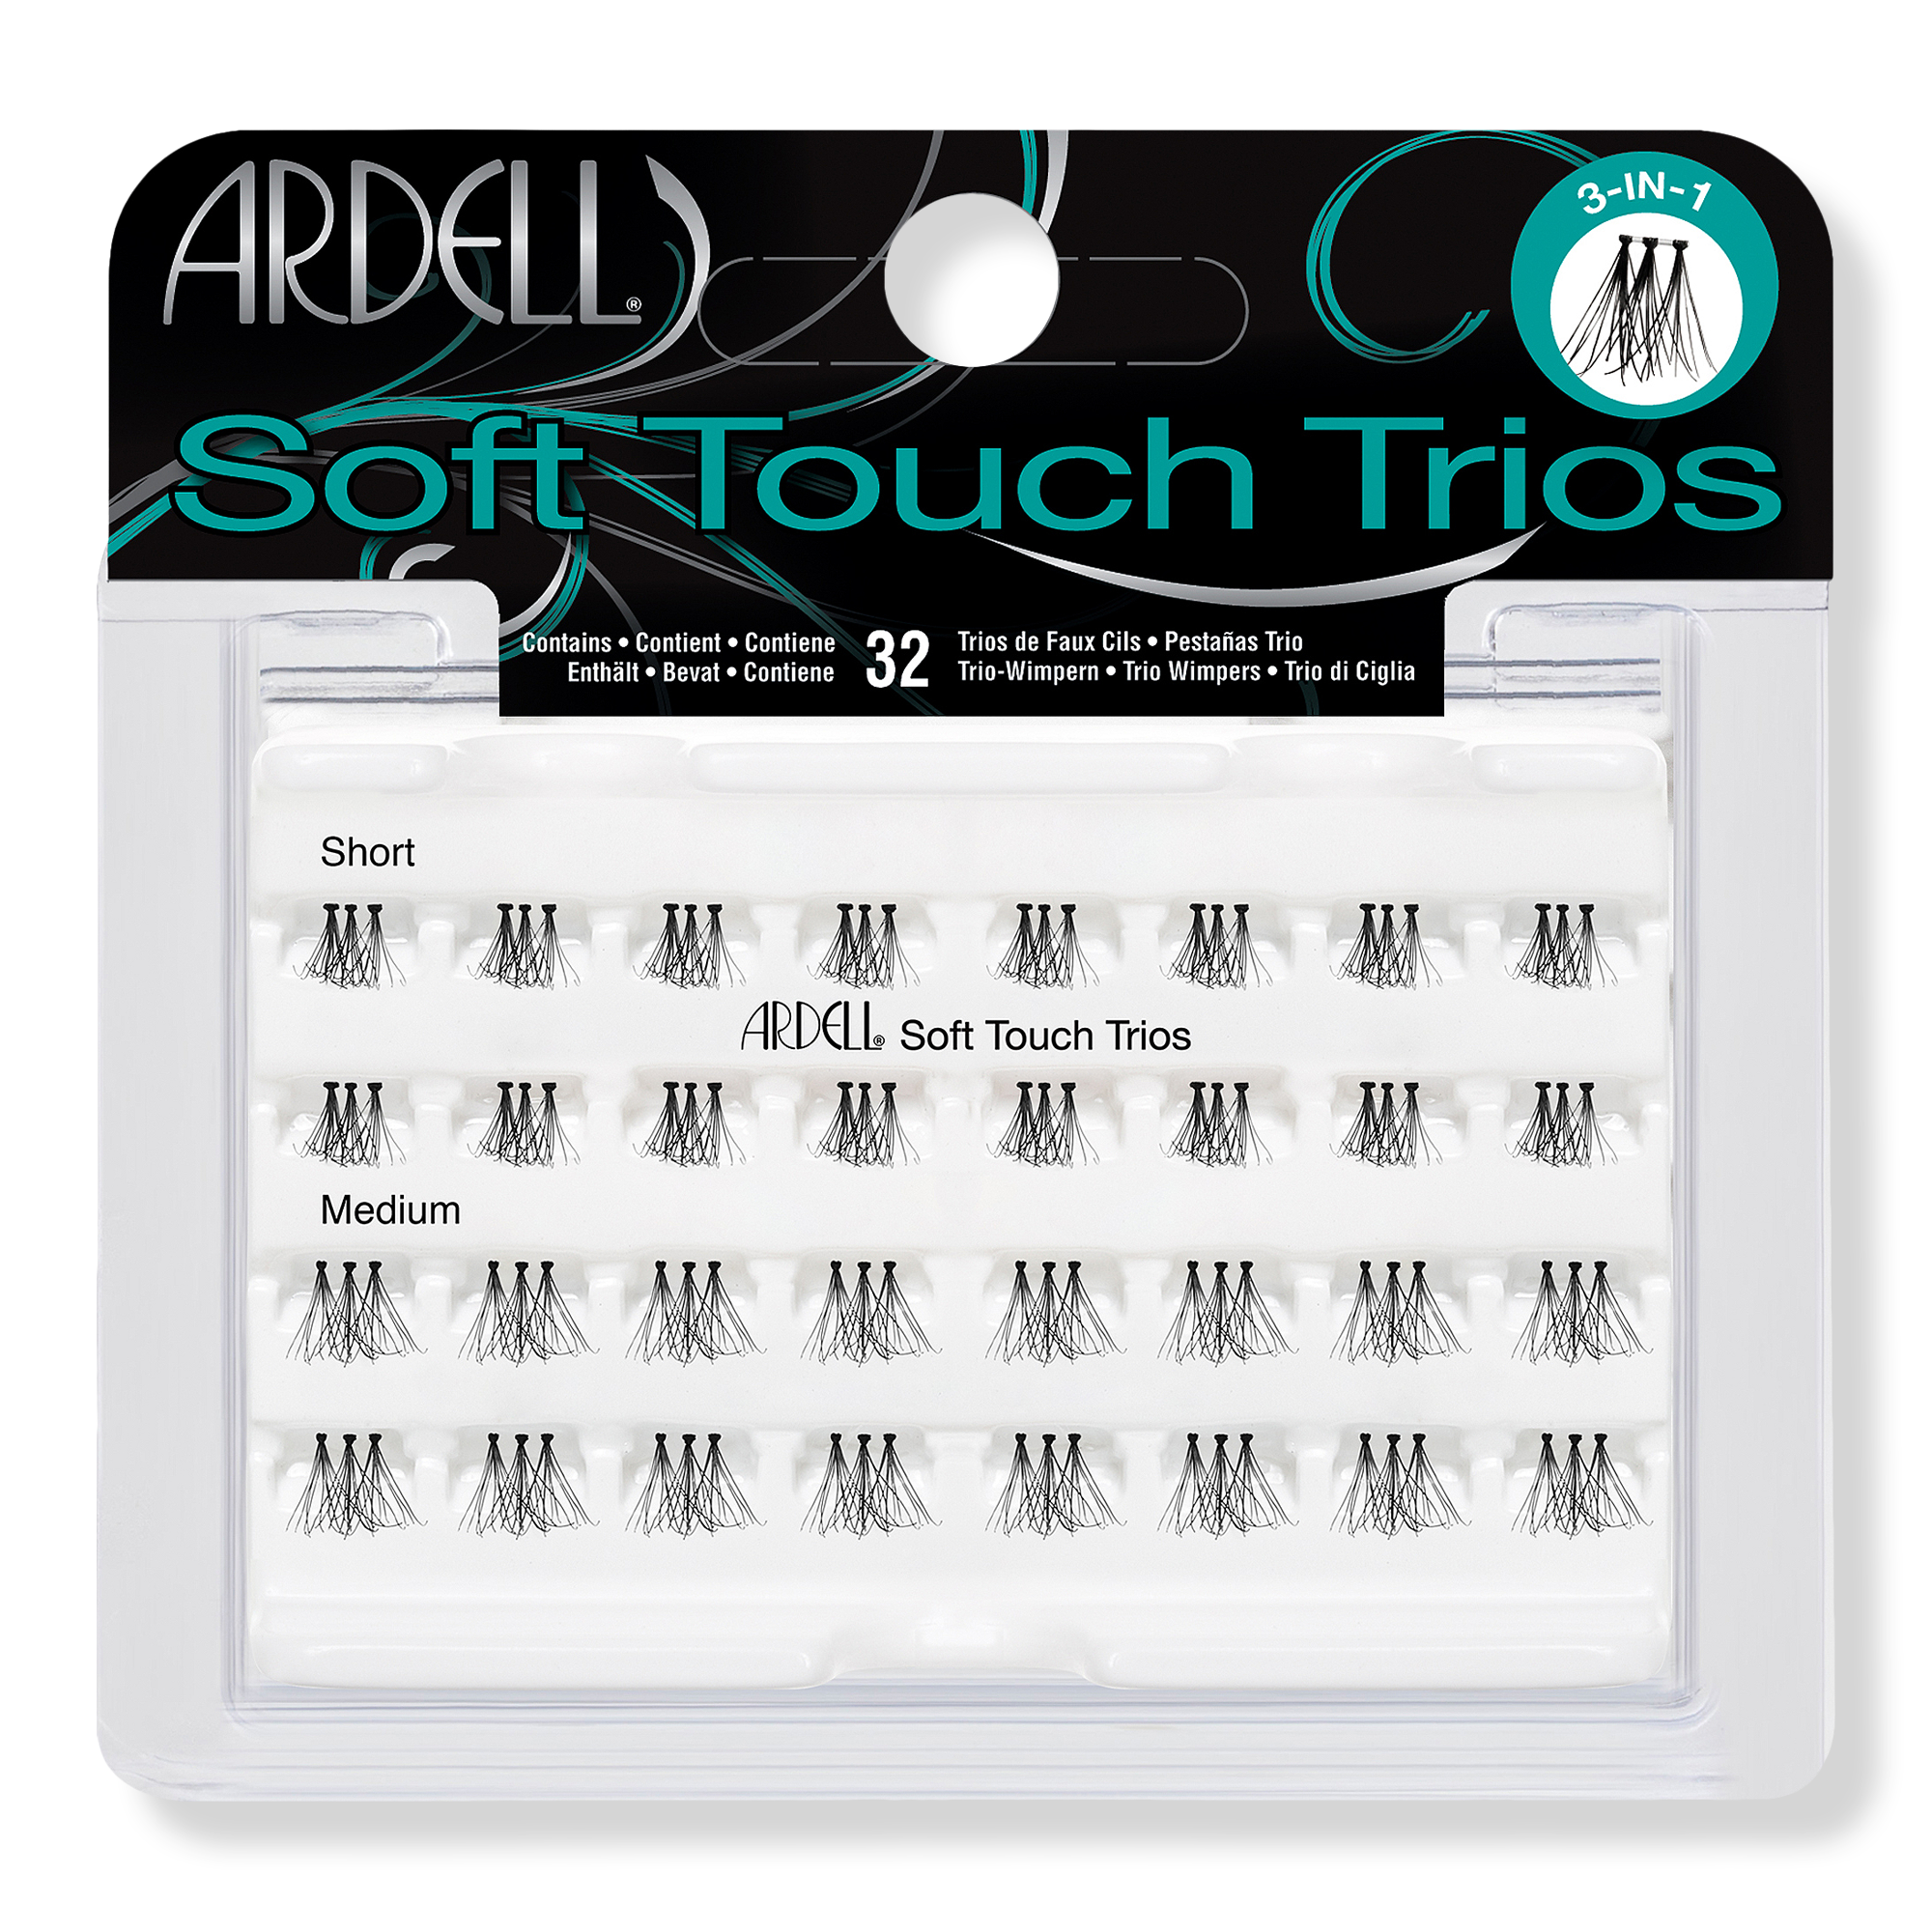
These Ardell lashes can even be used with strip falsies to add extra volume and lift. They're also customizable so you can use as many (or as few!) lash trios as you want.
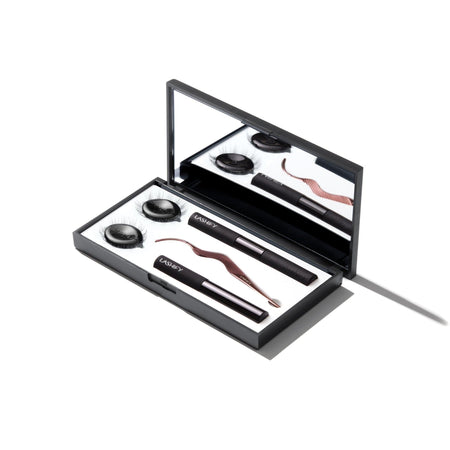
This lash extension kit from Lashify is a bit pricier, but it has everything you'd possibly need for a DIY experience.
"Lashify is my preferred lash extension brand. They are the originator of the technology and have the best styles. My personal favorite styles from them are Fluffy Lite Gossamer Lashes, which gives a super natural-looking volume. They look like your lashes but better. Plushy Gossamer Lashes, which is a more glamorous volume style look with a nice curl, and Stardust Gossamer Lashes, which are a bit of a wispy spiky lash. This style is particularly beautiful in the chocolate color." — Nelson
More of My Lash Essentials
Shawna Hudson is a beauty, wellness, lifestyle, and travel writer with over 10 years of experience. She graduated from California State University, Fullerton, with a degree in journalism and has written for other publications such as Bustle, The Zoe Report, Byrdie, Elite Daily, and more. She is currently a beauty writer at Who What Wear and hopes to continue feeding her (completely out-of-control) beauty obsession as long as she can. Stay up to date on her latest finds on Instagram @shawnasimonee.
-
 I'm Calling It: Cherry Blossom Makeup Is the Enchanting, Hailey Bieber–Coded Trend We'll See All Spring
It's too elegant to ignore.
By Jamie Schneider
-
 I Asked 13 Editors and MUAs to Drop Their #1 Lip Combo That Always Attracts Compliments
You asked, we answered.
By Alyssa Brascia
-
 From Vacation Skin to Orchid Lips—3 White Lotus Beauty Trends That Will Define the Summer
In conversation with the show's lead makeup artist.
By Alyssa Brascia
-
 This Was the *Scorching* Heat–Proof Mascara Every Woman Wore on the Set of White Lotus
It's underrated and editor approved.
By Kaitlyn McLintock
-
 An Ophthalmologist Taught Me How to Restore Lash Loss—Now, Mine Are the Healthiest They've Ever Been
They've never looked better.
By Maya Thomas
-
 It's Only January, But These 9 Makeup Trends Are Already Taking Over 2025
Each one deserves a spot on your mood board.
By Jamie Schneider
-
 This Celeb Makeup Artist Almost Exclusively Uses High-End Products—These 5 Drugstore Products Are the Exception
From a lash-lengthening mascara to an iconic French pharmacy product.
By Kaitlyn McLintock
-
 I Needed Quick Holiday Party Makeup Inspo, so I Asked My Favorite Makeup Artist for Guidance
Perfect for any lazy girl.
By Shawna Hudson
