I've Saved Almost $500 Over the Last Few Months With This At-Home Nail Kit
Ever since I was young, I've loved collecting nail polish and painting my own nails. Growing up, I was the kid who didn't like playing outside for fear of messing up my manicure. To me, there was just nothing better than a fresh set of claws, so as I got older, I began frequenting the nail salon, where I'd routinely spend $70 to $80 for a full set of acrylic nails or a gel manicure. On average, this was an expense I incurred every three weeks—talk about an expensive habit!
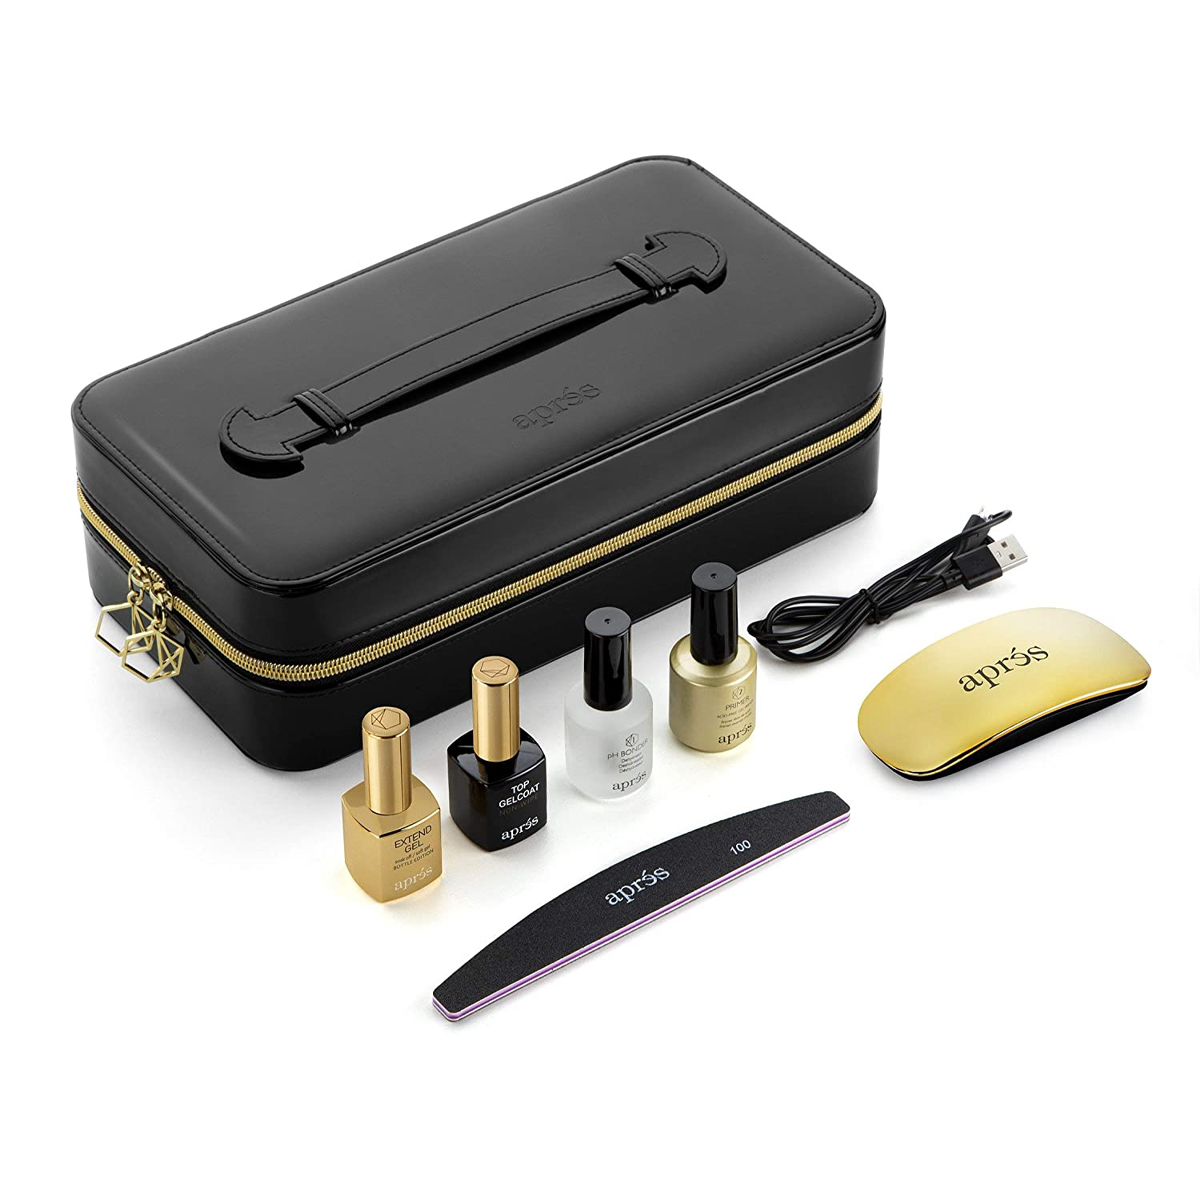
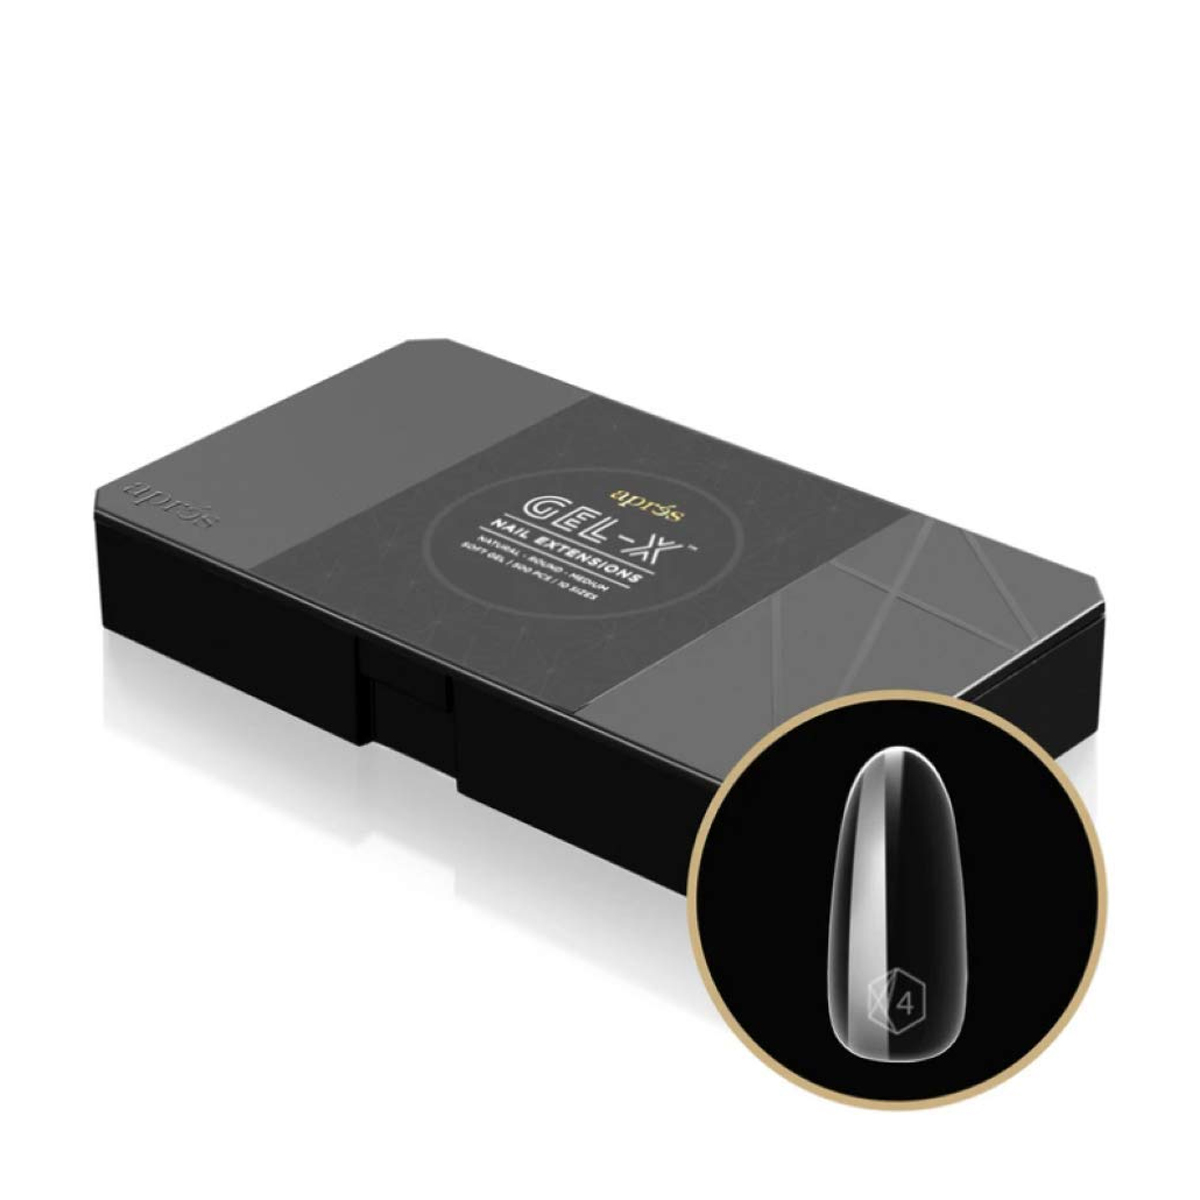
Last year, I discovered a nail fad called Apres Gel-X, which is a type of nail extension that's supposed to be less damaging than the acrylic kind but just as durable, so I decided to go to my nail salon and try them out for myself. The verdict? I loved them! The problem? The cost. When my go-to nail salon closed due to COVID restrictions a few months back, I figured it'd be the perfect time to invest in the Apres Gel-X Extension Kit ($94) and try my hand at creating salon-worthy manicures on my own.
I promptly placed an order for the kit, which came complete with all the necessary polishes and the LED light I'd need. Additionally, I sprung for a few extra items to bring the full salon experience into my own home. After several attempts and lots of trial and error, I can officially say I've got the hang of it! (My first set fell off in a week—whoops.) Since November, I've done several Gel-X sets on myself, and according to my calculations, I've saved close to $500 in salon visits. Granted, that money has been recycled into my wardrobe budget, but the bigger picture is that I no longer need to visit a professional to make my nail dreams come true. Did I mention having my nails done is also my biggest confidence booster?
Ahead, check out a step-by-step guide for doing Apres Gel-X nail extensions at home along with some pro tips I've picked up from all my experience. Then, keep scrolling to see all the cool manicures I've done and shop the essential supplies to step up your at-home nail game, too.
The Supplies
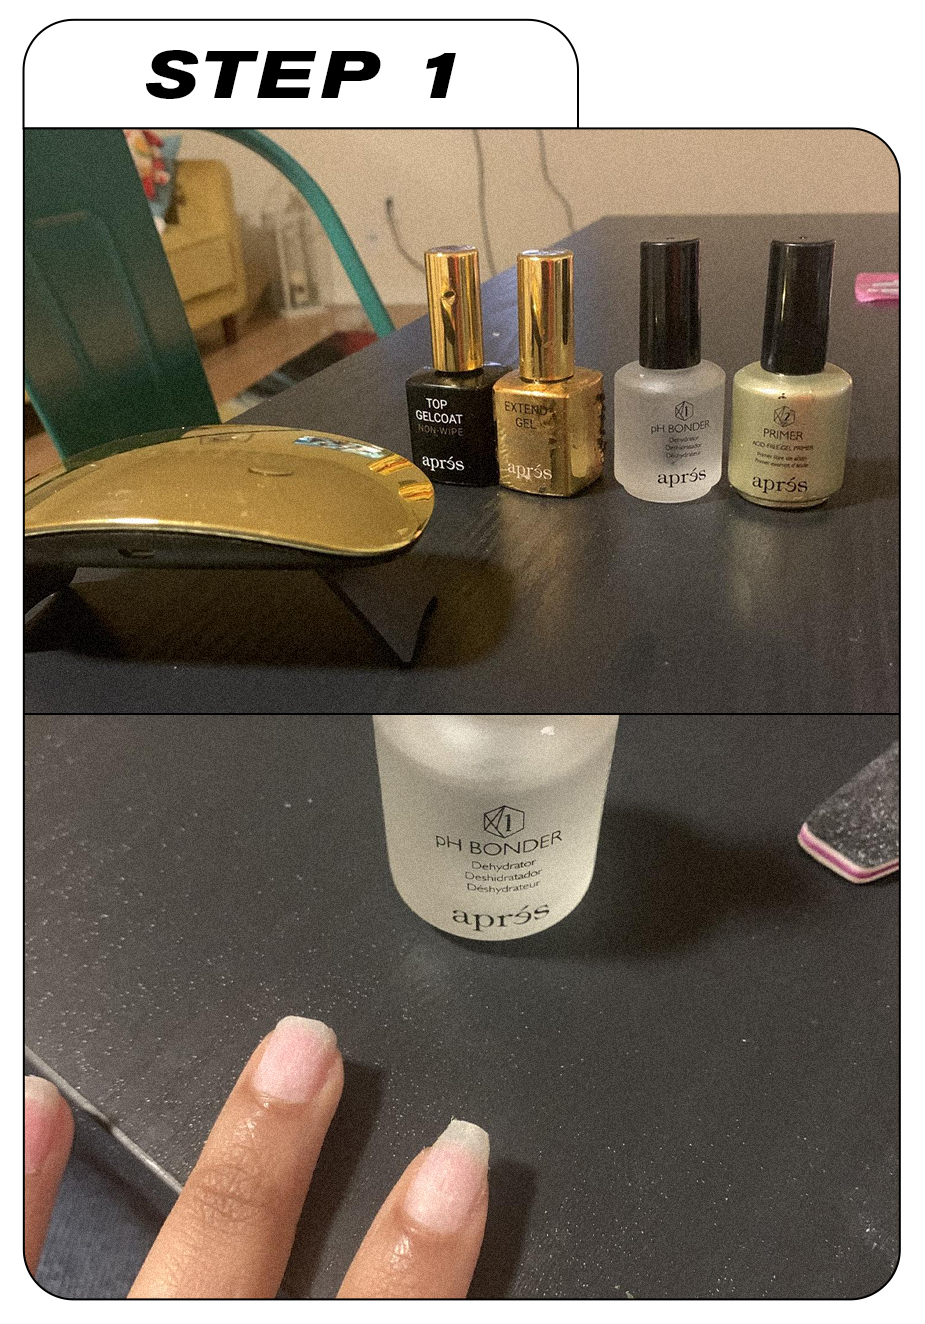
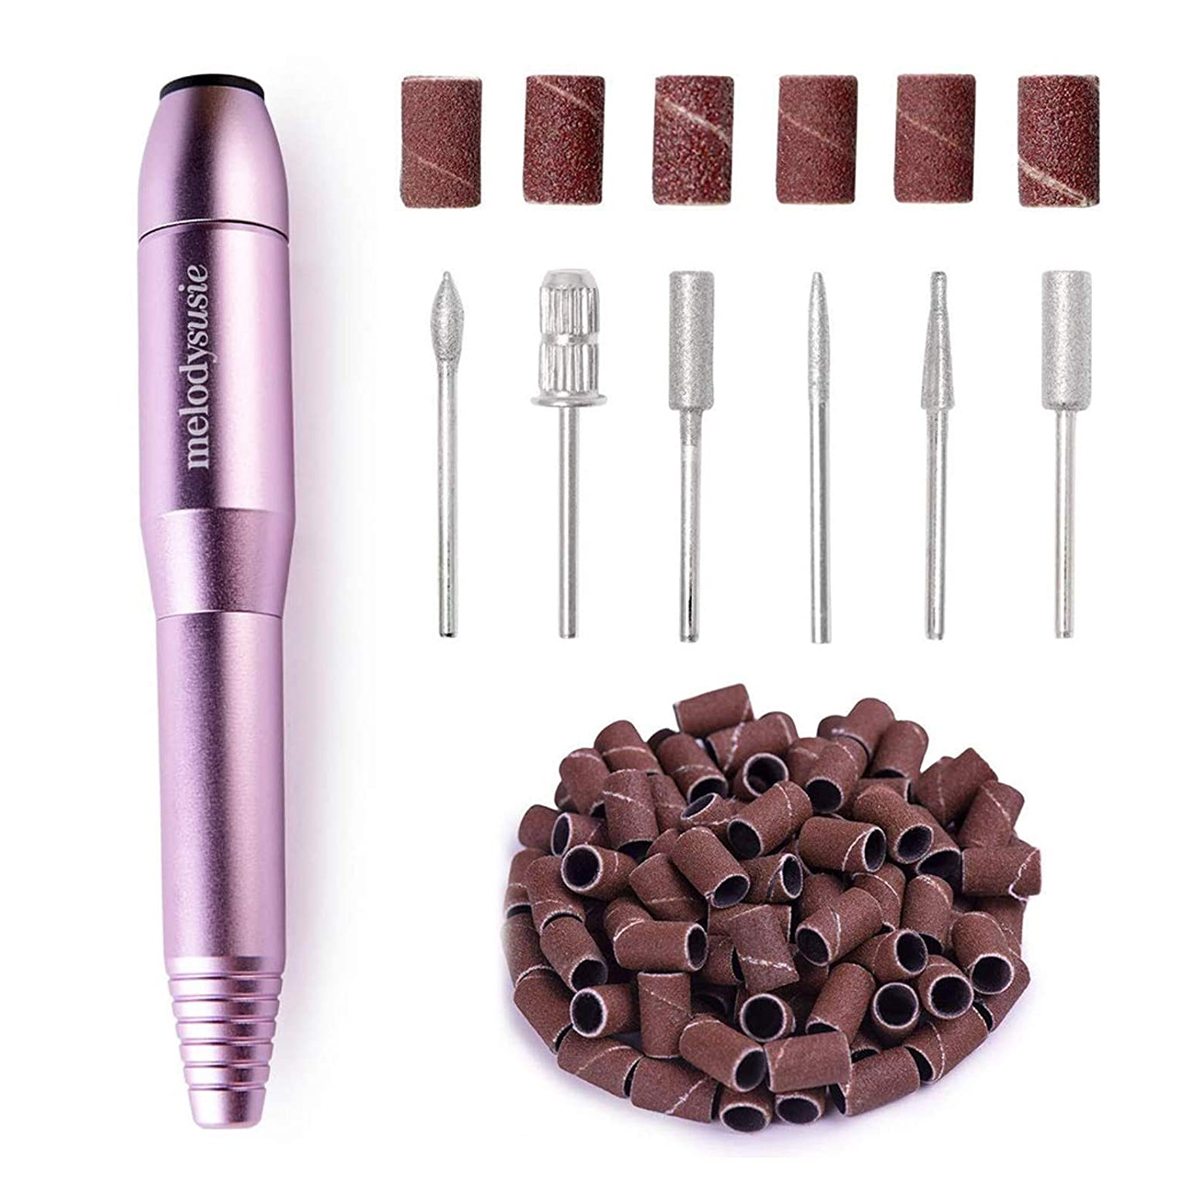
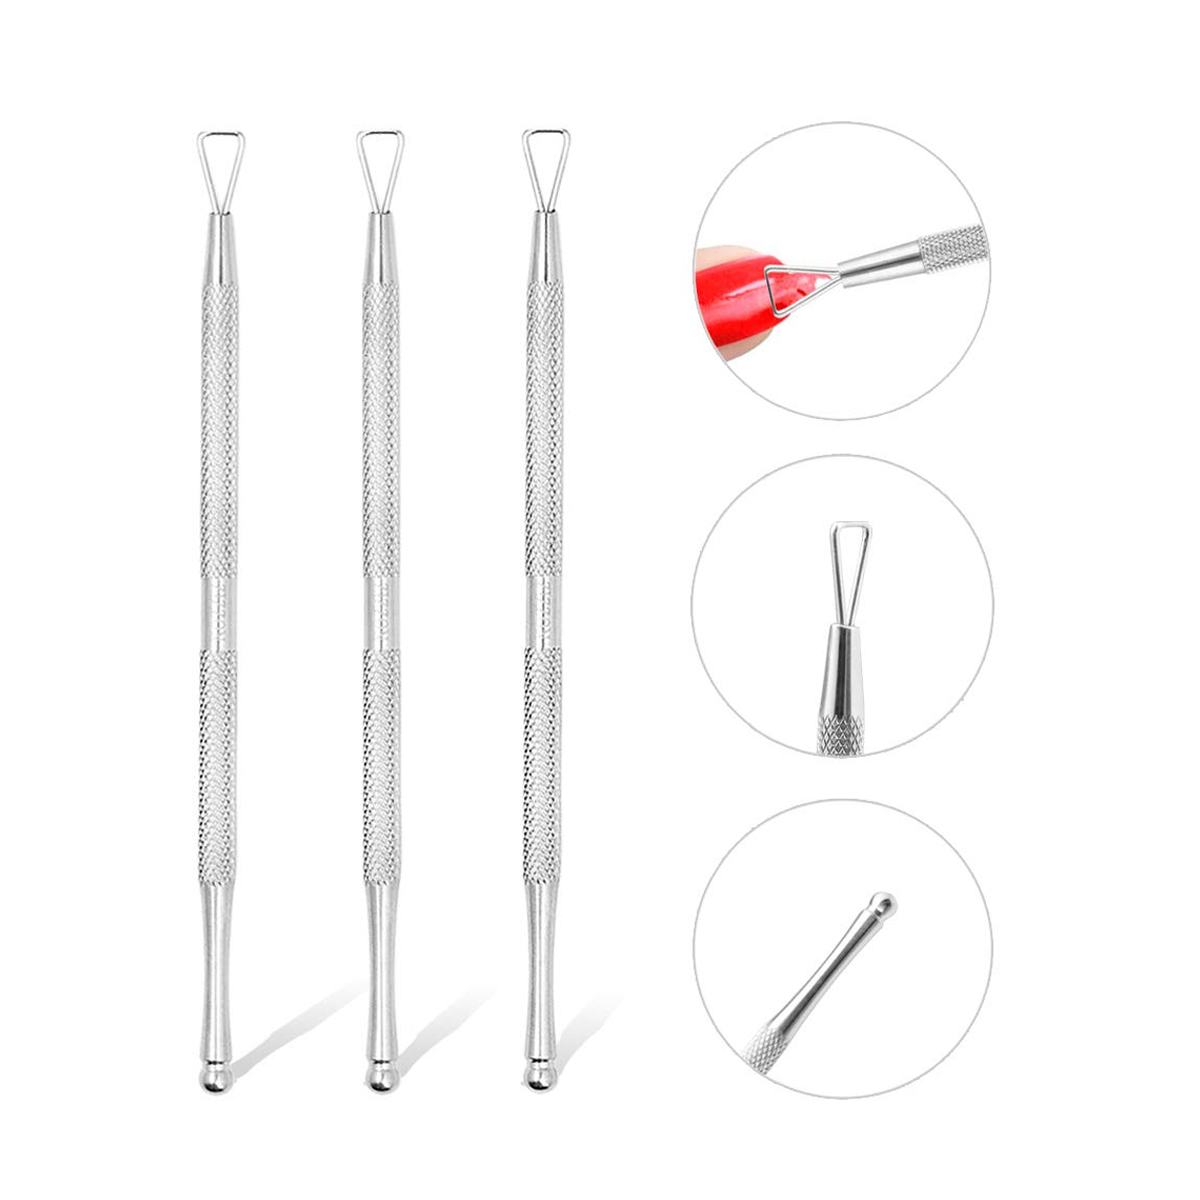
I start off by prepping my nails for the cleanest application possible. I take my nail drill and file down the surface of my natural nails. I typically don't file the actual length of my nail, but that changes depending on the design I'm going for. After buffing the surface, I make sure my cuticles are pushed back and trimmed before prepping my nails with a layer of the pH Bonder included in the kit. From there, I apply the Non-Acidic Gel Primer that's also included in the kit.
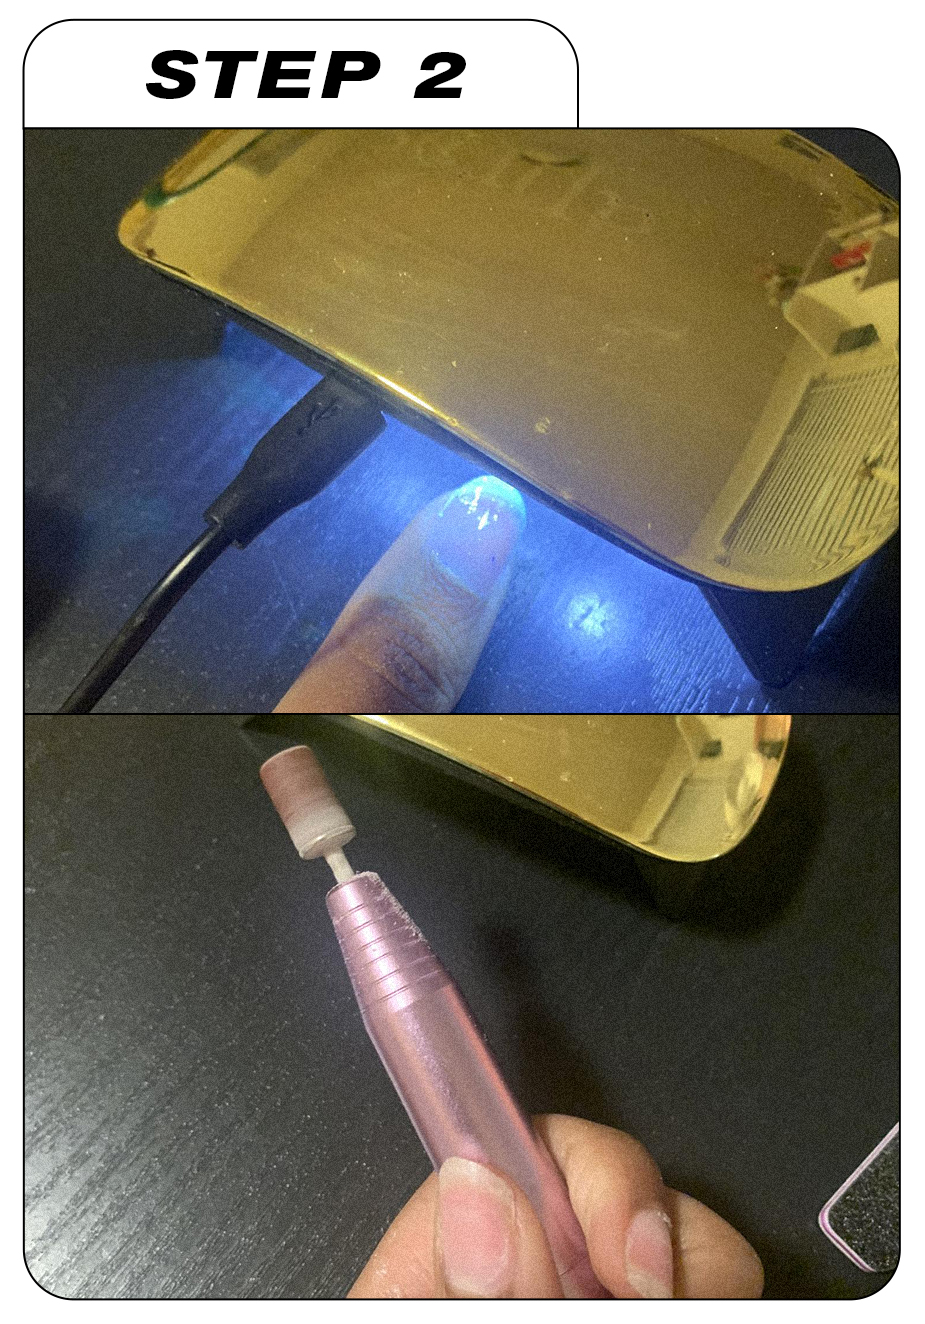
Now, it's time to apply a coat of Extend Gel. Be sure to use the included LED lamp to cure each nail for 30 seconds after this layer of polish is applied. Once you're done priming the nail, it's time to find the extension tips that fit each of your nails before buffing the underside of each tip with your nail drill.
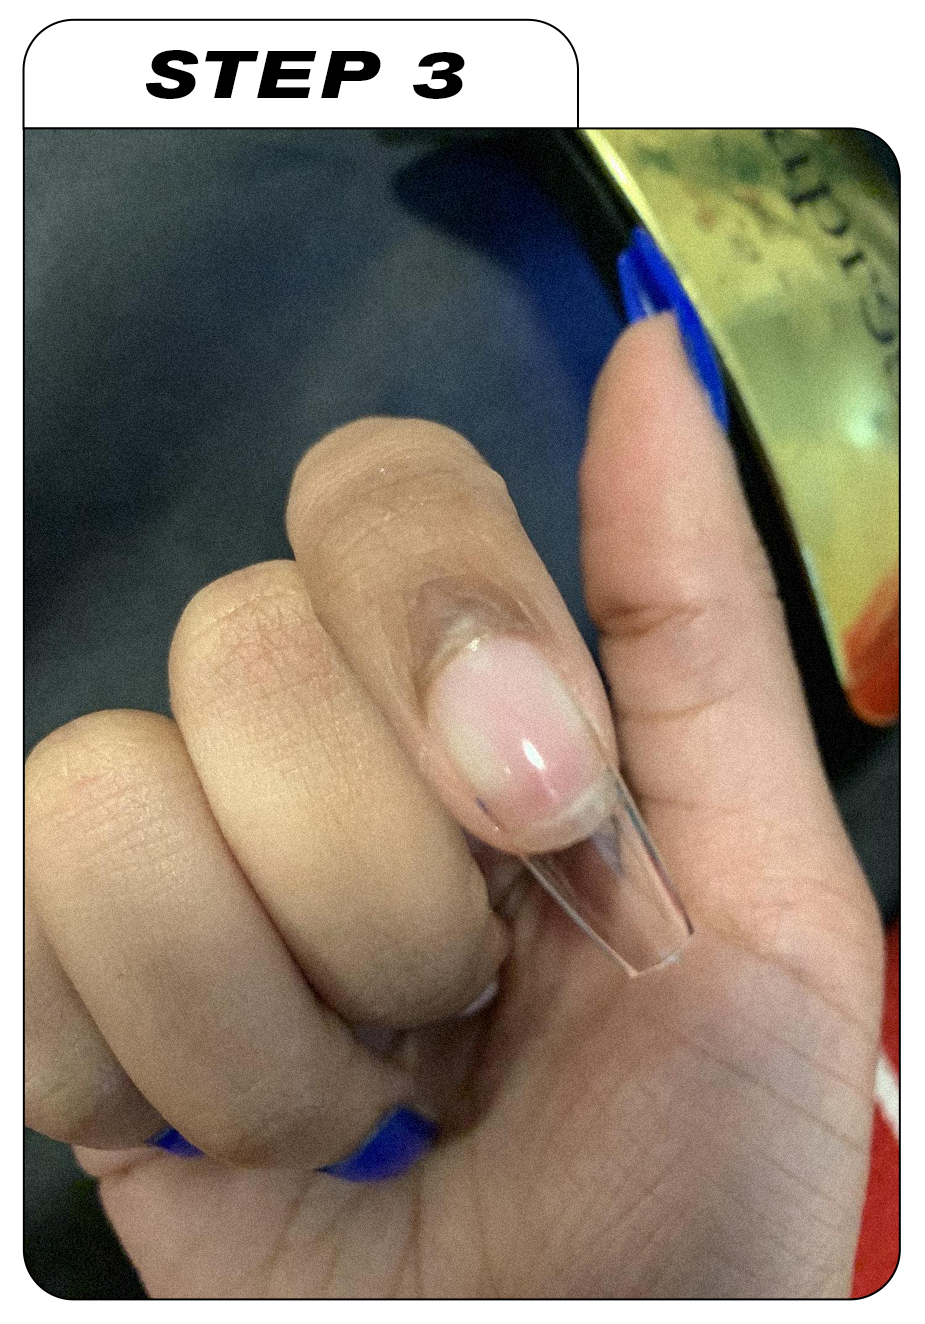
Once you've buffed each Gel-X tip, apply the Extend Gel onto the tip how you'd apply nail glue to press-on nails and use your thumb to press the tip to the corresponding natural nail. Pro tip: Be careful! The slower and steadier you press the tip onto your nail, the less chance you have of ending up with crooked tips or air bubbles trapped underneath. As you are pressing the tip to your natural nail, place your finger under the LED lamp for 10 to 20 seconds, rotating the nail under the lamp as you press down to make sure all sides are dried. (Sometimes, I even go a little longer just to make sure the tip is extra secure.)
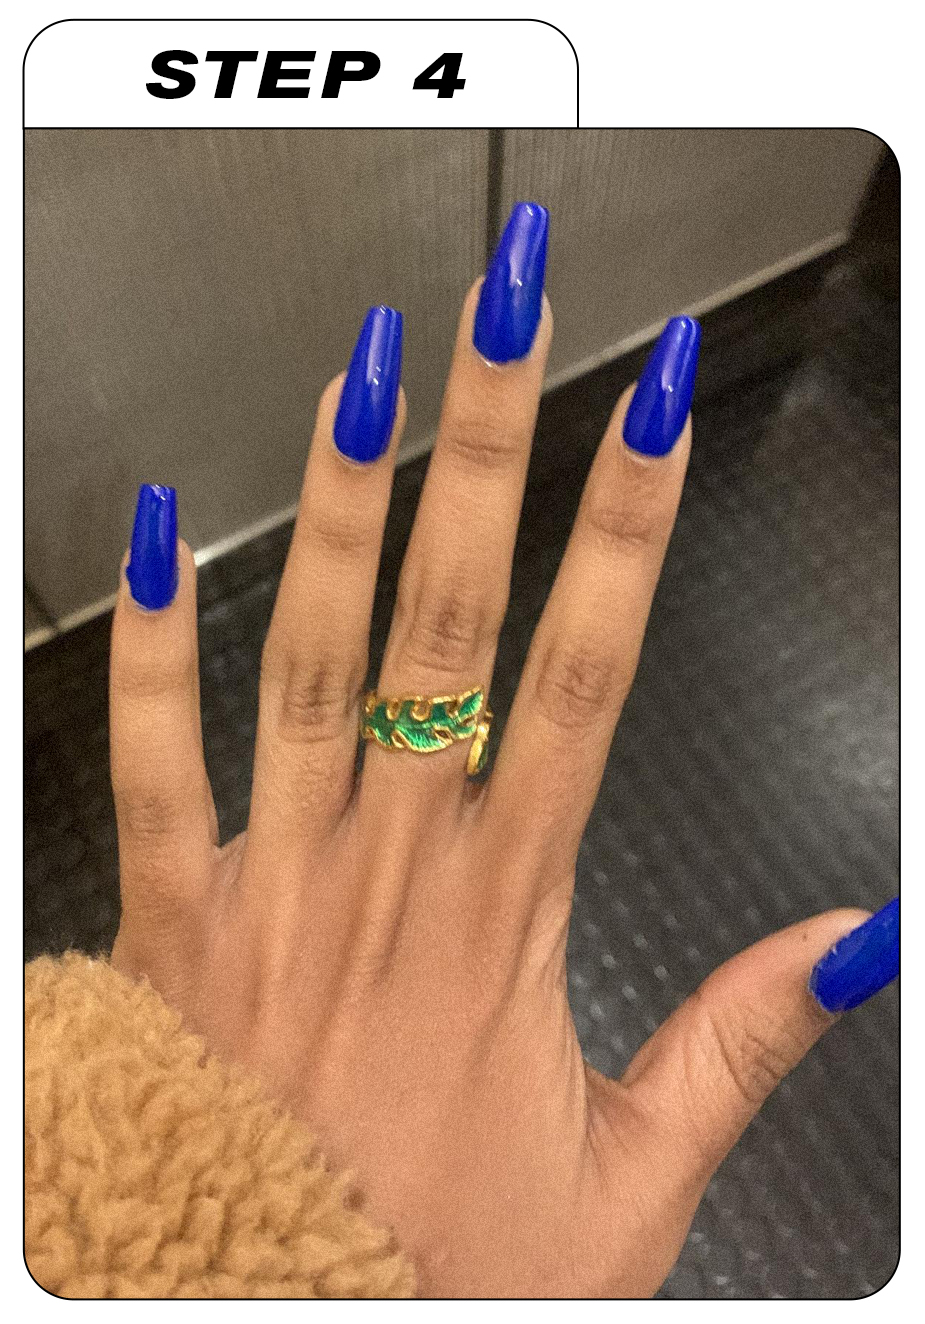
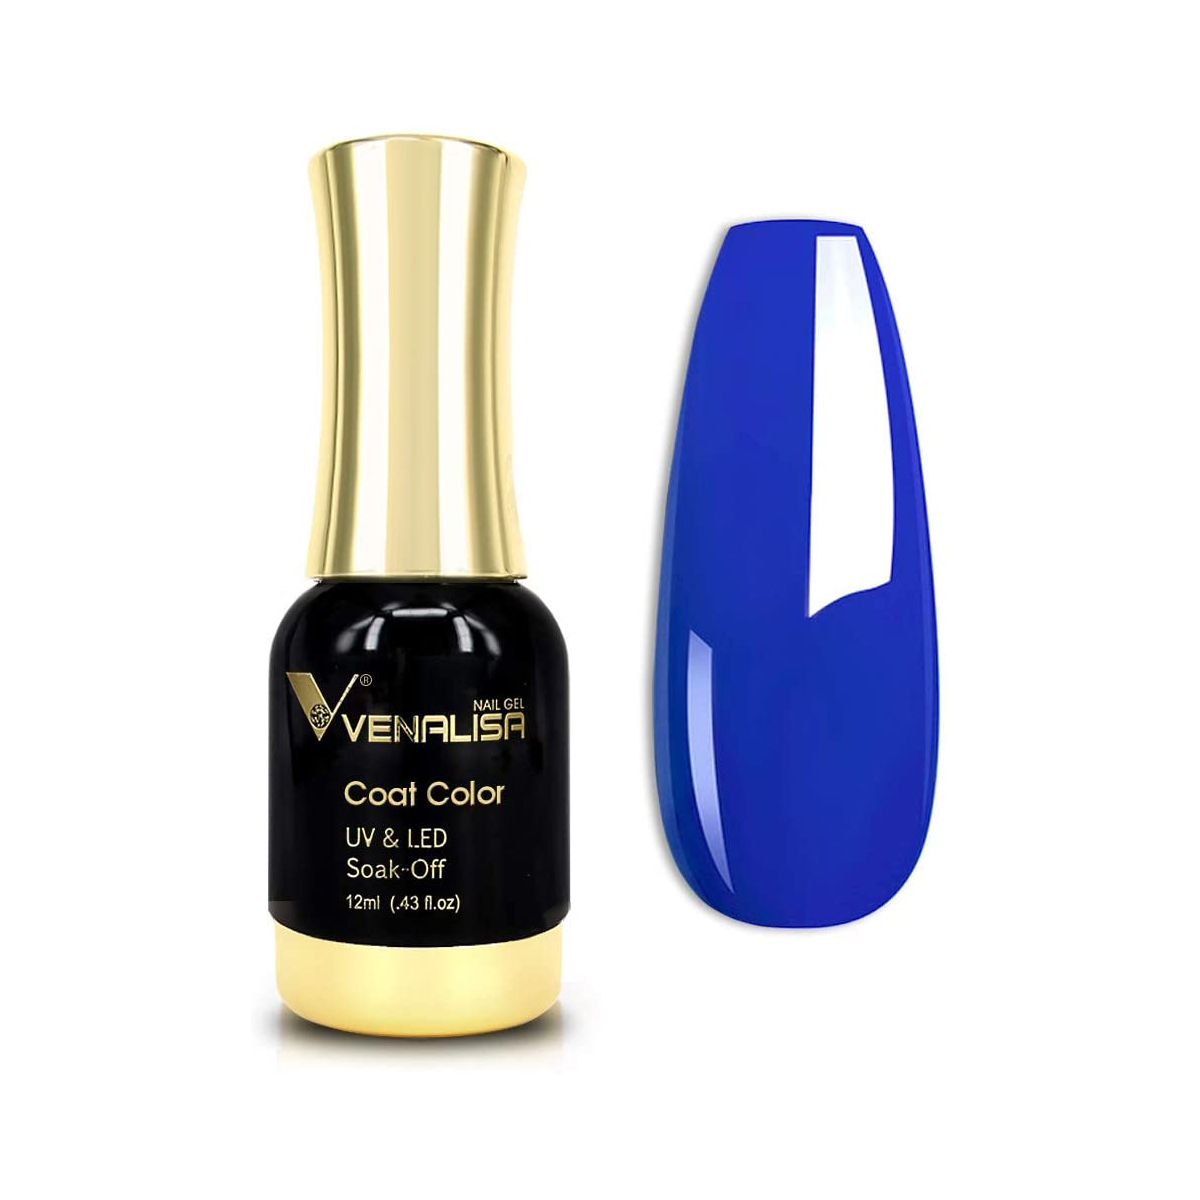
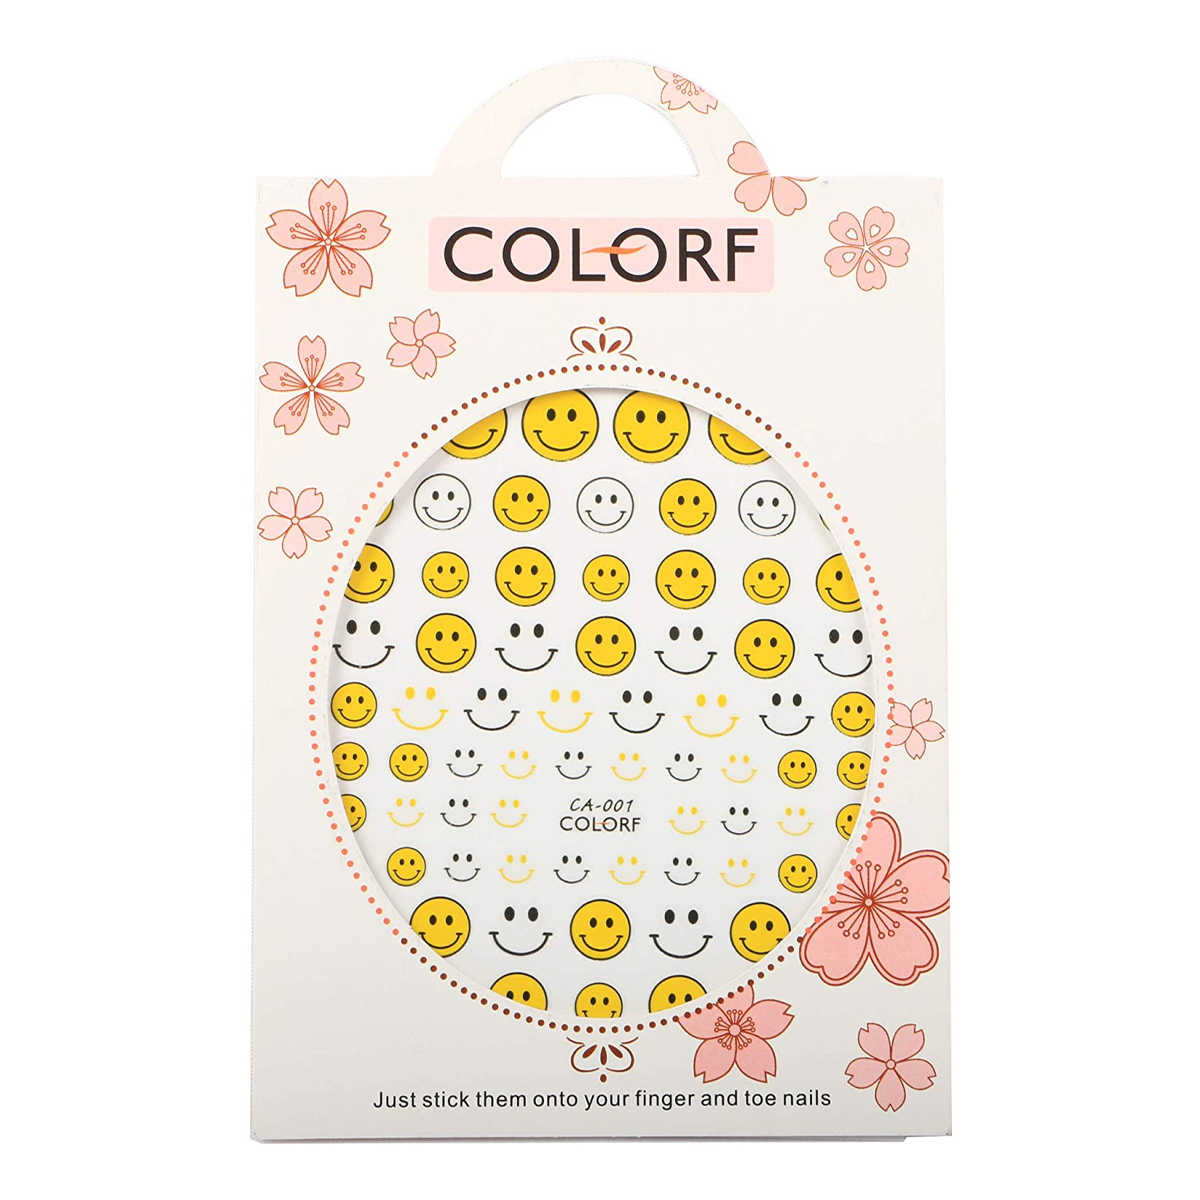
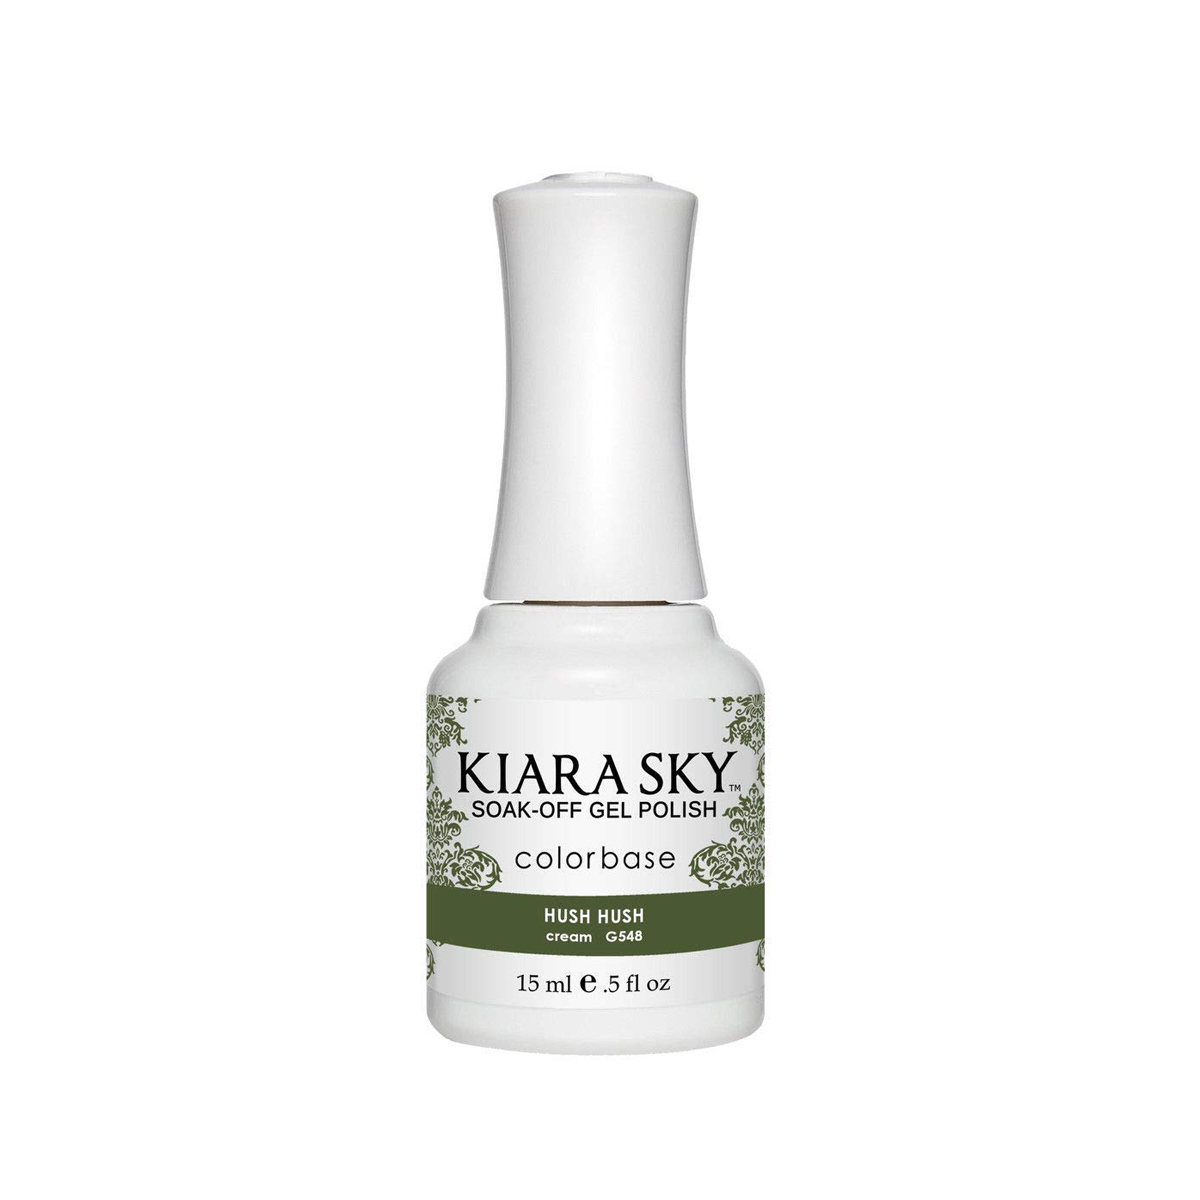
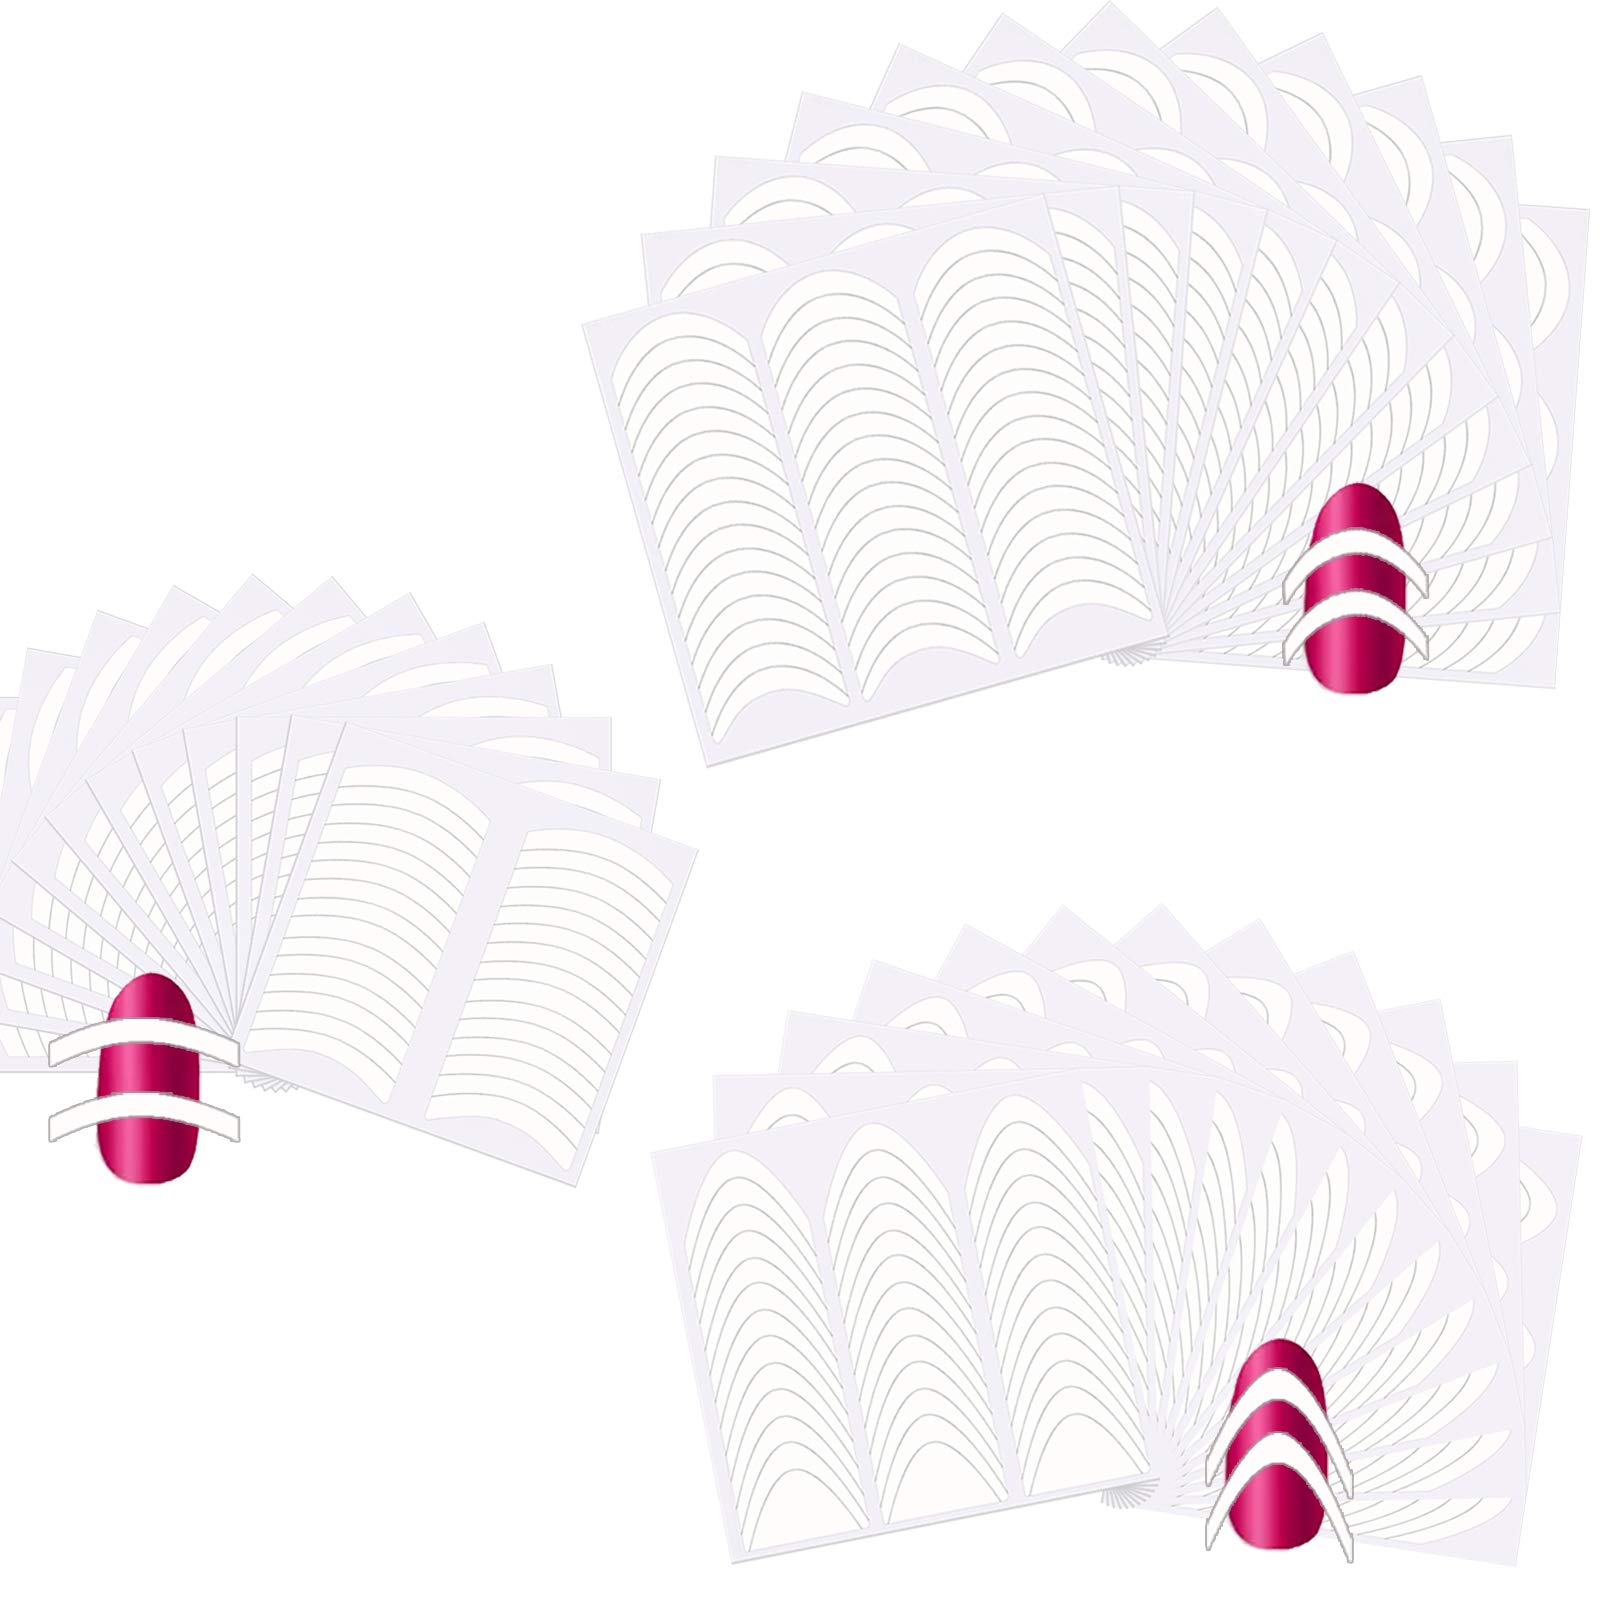
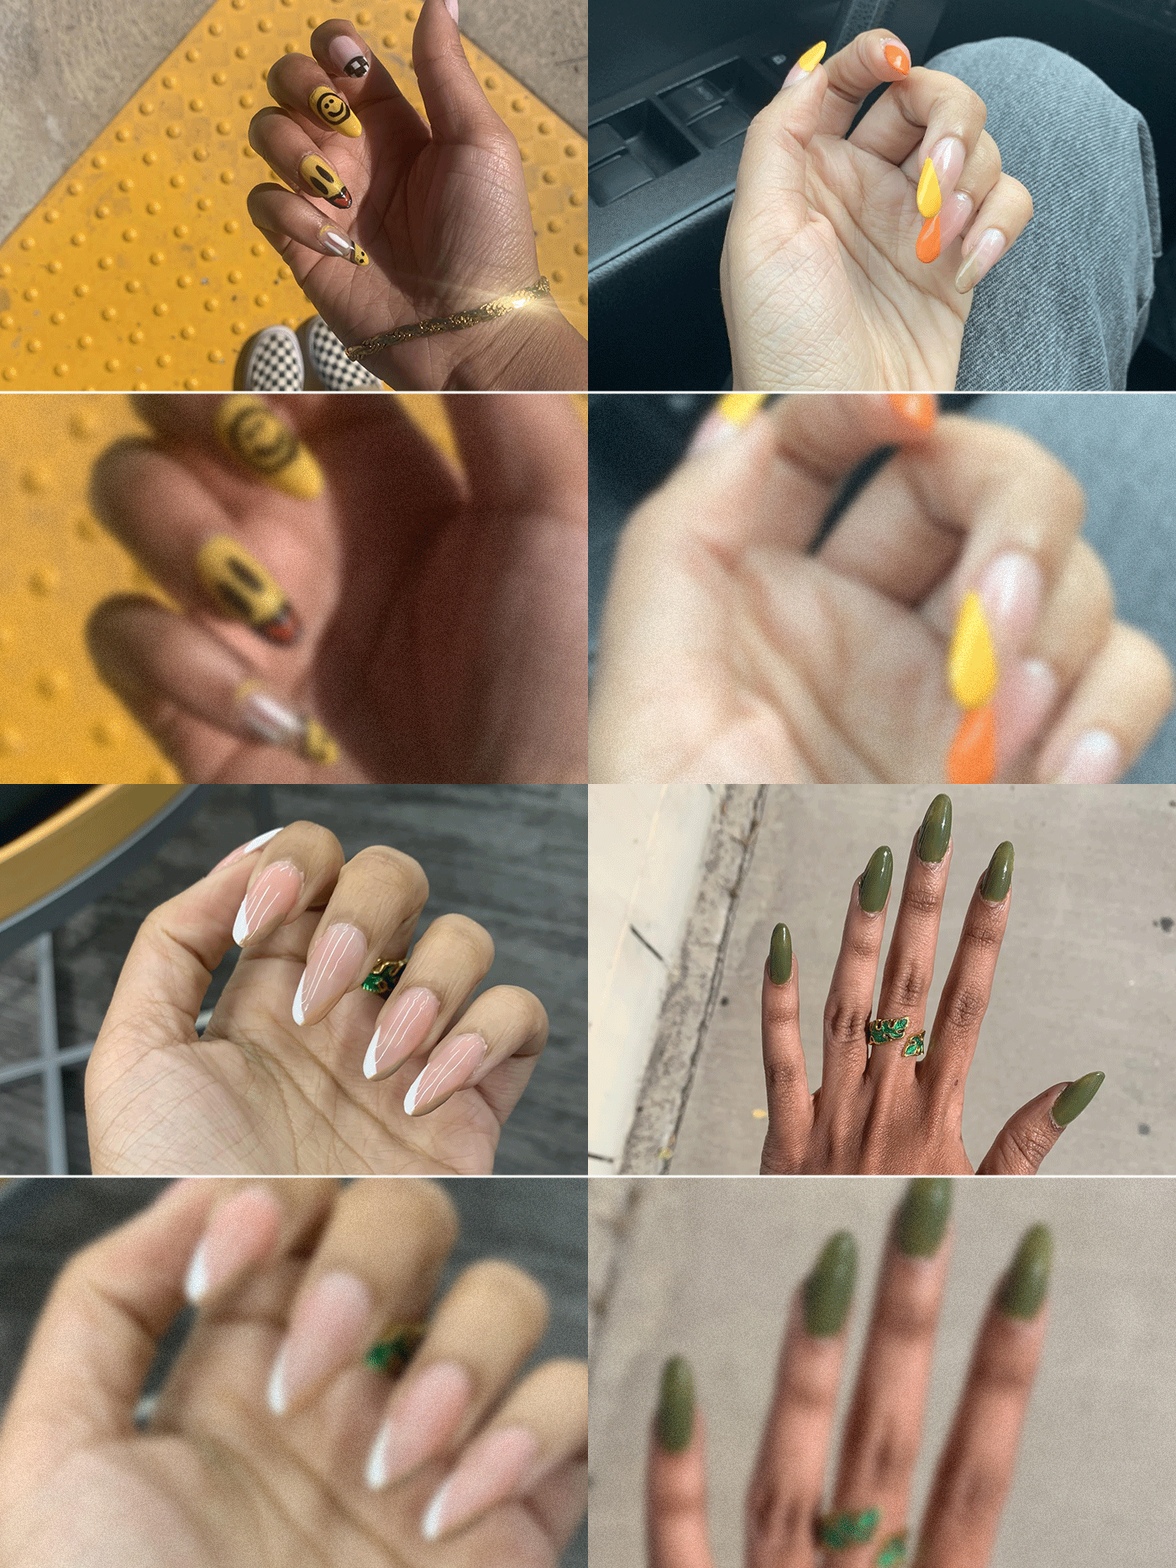
Once all your extensions are applied, the real fun begins—it's time to paint. Grab your color (Spoiler alert: It's still hard to choose a color even if you're doing it yourself) and start polishing. Remember to cure the nails under your LED lamp for 30 seconds after each coat. You can achieve classic solid-colored nails or add the designs of your choosing. The possibilities are endless!
More of My At-Home Gel-X Manicures
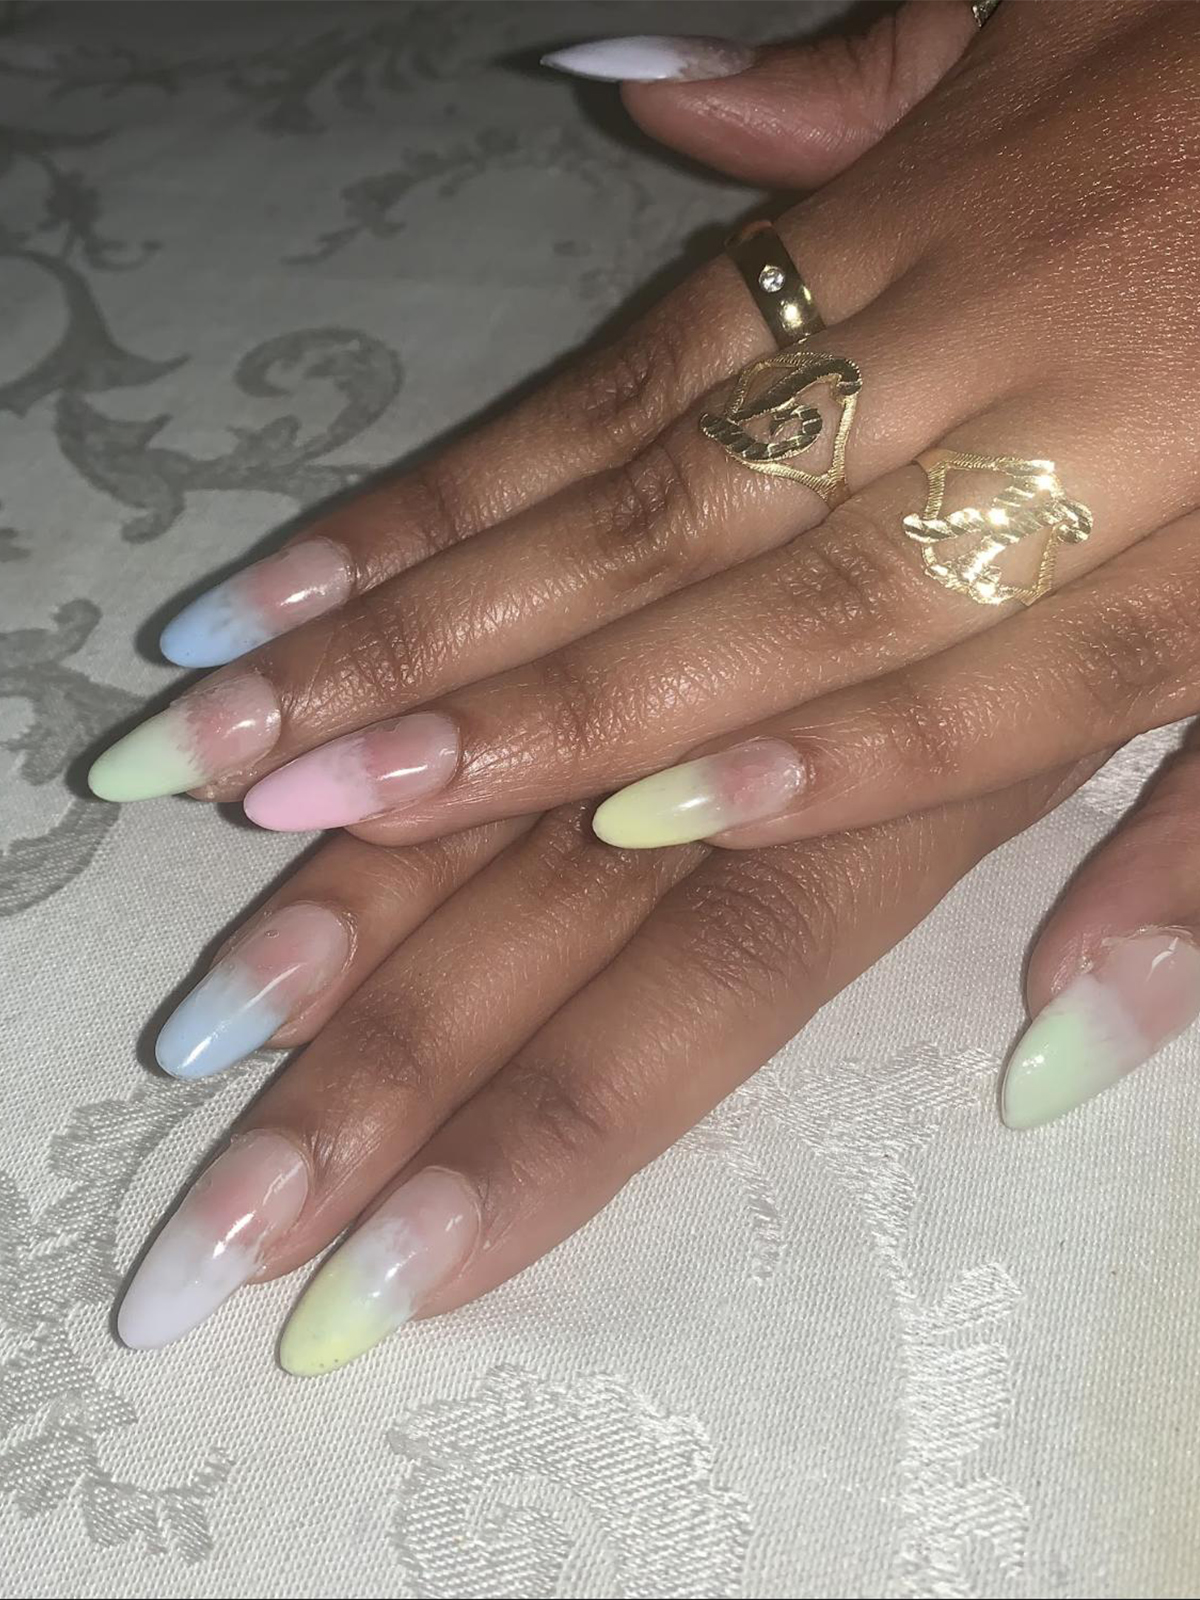
Get the look:
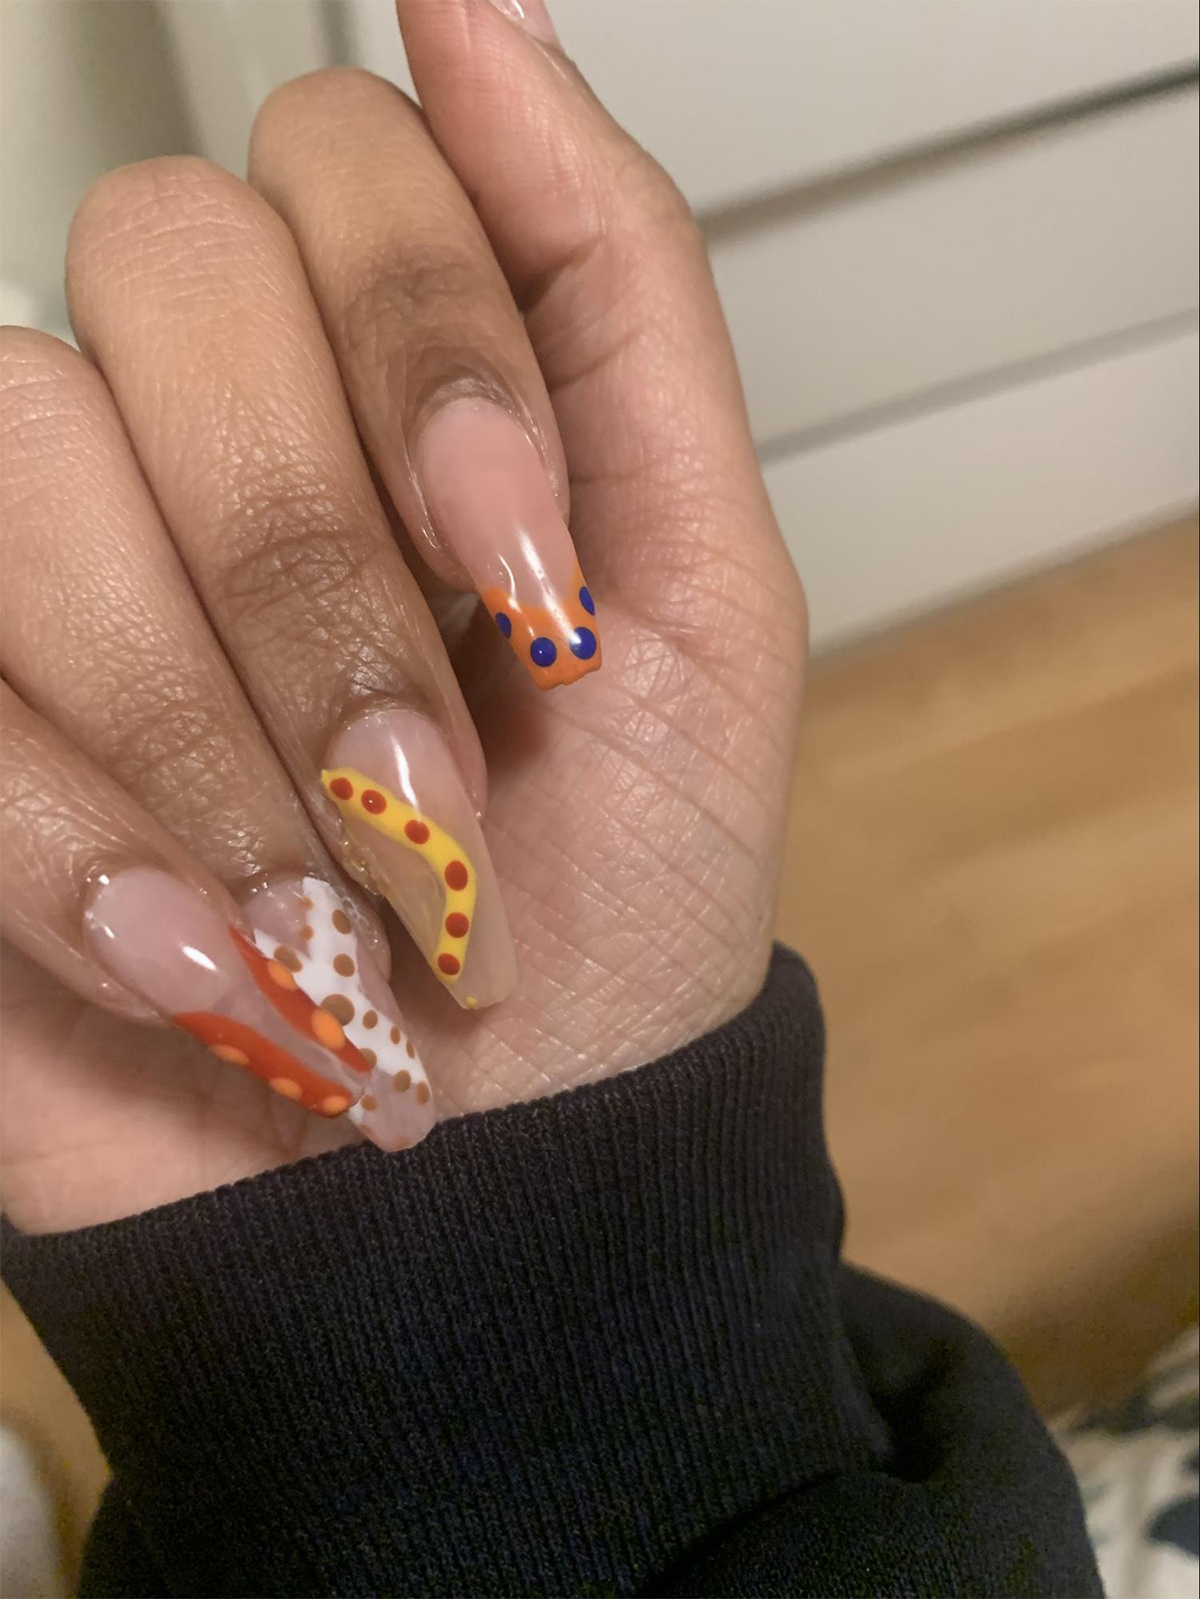
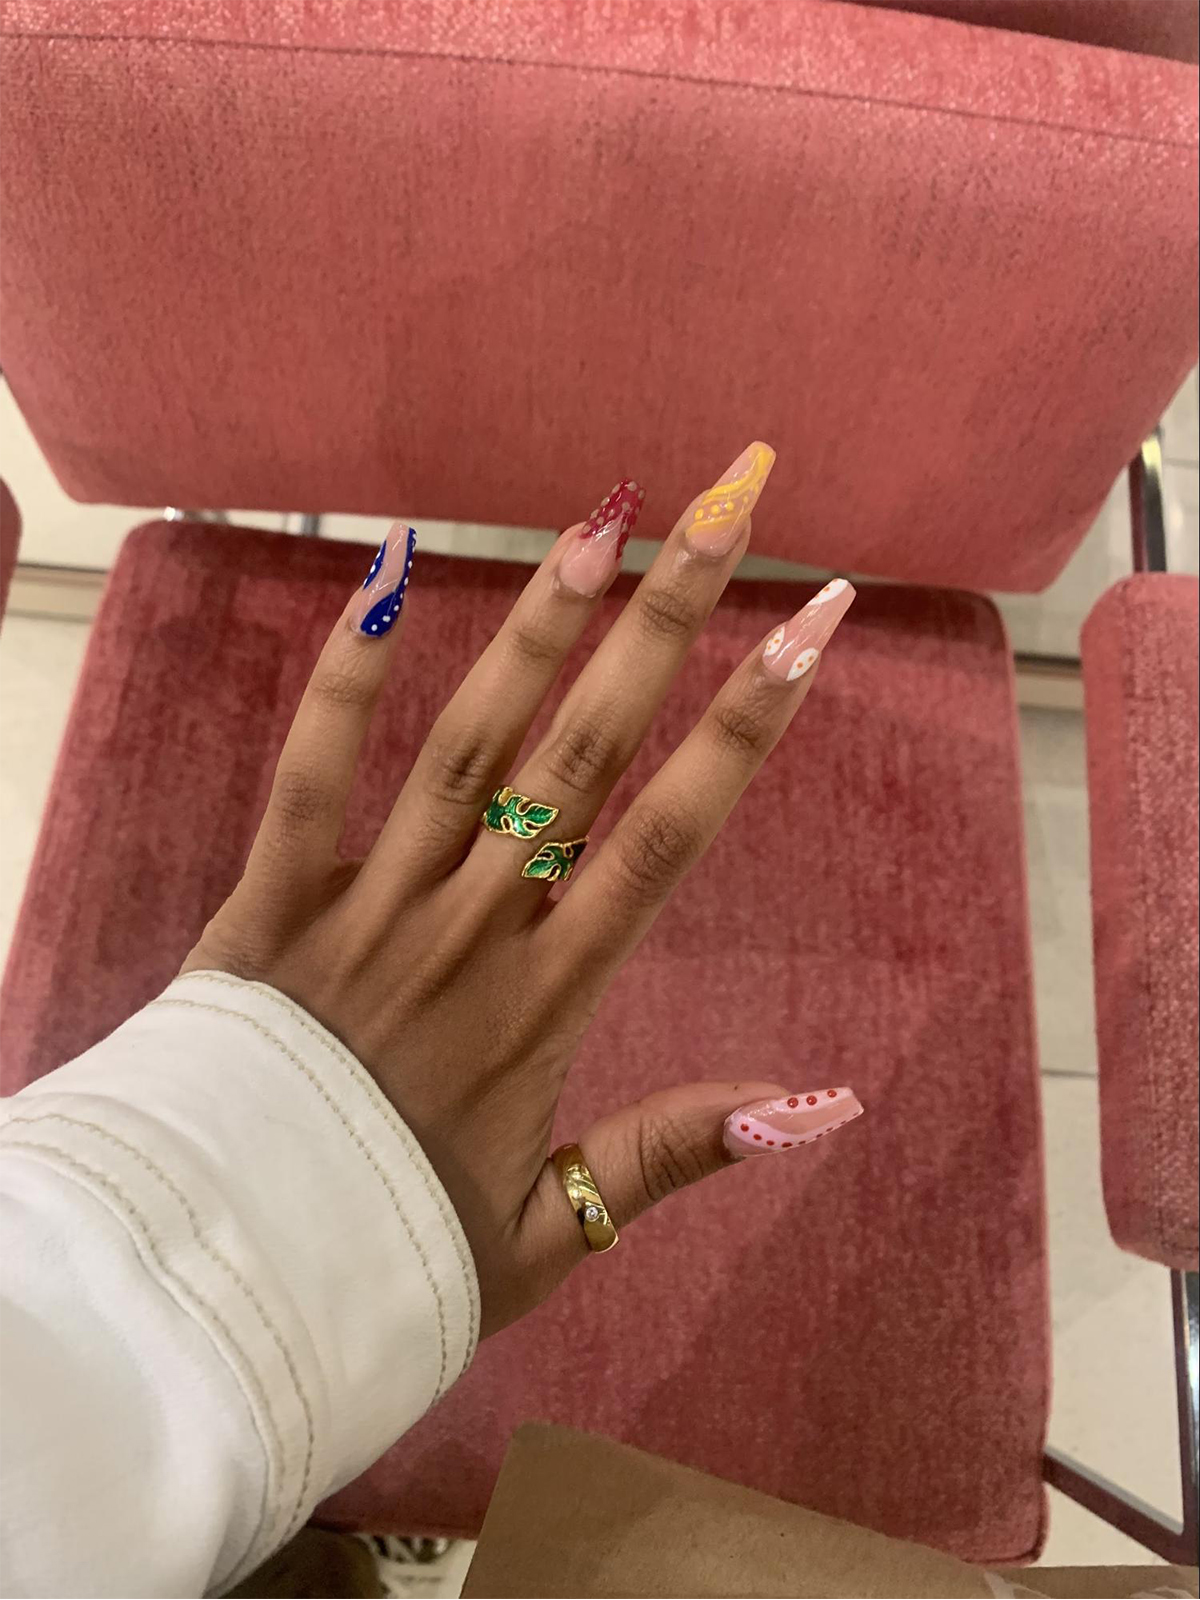
Get the look:
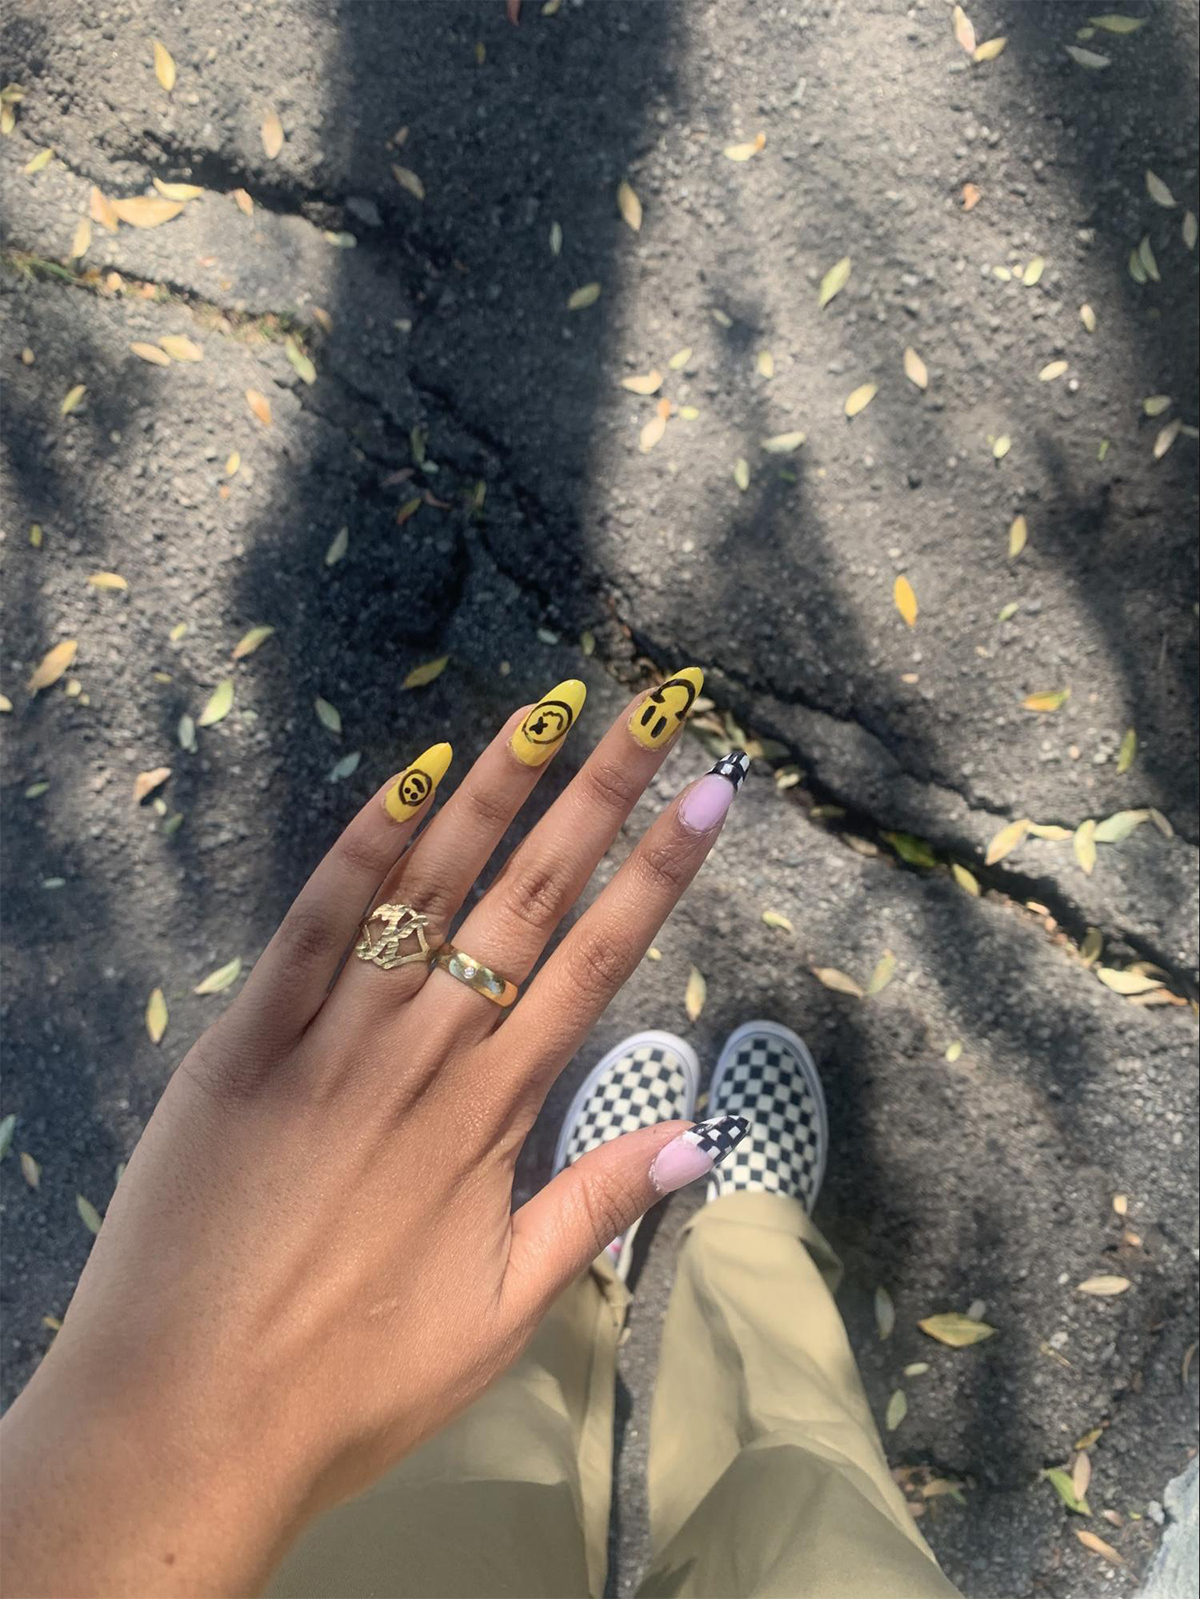
Get the look:
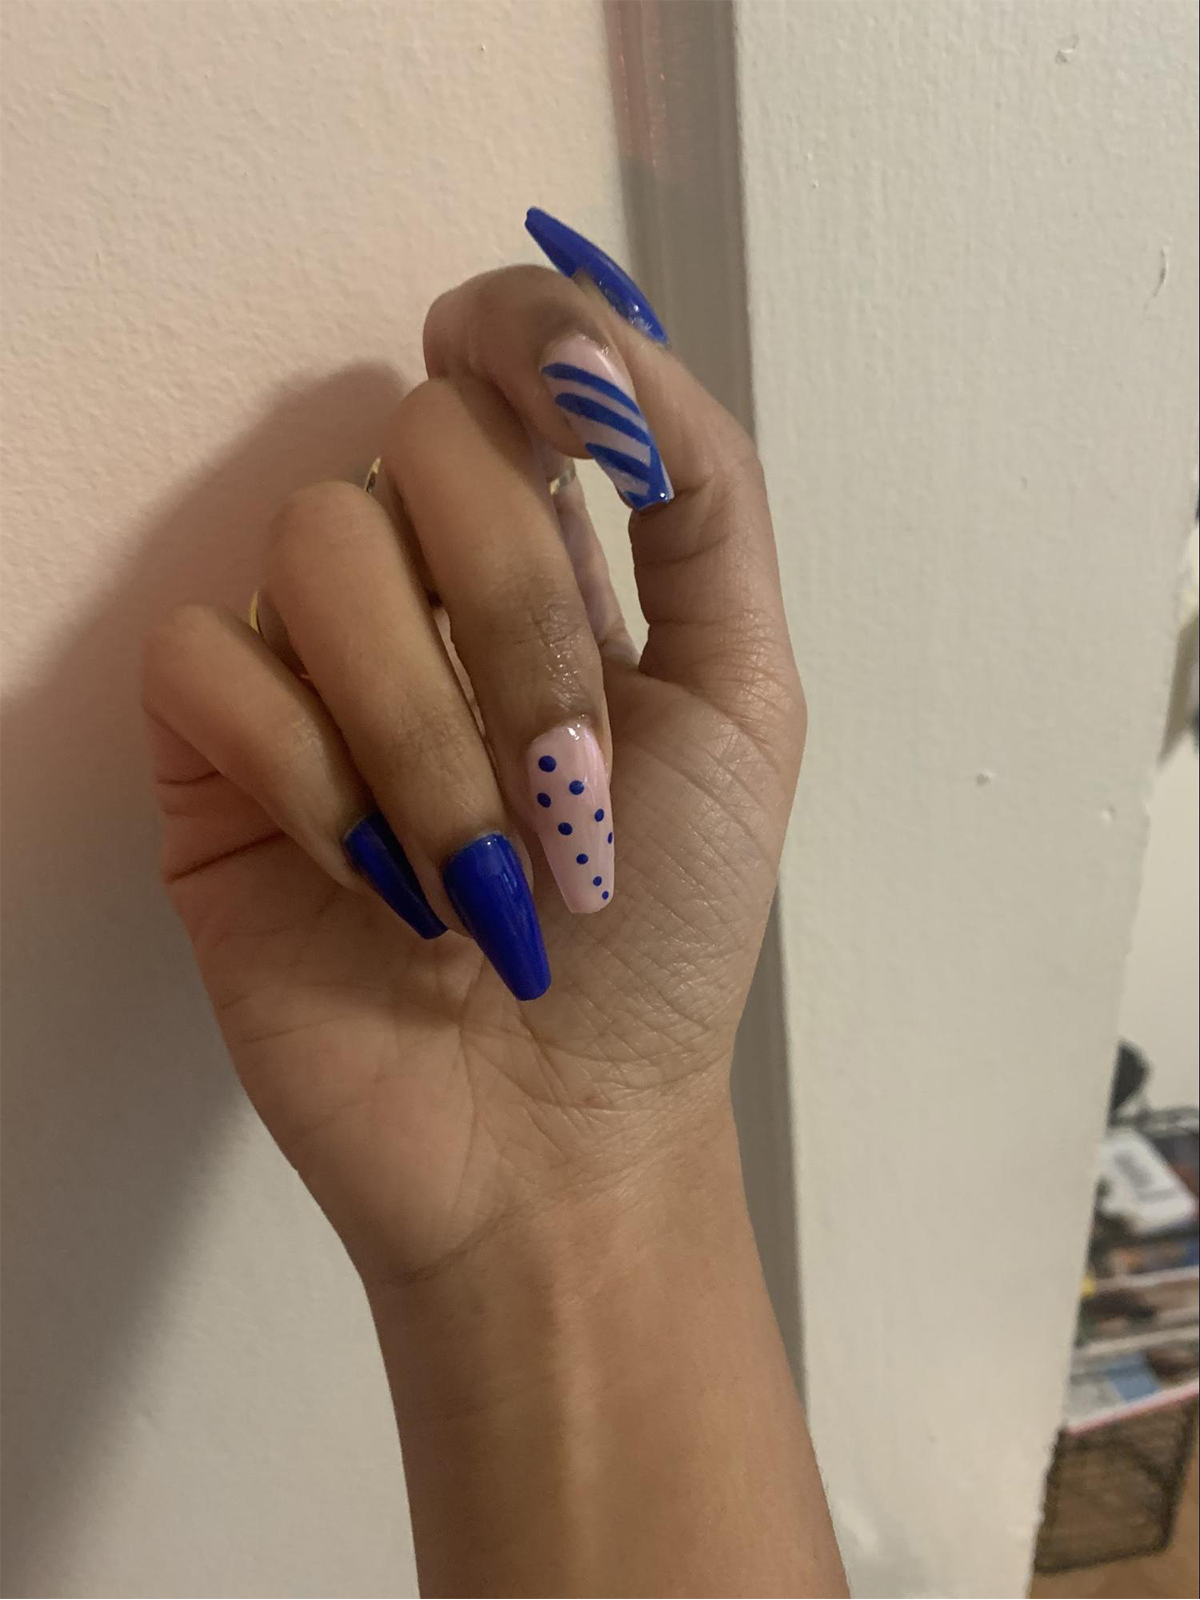
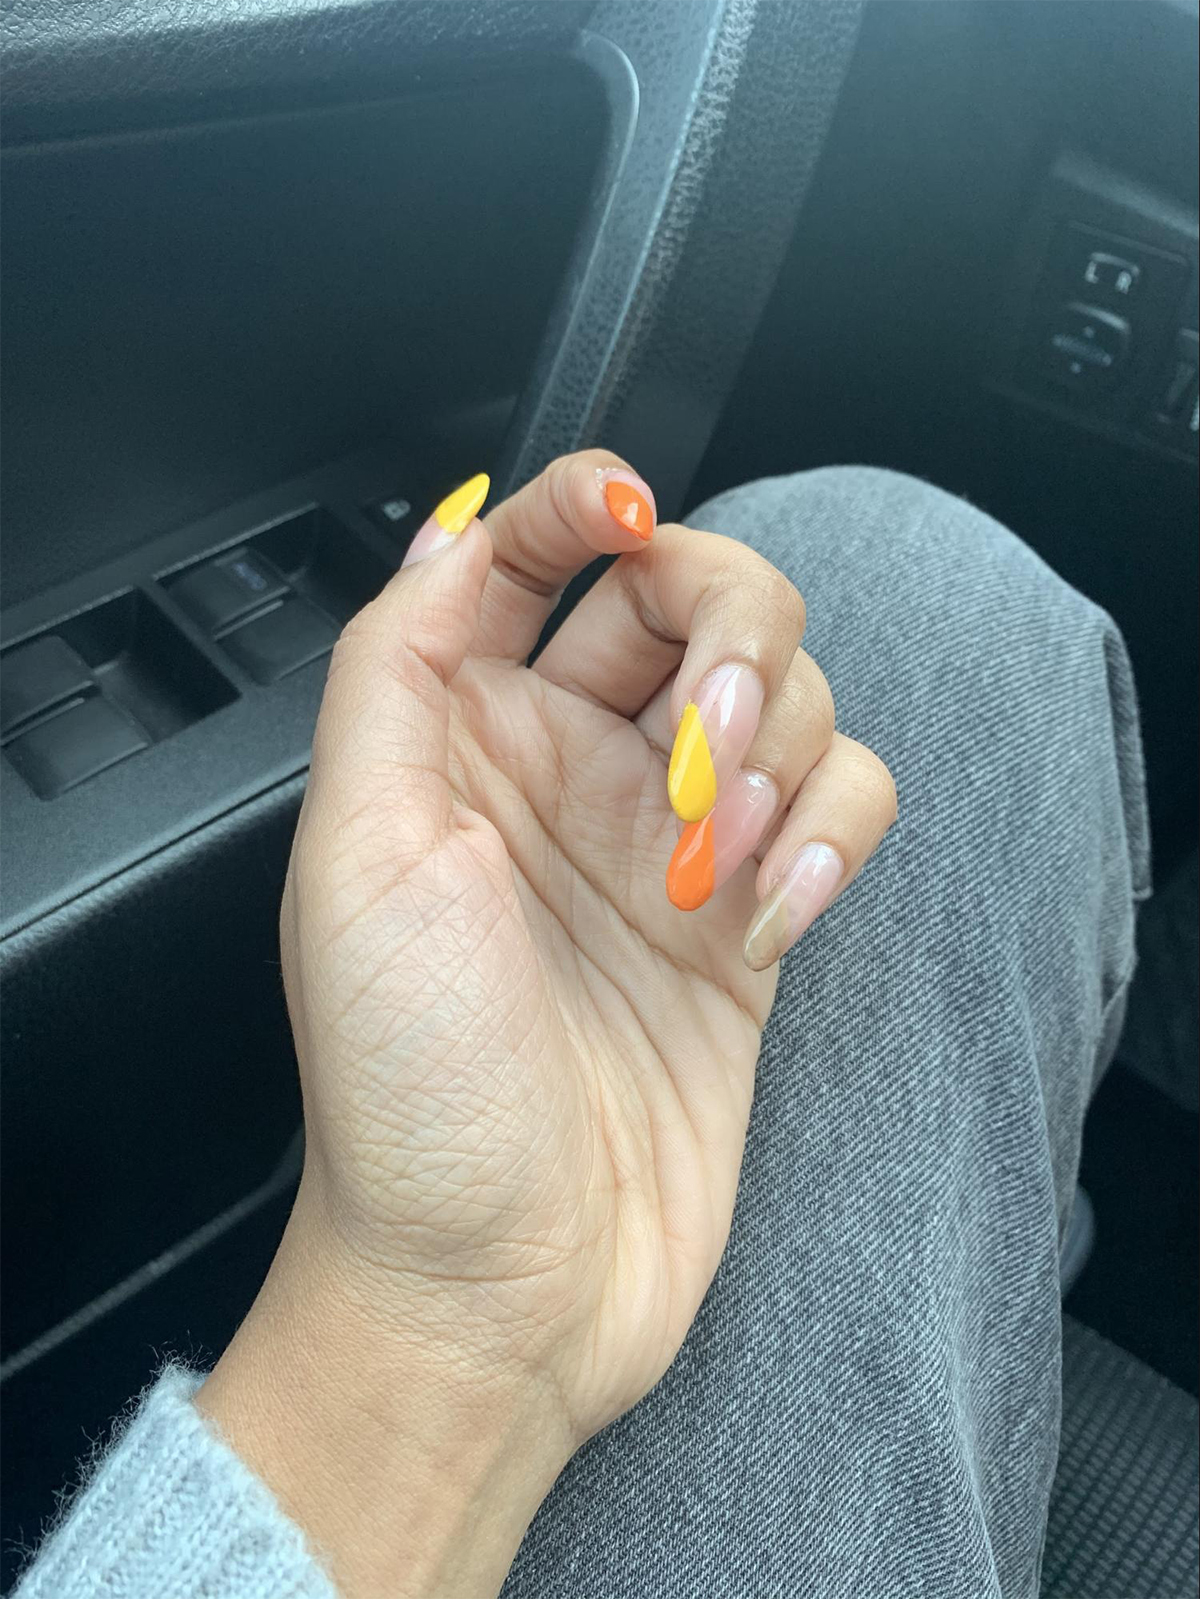
Get the look:
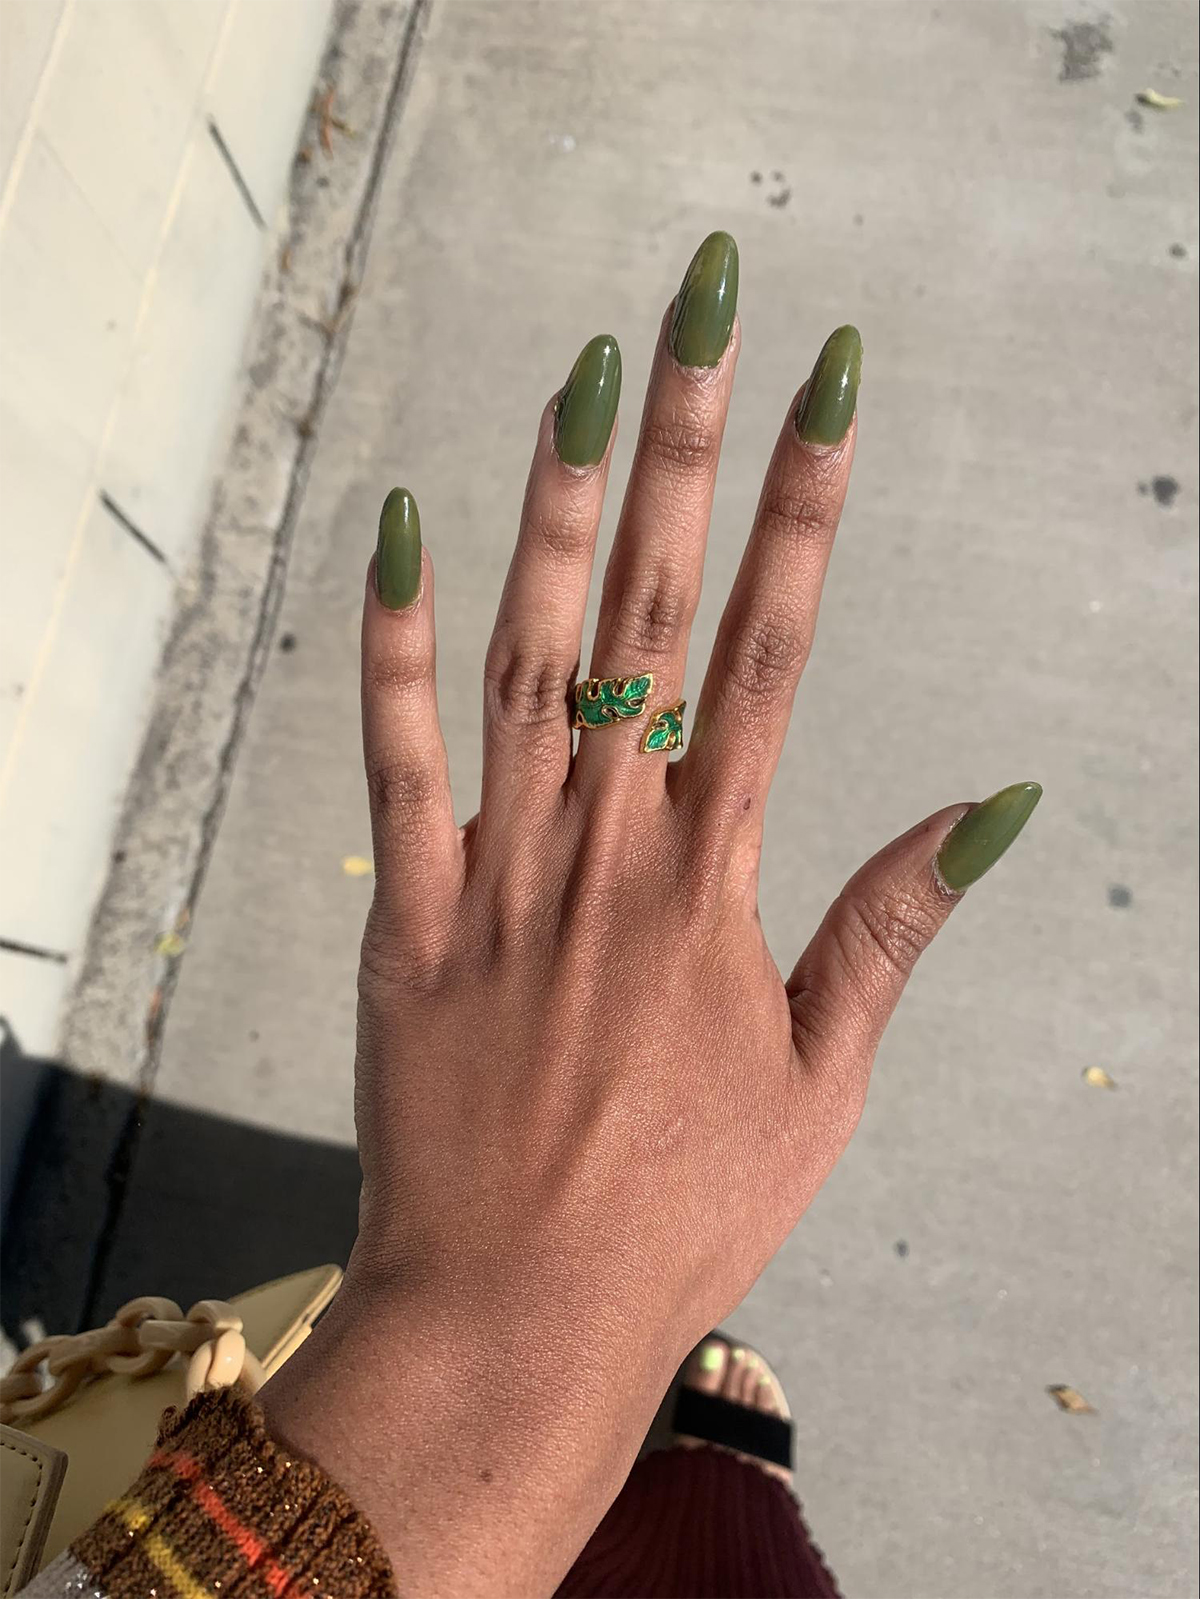
Get the look:
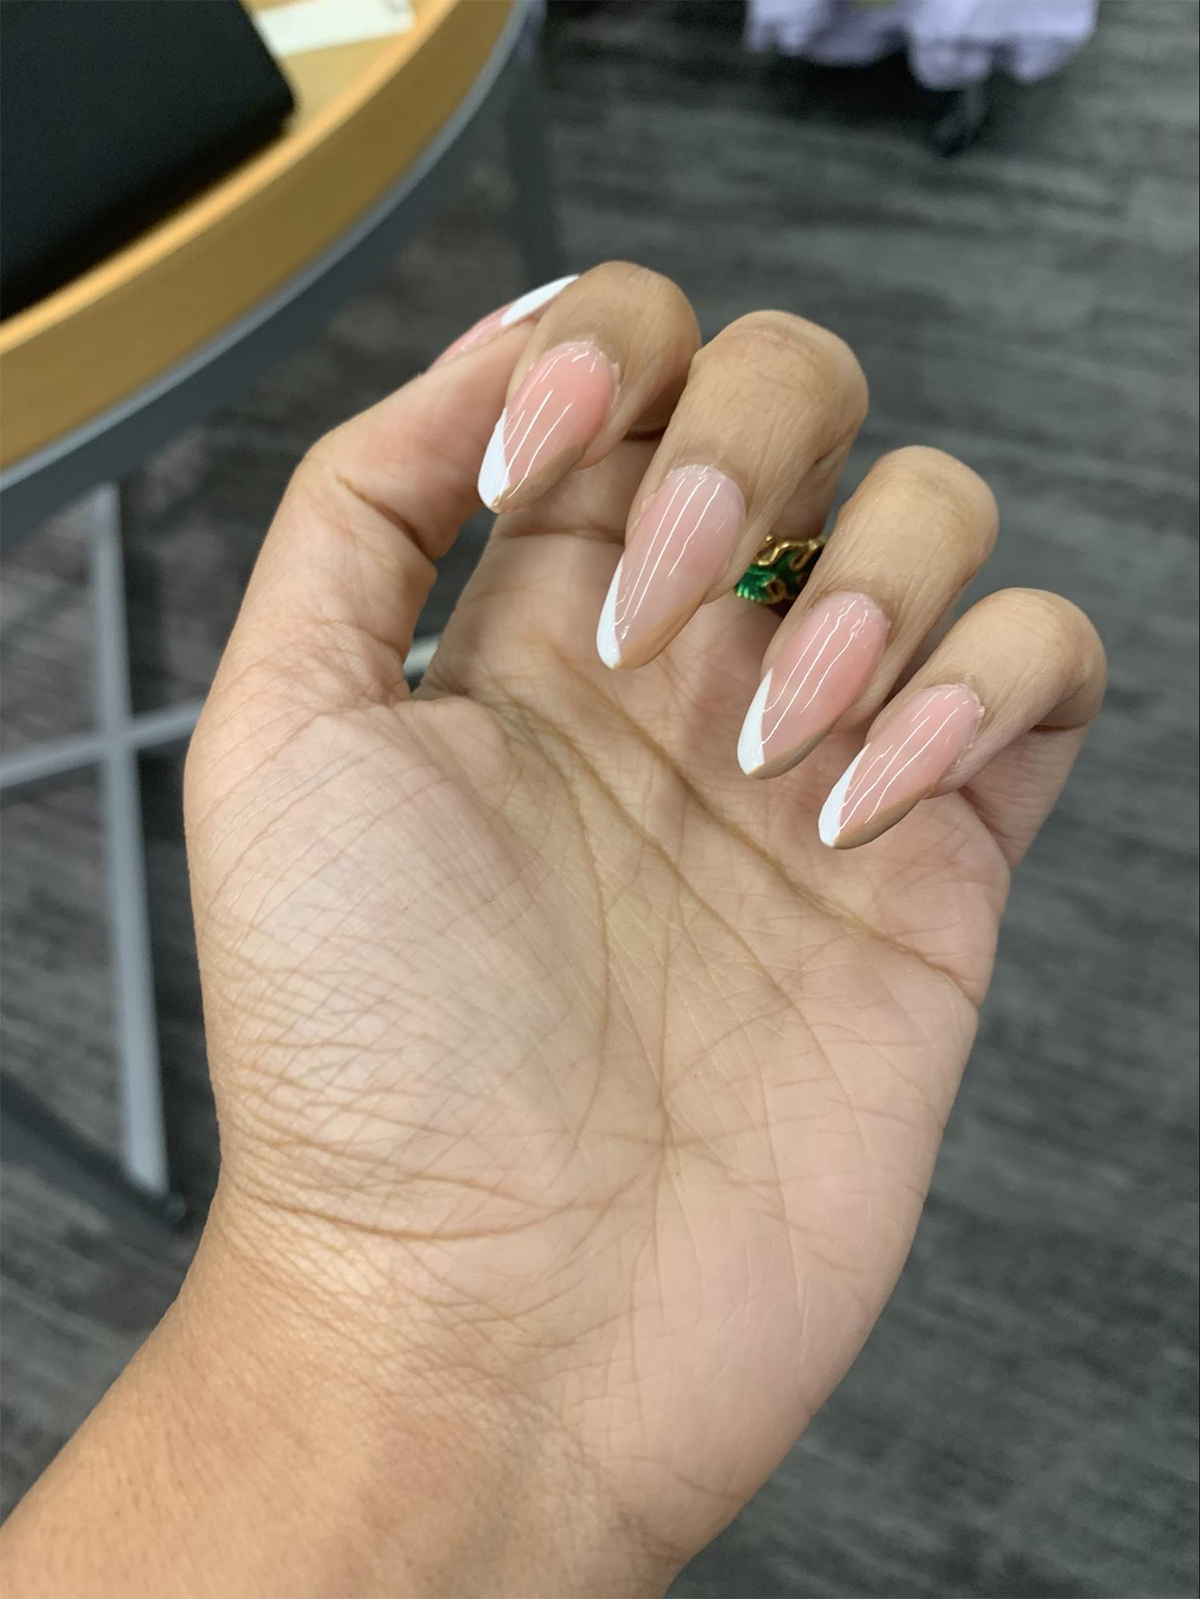
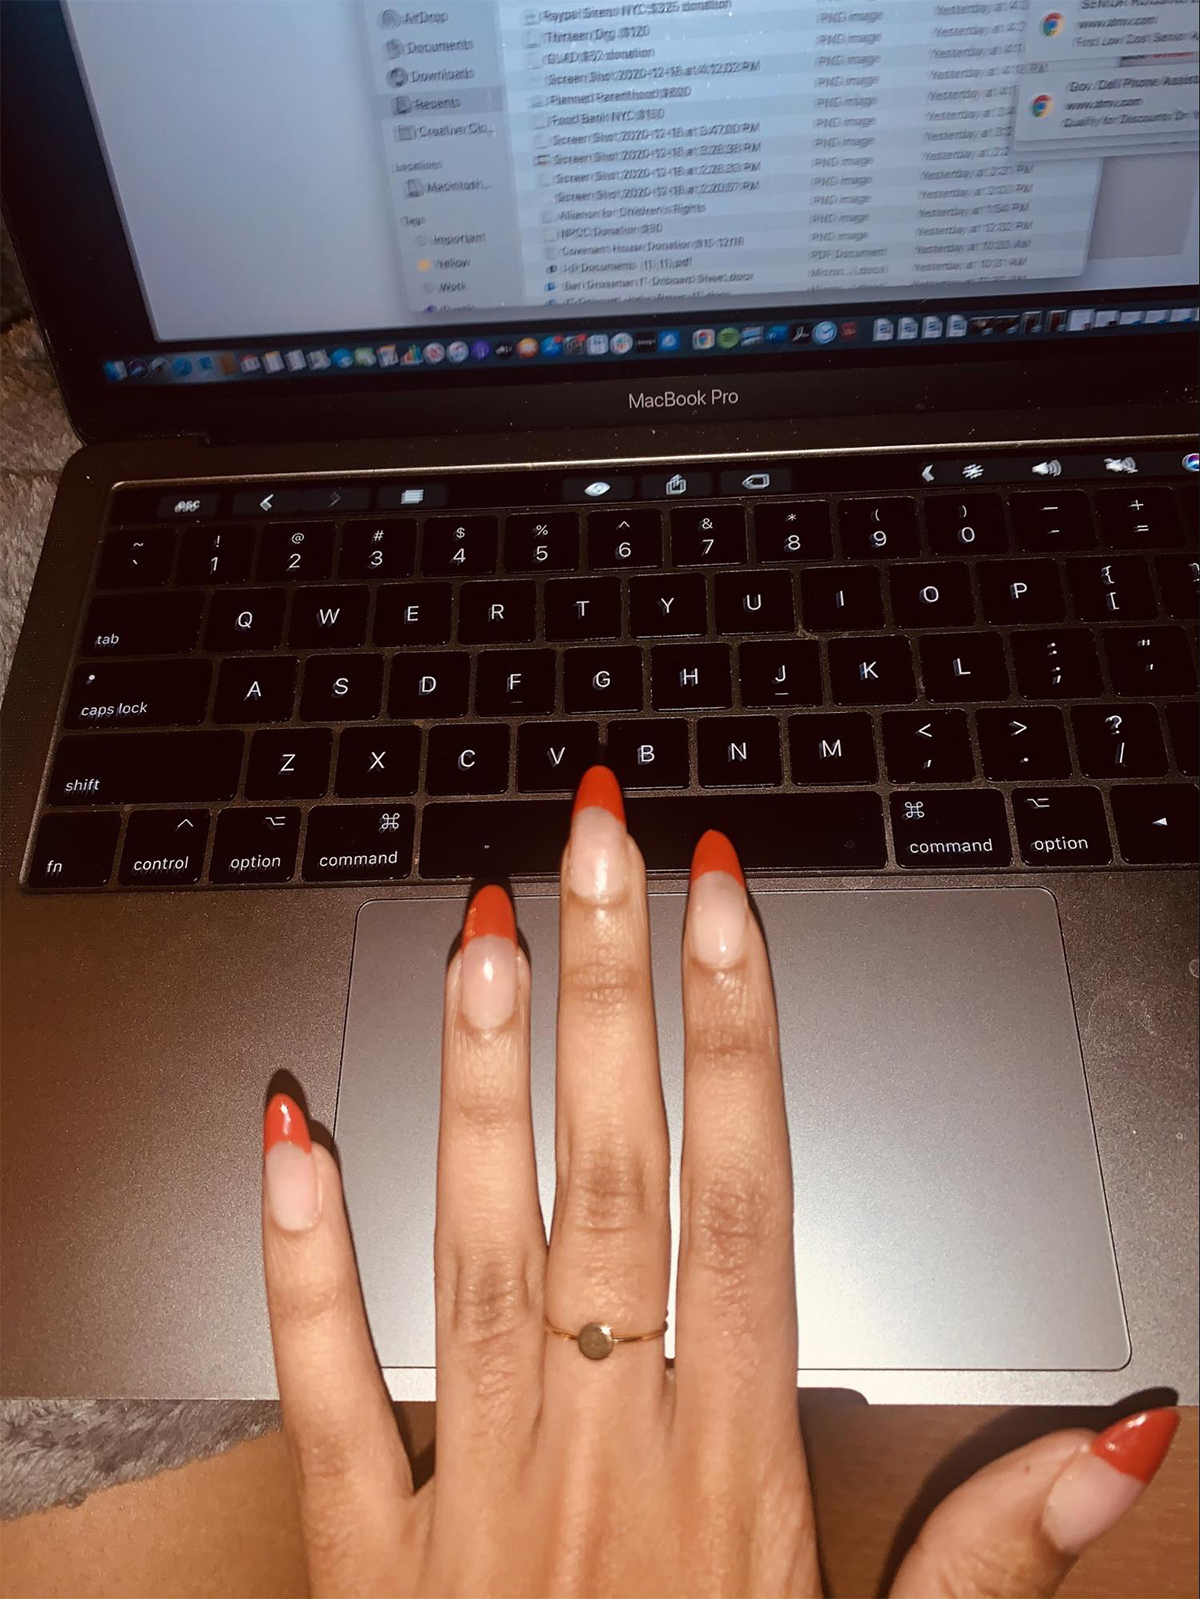
Get the look:
-
 Meghan Markle Just Landed in NYC Wearing the Fashion Person's Alternative to Black Trousers
Do you own these pants yet?
By Drew Elovitz
-
 If You're Wearing This Highly Specific Shoe Trend, I Know You're a Fashion Person
This $39 pair is calling your name.
By Drew Elovitz
-
 Every Cool New Yorker Knows These Anti-Trend Flats Look Better With Jeans Than Boots and Sneakers
Classic and chic.
By Eliza Huber
